


Categories


The Continental Congress authority for a “Chief Engineer for the Army” dates from 16 June 1775. A corps of Engineers for the United States was authorized by the Congress on 11 March 1779. The Corps of Engineers as it is known today came into being on 16 March 1802, when the President was authorized to “organize and establish a Corps of Engineers … that the said Corps … shall be stationed at West Point in the State of New York and shall constitute a Military Academy.” A Corps of Topographical Engineers, authorized on 4 July 1838, was merged with the Corps of Engineers in March 1863.


First off this must be a very old video. But I have put it in for the good information that the Kid provides in it.
| May 5, 2017
Manly Skills, Outdoors, Survival
Editor’s note: The following excerpt was taken from FM 21-76: Survival Evasion and Escape, an Army field manual published in 1968.
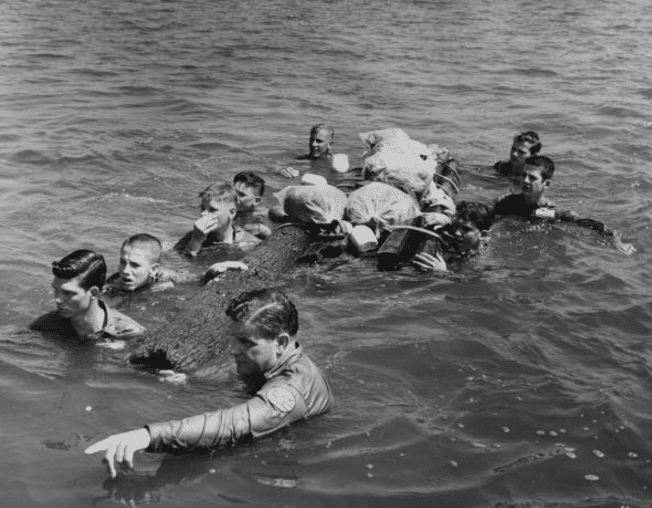
(1) Unless you are traveling in the desert, there is a good possibility that you will have to ford a stream or river. The water obstacle may range from a small, ankle-deep brook that flows down a side valley to a rushing, snow- or ice-fed river. If you know how to cross such an obstacle, you can use the roughest of waters to your advantage. However, before you enter the water check the temperature. If it is extremely cold and if a shallow fording place cannot be found, it is not advisable to try to cross by fording. The cold water may easily cause a severe shock, which can temporarily paralyze you. In this case, try to make an improvised bridge by felling a tree over the stream or build a simple raft.
(2) Before you attempt to ford, move to high ground and examine the river for:
(a) Level stretches where it breaks into a number of channels.
(b) Obstacles on the other side that might hinder your travel. Pick a spot on the opposite bank where travel will be easier and safer.
(c) A ledge of rocks that crosses the river, indicating the presence of rapids or canyons.
(d) Any heavy timber growths. These indicate where the channel is deepest.
(3) When you select your fording site, keep the following points in mind:
(a) When possible, choose a course leading across the current at about a 45° angle downstream.
(b) Never try to ford a stream directly above or close to a deep or rapid waterfall or deep channel.
(c) Always ford where you would be carried to a shallow bank or sandbar should you lose your footing.
(d) Avoid rocky places, since a fall can cause serious injury; however, an occasional rock that breaks the current may help you.
(1) Wading
Before you enter the water remove your shoes and socks unless you need them to protect your feet from being cut by sharp rocks or sticks. Use a stout pole for support. It makes your footing more secure. Also use the pole to test the stream for potholes.
(2) Swimming
(a) Use the breast, back, or side strokes. They are noiseless, less exhausting than other techniques, and will allow you to carry small bundles of clothing and equipment as you swim. If possible, remove your clothing and equipment and float it across the river. Wade out until the water is chest deep before you begin swimming. If the water is too deep to wade, jump in feet first with your body straight; keep your legs together and your hands at your sides. In deep, swift water, swim diagonally across the stream with the current.
(b) If you are unable to swim, you can ford a river by using certain swimming aids. These include:
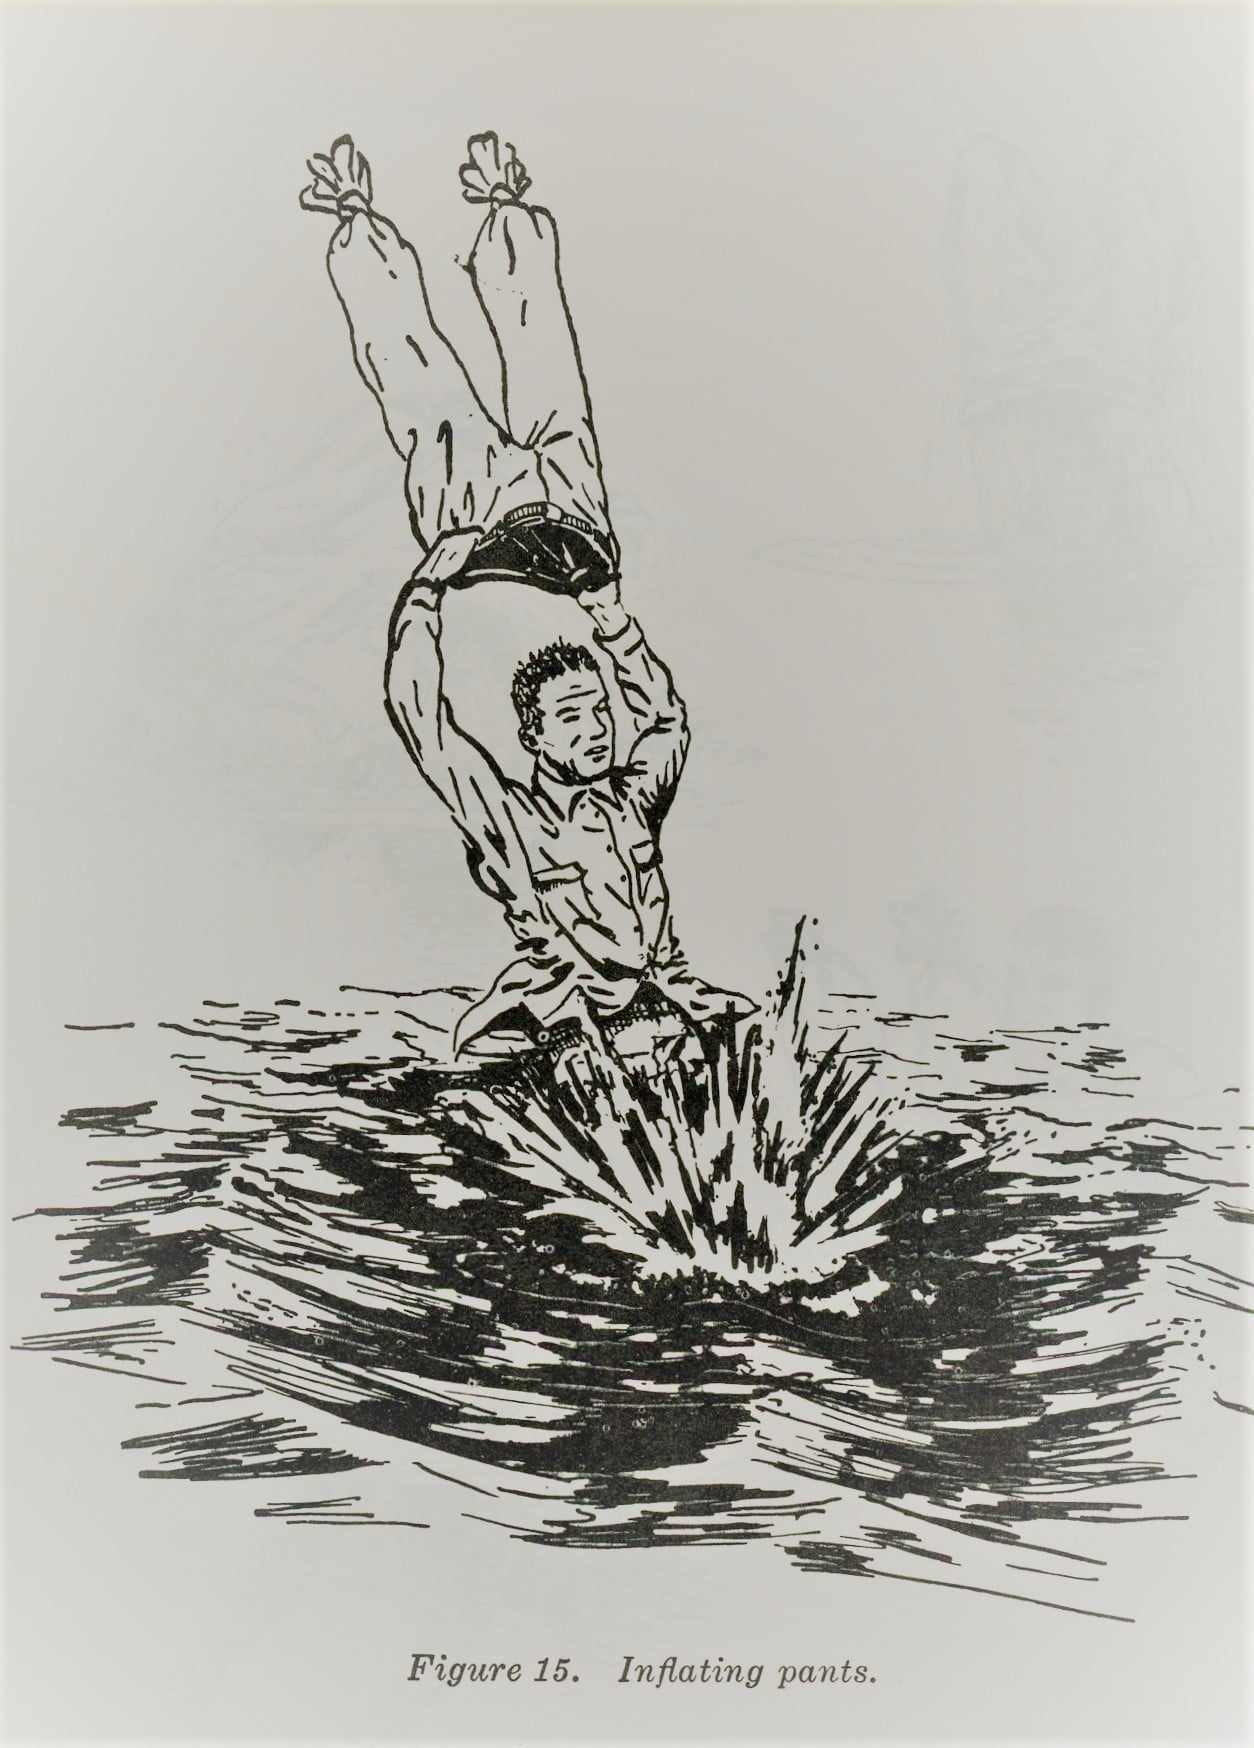
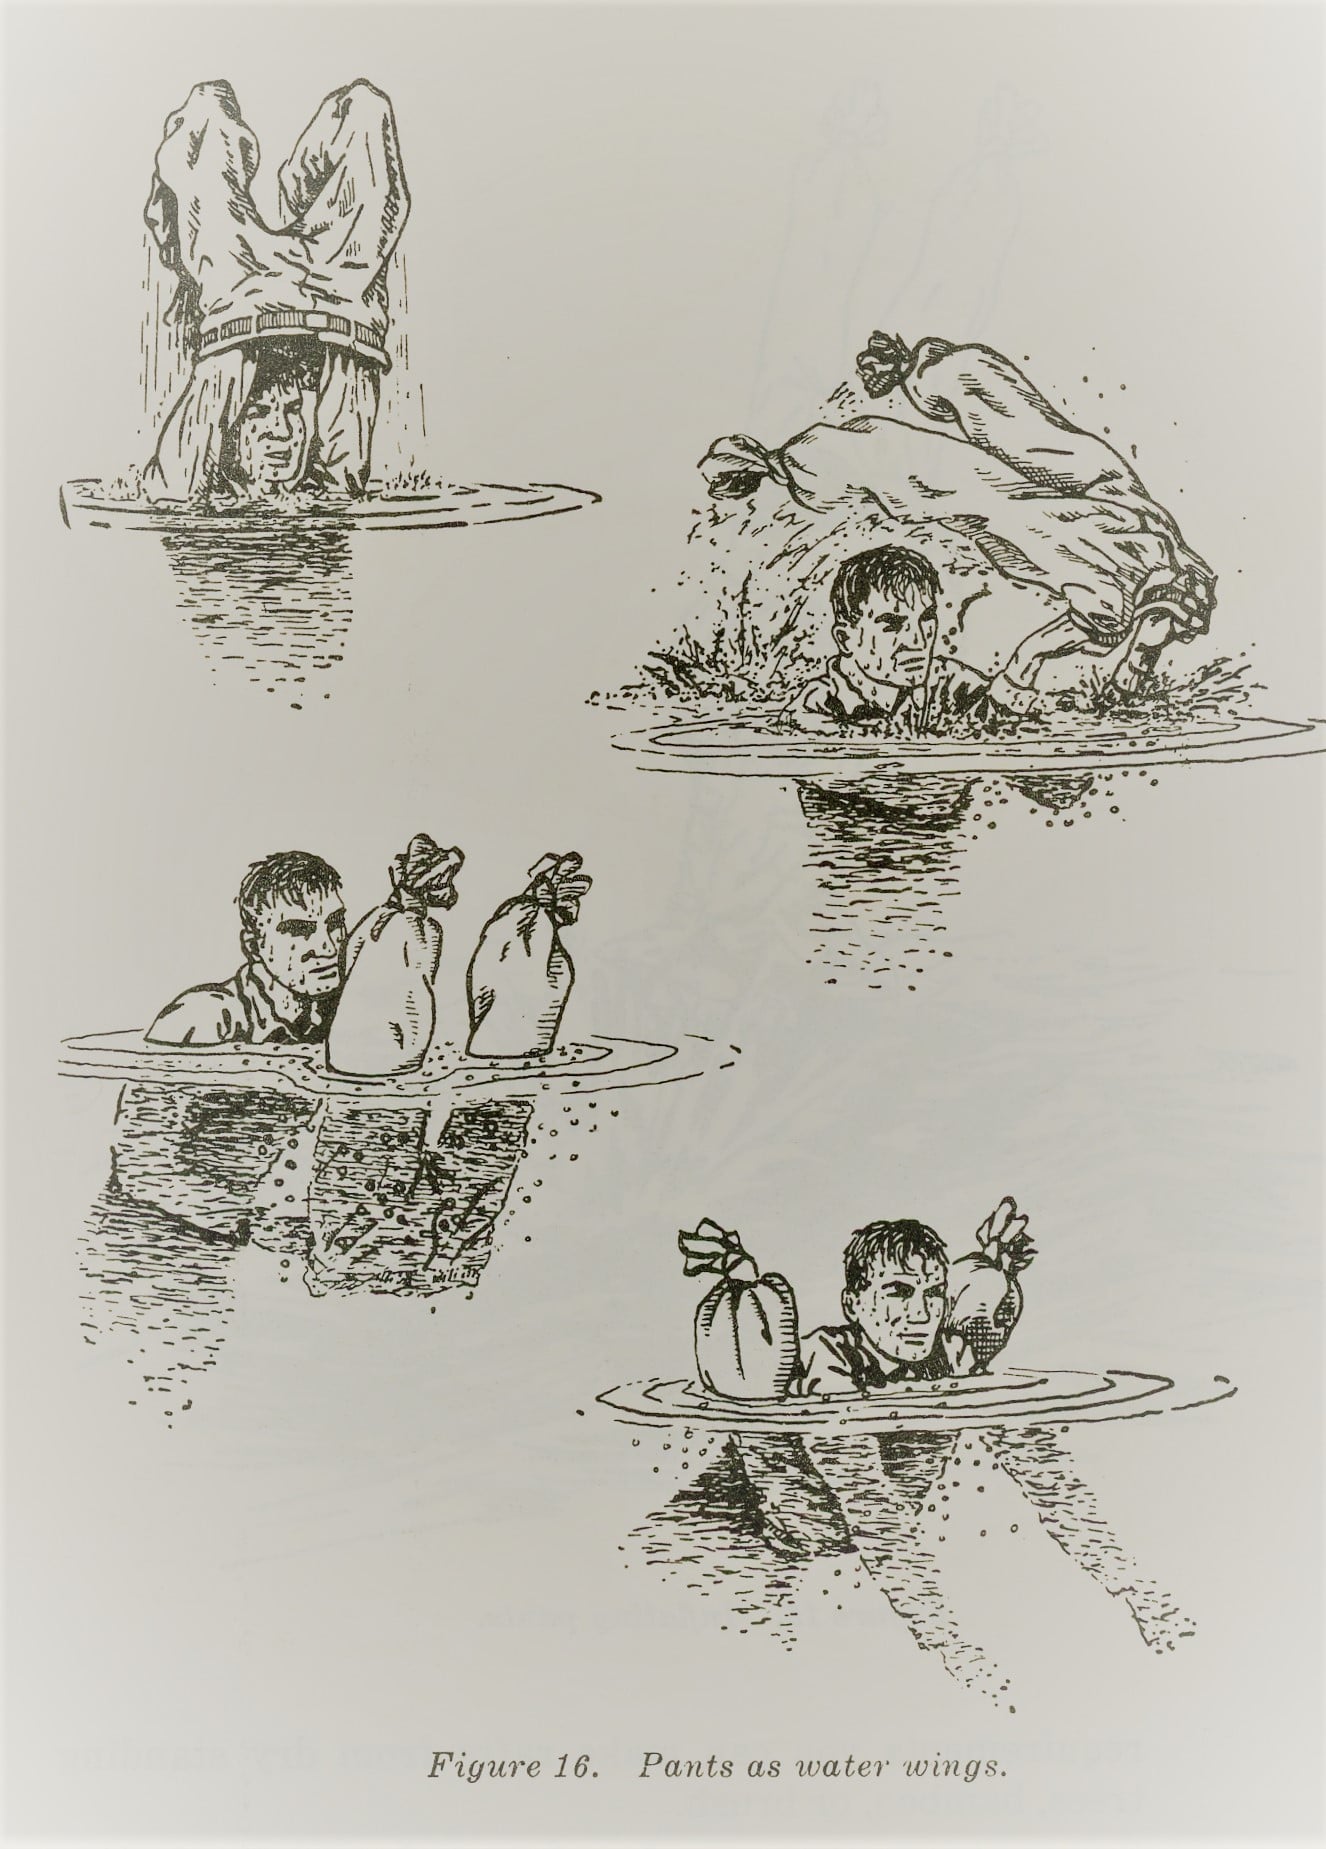
1. Clothing. Take off your trousers in the water; knot each leg and button the fly. Grasp the waist band on one side and swing the trousers over your head from back to front so that the waist opening is brought hard down on the surface of the water. Air is trapped in each leg (fig. 16). If you are not worried about noise, hold your trousers in front of you and jump into the water (fig. 15). Either of these methods provides a serviceable pair of water wings.
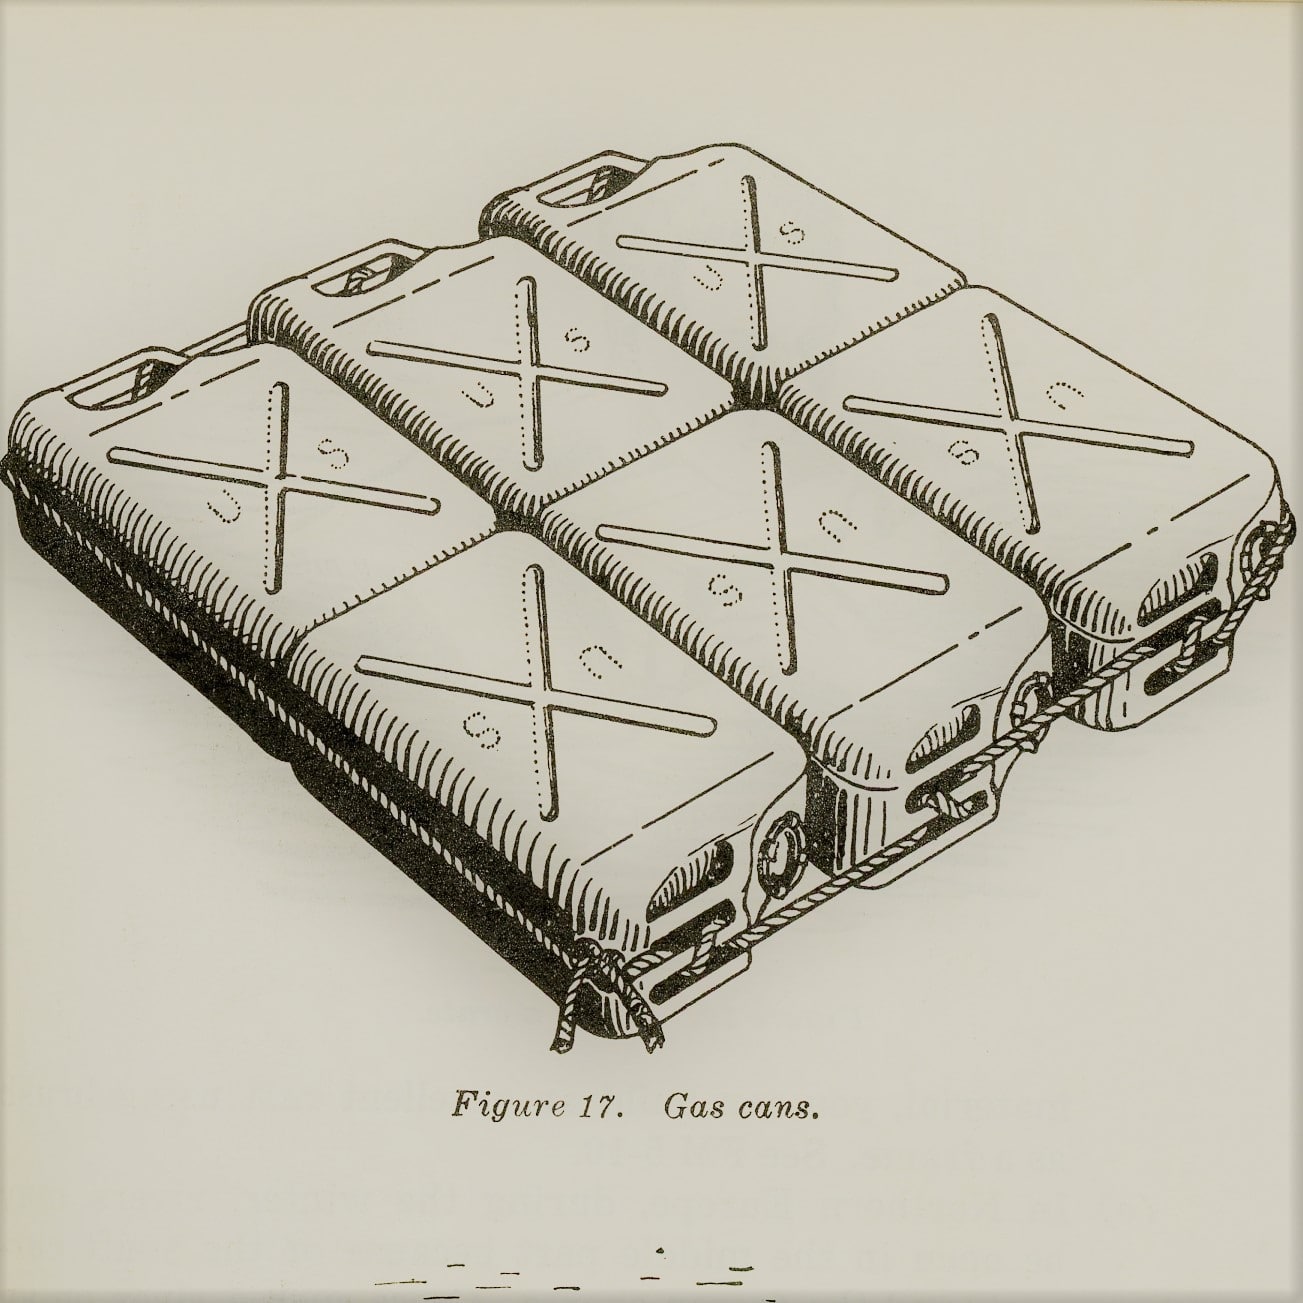
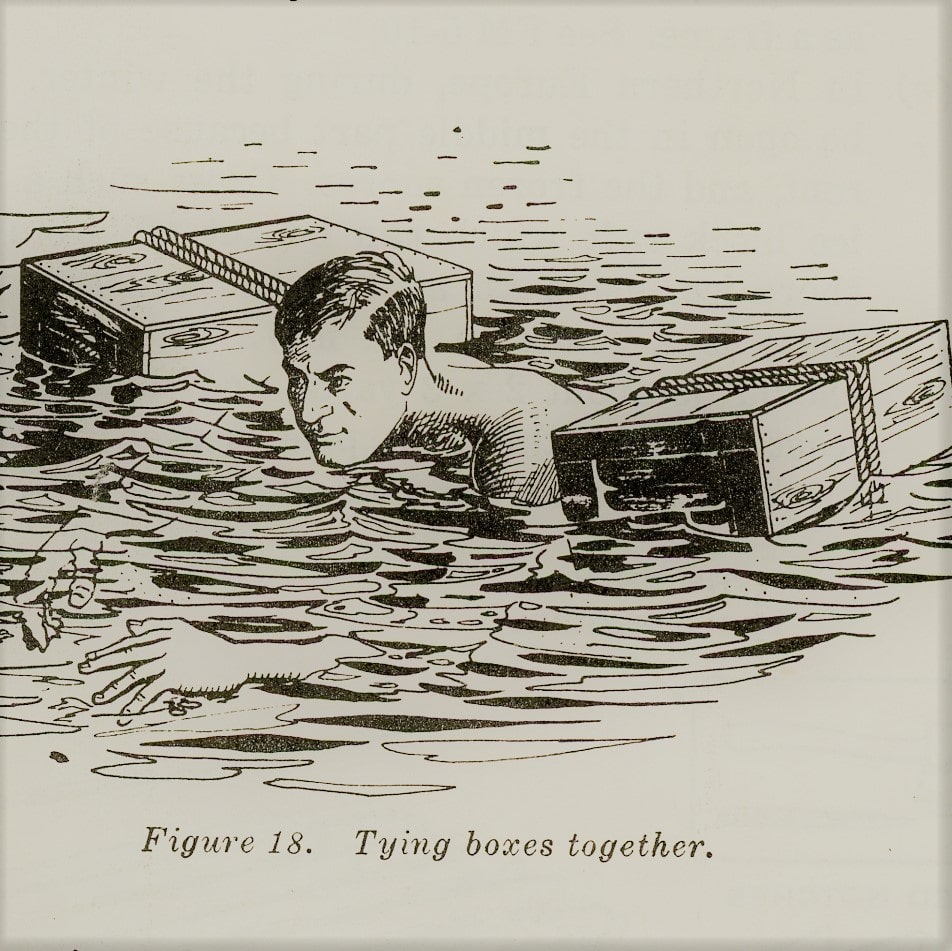
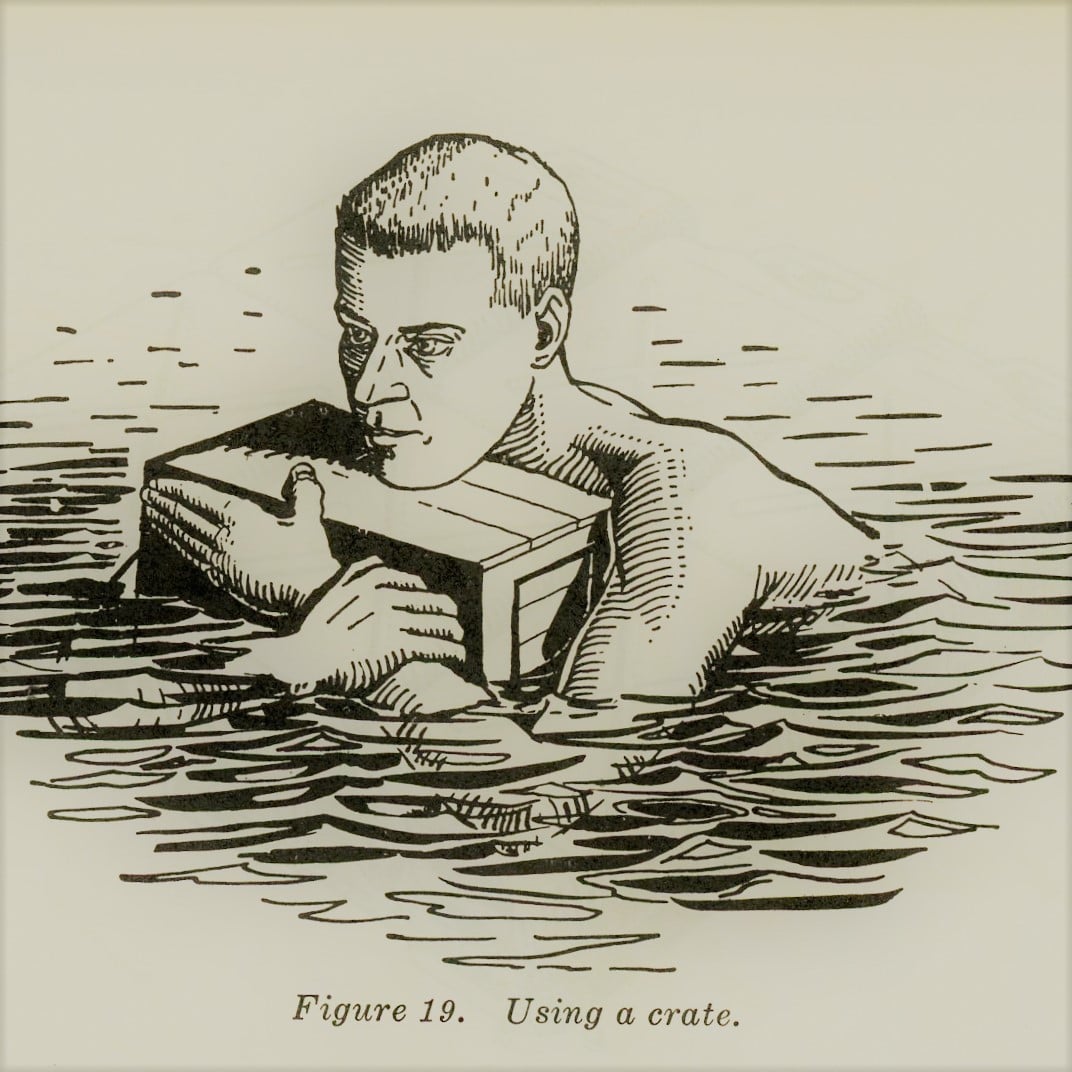
2. Empty tins, gas cans, and boxes. Lash these together as shown in figures 17, 18, and 19. Use them only when crossing slow moving water.
3. Logs or planks. Before you decide to use a wooden floating aid, test its ability to float. This is especially important in the tropics because most tropical trees sink, particularly the palm, even when the wood is dead.
(3) Rafts
(a) Rafting rivers is one of the oldest forms of travel and often is the safest and quickest method of crossing a water obstacle; however, building a raft under survival conditions is tiring and time consuming unless you have proper equipment and help. With these two requirements you can make rafts from dry standing trees, bamboo, or brush.
(b) Spruce trees that are found in polar and subpolar regions make the best rafts. You can construct a raft without spikes or rope. All you need is an axe and knife. Considering a suitable raft for three men to be 12 feet long and 6 feet wide:
1. Build the raft on two skid logs placed so they slope downward to the bank. Smooth the logs with an axe so the raft logs lie evenly on them.
2. Cut four offset, inverted notches, one in the top and bottom of both ends of each log (fig 20). Make the notches broader at the base than at the outer edge of the log.
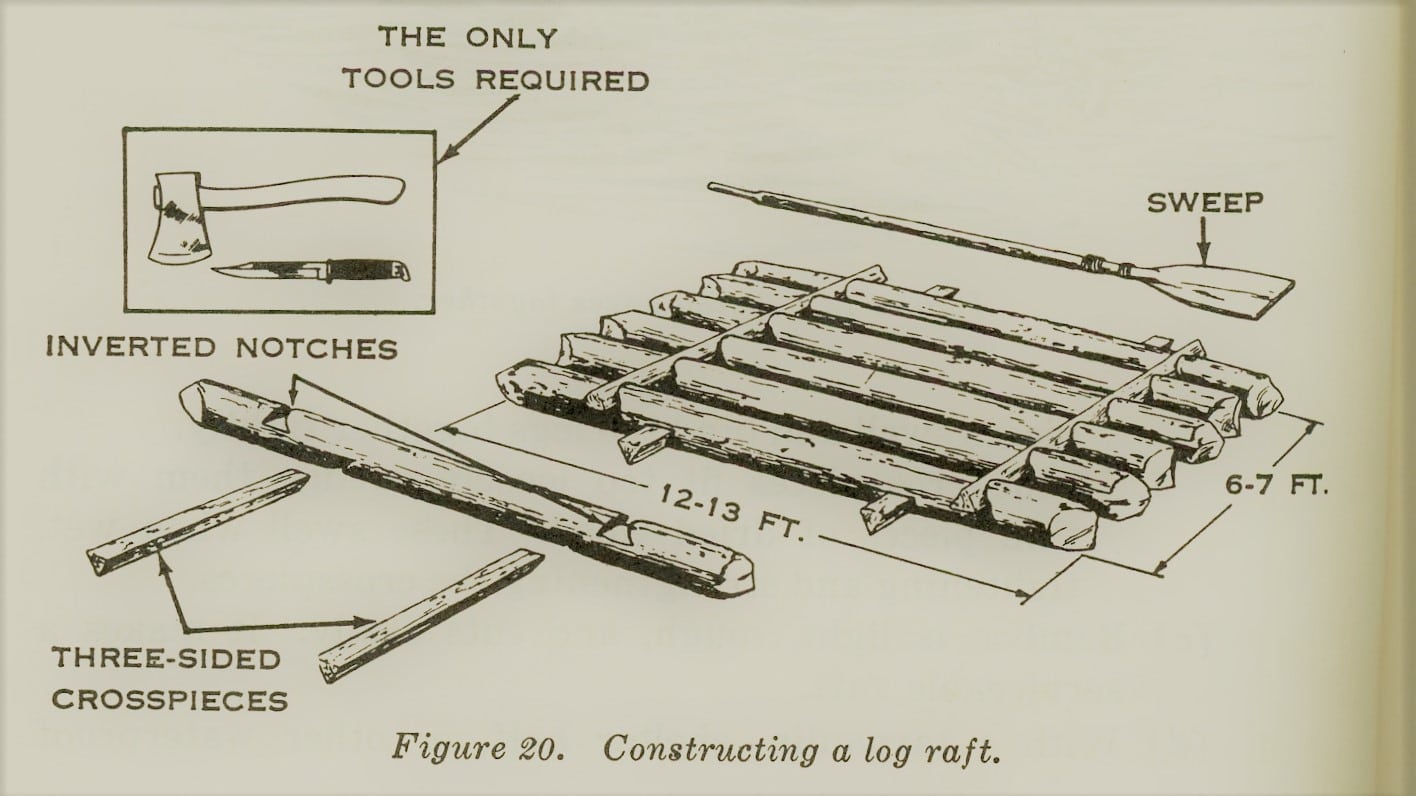
3. To bind the raft together, drive through each notch a three-sided, wooden crosspiece about a foot longer than the width of the raft (fig 20). Connect all the notches on one side of the raft before connecting those on the other.
4. Lash the overhanging ends of the two crosspieces together at each end of the raft to give it additional strength. When the raft enters the water the crosspieces swell and bind the logs together tightly.
5. If the crosspieces fit too loosely, wedge them with thin pieces of dried wood. These swell when wet, tightening and strengthening the crosspieces.
(c) Bamboo is light, tough, and cuts easily. It makes a serviceable craft.
(d) With a tarpaulin, shelter half, or other waterproof material, you can build an excellent raft using brush as a frame.
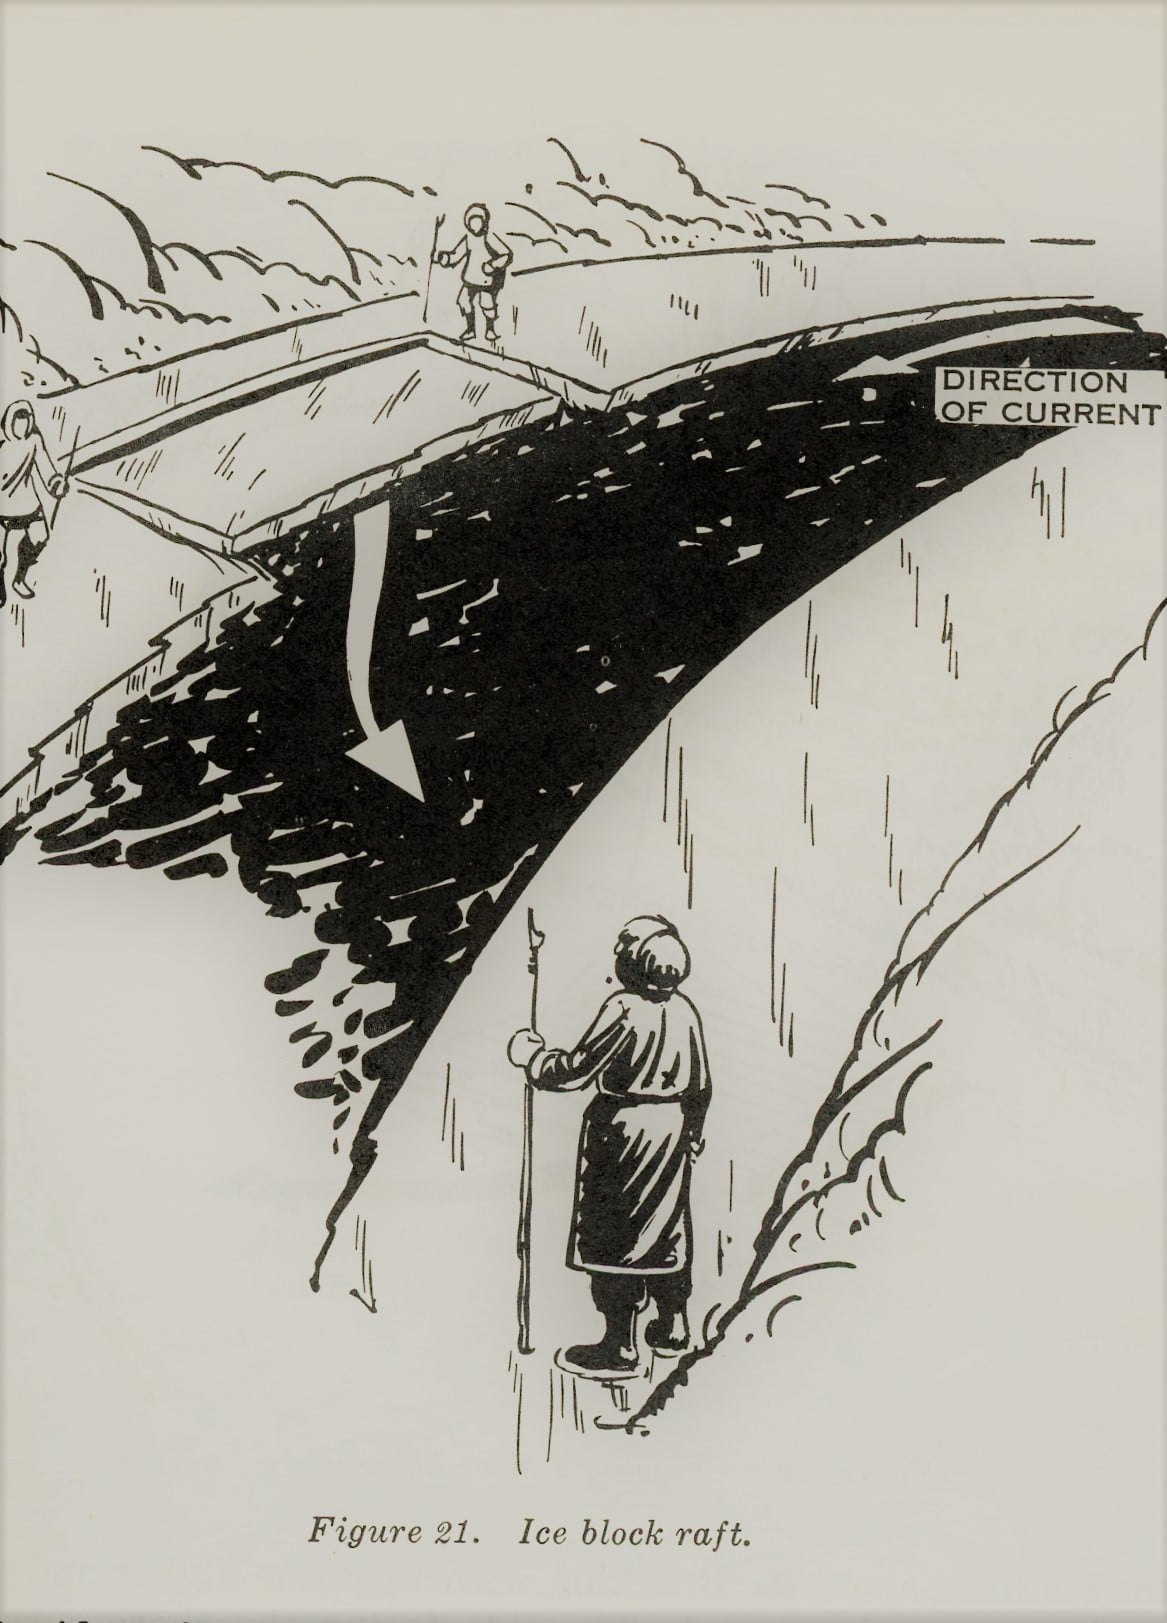
(e) In Northern Europe, during the winter, rivers may be open in the middle part because of the swift current, and the frozen shores. Cross such a river on an ice block raft which can be cut off from the frozen shore ice, using an ax or even sometimes a pole (if there is a crack in the ice). The size of the raft should be about 2 x 3 yards and the ice should be at least one foot thick. A pole is used to move the ice block raft across the open part of the river (fig. 21).
(1) Swimming in rapids or swift water is not as great a problem as you think. In shallow rapids, get on your back with your feet pointing downstream; keep your body horizontal and your hands alongside your hips. Flap your hands much like a seal moves his flippers. In deep rapids, swim on your stomach and aim for shore when possible. Watch for currents that converge; you might be sucked under because of the swirls they produce.
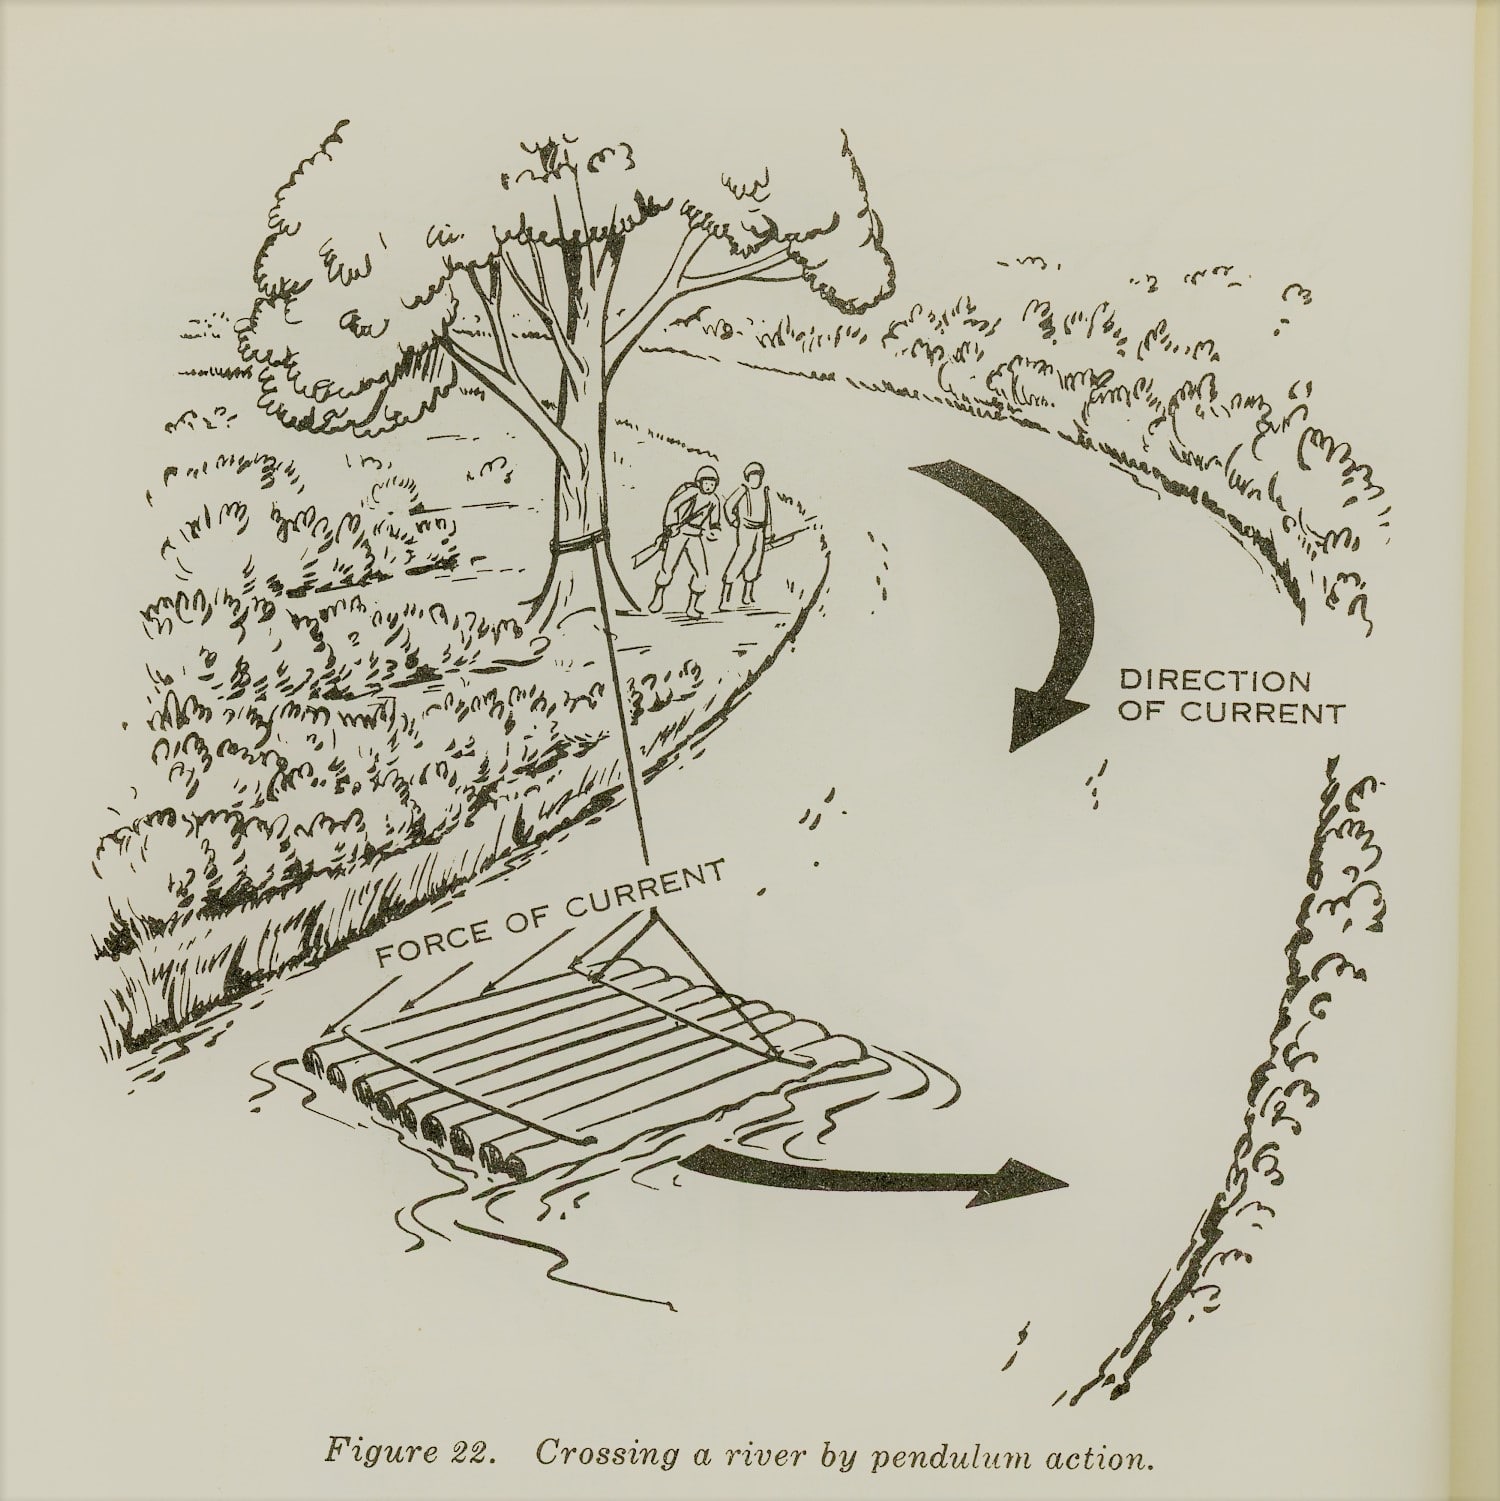
(2) A raft crossing of a deep and swift river may be effected by utilizing a pendulum action at a bend in the river (fig. 22). This method is useful when several men have to cross.
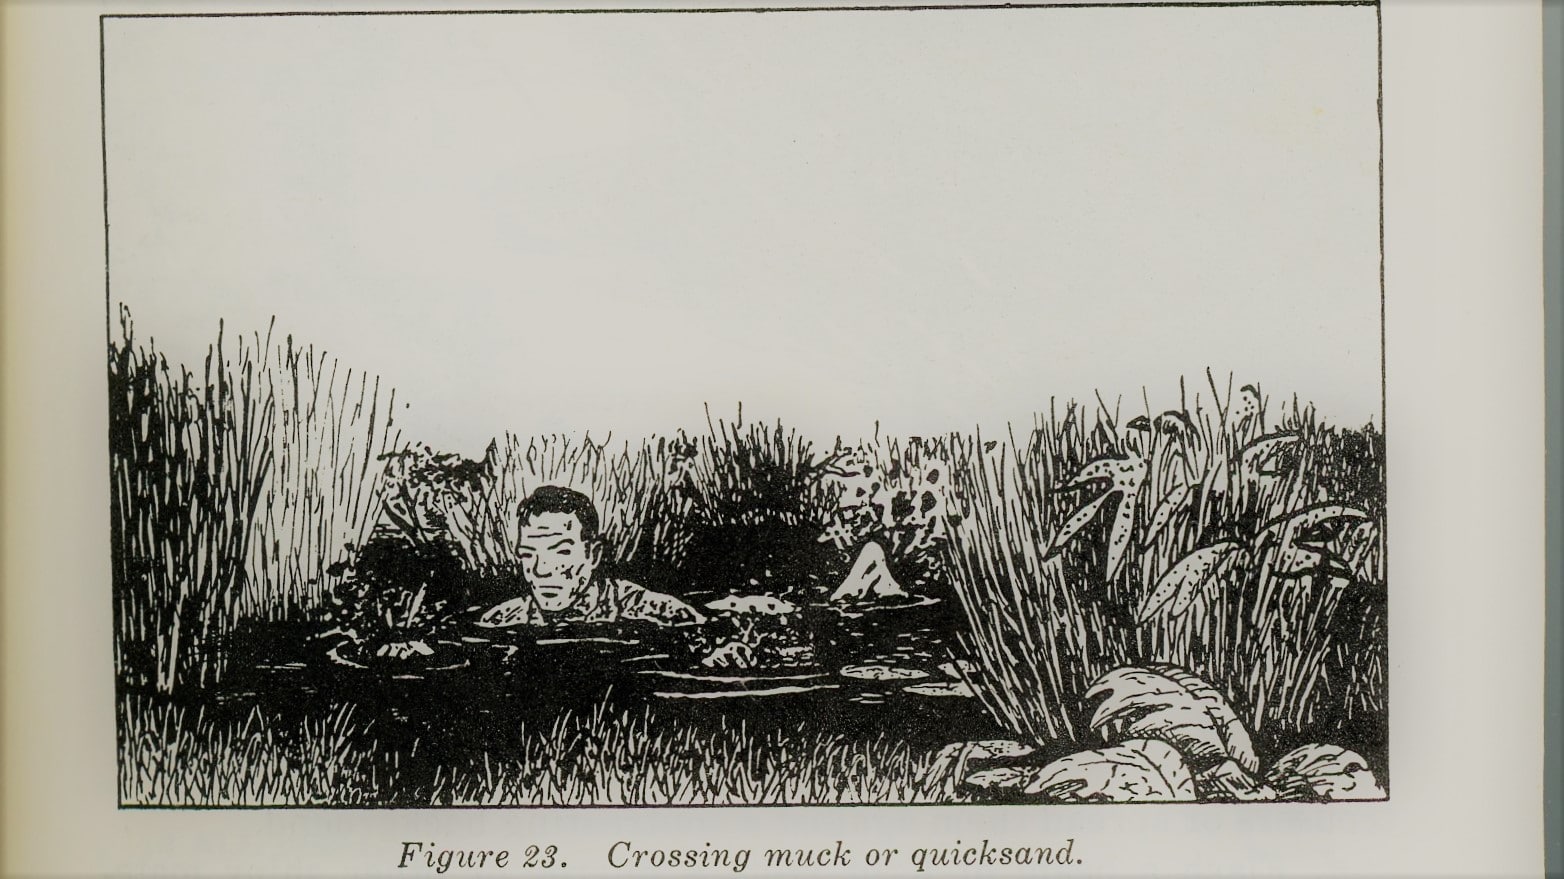
These obstacles are found most frequently in tropical or semitropical swamps. Pools of muck are devoid of any visible vegetation and usually will not support even the weight of a rock. If you cannot detour such an obstacle, attempt to bridge it using logs, branches, or foliage. If none are available, cross it by falling face downward with your arms spread. Start swimming or pulling your way through, keeping your body horizontal. Use the same method for crossing quicksand (fig. 23).
Last updated: July 5, 2017

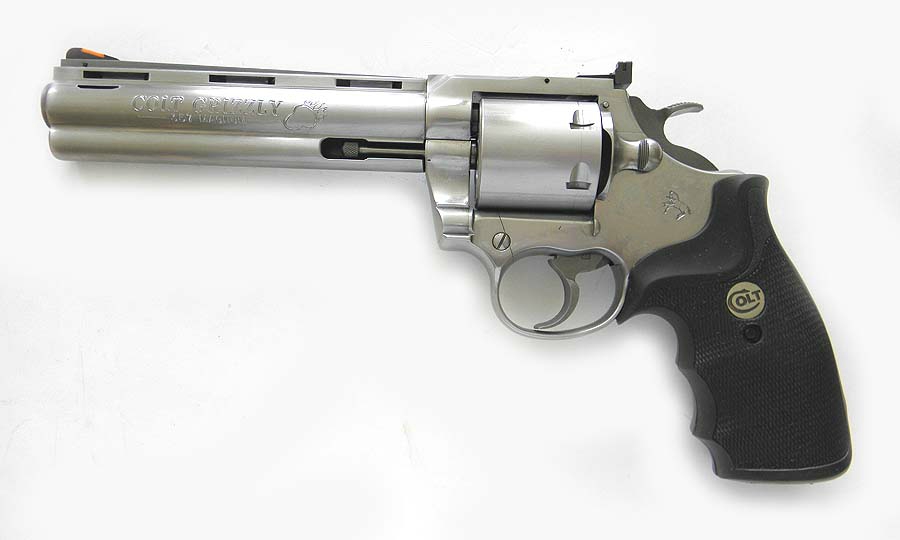
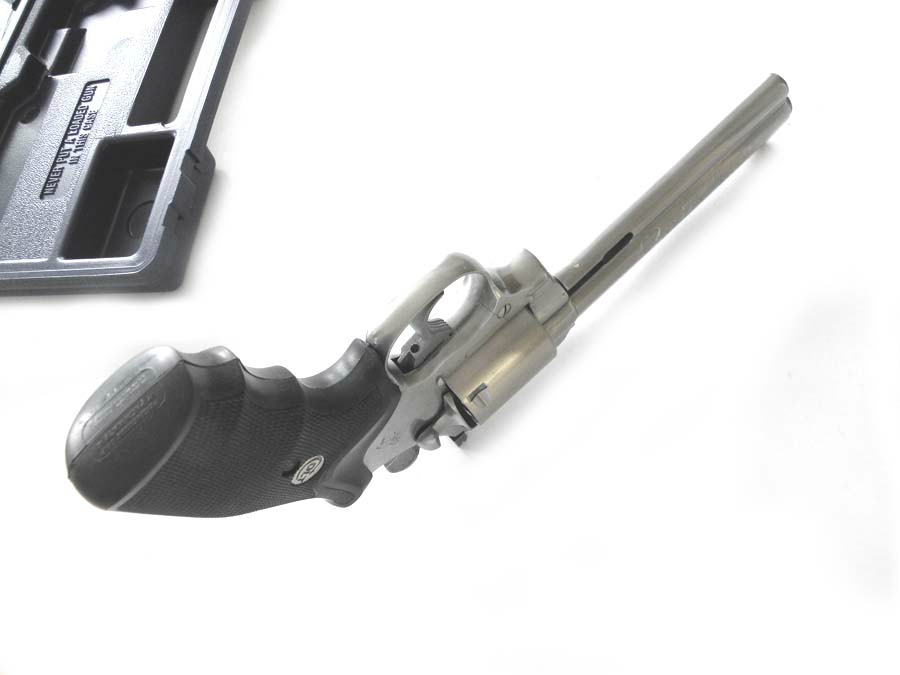
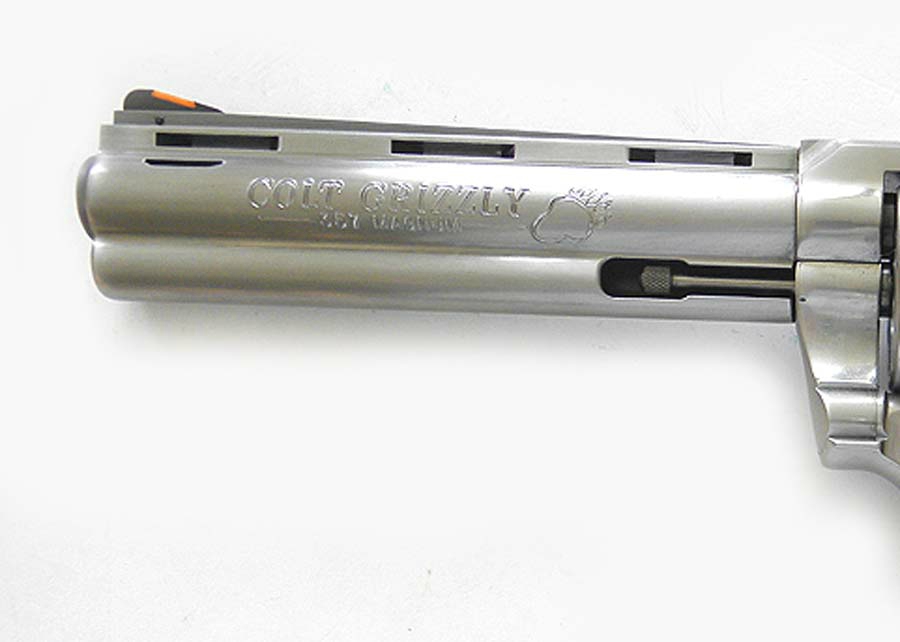
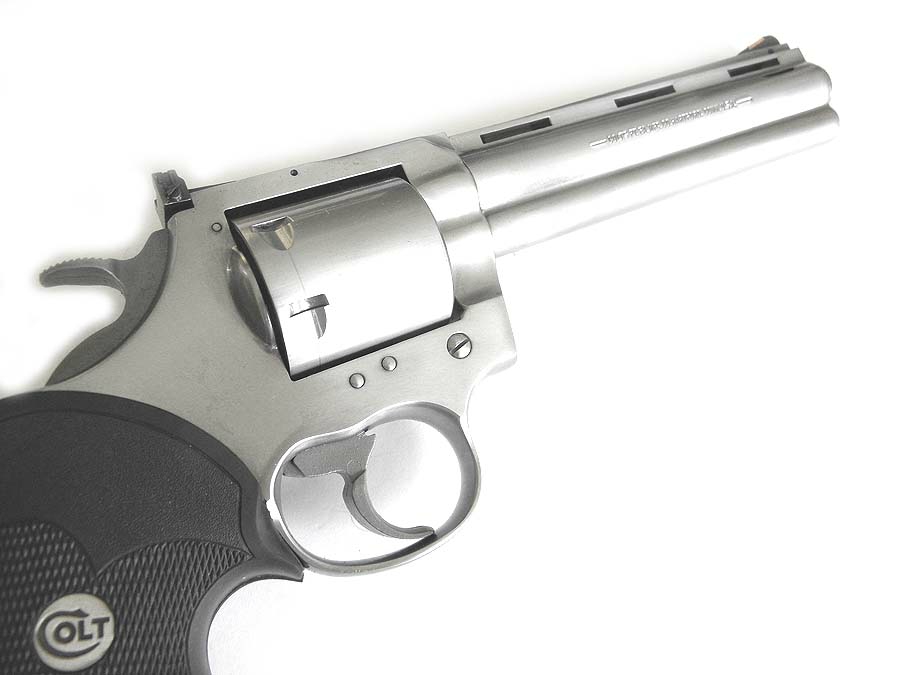
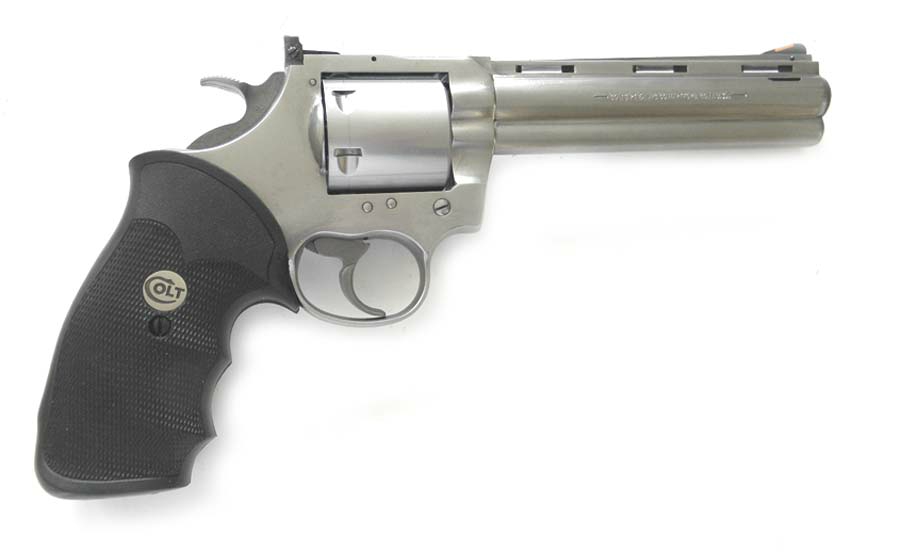


The stainless steel Colt Grizzly of 1994, another limited production .357 Magnum revolver. It used a Python barrel mated to a Colt King Cobra frame.
500 of these revolvers were manufactured, with 6-inch Magna-Ported barrels and smooth, unfluted cylinders. The ported barrel includes a bear footprint.
Similar to the Grizzly was the Colt Kodiak, which was a Colt Anaconda with a Magna-Ported Barrel and an unfluted cylinder. Approximately 2000 Kodiaks were manufactured.[8


