Categories
All About Guns Gear & Stuff

A Good Article about Double Rifles

As I was zooming thru the Net. I spied upon this little nugget of information. So being the Shameless thief that I am. I thought that there might be an interest about this subject. I hope that you wonderful folks out there will like it.
Grumpy

A Double Down Under — Heym 89B

“Phil, we’re going to pass on him; he’s just a bit too short for what we’re looking for.”

The author with the Heym 89B in .470 Nitro Express, and a huge bodied Australian water buffalo. Photo Courtesy: Stealth Films/Steve Couper

Really?  The bull was as dead as yesterday, comfortably wading in the billabong, completely oblivious to the hunters standing 40 paces away behind the shade tree on the bank. But, professional hunter Graham Williams was very serious, and all I could do was draw the rifle down on the buffalo and count coup. Something in my body language must have expressed frustration, and the ever-cool Willams uttered what I would soon learn was his catch-phrase: “Please be patient, there are many bulls to be looked over.” I shouldered the big German double, and continued on the buffalo trail beside the series of waterholes that dotted the small valley.
It had been a journey of epic proportions; the East Coast weather in the U.S. caused me to miss my connecting flight, and therefore the flight to Sydney. That wrinkle, coupled with the rigidity of the Australian firearms policies and a lost rifle and baggage made for a stressful couple of days. In camp already, my partners and cameraman were on the hunt, and I was sitting in Darwin waiting for gear. No worries, I was just 36 hours late, but I had arrived. The charter flight was smooth and we saw some good water buffalo bulls and a trio of wallabies on the drive into Graham Williams’ remote camp in Arnhemland, in the Northern Territory of Australia.
The hunt was a combination of work and play; we were filming an episode of Trijicon’s World of Sports Afield, but it was with a group of friends that enjoyed hunting together. Chris Sells, head honcho at Heym USA, had put the hunt together, and his buddies John Lott and John Saltys were along as well. Chris and I had a purpose: to put the Heym Model 89B double rifle — chambered in .470 Nitro Express — through its paces. It wasn’t my first jaunt with the 89B – I had the privilege of taking the first animal, a Cape buffalo bull, with the 89B in .450/400 at the end of 2016 — but it would be a great opportunity to play with the rifle chambered in .470 Nitro Express. Arnhemland is comprised of mostly Aboriginal land, and the hunting operations provide a source of income for the indigenous peoples, in addition to keeping the water buffalo population in check. You see, the Asiatic water buffalo – Bubalus bubalis – was introduced to the Northern Territory in the 1830s, and have since gone feral. Australia classifies them as an invasive species, and they are readily hunted for sport and for meat. Easily weighing over a ton – bigger than any Cape buffalo in Africa – the bulls take a pounding and can soak up a lot of lead. Using a double rifle makes a lot of sense, as the Arnhemland terrain provides enough cover to allow for a good stalk, and the shooting tends to be at close range.

For the big game hunter who’s looking for the best value in a double rifle, the Heym 89B is undoubtedly at the top of the heap.

Hailing the Heym

With a rounded boxlock action, squared at the rear, the Heym 89B offers classic British styling mated with German engineering; truly a sound marriage.

The Heym Model 89B is a perfect choice for this style of hunting, and the .470 Nitro Express is a classic, rimmed, double-rifle cartridge that has proven itself on any and all dangerous game animals, including the African elephant. Ah, the 89B! If you’re a student of dangerous game rifles, I’m certain you’ve heard the Heym name before, and I’m equally sure you are familiar with their Model 88B double rifle. Well, the 89B is the heir to the empire, the successor to the throne. It maintains the same inner workings of the 88B – a highly dependable boxlock – and pays homage to the classic Anson & Deeley design, including the Greener crossbolt and disc-set strikers. That is where the similarities end.

The .470 Nitro Express makes a great choice for any dangerous game, on any continent.

Ammunition for the water buffalo hunt was built with 500-grain North Fork cup solids over Alliant Reloder 15, in Hornady cases. Velocities were at the standard 2,150 fps mark.

When I first held the Model 89B, I immediately noticed the difference in the stock design. German-born gunmaker Ralf Martini was brought in again – he had an integral part in designing the Heym Express by Martini bolt-action rifle I love so much – and formulated a stock design that emulates the classic pre-war British doubles. A sweet, sloping pistol grip – with an angle more relaxed than that of the Model 88B – is designed with a smaller circumference fits perfectly in the hand. In addition, the smaller, sloping forend – in the classic splinter design – gives a firm grip yet none of the bulk or weight of the huge beaver-tail forend designs. The nose of the comb has been moved rearward, and the overall stock design is fundamental to keeping the balance point and weight of the rifle between the hands, to ensure a sweet-handling rifle that is characteristic of the classic double rifles of a century ago. And sweet it is! If you’ve ever handled those classic designs – the Webley & Scott, the Westley Richards – you’ll find the Heym Model 89B to be an immediate friend; it’ll feel like you’ve known each other for years.

Famed stockmaker Ralf Martini was brought in to design the Heym 89B stock, and did a fantastic job creating stylish and ergonomic furniture.

But the stock is only the beginning. During the design process, which took up the better part of a decade, the action and barrels also received an overhaul. Where the 88B has a signature look at the back of the action, with the wood jutting into the rear metal of the action, the 89B has a square action at the rear, in the classic fashion of the Webley P.R.V. 1 action. In comparison to the 88B action, many of those square edges have been rounded – especially on the top and bottom of the action – and some well-placed stippling adds a bit of flair to the action’s top. Heym saw fit to produce another frame size: a larger frame for the .470 Nitro Express and its big brother the .500 Nitro Express.

The underside of the barrels, with caliber and maker inscription.

The splinter forend gave a positive grip, with none of the bulk of the larger beavertail forend designs.

The barrel contour was also made slimmer, once again to put the balance of the rifle between the shooters hands. While this may not seem like such an important feature, trust me when I tell you that the handling of a gun designed specifically to serve on a dangerous game hunt is paramount. The barrel is topped off with a rear sight bedecked with a gold vertical line and some anti-glare stippling on the primary sight, with flip up leaves for further yardages. The bold front bead is filed flat, one of the little things that Heym does to enhance performance. The rib is machined to accept either the Trijicon RMR red-dot or the Docter sight; this is one feature we took full advantage of in Australia. While I used the traditional iron sights in Mozambique for my Cape buffalo, Australia does have some terrain where the shots are in open country, and the Trijicon RMR RM09 – with the oneMOA dot – makes life easier when distances approach 100 yards. As you’ll see shortly, that Trijicon was put to the test and came out shining. The rifle was certainly accurate enough, putting a right and a left within an inch of each other at 50 yards. The Heym rifles are regulated with Hornady ammunition, but for our hunt, we developed a load around the 500-grain North Fork Cup Solid, a bullet designed for all sorts of penetration, with a small cup at the nose for just the slightest hint of expansion. Fueled by Alliant Reloder 15 and clocking in at 2,147 feet per second (fps), this load regulated perfectly, and I was eager to see the performance on those huge Australian bovines.

A thick and pliable red recoil pad helped take the sting out of the .470 NE.

The twin triggers of the 89B broke cleanly and crisply, offering two quick shots for a perfect dangerous game setup. Photo Courtesy: Stealth Films/Steve Couper

The Stalk of a Lifetime

So, with this new frame size, in a rifle with undeniably classic lines, chambered in a time-proven caliber, Graham Williams, Chris Sells and I headed into the Australian bush to stalk some bulls. I was up first, and once I had that encounter with the bull in the billabong, I began to see why Mr. Williams insisted on my patience. Apparently, that bull was positioned at what we dubbed The Valley of the Bulls, as we immediately bumped into several bigger specimens, with Graham pausing an extra bit to glass a distant bull, quietly feeding in the tall grass on a slight hillside. “Do you see that bull Phil? The big one feeding up there?”

A good, bold front sight is easily picked up by the shooter’s eye. HeymUSA has the bead filed flat to reduce glare and allow for more precise shot placement.

“The one with the pink horns? Does he seriously have pink horns?” I asked.
“It’s the color of the soil; it has many different shades and changes quickly in this area. That’s a damned good bull, and we need to take him, but the wind is going to be tricky. Follow me, stay low, and if we bump another bull, stand still and let it pass.”
Aye, aye, Cap’n – right behind you. We had spotted the bull from 350 yards or so, and while he was in an open area dotted with trees, the trees got a bit thicker off to his right, and we used those trees for cover to make an approach. Along the way, two younger bulls had caught our movement, but luckily enough bounded off without too much noise; we felt good that things weren’t disturbed too badly.

The Asiatic water buffalo makes for great hunting; this old bull was fresh from his mud wallow.

Graham and I stopped long enough to have a discussion, or perhaps a debate, about where the bull last was in comparison to where we were heading. During the talk, we simultaneously spotted those pink horns again, this time we watched him lay down about 100 yards off. Slowly, furtively, quietly we snuck from tree to tree, hoping to get good and close to the bull. There was no doubt that he was the bull we wanted to take; he had great mass and was immense in the body. The distance shortened from 50 yards to 30 yards, as Graham and I tiptoed from paperbark tree to paperbark tree, then shortened to 25 yards as I began to question exactly how close he wanted to get. Thumb firmly planted on the 89B’s safety, we ran out of trees at 17 yards, and the bull knew something was up. He got up quickly, but not quickly enough and the 89B floated to my shoulder. The shot presentation wasn’t stellar, but I had enough of an angle to see some ribs and just a hint of the shoulder from the bull’s right side; that’s fine, I didn’t have to penetrate that grass-packed paunch on the left side. The Trijicon dot settled just behind the shoulder and I broke the right trigger, immediately followed by the left. The bull stumbled to his front knees, moving straight away from me now, and another North Fork placed exactly at the root of his tail put him down for good. Still, I gave him another between the shoulder blades as he lay twitching on the ground, and only then did I get the exact scale of a mature Asiatic water buffalo: he went well over a ton, probably closer to 2,200 pounds. Huge, worn horns, caked in reddish-pink mud and broomed off at the tips, swept back beautifully, measuring well over 40 inches between the tips. I stood in awe of this magnificent animal, and as the adrenaline subsided, I reflected back on exactly how wonderful the rifle I carried was. That Trijicon RMR was so good I didn’t even notice it, the dot floated onto the target and the bullet went where the dot was. Watching the footage on film, it looked as though I was shooting a lesser caliber than the big .470; such is the case when a rifle fits you properly.

Graham Williams’ camps offered rustic, yet comfortable, accommodations, in a truly vast and wild area of Australia.

Lasting Impressions

Chris Sells had the opposite end of the distance spectrum a couple days later, when a wise, old bull that we had bumped three times stopped at 120 yards to look back, and Sells and the Heym/RMR combo settled the score for good. “Phil, I wouldn’t have tried that shot with iron sights, but that RMR changes the game” Sells confided. The two of us had carried that gun – trading off for my faithful Heym .404 Jeffery for backup – and both enjoyed the weight and balance. Even with 26-inch barrels, the Heym 89B was never cumbersome, in spite of tipping the scales at an even 11 pounds.
The North Fork Cup Solids worked just fine, giving all sorts of penetration, regardless of shot angle, and among three bulls and numerous shots, we only recovered one bullet. Just a hint of expansion and 100-percent weight retention are common features of the Cup Solid, and that’s exactly what we found.
Now if you don’t feel the need to own a good double rifle, I sort of understand, but if you end up in pursuit of dangerous game – and Graham Williams will attest to the fact that water buffalo can and will charge – a double is an excellent tool for close-quarters work. I feel confident, having handled and shot a fair number of double rifles, that the Heym 89B represents the best value on the double rifle market today. They are made to fit the client in both barrel length and length of pull, and in a market where prices can easily get into six figures, the 89B is a means of attaining a dependable and reliable, yet attractive rifle. There are numerous levels of fine wood and engraving patterns to choose from, as well as a caliber for every shooter’s comfort level. How much did I enjoy my couple of hunts with the 89B? I ordered a .470 NE, stocked to my dimensions, and I cannot wait to take delivery.
SPECIFICATIONS
Weight: 11 lbs.
Caliber: .470 Nitro Express (tested)
Action: Break action, boxlock
Barrel: 26 in. steel barrels
Magazine: N/A
Sights: Iron sights furnished, able to accept red dot sights, scope mounts available by special order
Overall Length: 43 in.
MSRP: Starting at ~$21,000US (call for pricing)
For more information about Heym rifles, click here.
For more information about Trijicon Red Dot sights, click here.
For more information about hunting Austrailia, click here.
For more information about North Fork Bullets, click here.
To purchase a dangerous game rifle on GunsAmerica, click here.

Categories
Gear & Stuff

Bayonets!

Image result for bayonetfighting
Recruit. “EXCUSE ME, SIR, BUT HAVE THE GERMANS THE SAME METHODS IN BAYONET-FIGHTING AS WE HAVE?” Instructor. “LET’S HOPE SO. IT’S YOUR ONLY CHANCE.”

 
Yeah, you know! Those sharp things that you stick on a fighting man’s rifle. Which is mostly used today to open your rations like the MRE in the field.
Image result for bayonet combat

  That thing, right? Okay lets us get serious now folks.
The Bayonet has been basically around for a little under 400 years. Legend say that it was invented in Bayonne France, Hence the name bayonet.
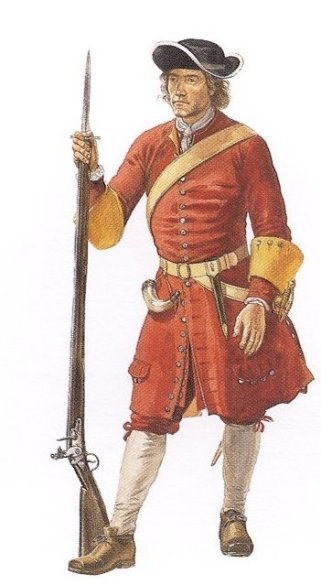
  Back in those bad old days. After you got conned into enlisting for LIFE for the local tyrant! You were issued a muzzle loading musket. Which if you were any good at reloading it. You might get 3 round a minute off.
  But the muskets were generally very inaccurate and prone to misfire if the loading drill was done wrong. Or if your powder got wet. Or if some blood thirsty idiot had snuck up on you. You then Troop had a problem! You get the picture.
Related image
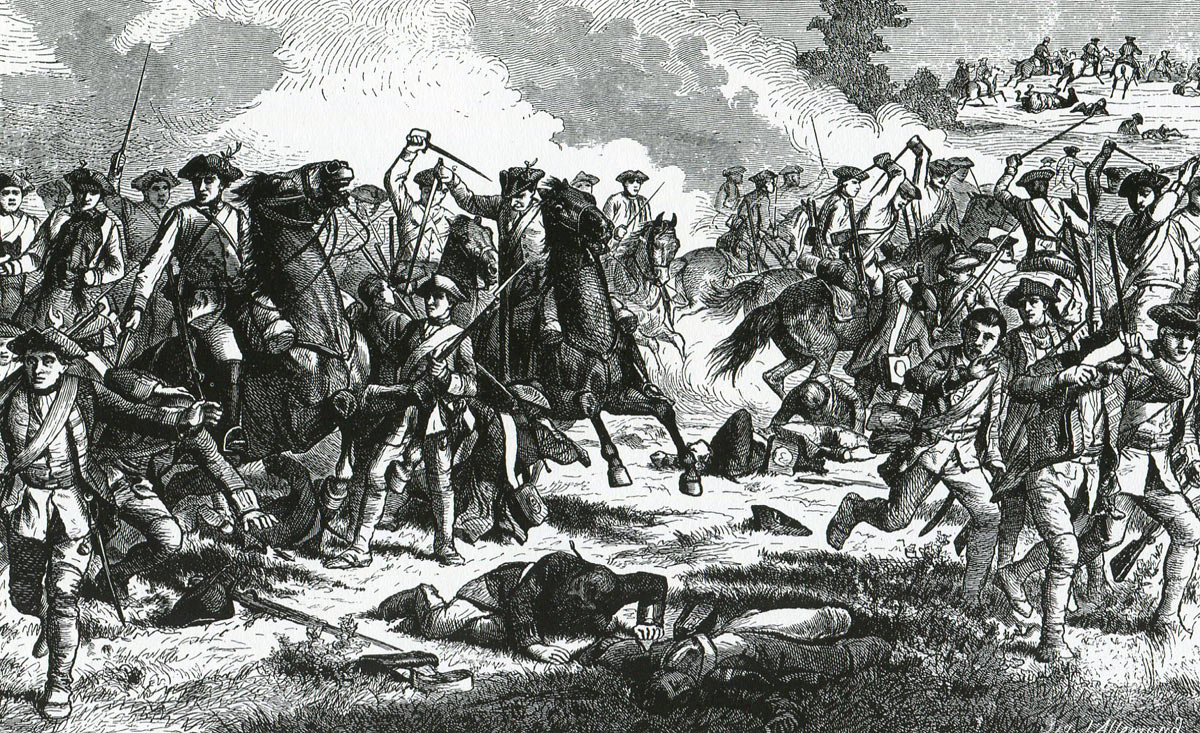
  Or if the other side was on the ball. They would launch a Cavalry attack. Which could wipe out your unit in sometimes minutes. Especially if your pikemen were asleep or had run off.
Related image
Image result for cavalry wiping out infantry
  “Well this would not do!” as my Old Sgt. Major would say. So some bright soul came up with the idea of the plug bayonet.
 Image result for plug bayonets
What you would then do is stuff the dull end into your musket barrel . Then you would look like this then.
Image result for earlysocket  bayonets
 Related imageRelated image
The only problem is pulling the damn thing out later on to start shooting again. “Well that needs a bit more thought & work!” You would think.
  So the R&D boys went to work on it.
Image result for r&D boys
From whose  labors came this bright idea. The Socket Bayonet or the Knife Bayonet.
Image result for earlysocket  bayonets
Related image
Image result for plug bayonets
  Which was basically attached to the barrel of your musket. That all in all, worked out pretty good for about 200 years.
Related image
Image result for bayonet charge
Image result for naploonic cavalry wiping out infantry
Related image
  It was also found to be useful for Crowd or Riot Control. Since most Folks rightfully have a fear of cold steel. That and the pissed off trooper behind it for some reason. Plus the Army for some reason. Does not like shooting taxpayers.
Image result for bayonet & riot control
 Image result for bayonet & riot control
Image result for civil war bayonet charge
  But this all can to a slow stop with the American Civil War and the rise of the Rifle.
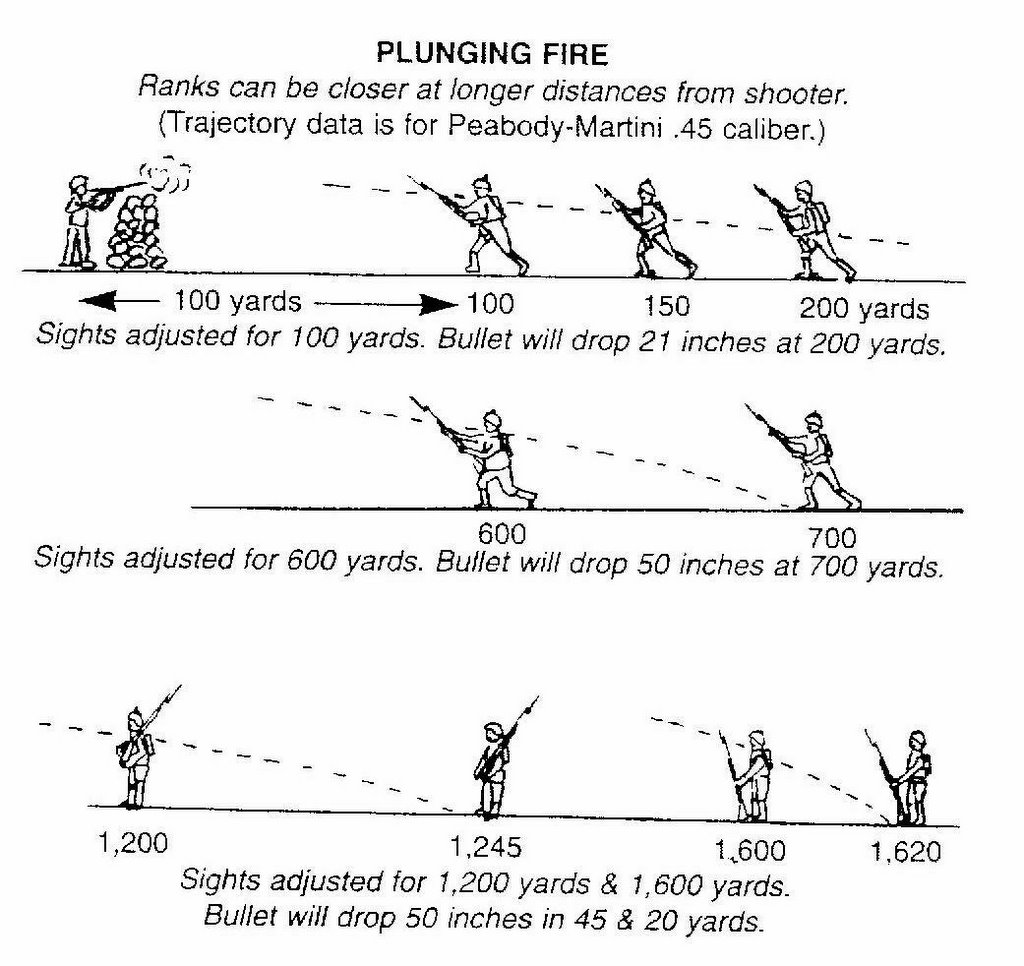
  Since now a unit could start killing folks at a 800 yard distance with gun fire. That and keep repeating accurately firing a couple of times in a minute.
Image result for civil war beaten zone of fire diagram
  So it became mighty hard for the Snuffies to now close with cold steel only. Most of the time. The bayonet charge would usually just peter out into a firefight between groups of skirmishers.
(Nobody can run that fast enough!)
 It then even got worse with the introduction of the Machine Gun and Barbed Wire.
Image result for early machine guns in combat
Image result for early  barbed wire field in combat
  As a matter of fact. The just about only Guy killed in WWI by a blade was in the First World War. Who was killed in the opening days of the War just before the Battle of Mons by a Sabre. At least that is from what I read so far about it.
 Image result for cavalry in wwi art
Now a days, bayonets are basically just for show. That and they help justify doing rifle drills. Which is used in order to get a recruit into shape and instill a killer attitude. (Most troops hate doing it by the way.)
 Image result for world war 2 bayonet training at boot camp
Image result for bayonet drill
Bayonet training in the Wehrmacht, 1942. Bundesarchiv
  This guy if he did not make thru WWII. He probably died either from small arms fire. That or from Artillery fire, if not then from bad treatment as a Soviet POW. But not very likely in a knife fight.
Below is a couple of videos about the last real use of bayonets being used in WWI. It is about the Light Horse in the Holy Land. (It’s a great film by the way. Especially the final charge scene)
https://youtu.be/NgHC25ubiQU
https://youtu.be/6liLYcrlSBw
https://youtu.be/3C2elnoe3Sg
https://www.youtube.com/watch?v=Wk61KSiMQ0A
https://youtu.be/M9TLLLdAqns
https://youtu.be/w88GP7iKLZ4
Other information

Bayonet Fighting


it was during the 17th Century that musketeers turned pikemen.  The style of warfare at that time had separate units of musketeers and pikemen.  Someone had the idea to fit a knife to the front of a musket, turning it into a short pike.  The original bayonet was a “plug” type whose handle went right into the muzzle of the musket.  Later types would fit alongside the barrel by a variety of sockets, plugs and clips.
There is more to bayonets than picking up a bayonetted rifle and poking the enemy with it.  There are actually techniques for its use.  These vary by time and country.  Perhaps the largest influence on bayonet technique was French.  They developed a school of “bayonet fencing” which proved effective.  It was exported around the world.  French bayonet technique was adopted by both British and American armies. Though it was superseded in the 20th Century, vestiges of it remain in many of the current bayonet fighting systems.
The overwhelming majority of military miniatures in bayonetting poses do not reflect actual techniques of the time. Many sculptors have no personal military experience. Even if they did, the bayonet style of their age would not match the techniques of earlier eras. You might be surprised how many people would not know about the differences between modern and old fighting styles.  Once again, sculptors take things for granted and would not even think that there might be a difference.
For your perusal, then, we illustrate a few series of bayonet fighting techniques.  These depict the standard fighting methods of their time.

English Bayonet from 1805

French Bayonet from 1837

German Bayonet 1830s to 1850s

George McClellan’s U.S. Bayonet System of 1852

Sir Richard Burton’s Bayonet 1853

Henry Angelo’s Bayonet for the British Army 1855

Patten’s Bayonet for US Volunteers 1861

French Bayonet Drill of 1861 (New York Militia 1863)

Confederate Bayonet 1861 (French 1858) Part 1

Confederate Bayonet 1861 (French 1858) Part 2

British Bayonet for Long Rifle 1862

Kelton’s Bayonet for the Union Army 1862

Bayonet from Civil War to 1916, Part 1
Bayonet from Civil War to 1916, Part 2

U.S. Bayonet 1875 (Upton’s Infantry Manual)

Prussian Bayonet 1901

U.S. Army Bayonet 1904 – 1917

Russian Bayonet Fencing 1905, Part 1

Russian Bayonet Fencing 1905, Part 2

Anglo-American Bayonet from 1917 to 1970
Soviet Bayonet Method 1942

Soviet Bayonet Training 1943

Soviet Bayonet 1945

Modern U.S. Bayonet

Categories
Gear & Stuff

On making your Guns Safer

I found this article on the net & since it’s better written than I could write. I thought I would share it with you!
Enjoy                                                                                           Grumpy
Image result for grumpy old guy
G&A Basics: How to Store Your Gun

by B. Gil Horman   |  October 16th, 201211 Comments

Modern firearms are powerful tools that experienced shooters understand need to be treated with respect. While a gun is in use, we carefully follow a set of common sense rules to keep everyone safe. But how do we practice firearms safety when the shooting or hunting sessions are over? Most of the guns folks own will spend the majority of their working life at rest, placed in one state of storage or another, until the next shooting event. Since they remain powerful tools between trips to the range, it’s very important to store them properly.

A wide variety of safe gun storage accessories and containers are currently available. However, there is no universal solution to fill every role, or to fit every budget. Safe storage options are intended to perform one or more of the following tasks, which they do with varying degrees of effectiveness depending on how much money you’re willing to spend:
1. Prevent a gun from firing
2. Protect a gun from physical damage
3. Act as a theft deterrent
It’s much easier to consider the pros and cons of each storage system when they can be compared side by side. The following discussion is a walkthrough of the most common safe gun storage options, starting with the least expensive:
Trigger Locks ($0-$15):
Trigger locks fulfill a single safe gun storage objective: Prevent the gun from firing. Most new guns now arrive from the manufacturer with a trigger lock of some kind or other in the box. Trigger shoes clamp and lock around the trigger housing to prevent the trigger from being pressed. They should not be engaged on a loaded gun because they come in contact with the trigger as they are installed and removed. Cable locks allow the shooter to run cable through the barrel or action of a firearm. Since the cable blocks the action from being closed, the gun cannot be loaded or fired with the cable lock in place.
If these two lock options are not available, a simple household padlock can be looped over the trigger guard with the hasp set behind the trigger. This will prevent the trigger from completing a firing cycle. Although trigger locks are inexpensive (or even free), and can successfully prevent a gun from firing, they do nothing to protect the gun’s finish or to deter theft.
Soft-Side and Hard-Side Gun Cases ($10- $150):
Most sporting goods stores have entire aisles dedicated to affordable handgun, rifle, and shotgun cases. The options available range from padded fabric sleeves to rugged foam-lined plastic cases. The primary role of this kind of affordable carry case is to protect guns from physical damage. While they do a good job of preventing dings and scratches, their role as a security device is relatively limited.
Most soft and hard side cases can be “legally” locked for transport to and from the shooting range (check your local regulations). This could be a luggage lock through a soft case’s zipper pull, or a padlock through the handles of a hard case. This security system may be enough to keep small children out as well. However, the materials these cases are made of are easily defeated by ordinary edged implements. These low-cost cases also have a low theft deterrence value since they are light and easy to move. They have to be hidden or locked inside of another container to protect them from theft.
Strong Boxes and Metallic Gun Cases ($25 – $350):
In an effort to strike a balance between the security offered by a locking gun cabinet and the portability of a gun case, several companies offer portable strong boxes and metallic gun cases. Metal gun cases usually incorporate a reliable locking system or the means to attach heavy padlocks. Strong boxes, usually intended for handguns, offer mounting systems for permanent attachment to a fixed surface. Some boxes are fitted with quick-opening locking mechanisms, including electronic push-button access and fingerprint scanners.
Strong boxes and metallic gun cases are the first products discussed so far that start to fill all three mandates of a safe gun storage device. They can effectively protect against unauthorized access because of the difficulty in opening these units without a key or lock combination. These containers will effectively protect a gun’s finish from damage. And, if they can be attached or locked to a fixed object or surface, they offer some level of theft deterrence. But with features to fill all three mandates, the price starts to go up. It may be necessary to purchase batteries or extra mounting hardware to take advantage of all the storage device’s available features.
Locking Steel Gun Cabinets ($150 – $450):
Remember that grand wooden gun display case that your great-uncle had in his den? Looking through the engraved glass panes of the double doors, you could see his beautiful vintage shotgun collection. Sometimes he would retrieve that little brass key to open the doors so you could get a better look. While this kind of locking gun cabinet looks wonderful, it does not offer any truly viable level of safe gun storage, accept against small children. To secure firearms, a locking steel gun cabinet is a more secure choice.
Cabinets differ from gun safes in several respects. They follow a less-is-more design. The thinner gauge of steel, a simple locking mechanism, and the lack of fire-proofing insulation greatly reduces the cost. Because they are light enough to be safely carried by one or two people, they can be set up in apartment buildings or second-floor rooms where a gun safe would simply be too heavy or difficult to install.
Cabinets are a big step up from metallic gun cases or strong boxes when it comes to storing multiple firearms. They offer a much larger storage capacity and more configuration options. Cabinets can be securely bolted to a wall or to the floor. However, they do not offer the same level of theft deterrence as a gun safe. If you have the cash for a high-end cabinet, and the room to store it, you may want to spend a little more and purchase an economy-line gun safe.
Gun Safes ($500 – $2,500+):
Simply stated, gun safes are the most secure gun storage option available to the average gun owner. Even the basic units have terrific advantages over any of the other gun storage units described so far. A locked safe will definitely prevent a gun from being handled or loaded. The upholstered interior and built-in gun racks will help to protect the finish of the firearms while allowing air to circulate. And, best of all, they are an effective theft deterrent.
Much like automobiles or personal computers, gun safes are available with a wide variety of features, locking systems, and finishes, all of which affect the bottom line cost of the unit. These cost-changing features include the gauge (or thickness) of the steel used to construct the safe, the strength and reliability of the locking mechanism, the level of fire resistance (if any), the extent of the warranty, shelf and rack configuration options, as well as the color and quality options for the exterior finish.
Because all gun safes are relatively expensive (compared to other gun storage options) it makes sense to consider what you want very carefully before you buy. First-time safe buyers should be careful to avoid two common, but serious, mistakes. The first thing to avoid is buying a safe that’s too small. A unit that’s a perfect fit for your collection today may not serve your needs in ten years. A bit more expense up front may save you the trouble of changing out or adding a second safe down the road.
The second mistake is waiting too long to buy one. Yes, gun safes are big, heavy, difficult to install, and expensive to pay for. But they are well worth the trouble if you have a gun collection you care about. How do you know it’s time to invest in a gun safe? If the guns you have are worth more (sentimentally as well as financially) than the cost of the least expensive safe you would be willing to purchase, then it’s time to start shopping for one.

Read more: http://www.gunsandammo.com/home-featured/ga-basics-how-to-store-your-gun/#ixzz4sS9A84RB

Categories
Gear & Stuff

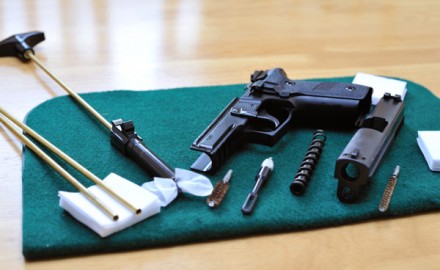
How to clean a Hand Gun safely & well

Now I hope that you just back from shooting your trusty side arm. I also hope that you had fun and hit the Bulls Eye a lot!
Image result for Trusty Side Army
 
Image result for hitting the pistol target Bullseye
 
Now come the less glamorous job of cleaning the weapon. But since you have spent a pile of jack on it. That and you want it to be able to work well in the future.
So you just get it done.  Now like all jobs. It is going to take some time, goodies and skill. But if you persist thru this. I think that I can help you out.
Here are some helpful hints.
***ALWAYS MAKE SURE THAT THE GUN IS UNLOADED!**
Inline image 1
As a lot of folks have been shot by an”Unloaded” gun. So trust me on this one.
Image result for trust me harrison ford
As both the Cops and later on the Judge. As both of them are not going to be very understanding about things like this.
Inline image 1
Next is this gentle hint. Do not have anybody just horsing around you during this time. Again as both the Cops & the Judge are NOT going to be amused.
Image result for pissed off judge & cops
 
Image result for pissed off judge & cops
Now here is some stuff that I use on my guns. Hopefully they will do just a good a job as they do for me.
First off you need a place that has good ventilation. Since most of this stuff is mildly toxic and fatal if you drink it. (Please Don’t Okay?)

This is my Idea of a real Man’s Garage by the way. (My day will come when I have one as good as this one)

Image result for a real mans garage
Next you are going to need some rags. I found that old beach towels or old diapers work best. Since they have leave little lint after their use.
Inline image 7
**WARNING** Do not even think of using your Brides wedding gear. Tempting as it may be at times!
Next you need some cleaning oil and solutions. Now I have been using Breakfree since I was a Rookie in Army Basic. It has never let me down so far. But it is up to you.
Inline image 5
Also some Gun Foam is a real time saver. Especially since it will get into the tiniest crevice of the gun. It is alo very useful to get rid of cosmoline and stubborn grease.
***Just do not get it on Wood Stocks or Grips. As it will take the varnish and stain away very quickly. Also not getting it in your eyes is a very good idea!**
I also found that getting a cheap apron is a good idea. Especially since I am a sloppy child as Mom has repeatedly told me.
Your Dry cleaner will also be happy with you too.
You can buy one usually for under Ten Bucks if you look around. Said the Cheapest Teacher in America.
Inline image 8
This “Q” Tip looking thing. I have found to be really useful also. Just do not put them in your ear. Okay? Amazon has them by the way.

RamRodz 0.22/0.223/5.56 Caliber Gun…
Inline image 4
They come in a variety of caliber sizes also.

Next item to get is some cleaning patches. The Good ones come in various sizes.
I myself usually buy a 22 , 243 size,308 caliber and some shotgun sized ones.  For they will last me for the better part of a year or two. Most gun shops and Sporting good stores have them
Or you can cut up some of your rags to get it done.
Inline image 6
Last but not least. Buy yourself a good brass cleaning  rod for pistols. If you can the US Army use to issue them for their side arms. They are very tough and durable. Mine is over 60 years old.
This is comparable to it.
 
Inline image 3
Also invest in a couple of patch holders. That & some good copper bore brushes and a toothbrush.  Now this seems a lot.
But I figured out the whole rig cost me un $50 & about a day or two to rustle them up. That & they really help me do a good job and save me also a lot of time to boot.
Which is all things considered. A very cheap & effective insurance policy that does pay off in the long run.
Here below also are some pretty good videos that can also help you in getting this detail done right.

Categories
Gear & Stuff

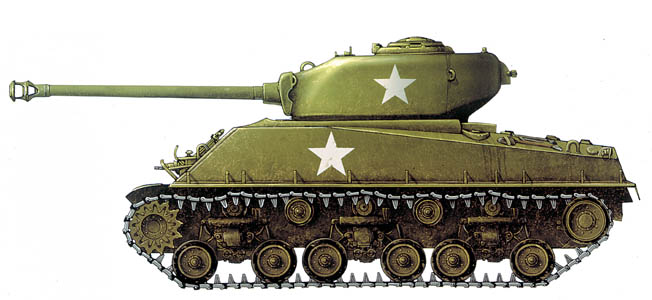
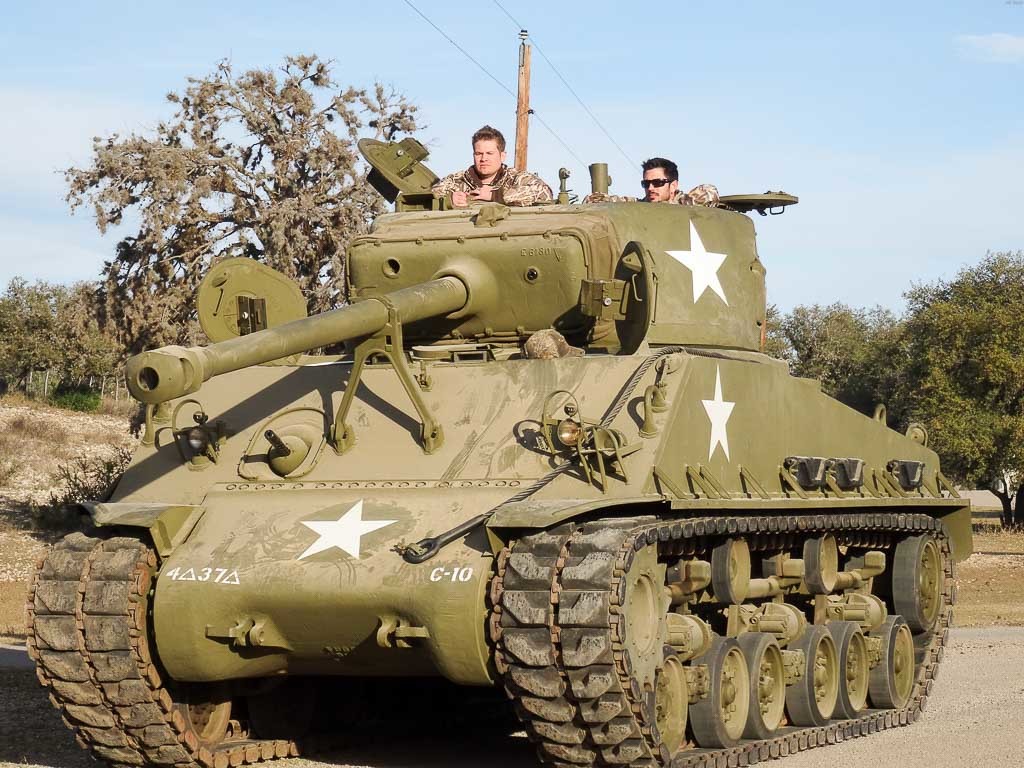
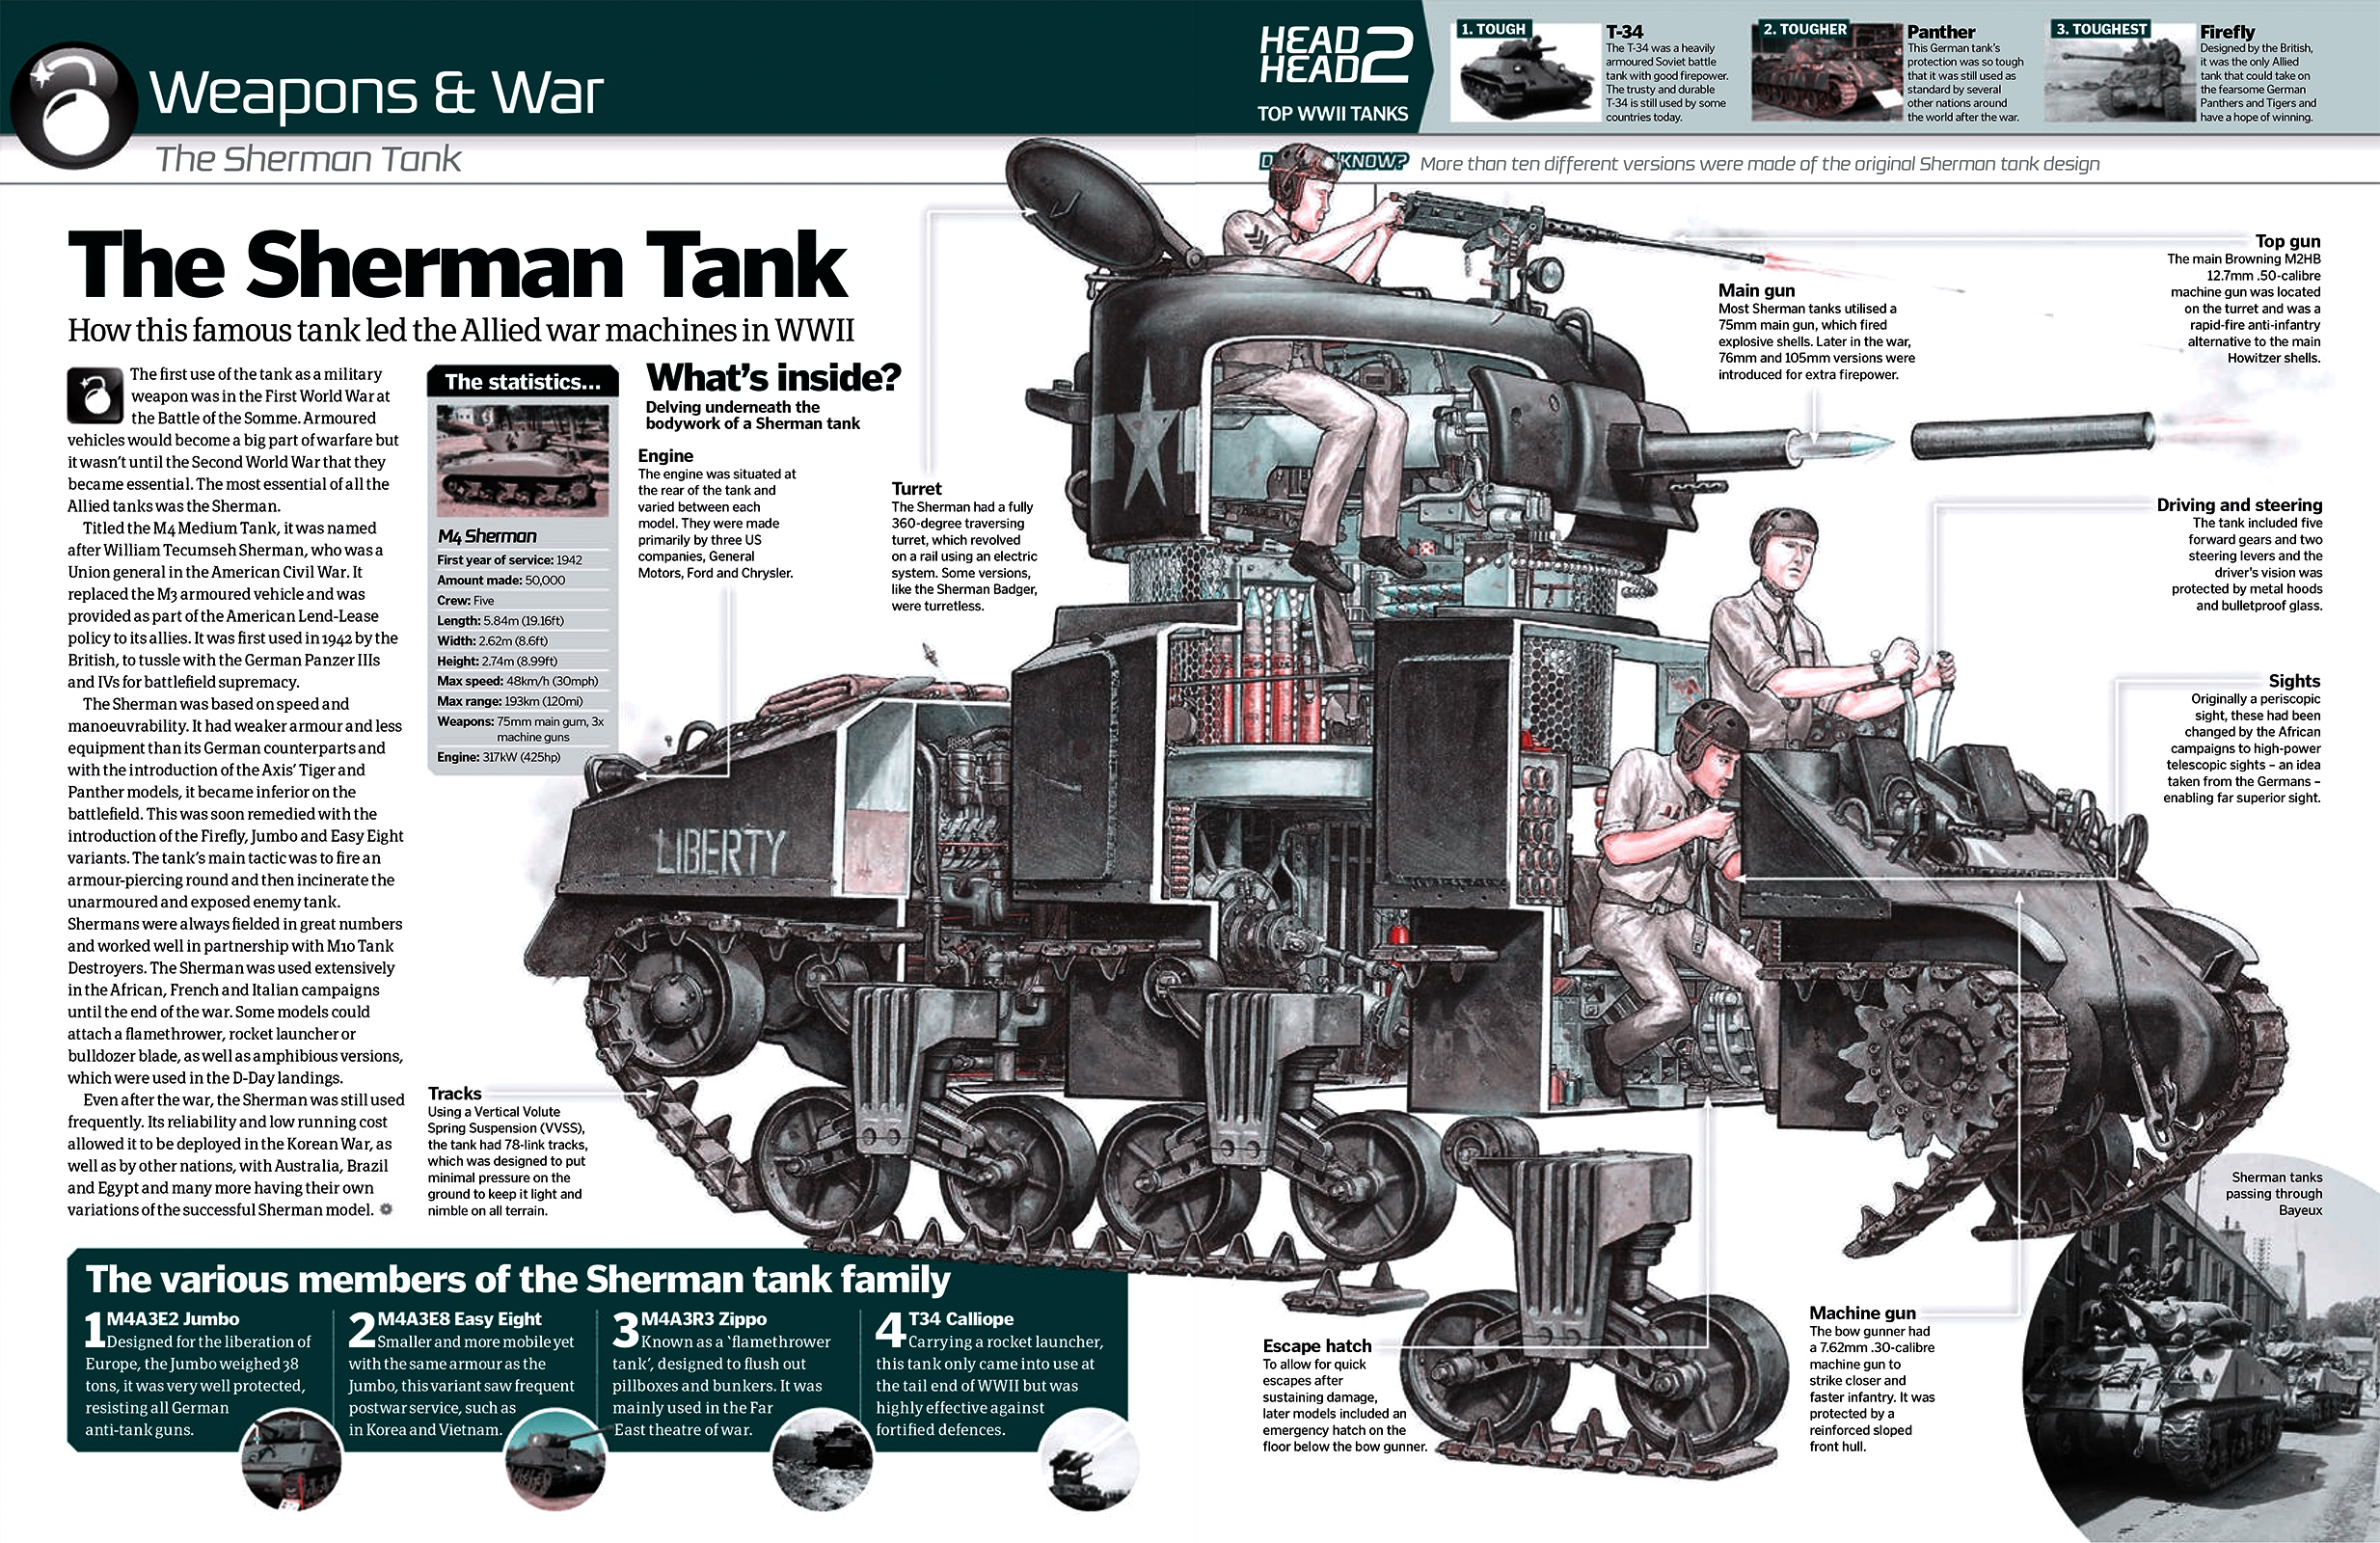
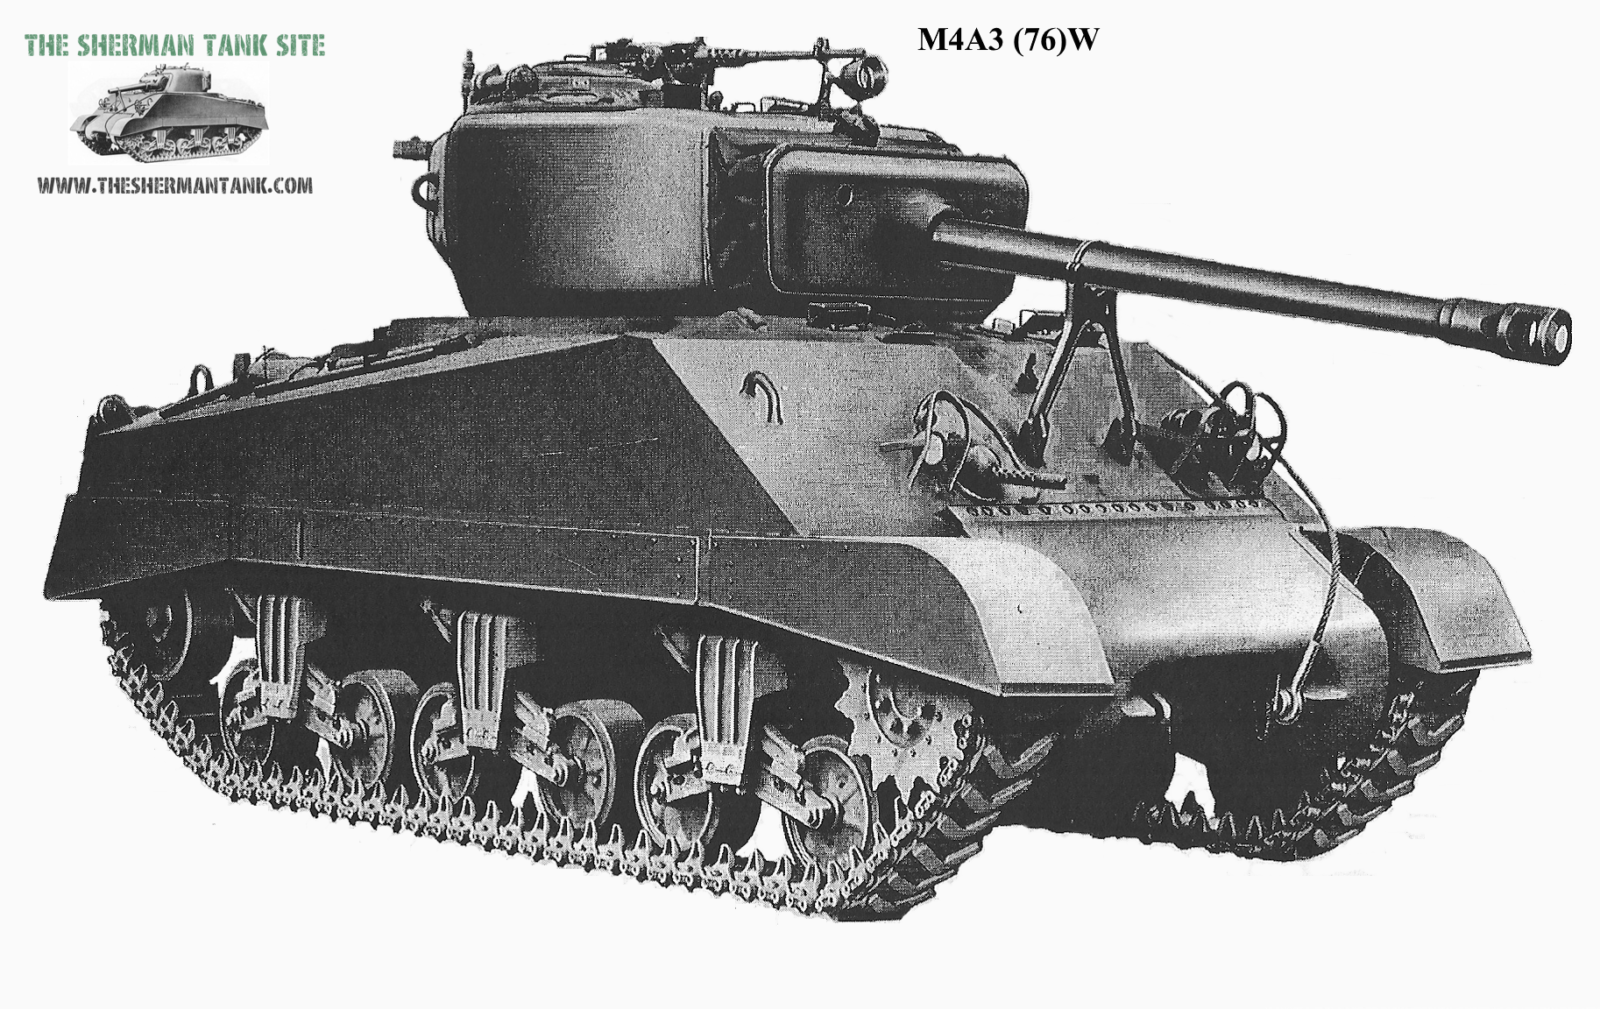
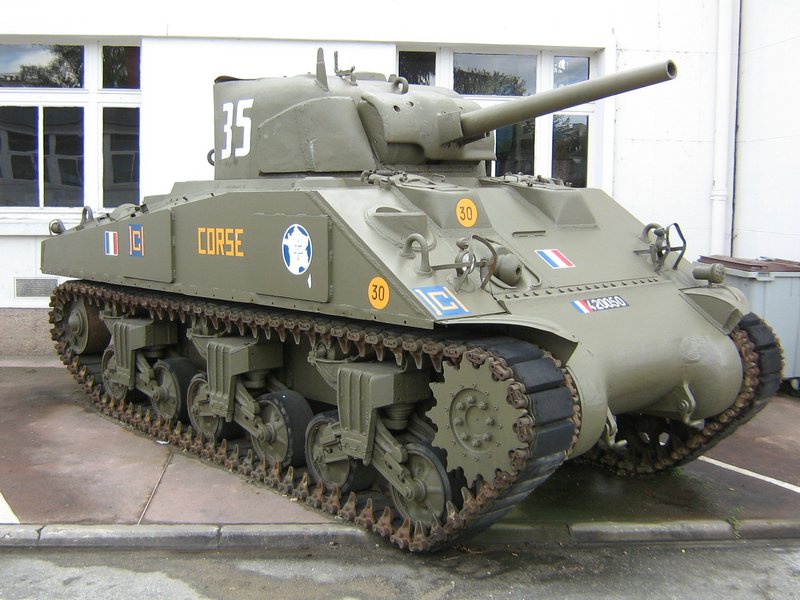
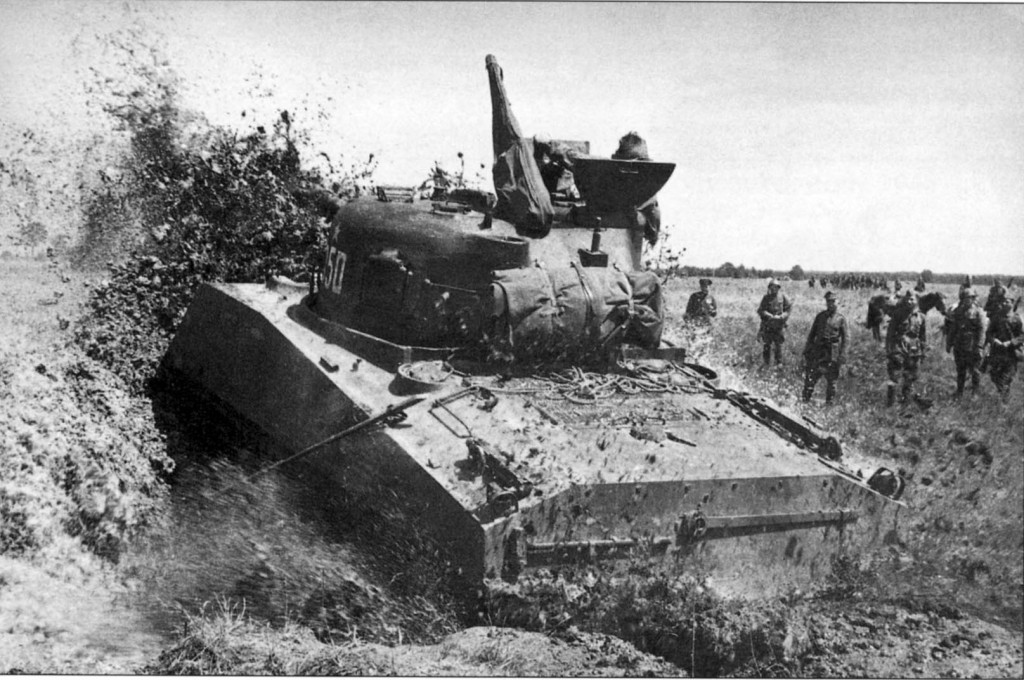
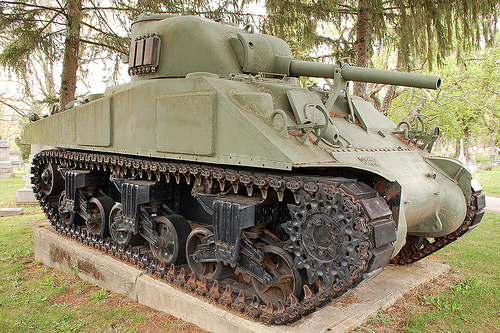
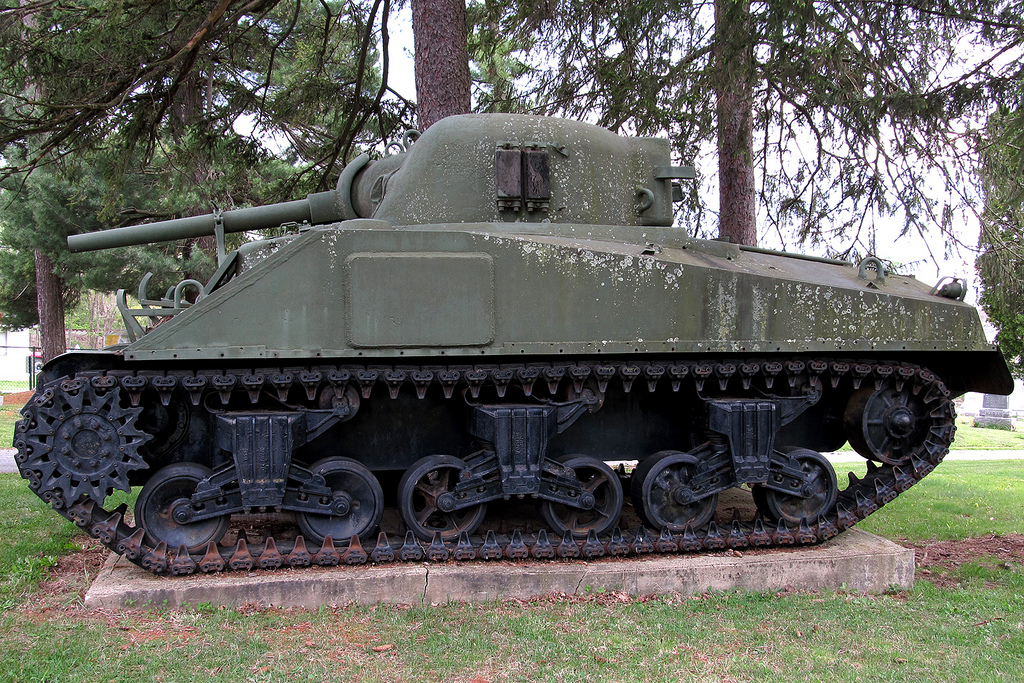
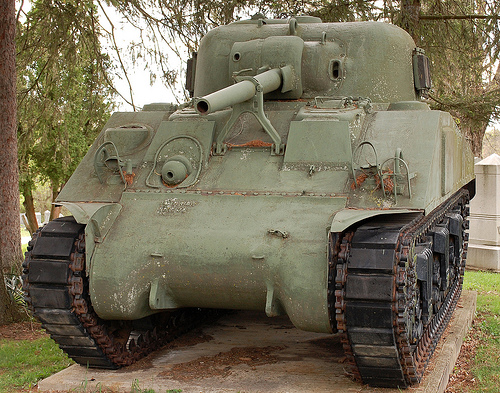
The Sherman Tank

Now I was assigned to a Armor Cavalry Regiment. When I was in the National Guard. So maybe I know a thing or two about Tanks.
As to the Sherman Tank. My hat is really off to those guys that rode in them during WWII & Korea. They really had a pair of solid brass Testicles.
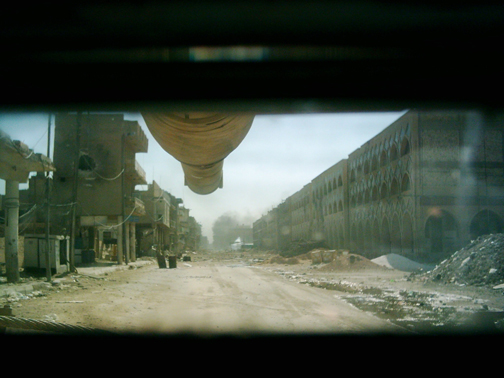
Here are a few things that I learned about Armored Fighting Vehicles. They are hot, smelly, greasy, loud and blind.
Now by saying blind. When you are buttoned up inside of one. Really only the Driver and the Track Commander (The TC) can see out either by sticking their head out of the hatch*. Or by using his periscope. Yes tanks have periscopes.
Image result for tank periscope
*By the way a good Sniper will just loves this. He & his spotter will be looking mighty hard for you for this point.
Another thing that is mighty important to Tankers is that of TEAMWORK! As the crew thinks like a team or else.
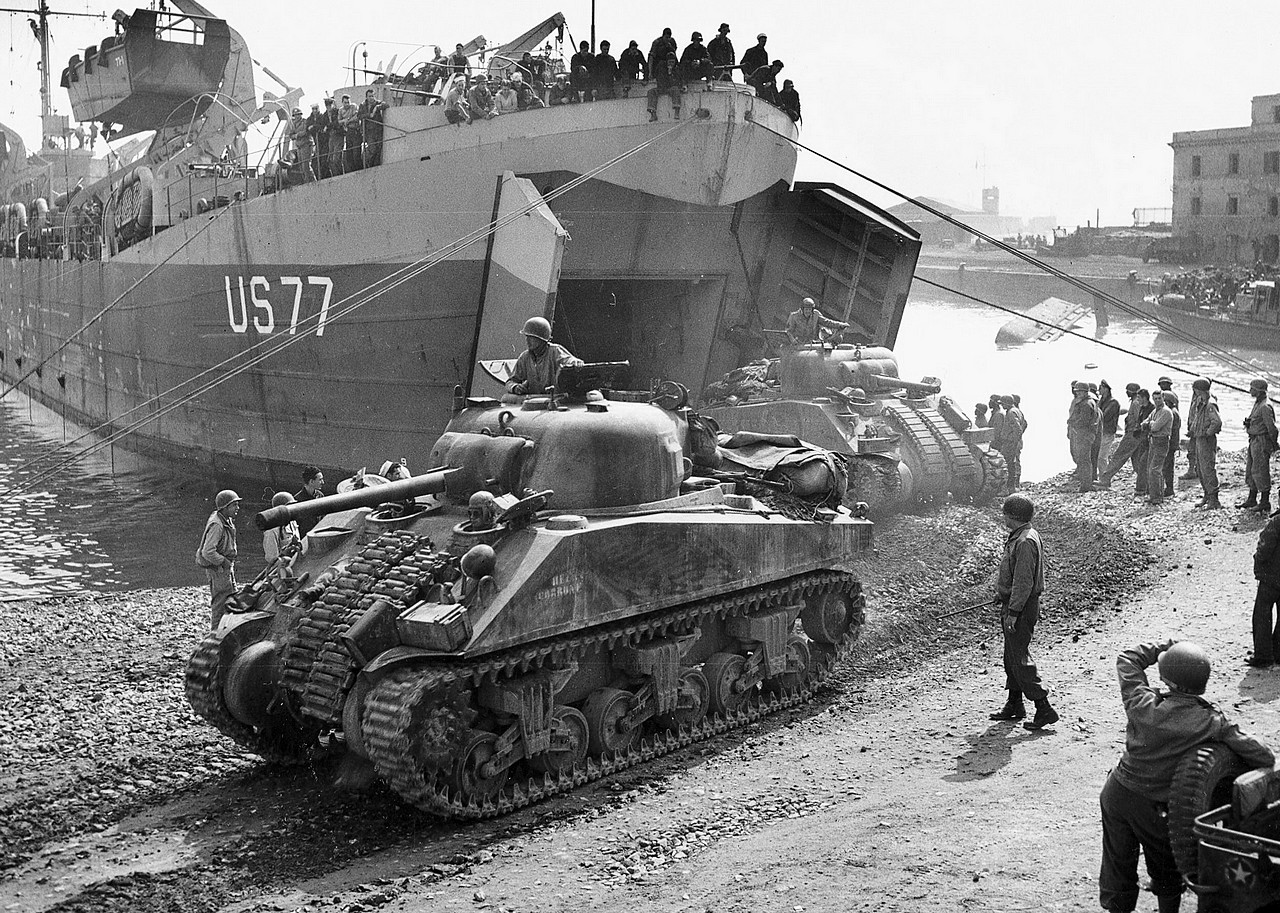
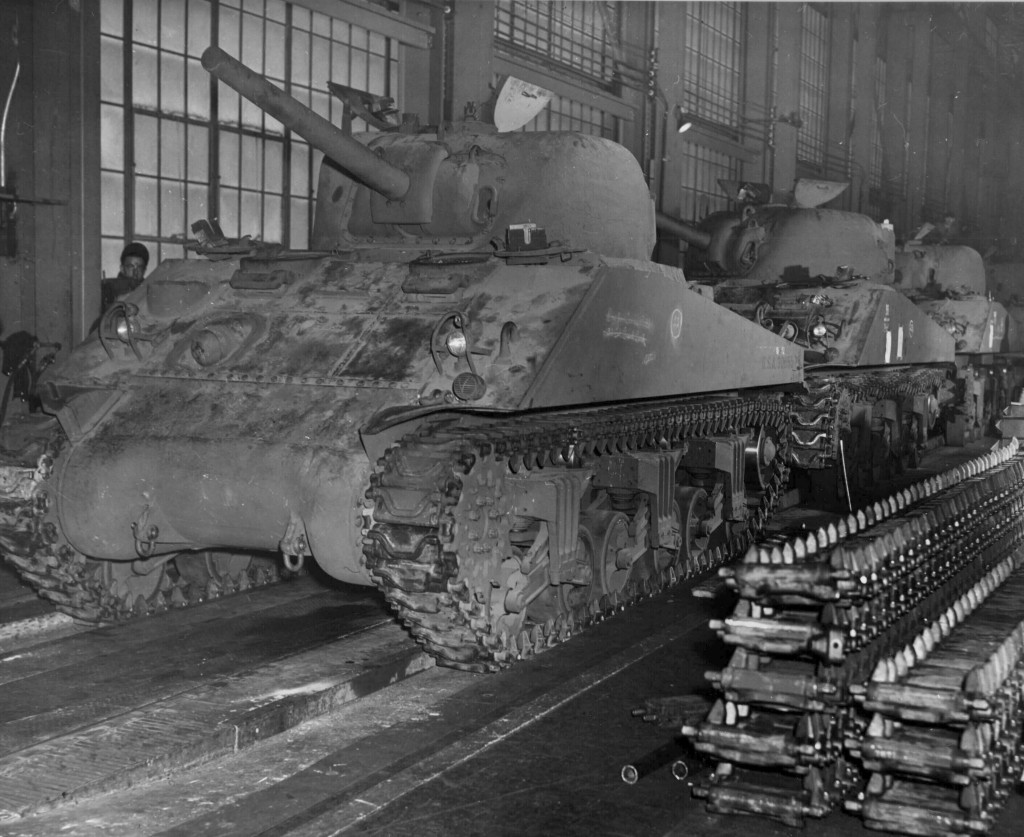
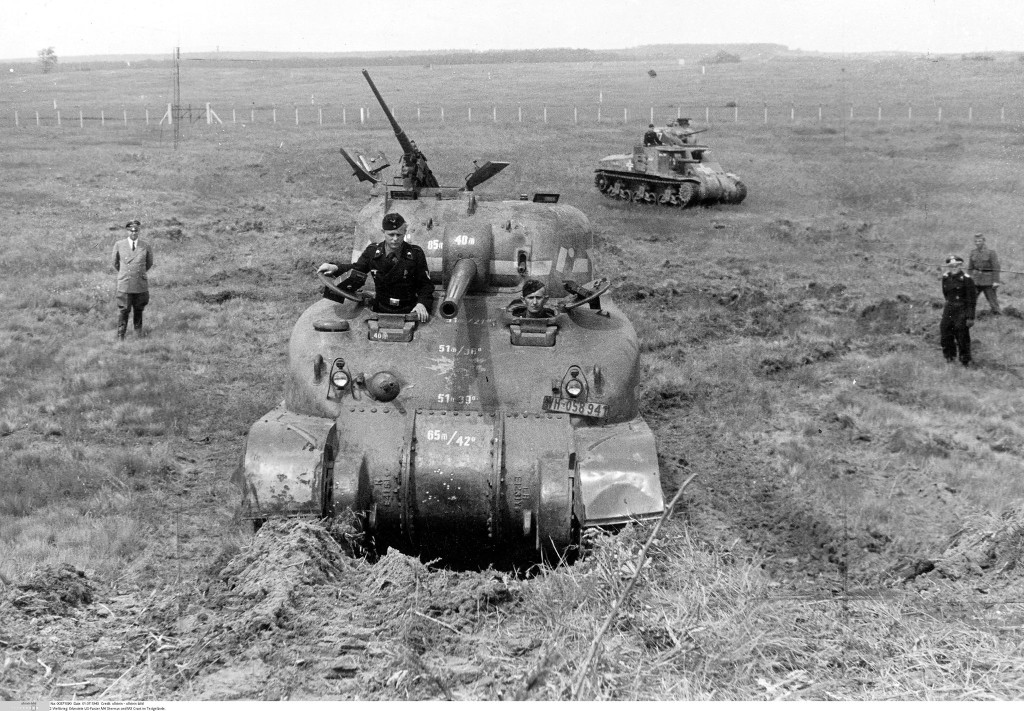
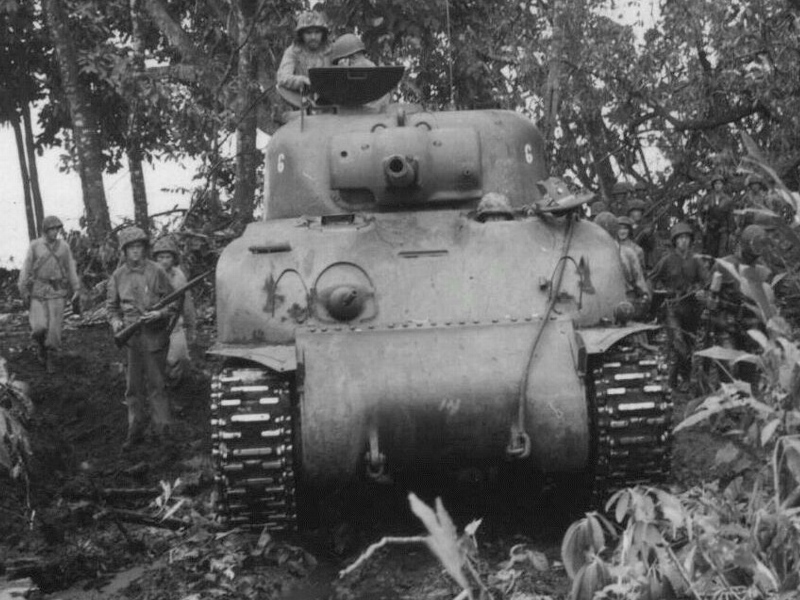
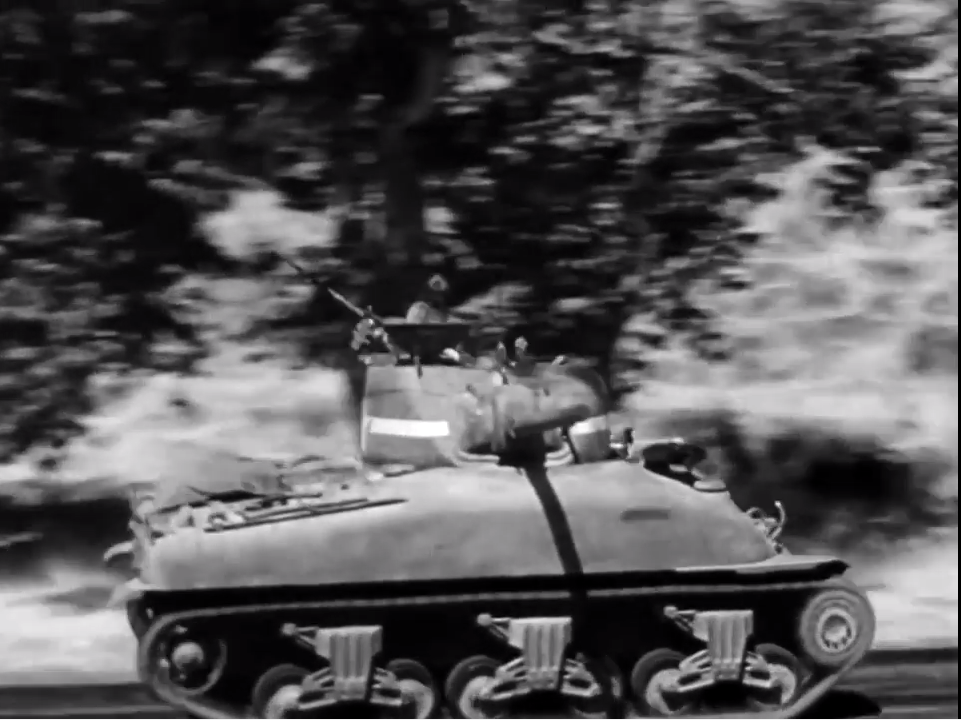
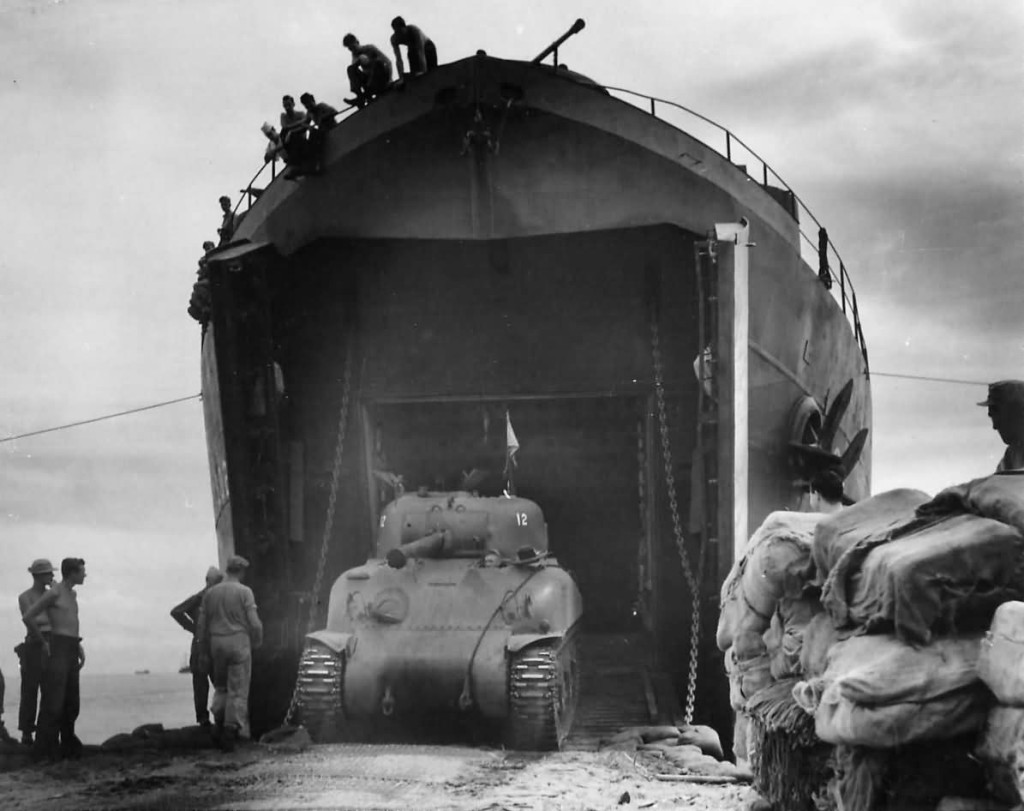
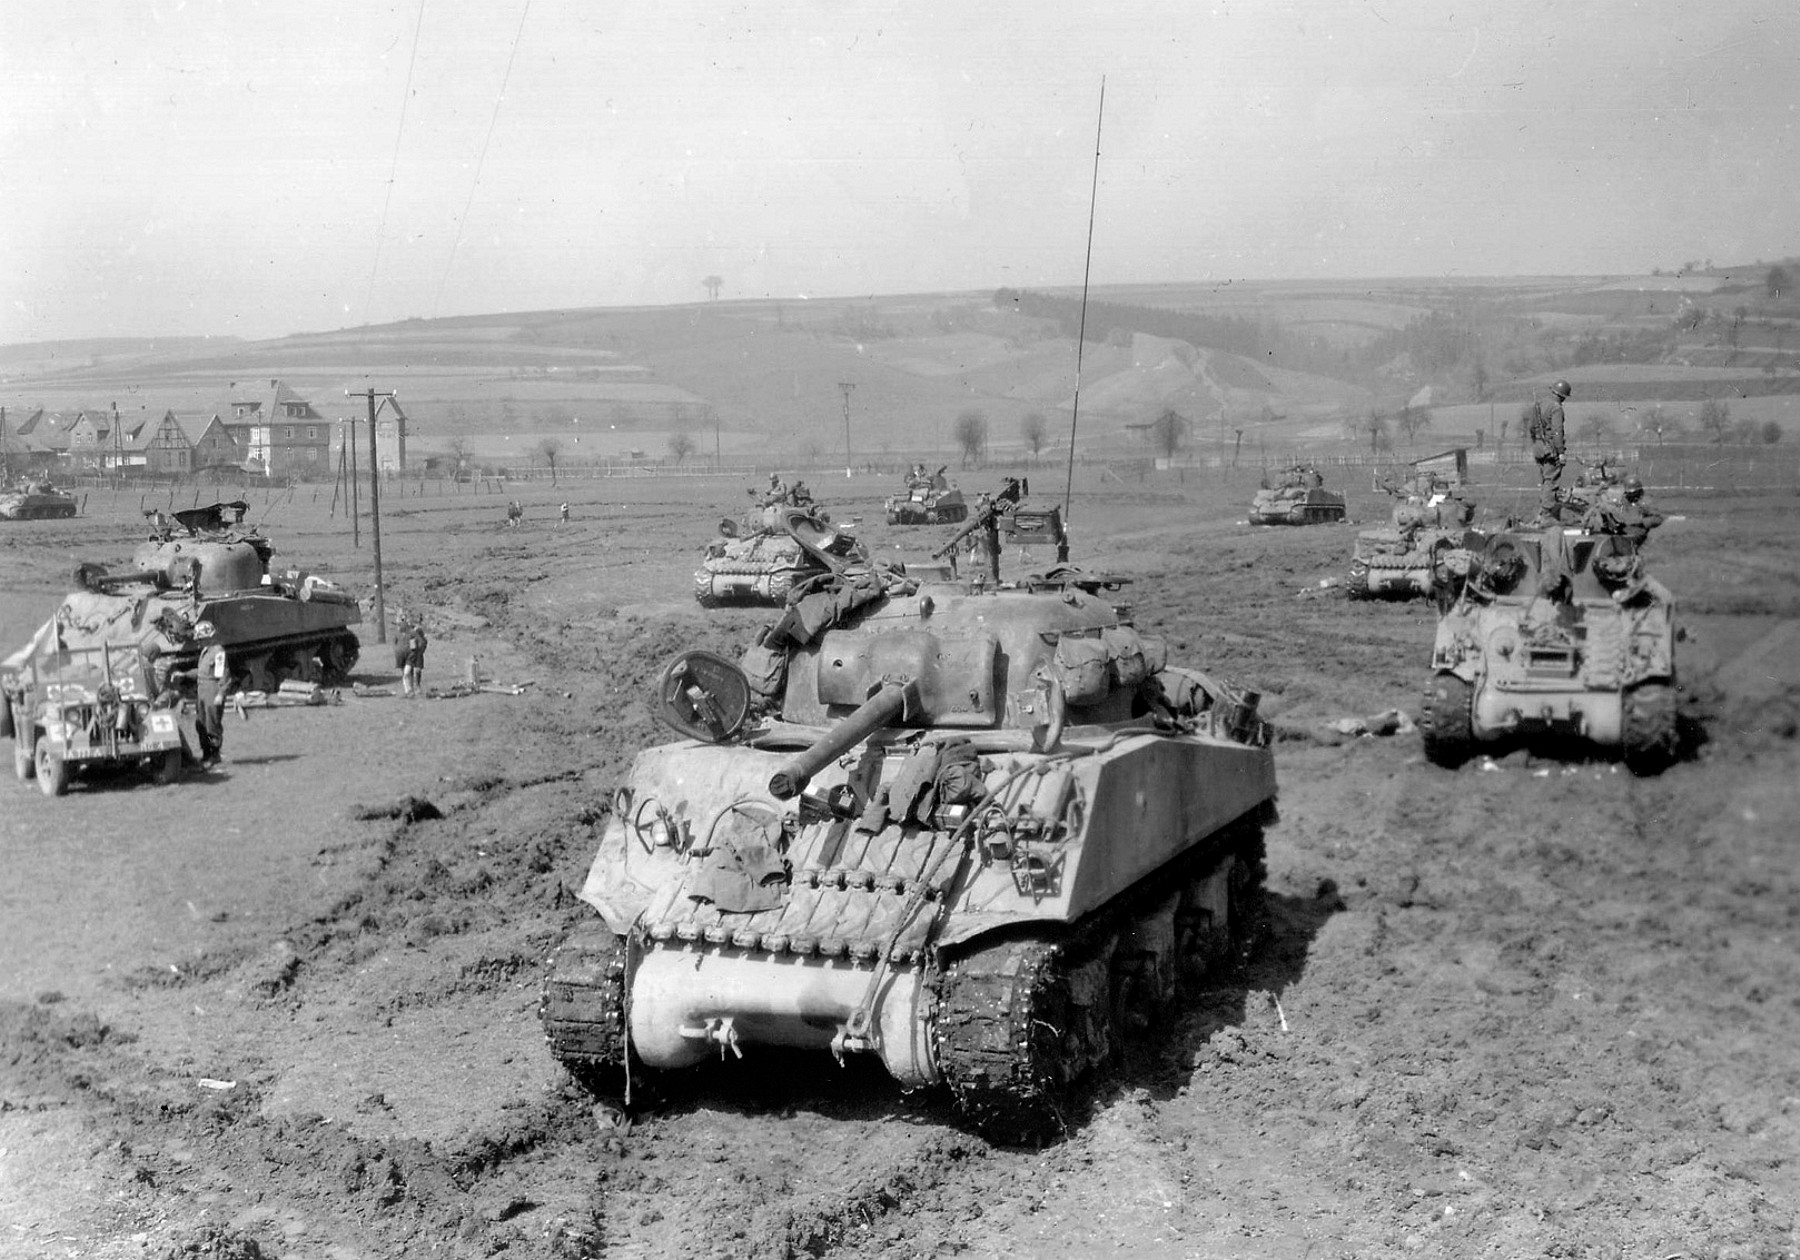
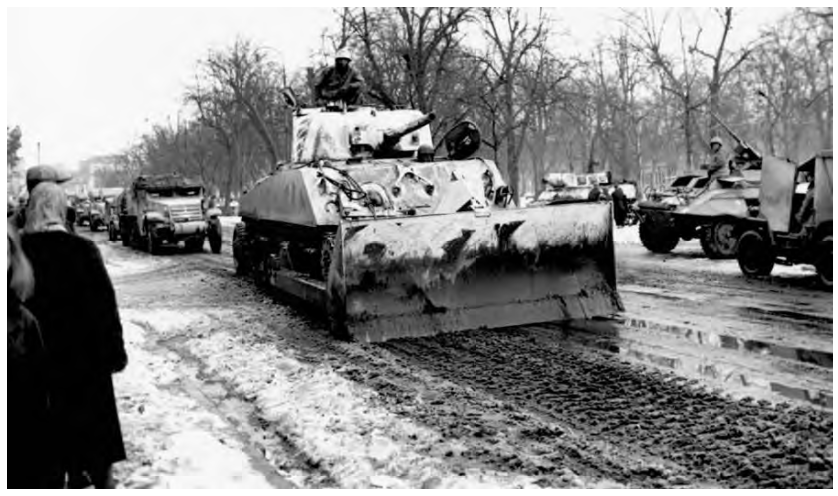
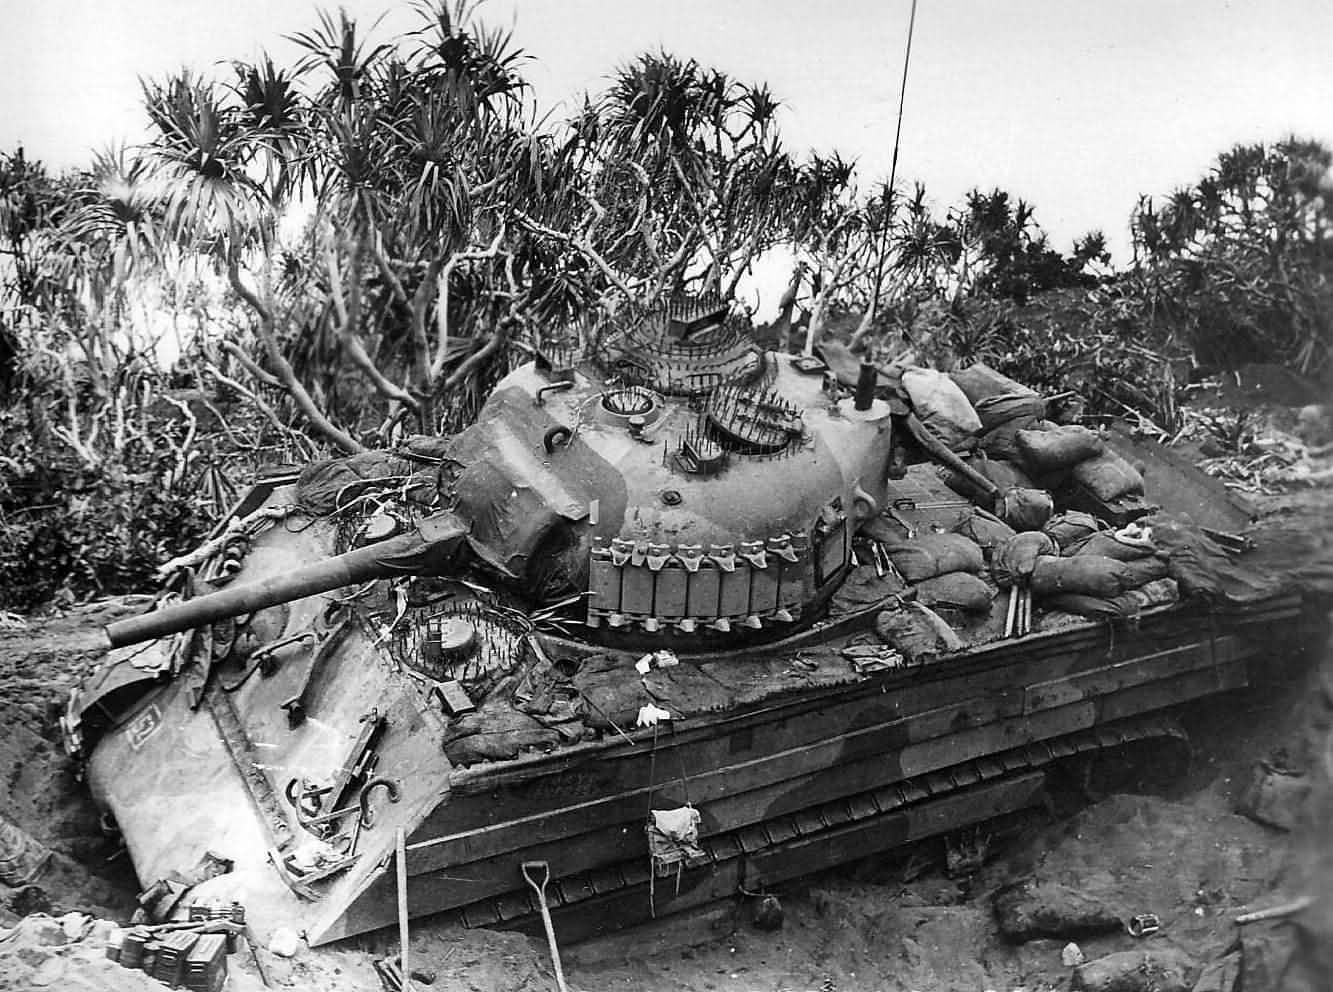
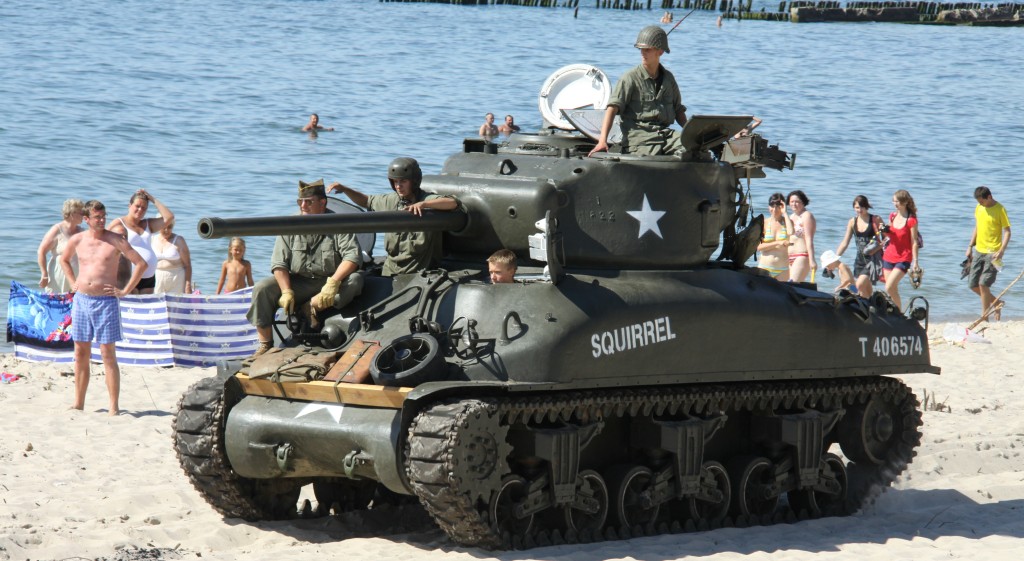
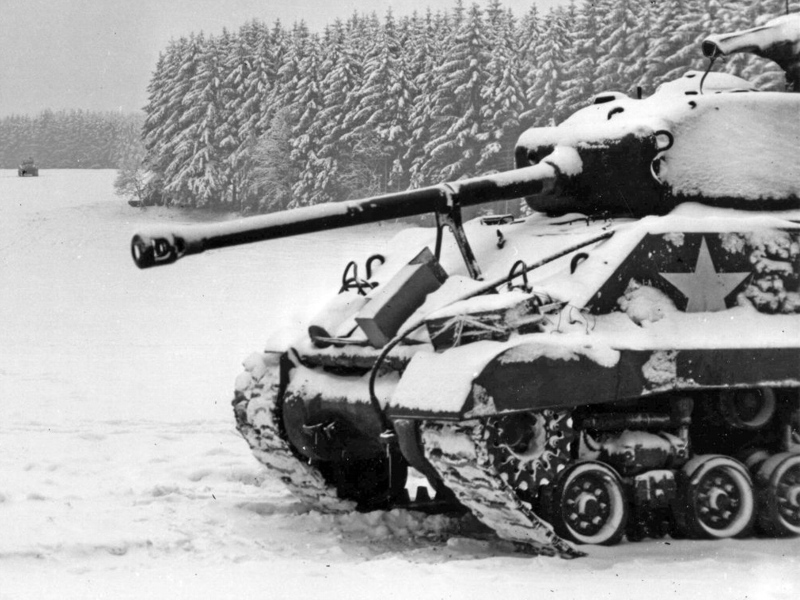
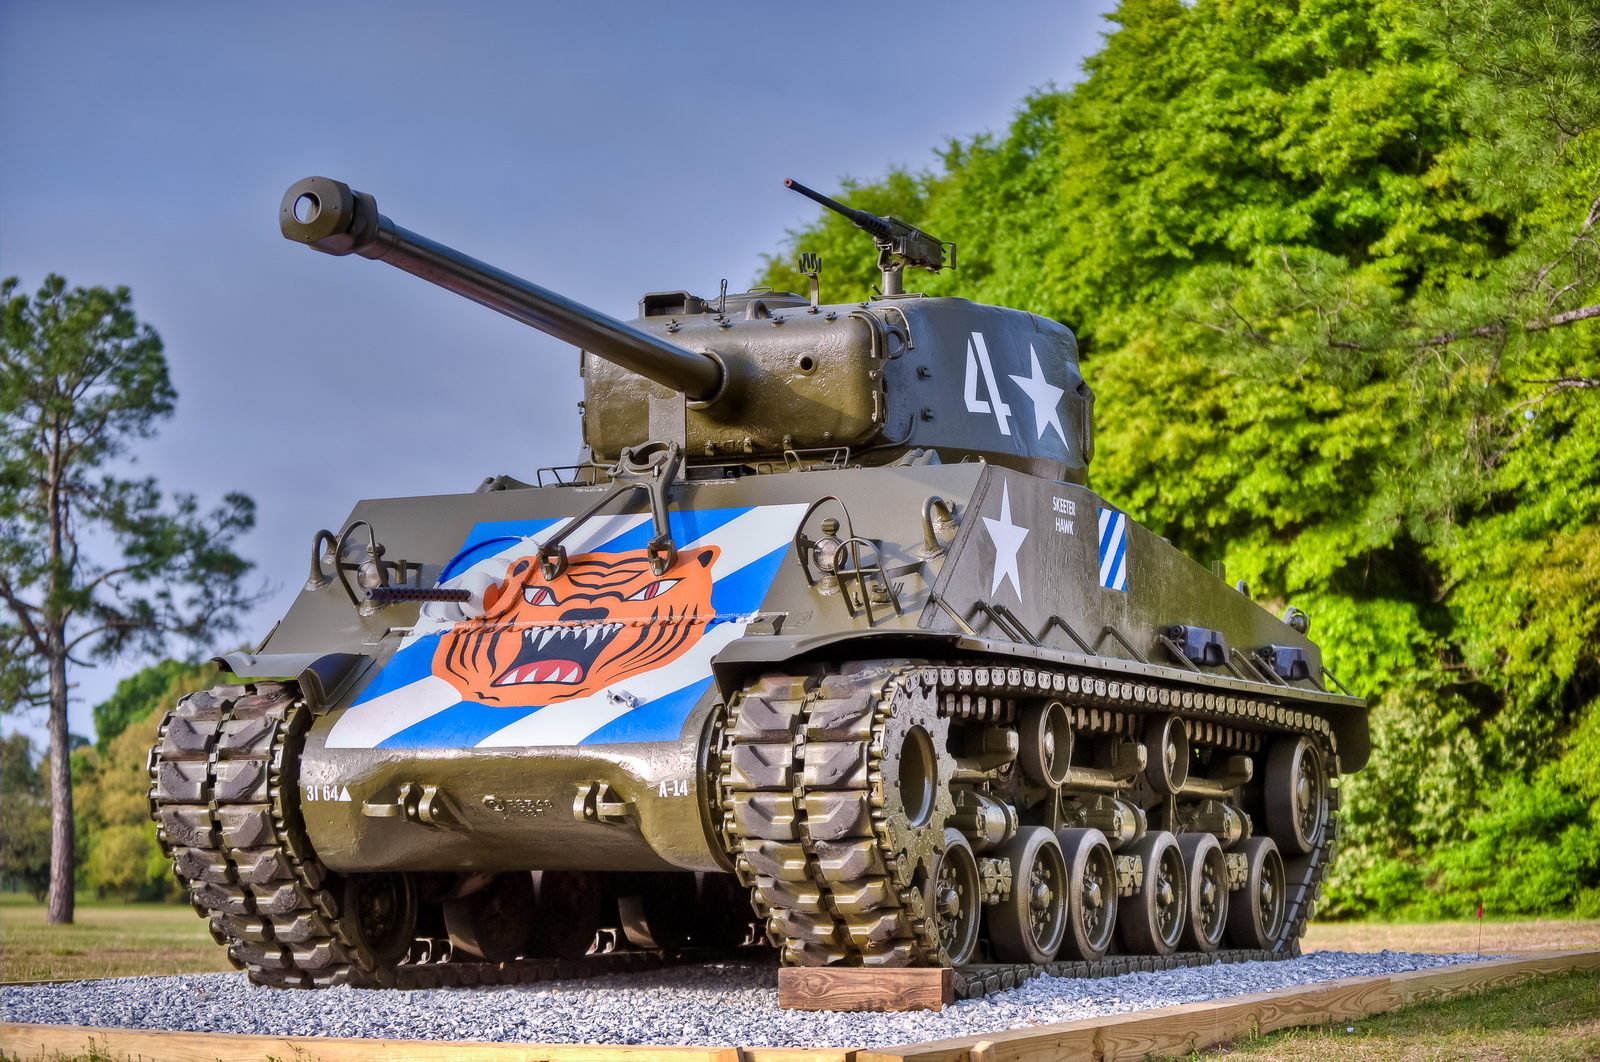
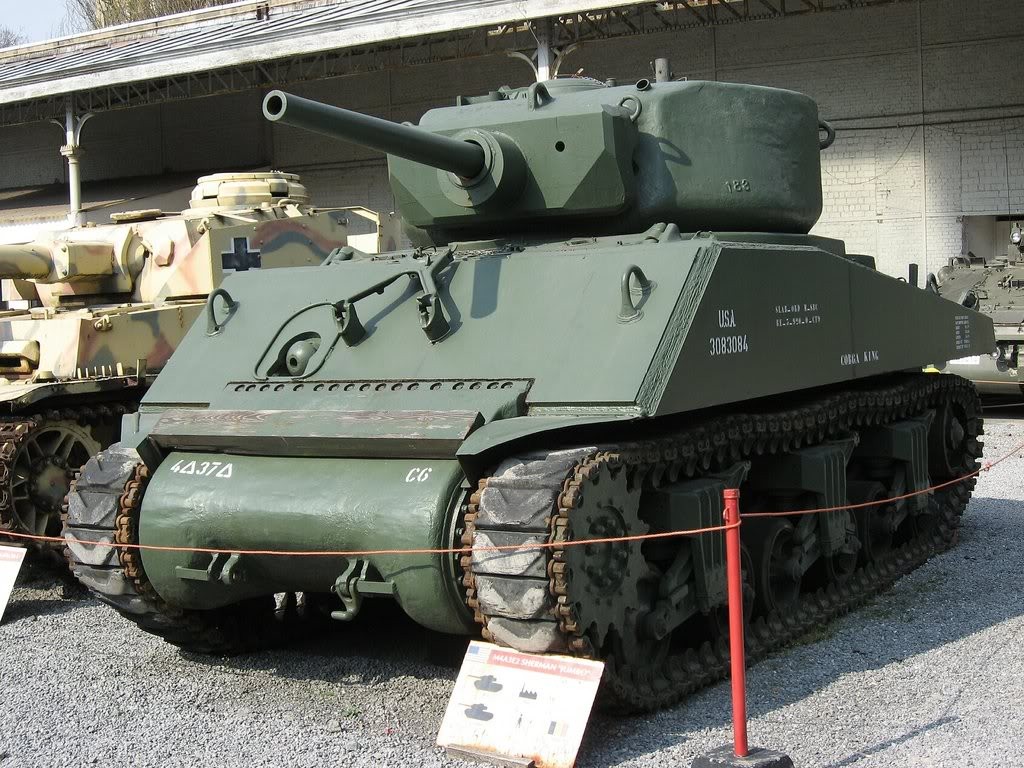
Image result for sherman tank


Image result for sherman tank
 
How a tank is killed in Modern Combat.
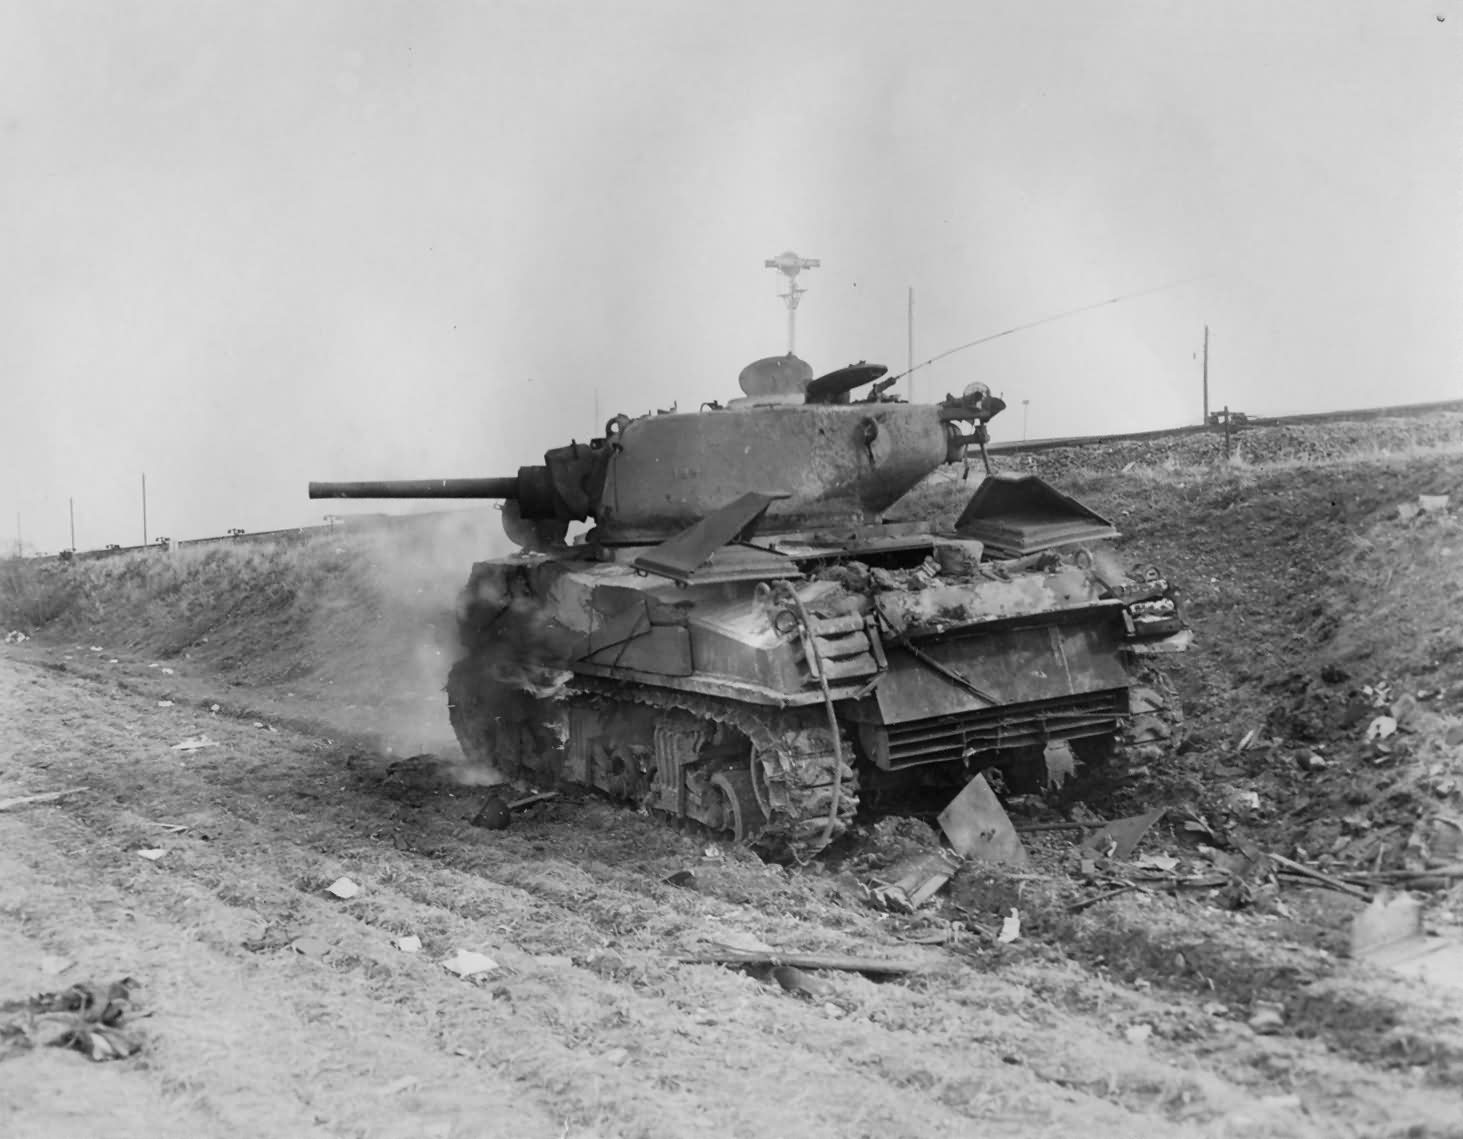
Now everyone thinks that a Tank is invulnerable.
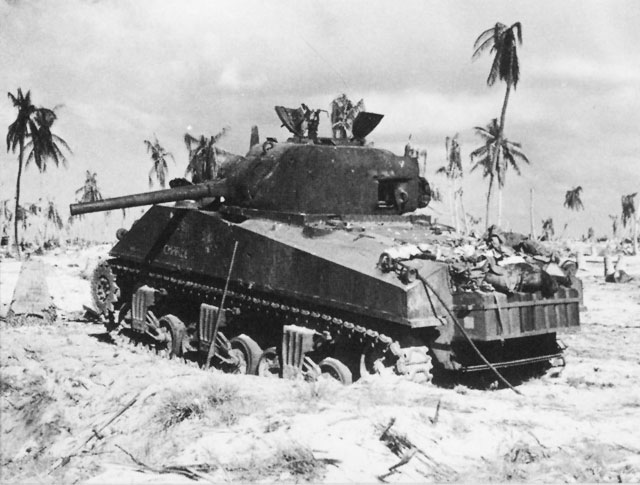
Image result for shot up sherman tank
Trust me it isn’t !
So here are some of the things that Track Folks just hate with a passion.
The Bad Guys Tank
Image result for modern russian tanks
Anti Tank Guns
Image result for anti tank guns
Close Air Support
Image result for the warthog
Hand held Anti Tank Weapons like the Russian RPG
Image result for rpg
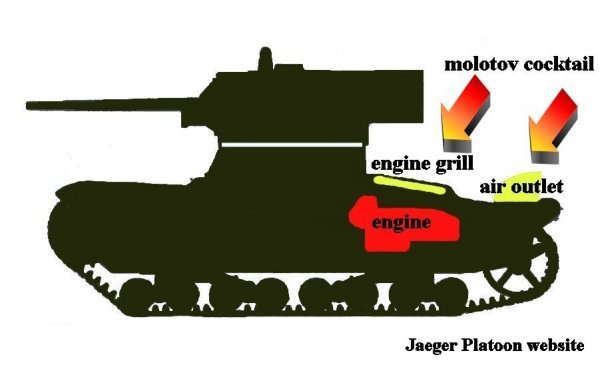
Crazy Folks with Molotov Cocktails

Image result for molotov cocktail
Or just throwing a Track in combat.
Image result for throwing a tank track in combat             Does this look like fun or what!?! Especially when some pissed off at you folks are shooting at you.
 

Now if you want to see a fairly accurate film about the Sherman Tank in the ETO. You might want to see Fury.

Now is is some more Technical info about the Sherman

Sherman Tank Site: News Post 12, pictures and cleaning them up, a lot of them.

Sherman Tank Site: News Post 12, things have been changing, its all behind the scenes.

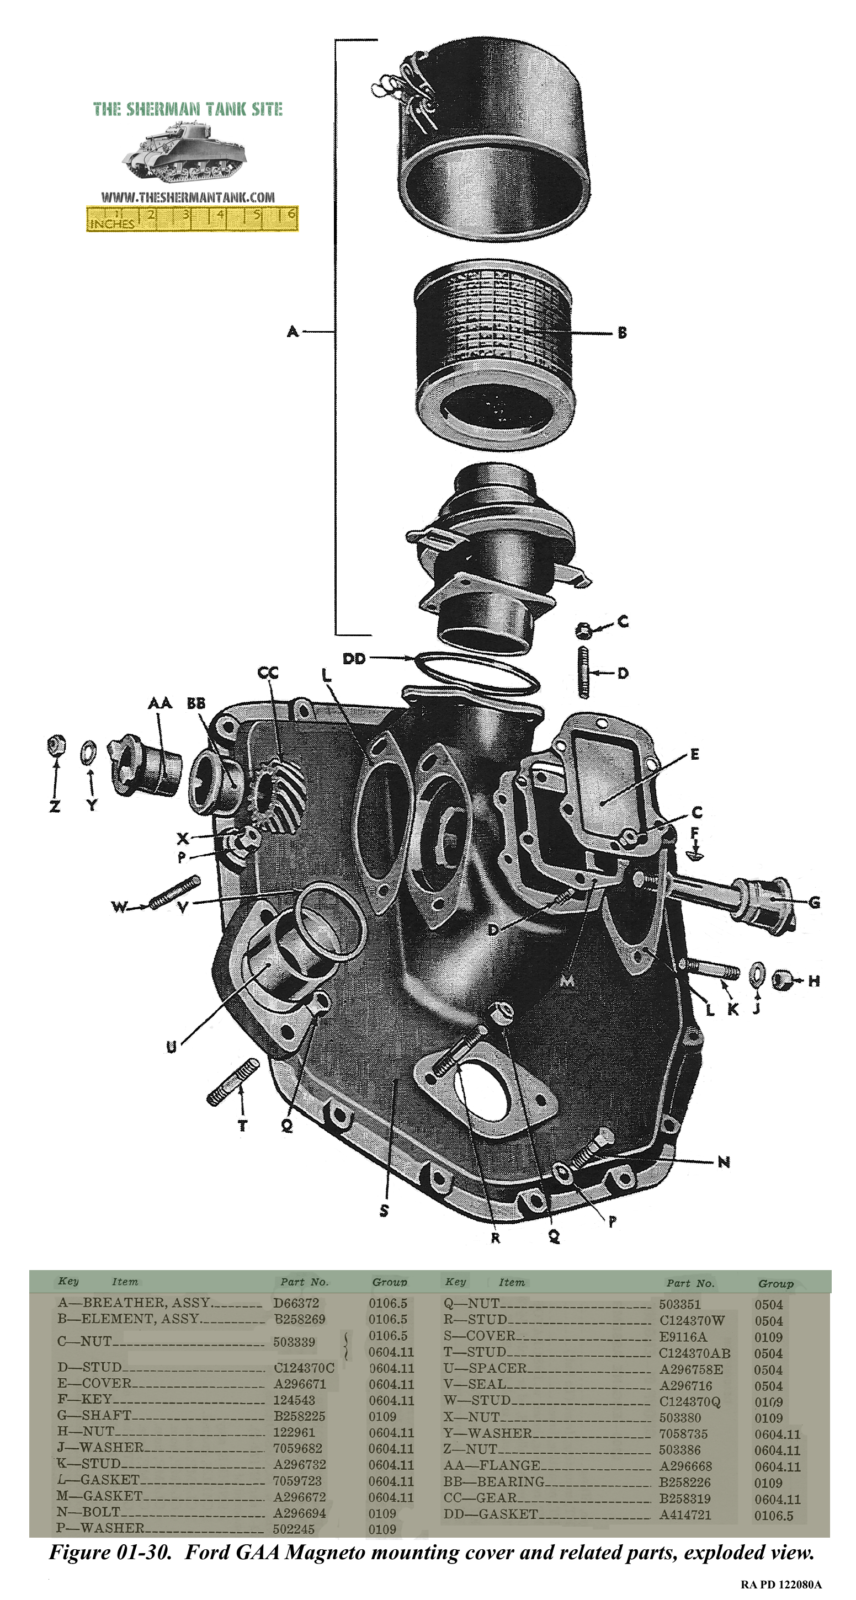
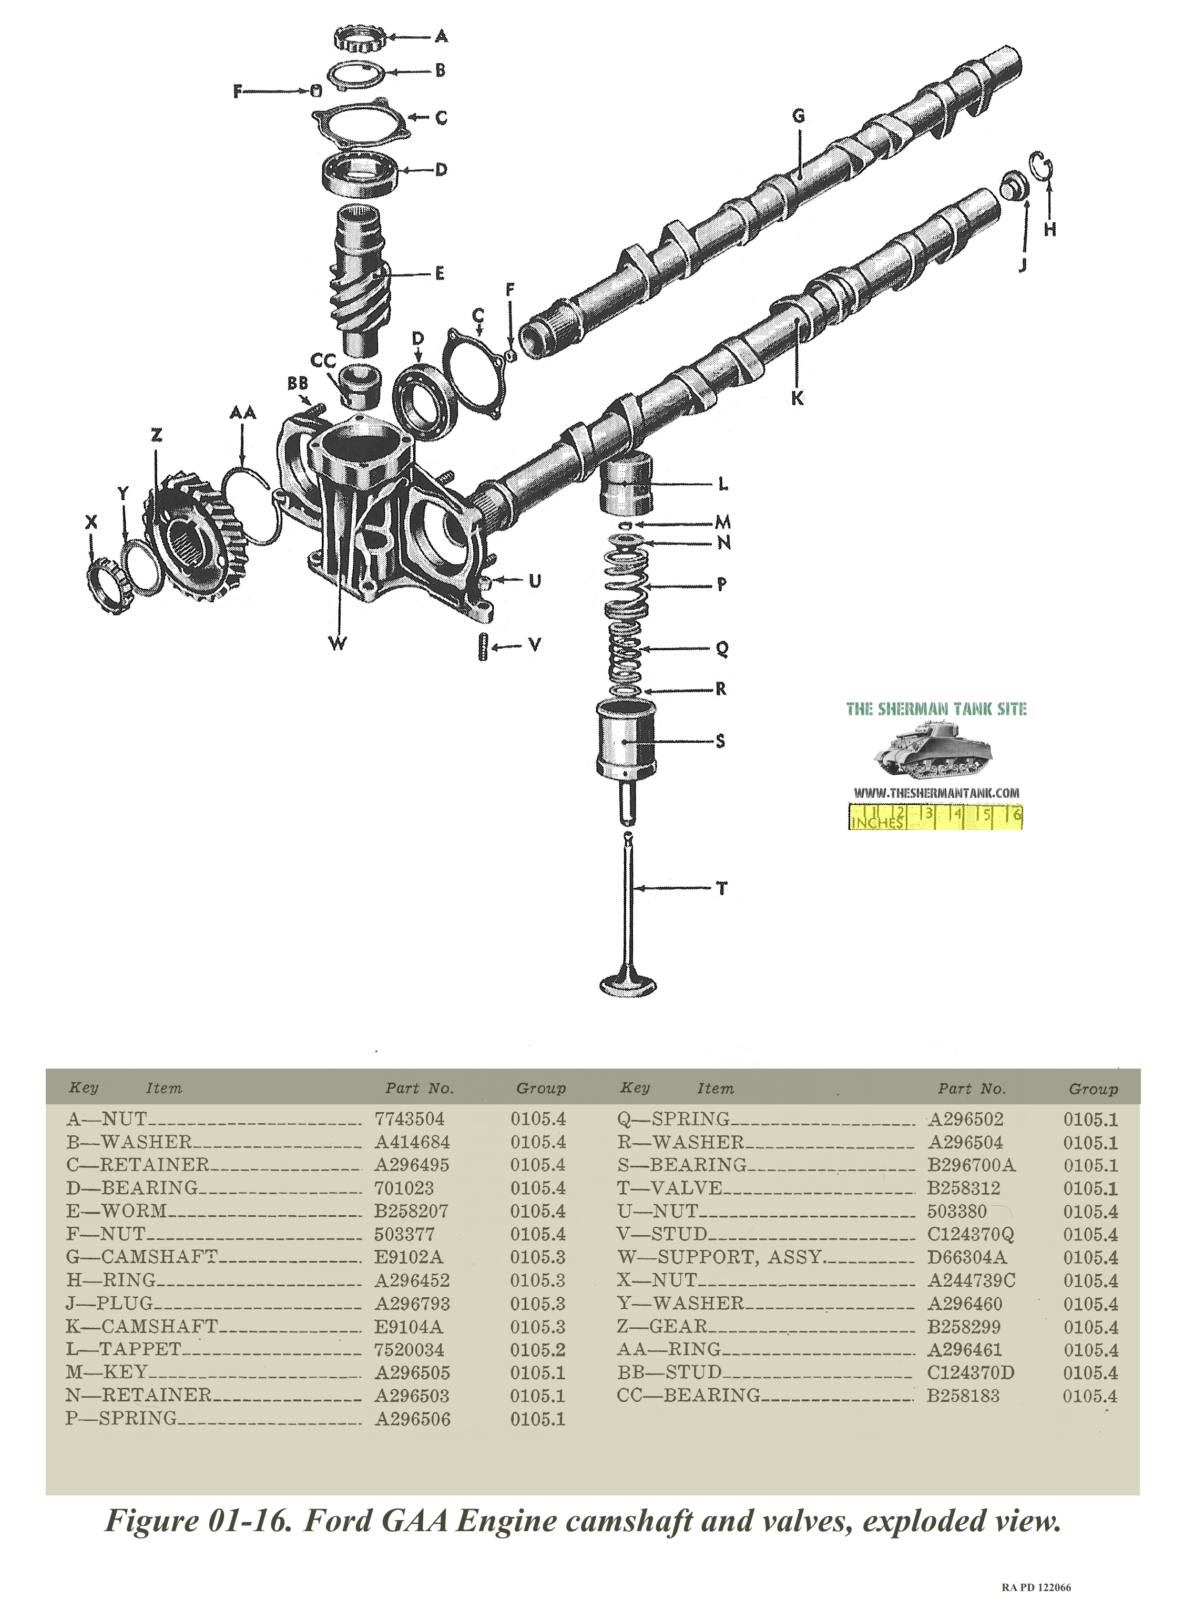
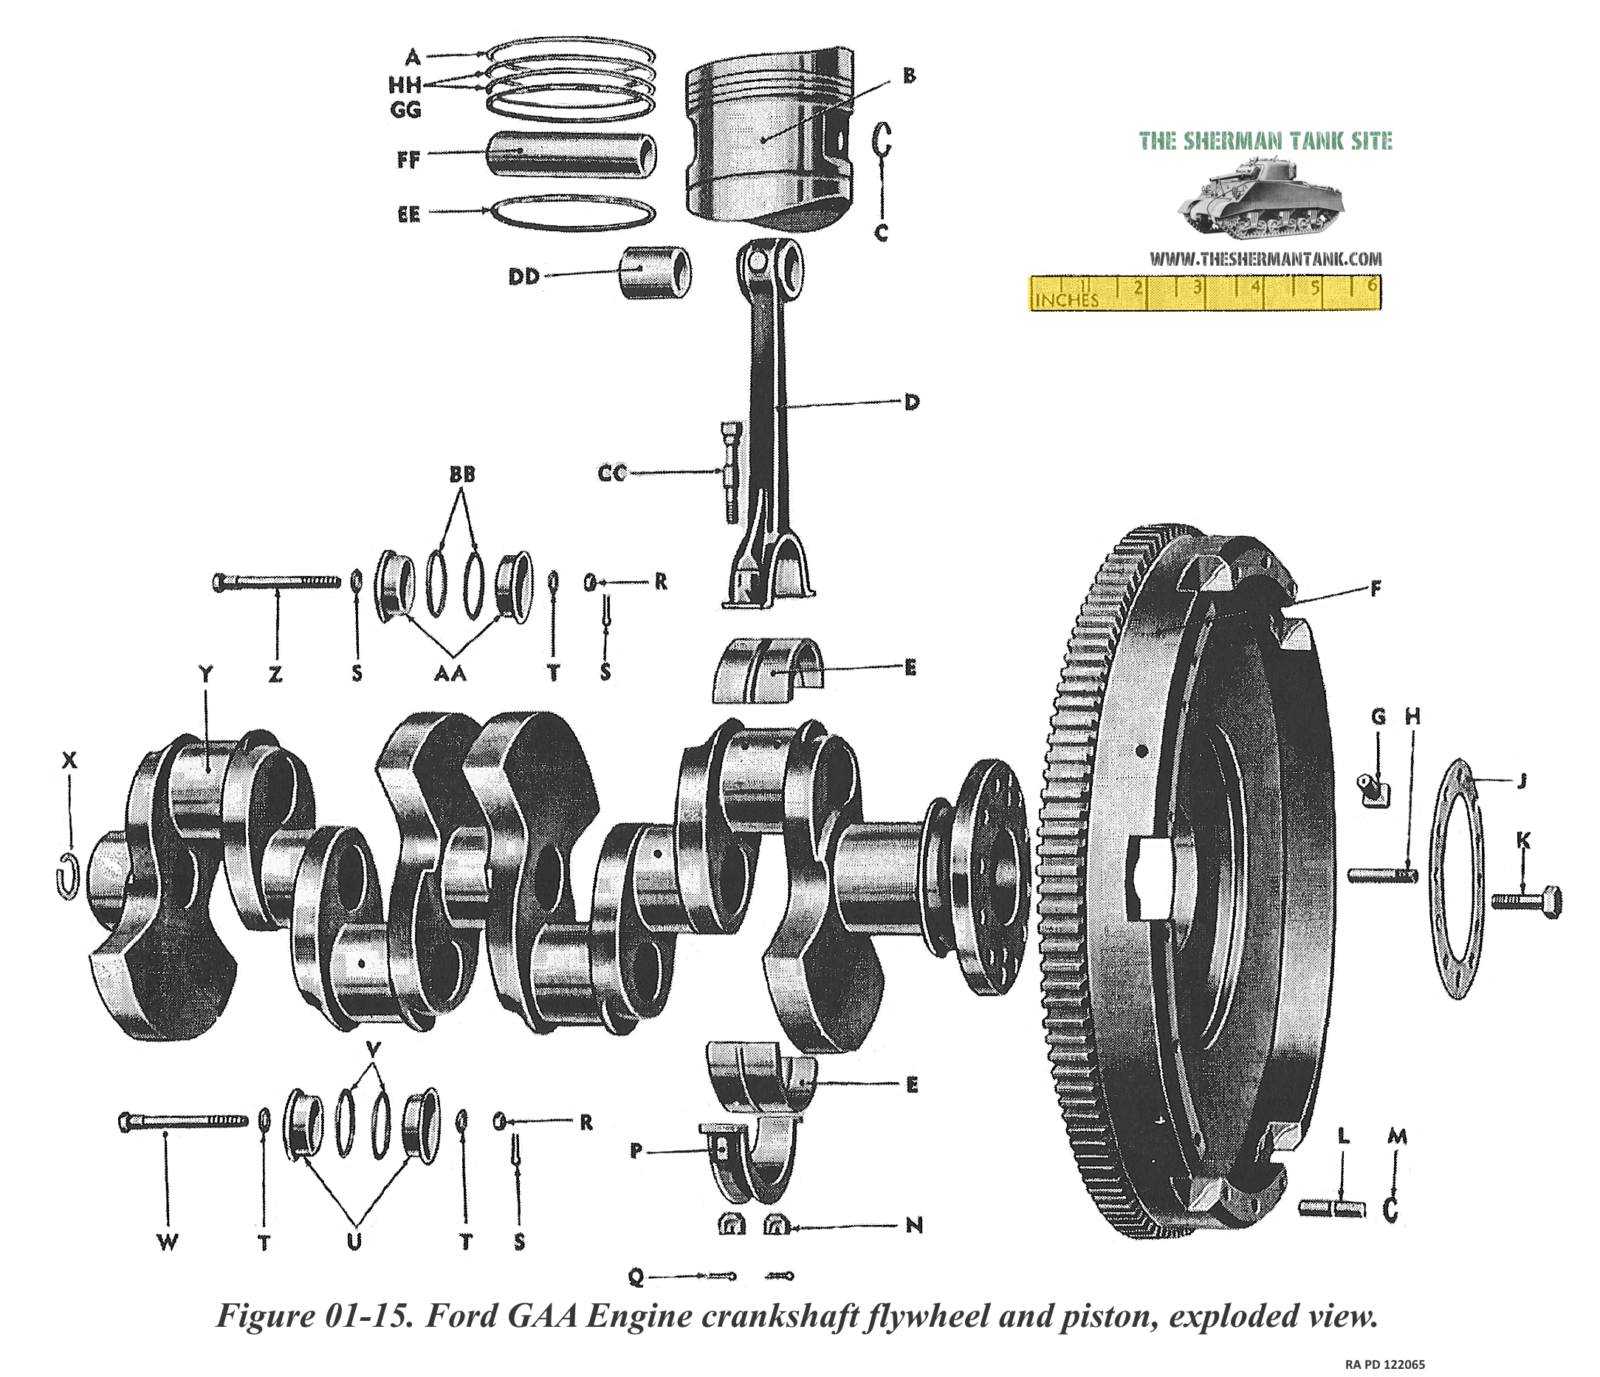
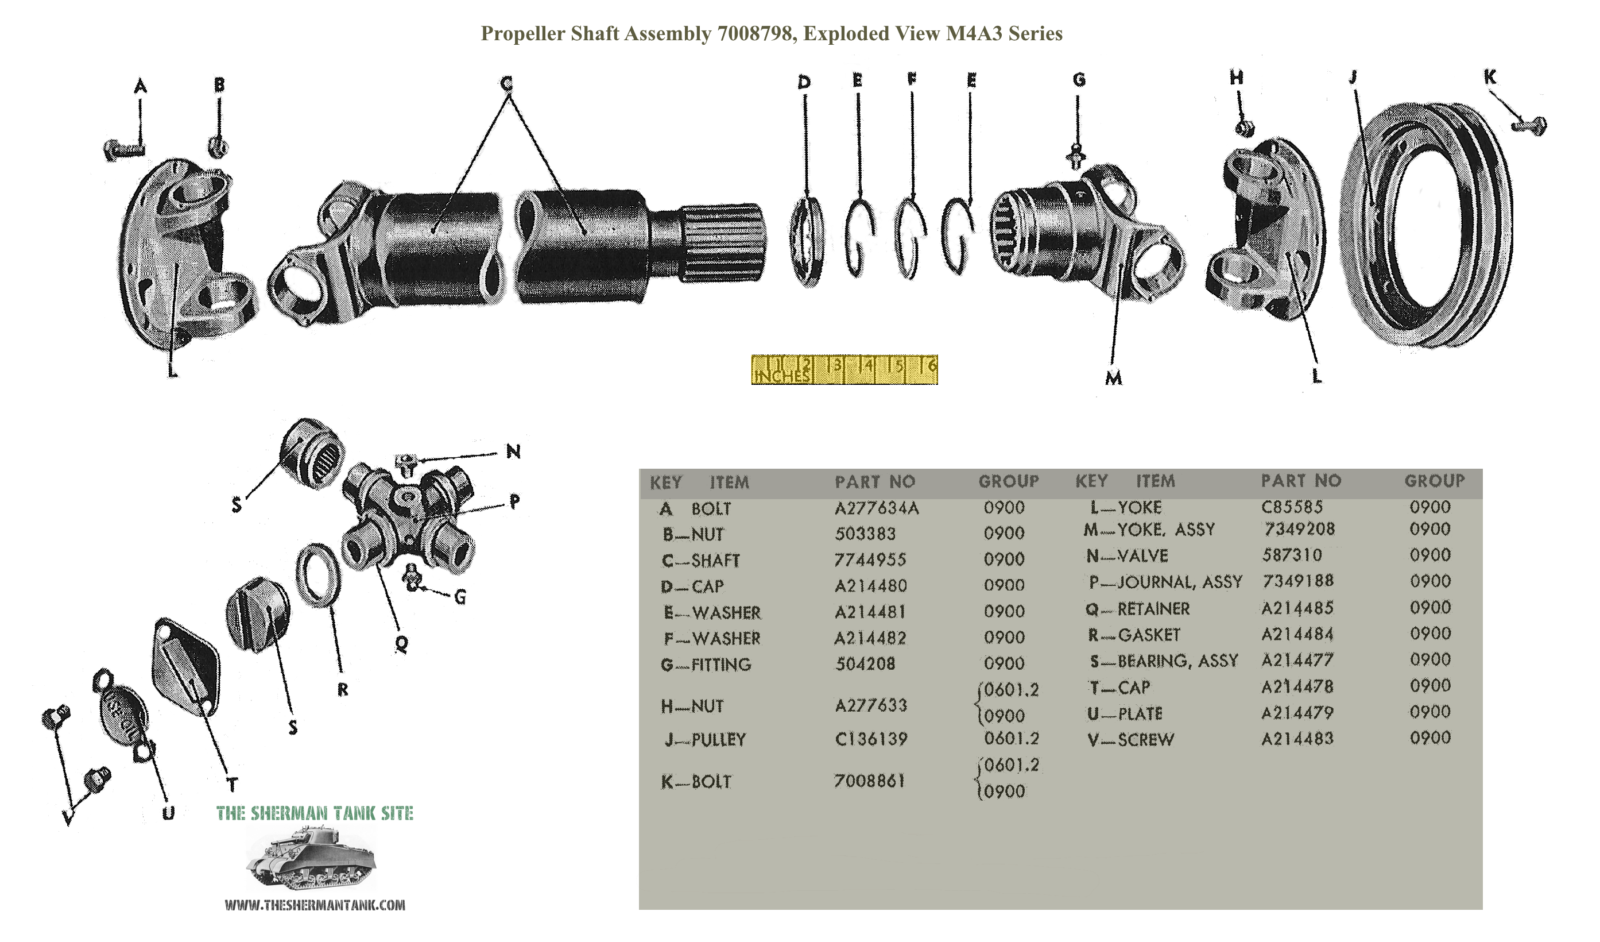
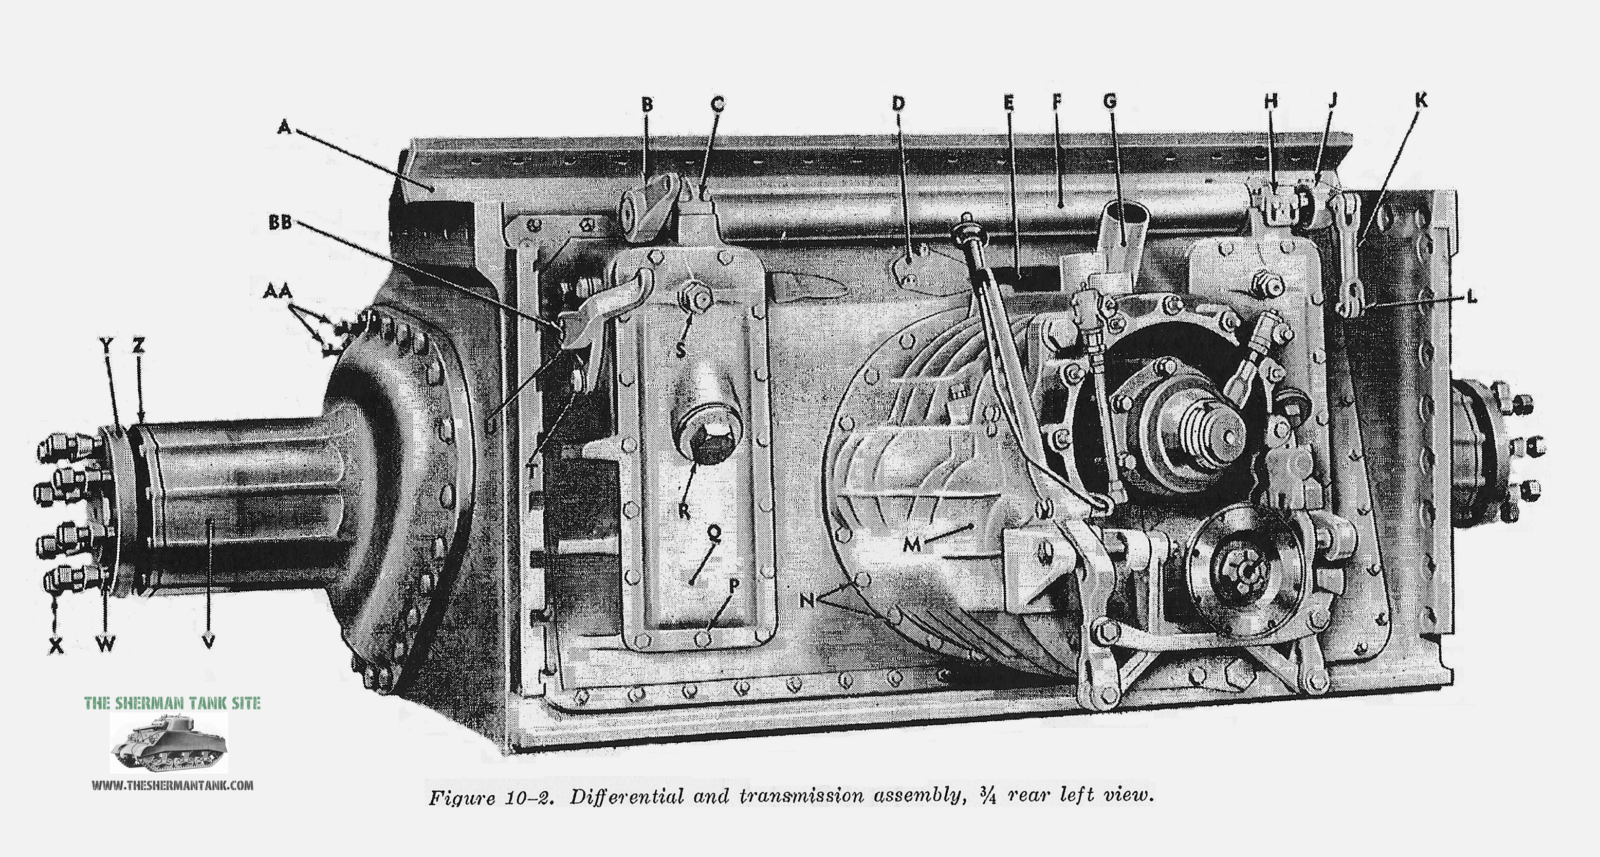
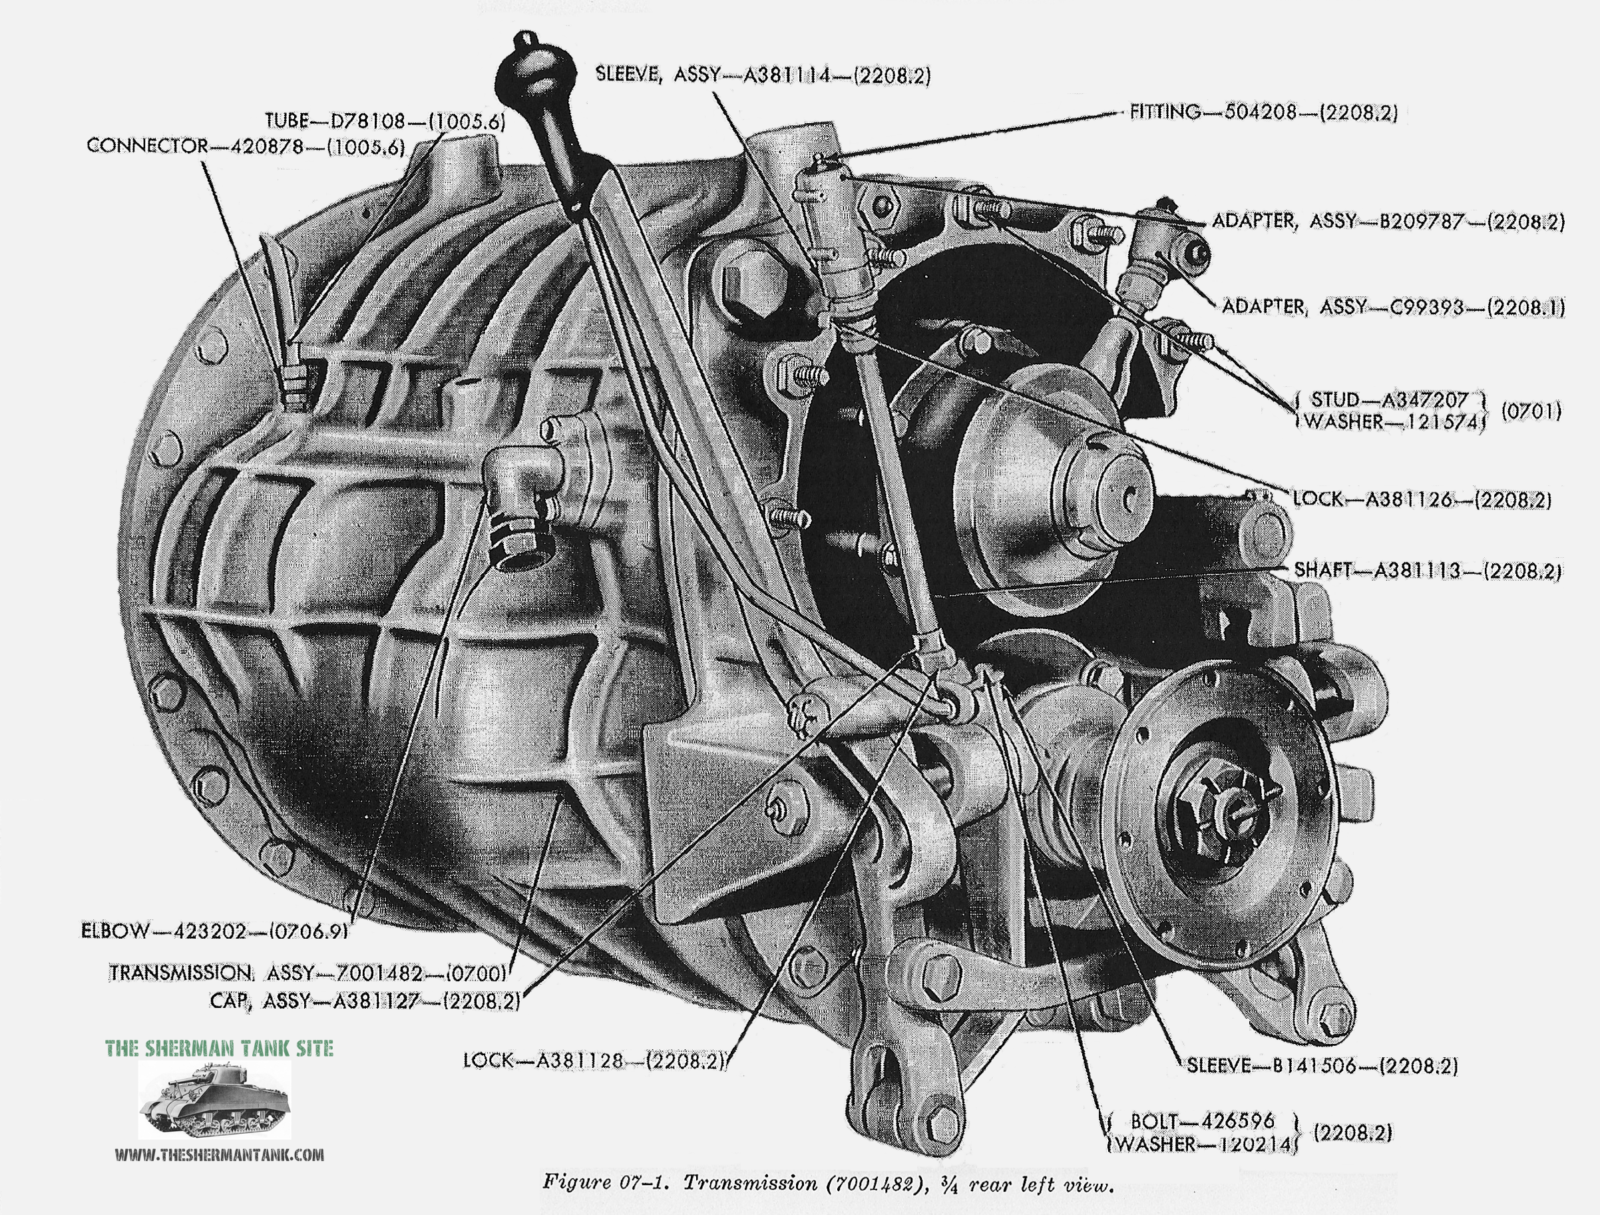
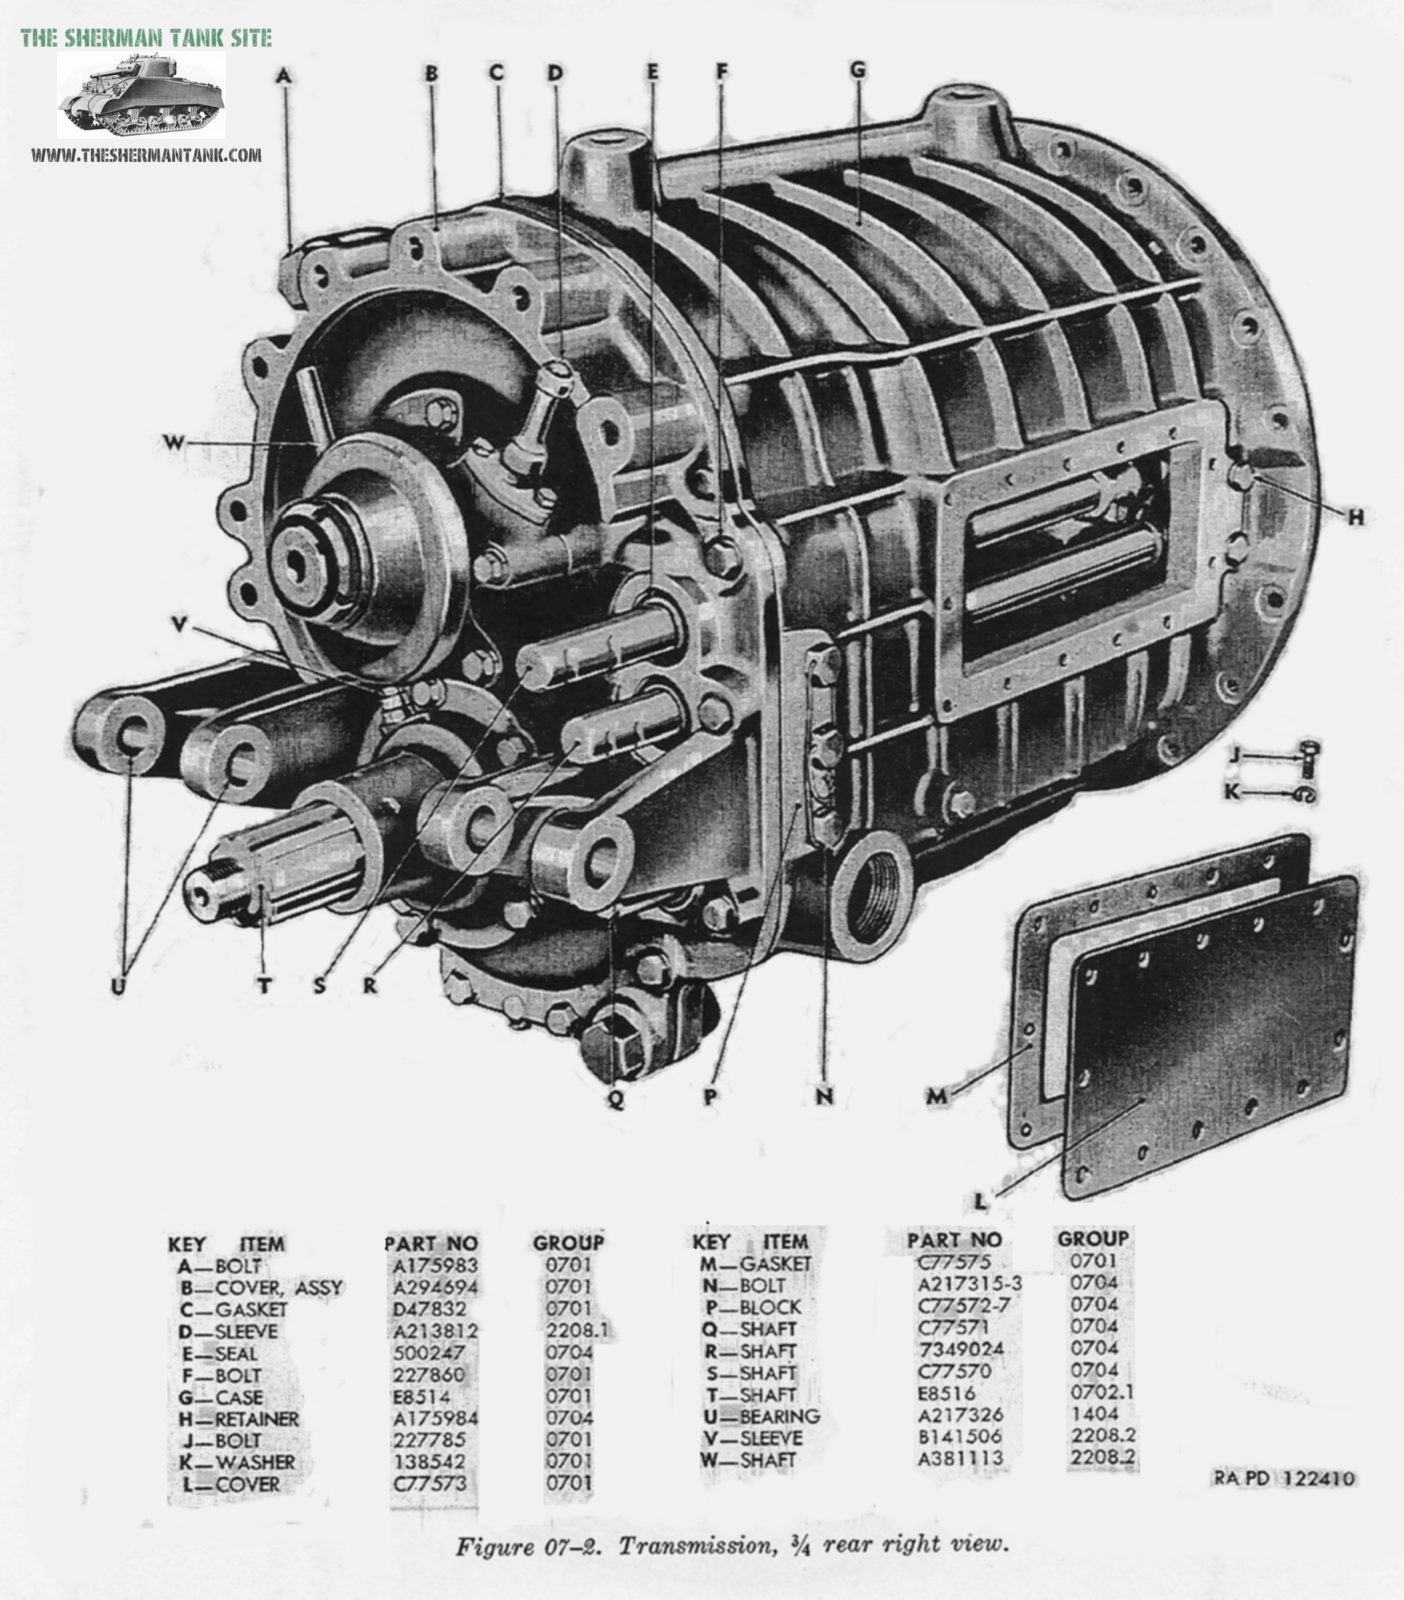
I’ve gotten my hands on a lot of manuals, and they are all great for gathering info on the Sherman, because you can almost always read them. The picture quality varies a huge amount depending on how it was created. There are some very common and easy to find  Sherman manuals with terrible pictures. For example the two I have on the M4A3, and the manual on the Ford GAA, both were probably photocopied multiple times, then scanned on a really early scanner.
This means, the pictures at best, are mostly black blobs, and even the text isn’t great. All isn’t lost with these, as the line drawings usually come through ok.  In some cases the manuals being sold online are these terrible photo copies printed into a cheap book with no improvements to the quality at all.
Some of these manuals have been scanned in by people with decent scanners, and these though much larger, have much nicer photo quality. Even if the scans are good, the original has to be good as well, and in some cases that’s really mixed.  I have several, scanned at very high resolution, making them restorable, to some degree.
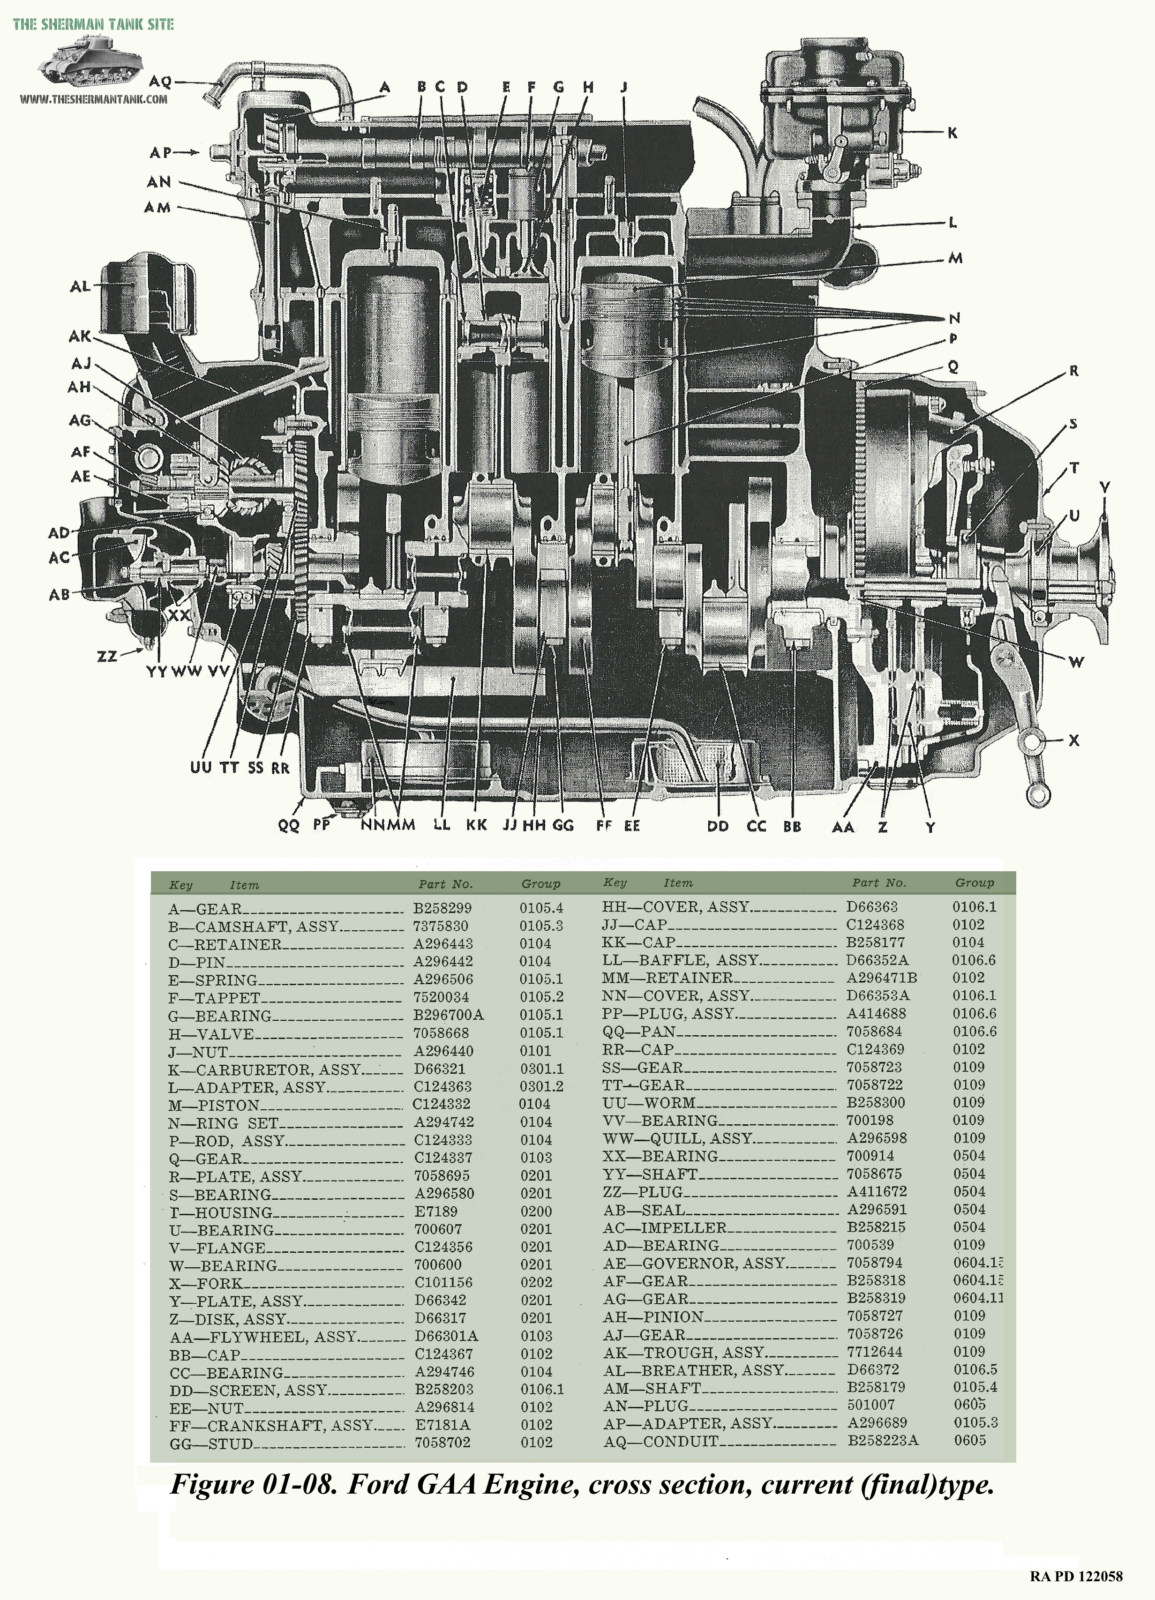
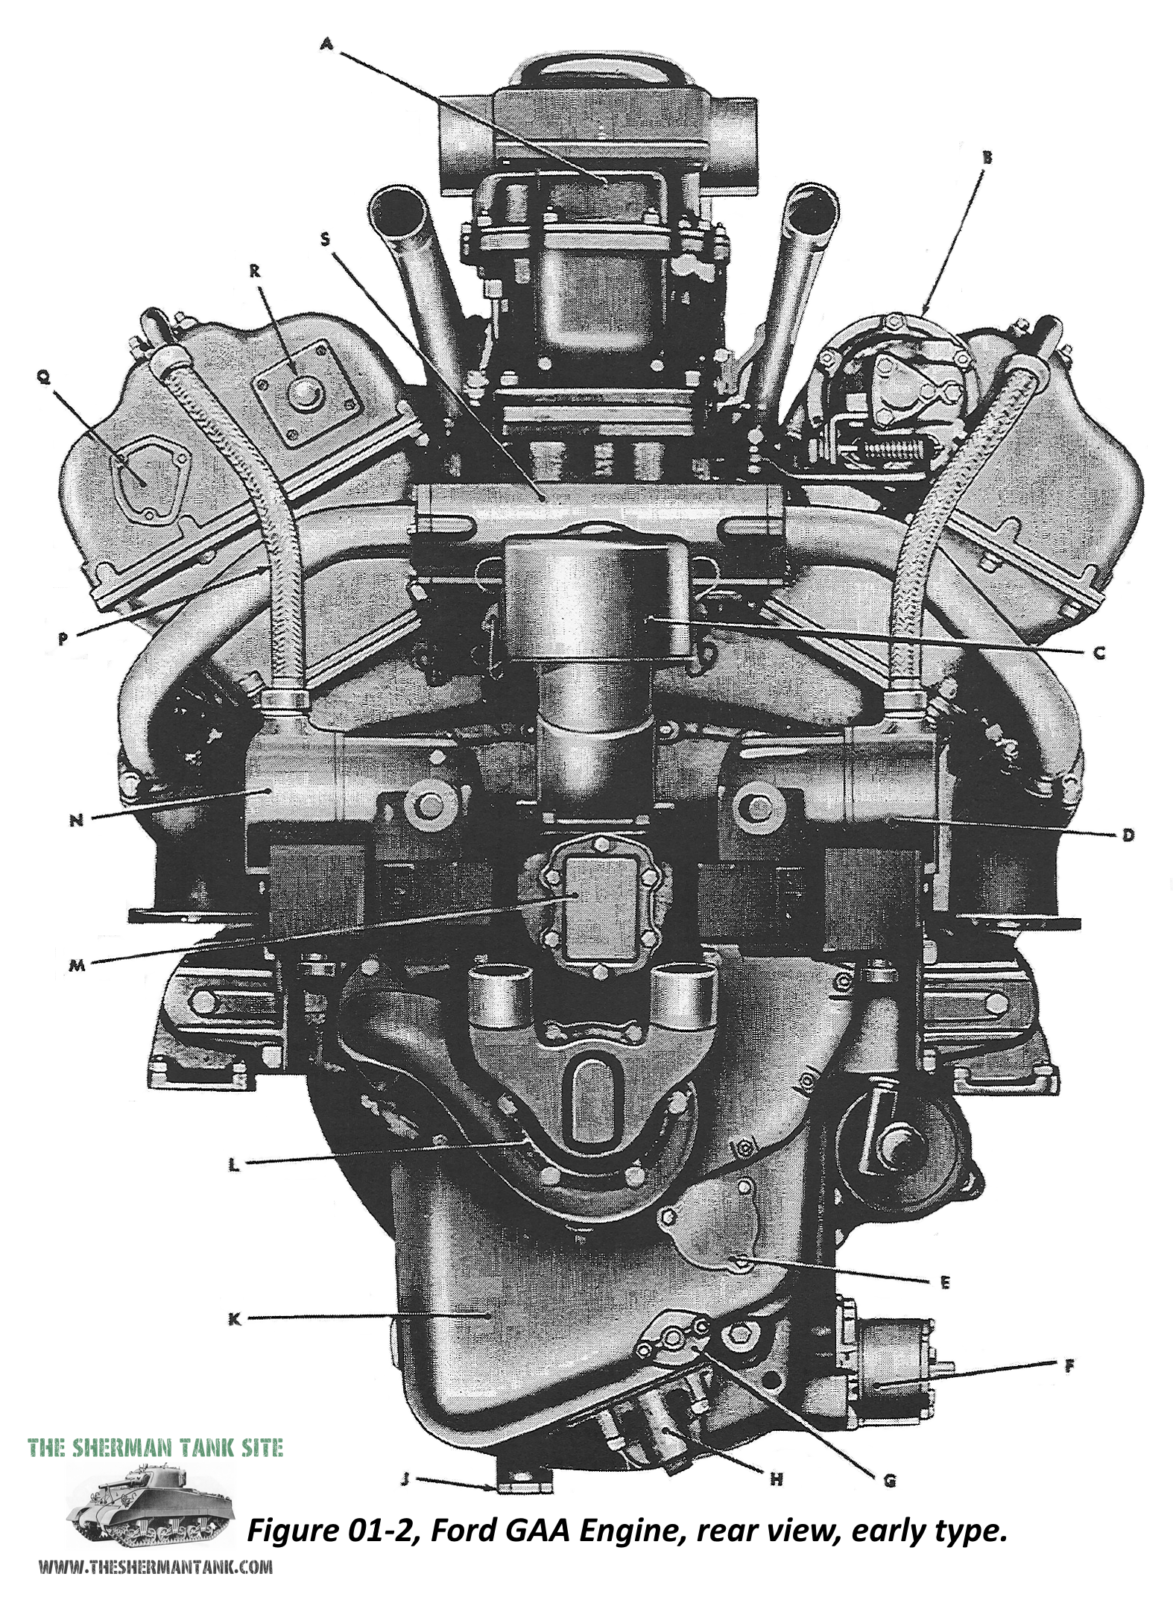
I’ve done the most work on the Ford GAA imaged I have, and the tranny. Here is a selection of the ones I’ve done, but not all. Check out the power train and GAA pages for all of them. These are relaxing to do, and I have a ton to work with so keep checking around the site!

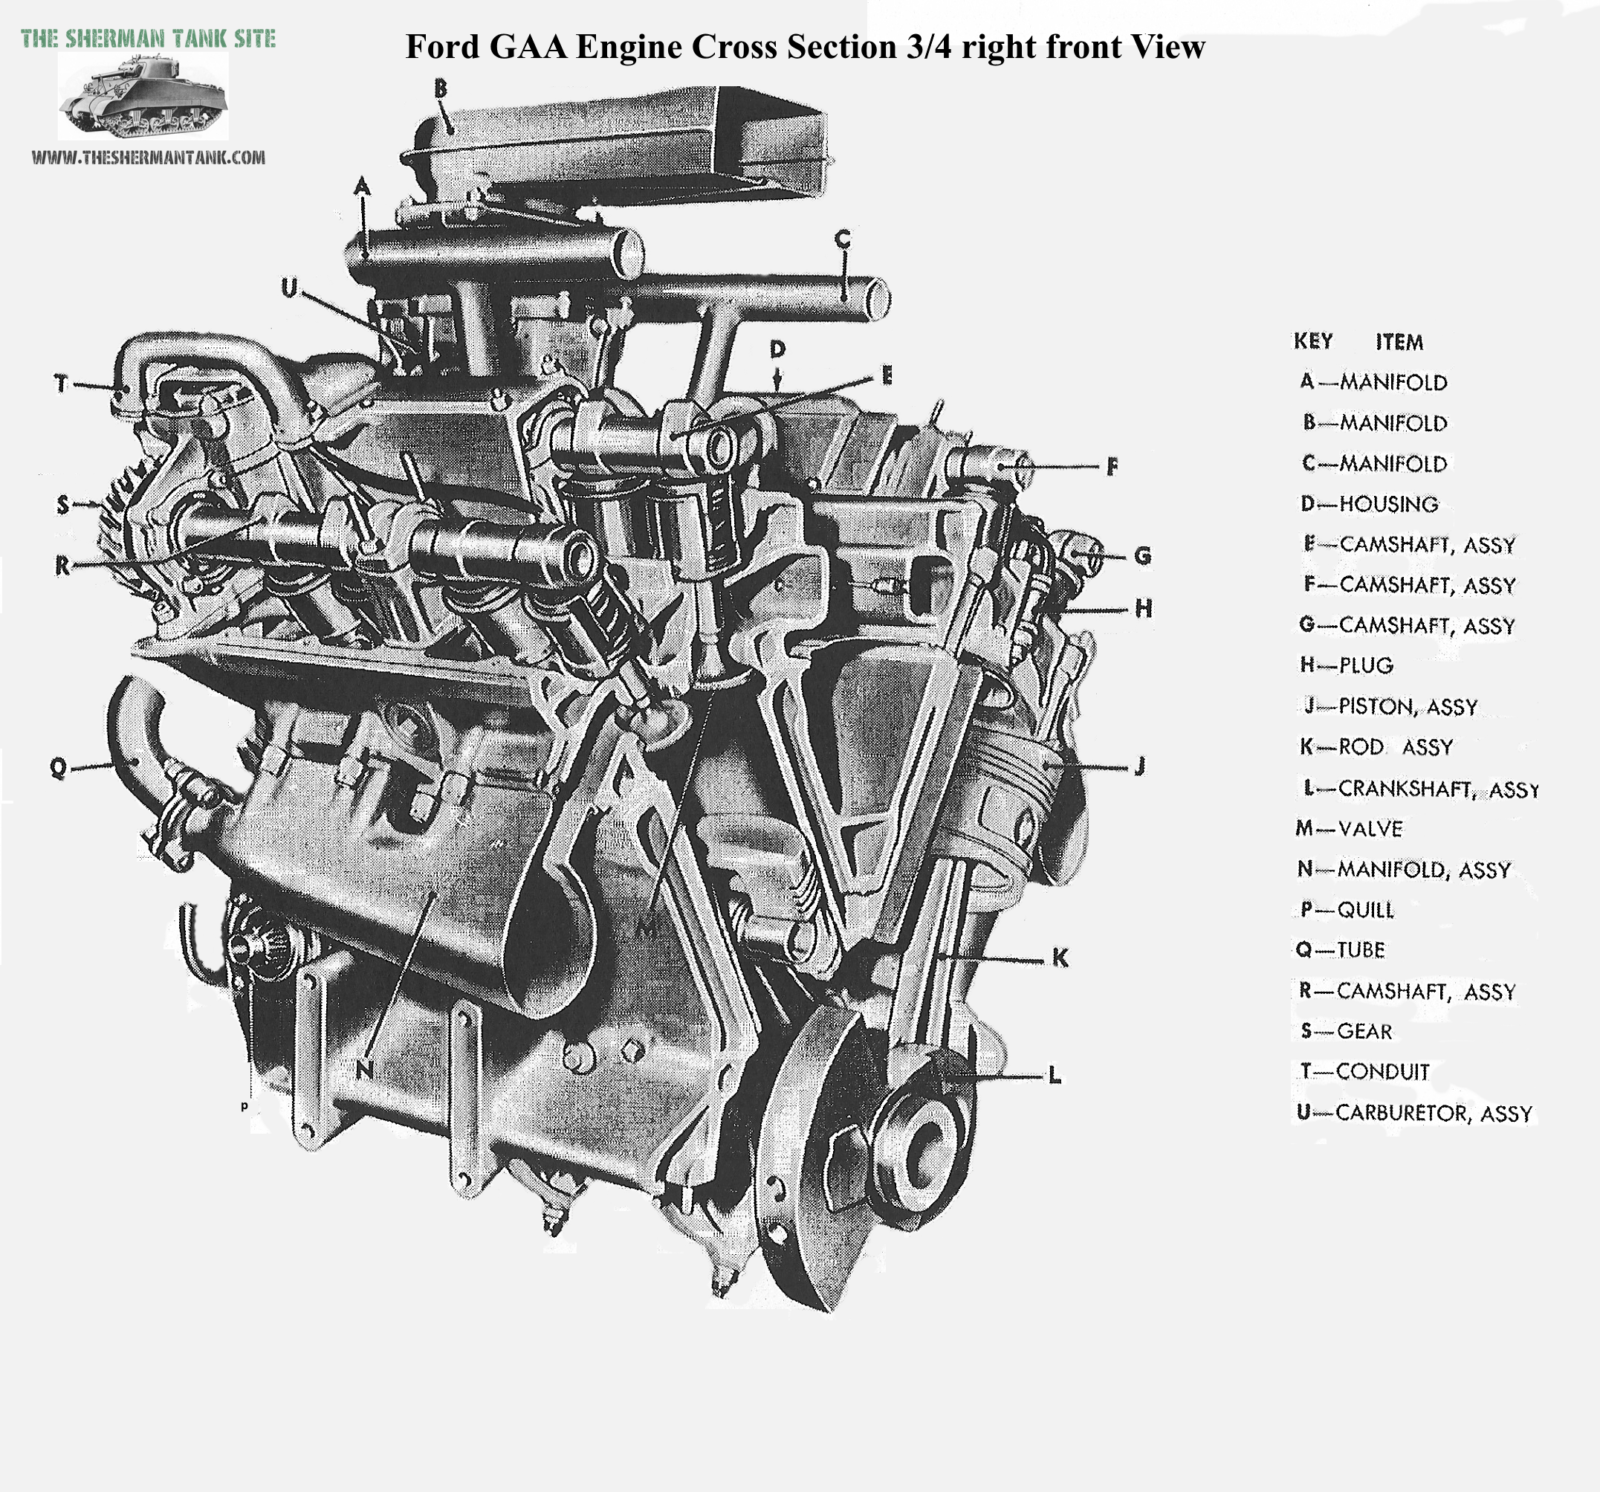
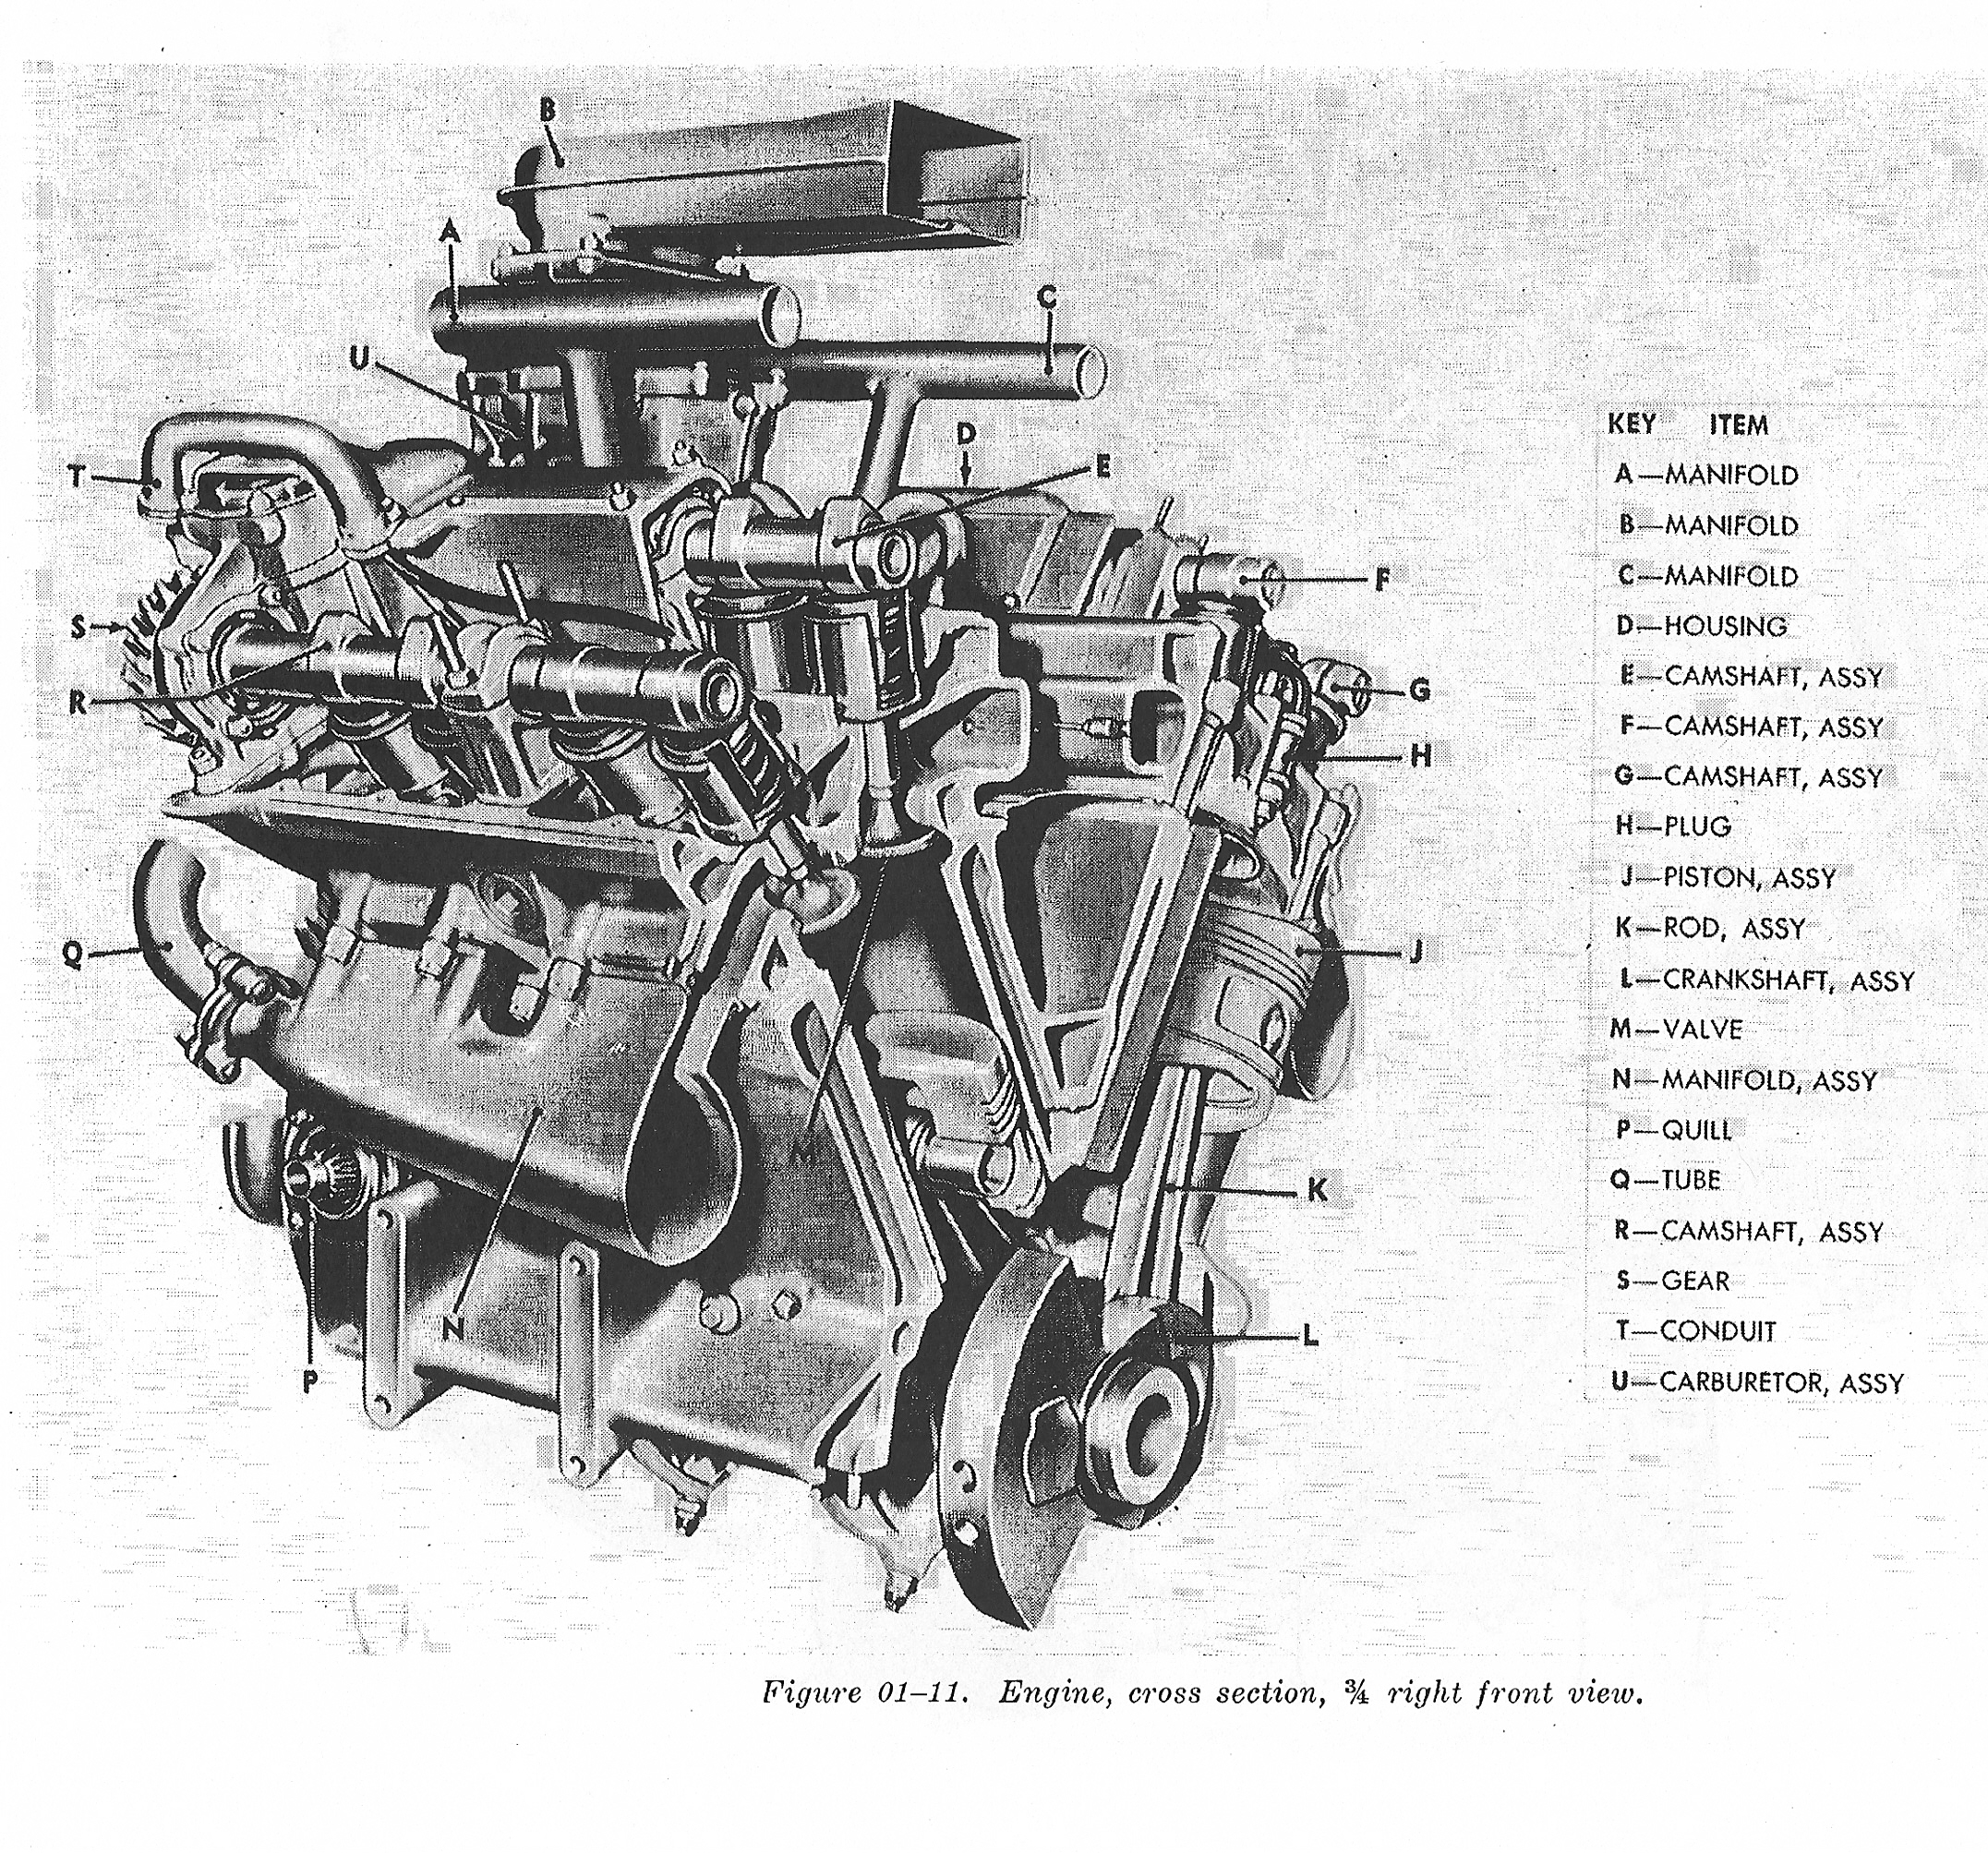
#68 The Chrysler Engine that could have been: The A-65 V12, Chrysler’s home designed tank motor.

The Chrysler Engine that could have been: The A-65 V12, if the war had gone on, there could have been some hotrod Shermans.

Chrysler Corporation had a big impact on the war, and US Tank production. They produced the first, and the model for the others, Tank Arsenal CDA.  They also came up with the A-57 multibank tank motor, that powered a significant number of Sherman tanks. They produced this fantastically complicated, but also reliable motor in a very quickly, and even though the US Army and Marine Corps thumbed their noses at it,  it was well liked by the British.

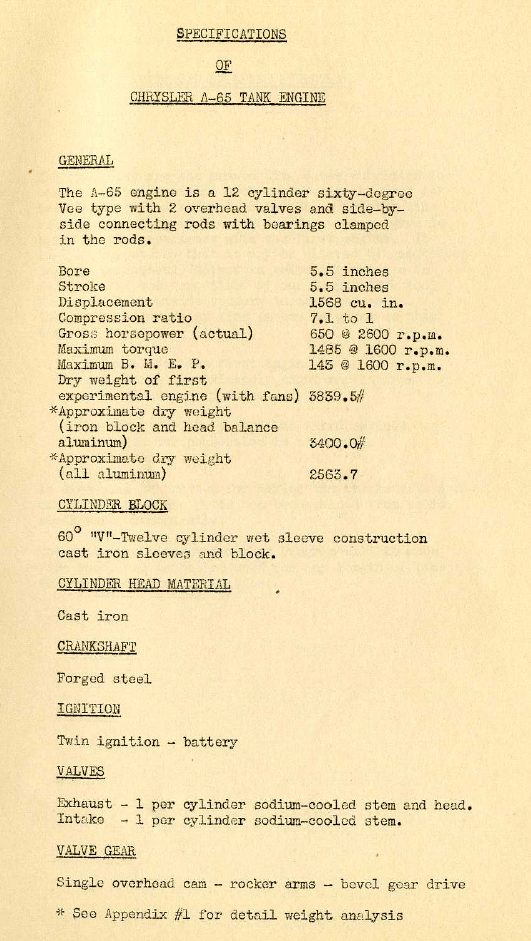
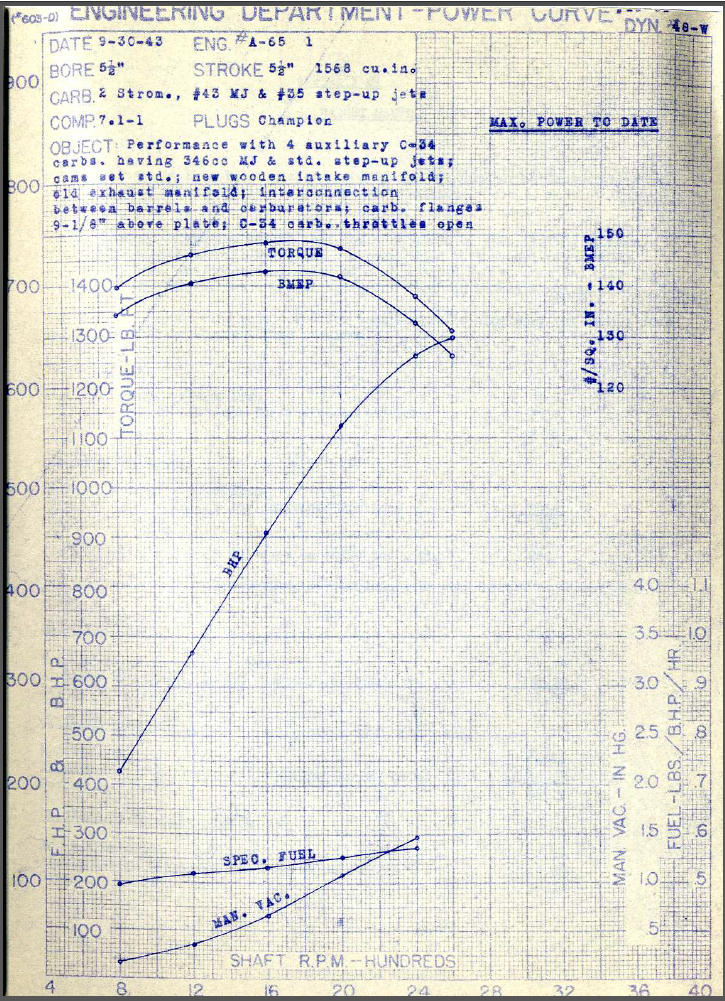
Chrysler on their own dime came up with a water cooled, V12, tank motor, and offered it to the Army.  It took them about a year to come up with three trial motors.  These 1568 cubic motors started out at 650 horsepower at 2600 RPM and 1485 pounds of torque at 1600 RPM on the test stand.  They came in around 3840 pounds, but there was a proposed all aluminum version that have dropped nearly 1000 pounds.  Designing and producing the prototypes, cost a grand total of 358,000 bucks, that’s over 5 million in today’s dollars. During the dyno testing period, they had a few problems with the fan drives, but these were solved with improved oiling and rolling bearings, and these seemed to have solved the problems.

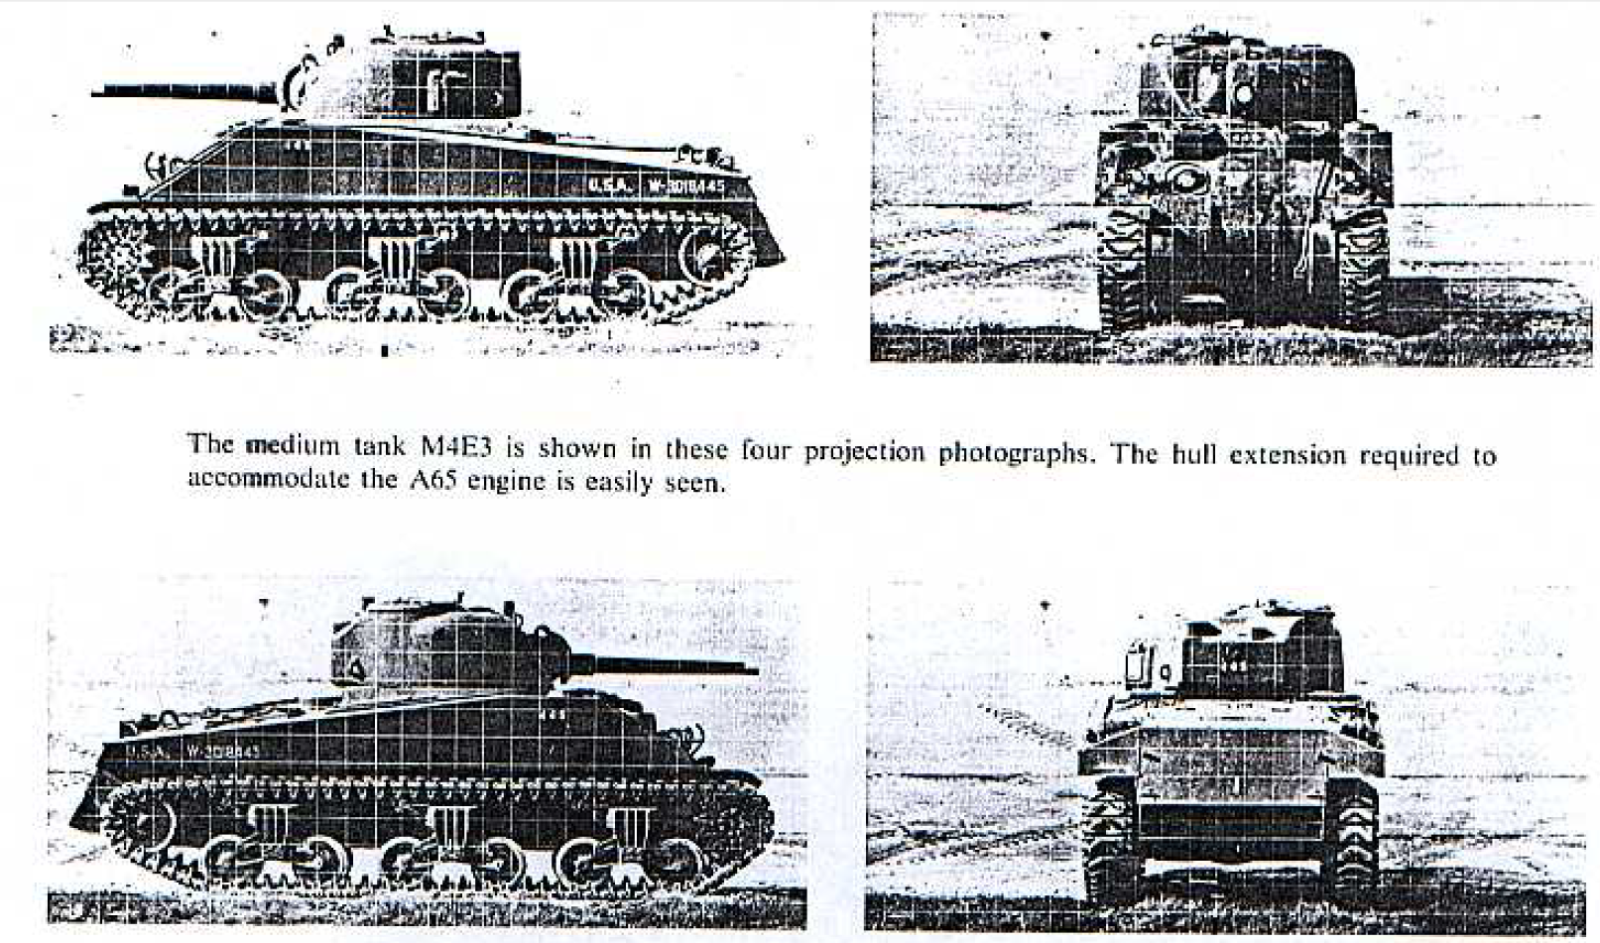
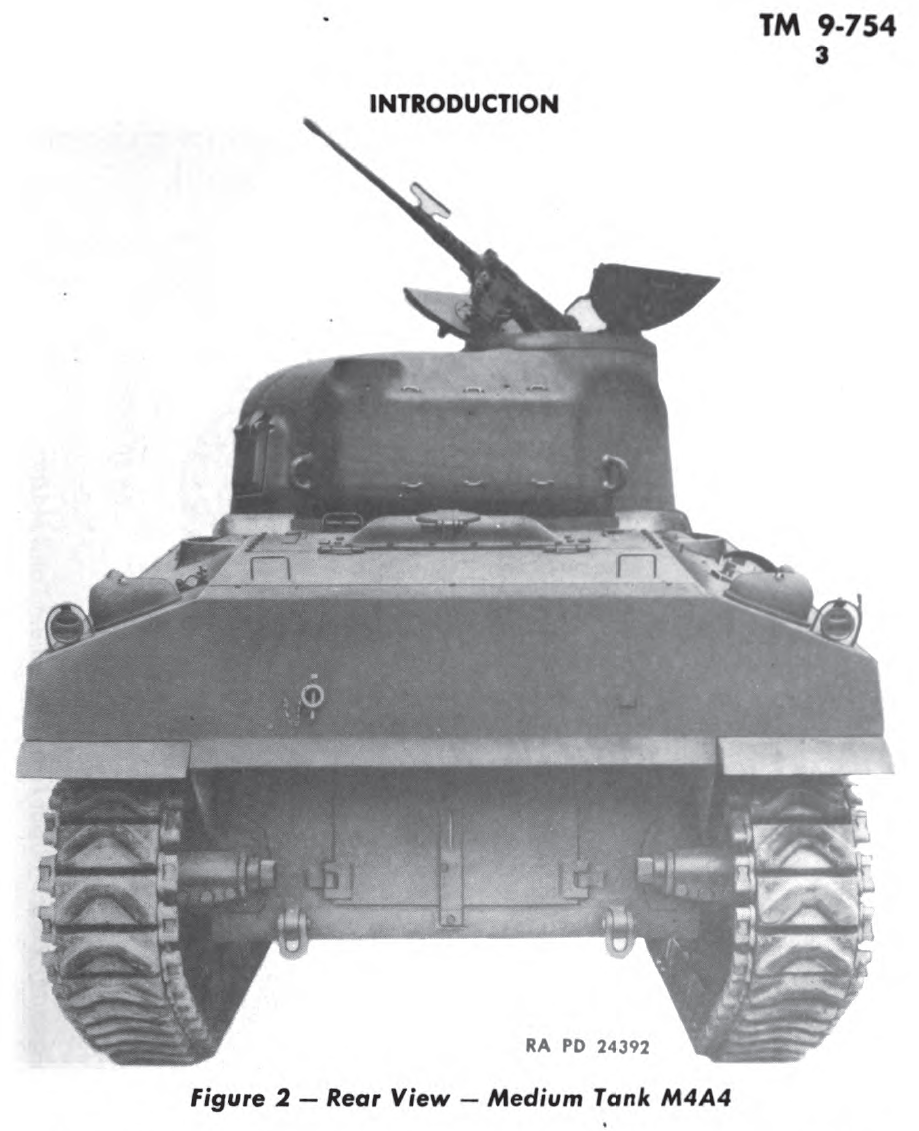
They used an M4A4 as a test vehicle, and had to stretch it another 9 and 1/2 inches to fit the new motor. Installed and ready to roll the thing came in at 69,170 ponds, and a stock M4A4 came in at 69,640 pounds!  Installed, the early versions had 549 horsepower, but they upped the compression ratio and got it to 580, and it was improved even more with some carburetion changes. They made the compression change by swapping and a cam change during the in vehicle testing phase. Further testing led to the intake and carb changes.  All the while the motor was being swapped in and out, and driving tests done.
The automotive tests were very successful, and that was using the stock powertrain of the Sherman, though with so much power, they decided a gear change would help. By swapping the original 3:53:1 gears for 3:05:1 gears, they A65 was still able to beat an M4A43 in a drag race!  The engine was so promising, it’s an interesting mystery why the Army never developed it further.  Much like the GAA, there was much more performance potential in this motor, and the Army never took it any further.
I suspect what ultimately killed this motor, was the same thing that killed the GAA, the Army was looking at air cooled motors for the future, because you can save a lot of weight, if there is not liquid cooling system needed.
Special thanks goes out to Chris R, one of our readers and a source contributor, sent me a nice little history on the motor.  Thanks again Chris, sorry it took so long!!
Sources:  Sherman, by Hunnicutt, and 1943 A-65 Tank Engine History

News Post #10: Sherman Tank Site News!

Sherman Tank Site News, April of 2017 edition: Data Part II, Data Strikes again. 

The Sherman data sheets have been a very popular addition to the site, so I decided to gun and engine data sheets as well.  One motor Data Sheet is done, and the others are in the works. There are all kinds of new images and info in the various pages on the Shermans guns.
We also have a new layout to the website, instead of a lot of hard to find posts with an Index that was hard to find things in, we now have set pages,  of the main menu.

As you can see from this handy image, we have a page for the Shermans suspension and Track systems.  We have a Sherman Gun Data page. We also have a motor data page, but right now we only have the Ford GAA in it.  Now we also have pages for each tank model and a main page to find them.  There have also been minor image additions to many posts, and a few pages have received minor updates.
The Crew and their Stations post got a massive update as well. 
We also recently reviewed an inside the Hatch of the M4A1 tank.
Coming soon will be the Sherman Transmission, differential and final drive data sheet. I will also be filling out the individual Sherman model pages over the next few days. There is only so much I can do in a day!

Thanks for being interested in the site for all the guys who have commented and sent me interesting info. More great information on the Sherman tank is on the way.


Sherman Tank Site, News Post 9: DATA, DATA everywhere!

News Post 9: New Years News

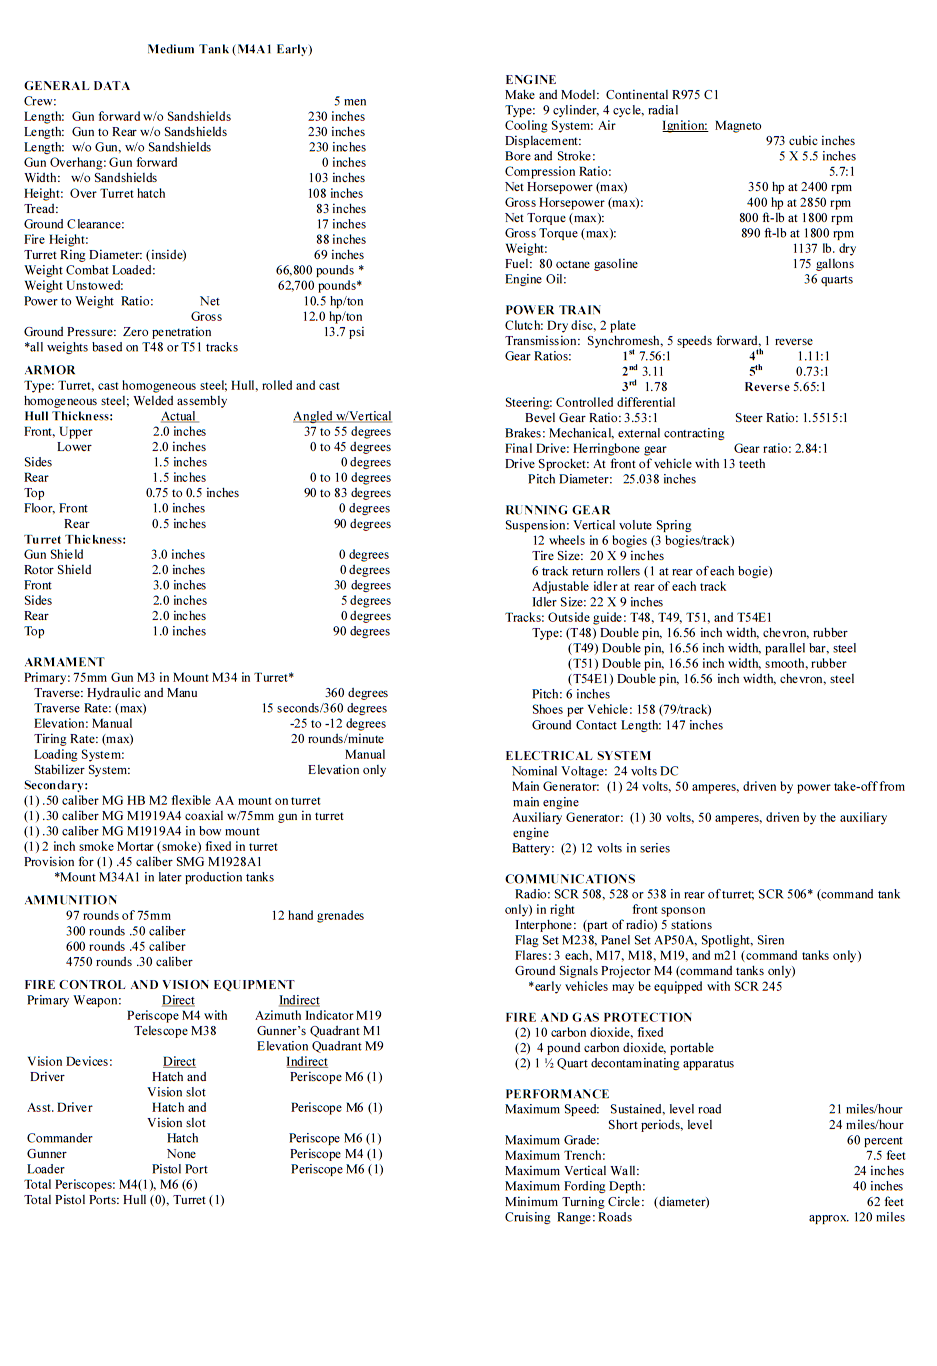
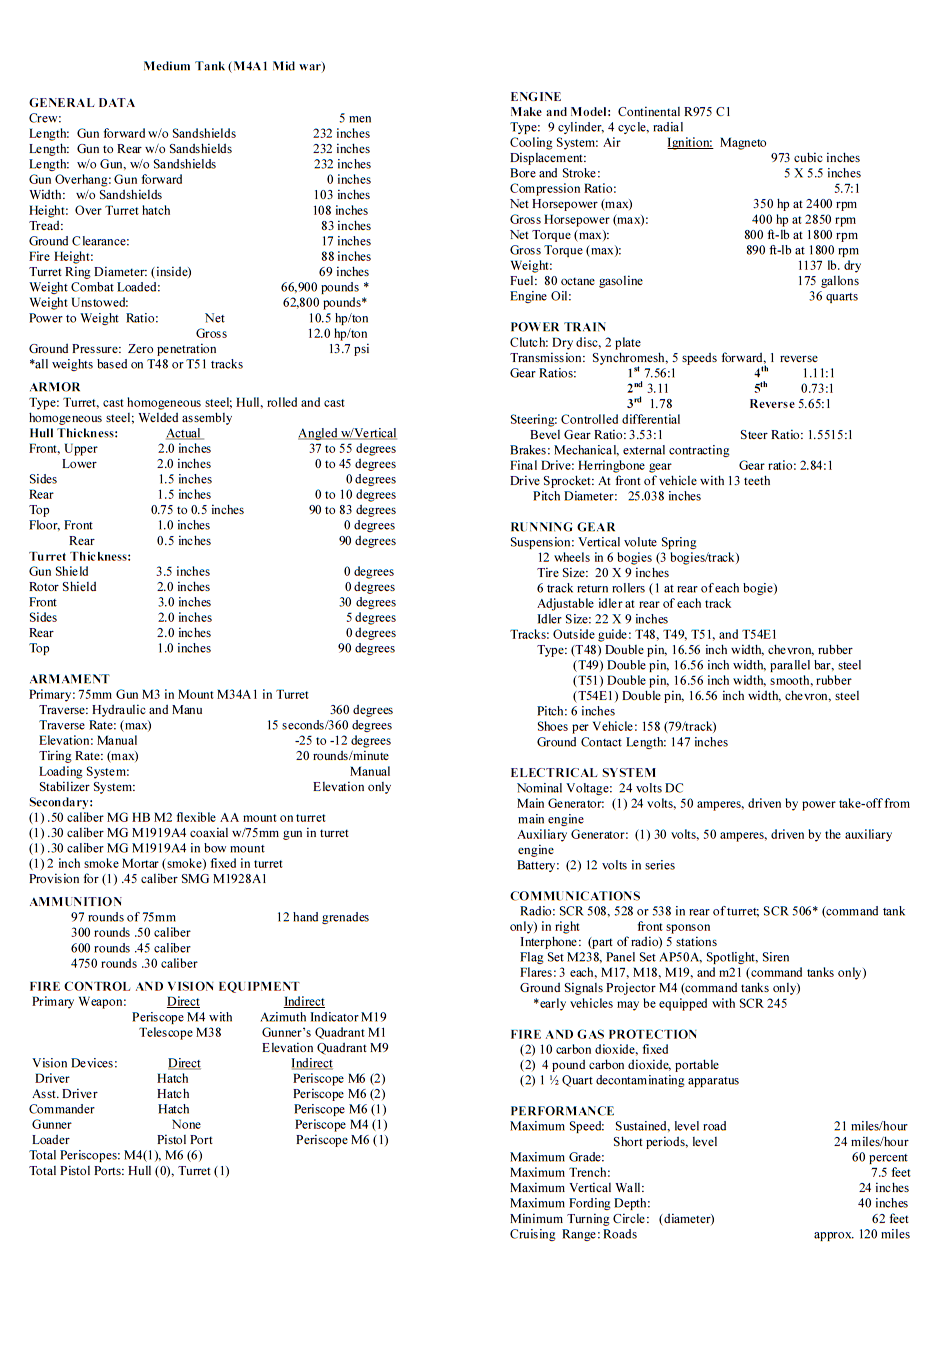
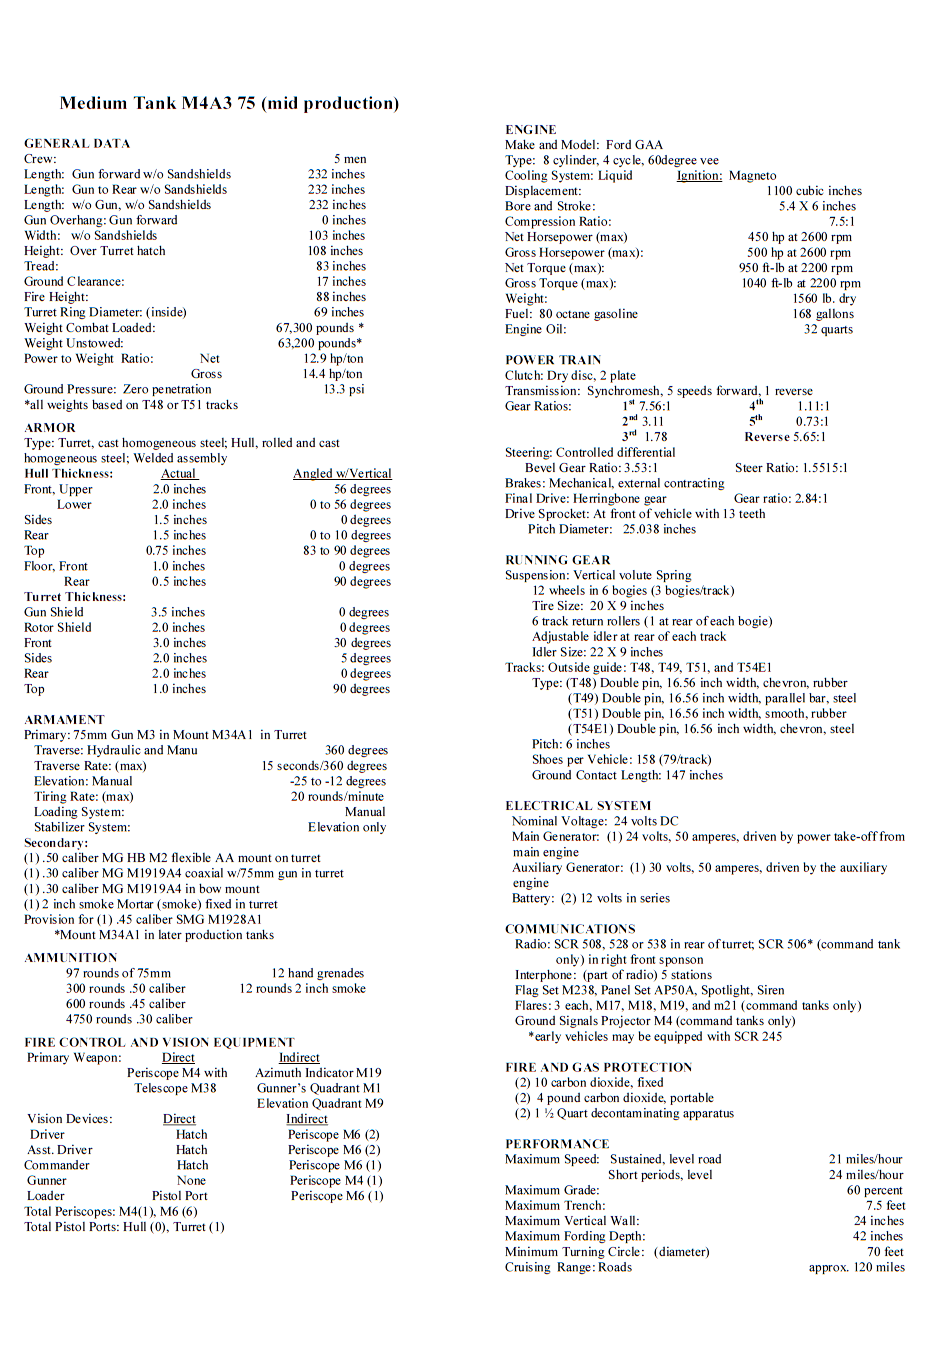
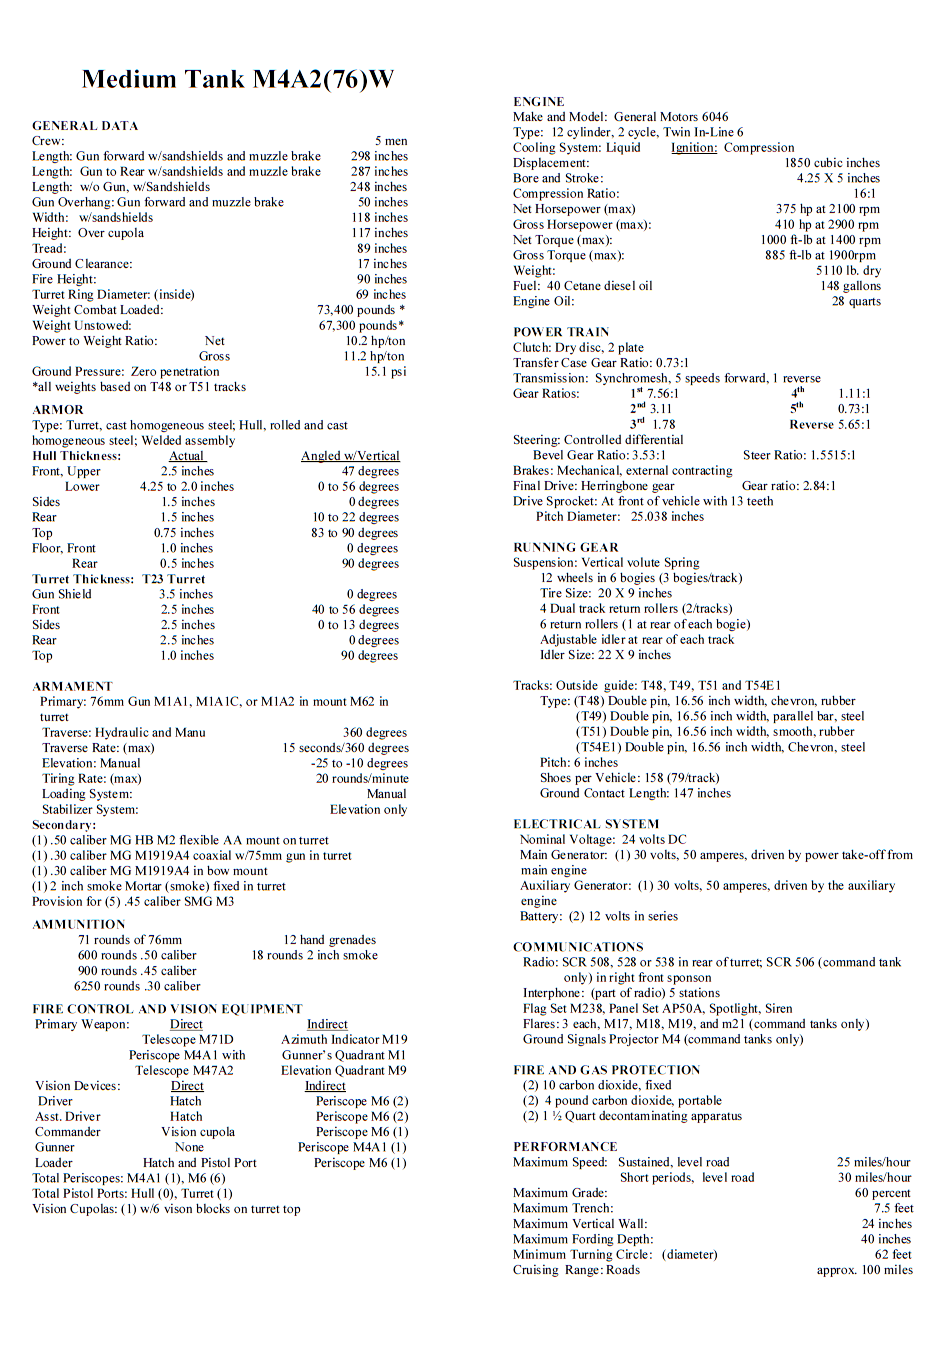
I decided I needed more hard numbers, the kind of data that makes non tank nerds eyes roll up in their heads, stuff like how many spare periscopes were issued with an early war M4A1! One of the best way to do this is through tank Data sheets, as found in the back of many books on tanks. I used Hunnicutt’s Sherman book for some, but others I’ve made using the Hunnicutt ones as a template and then using data from the Technical Manual for the tank.
We had four, now have spec sheets for 15 different models of Sherman, and 3 Lees! You can find them all on this page. Shermom Model specification sheets. 

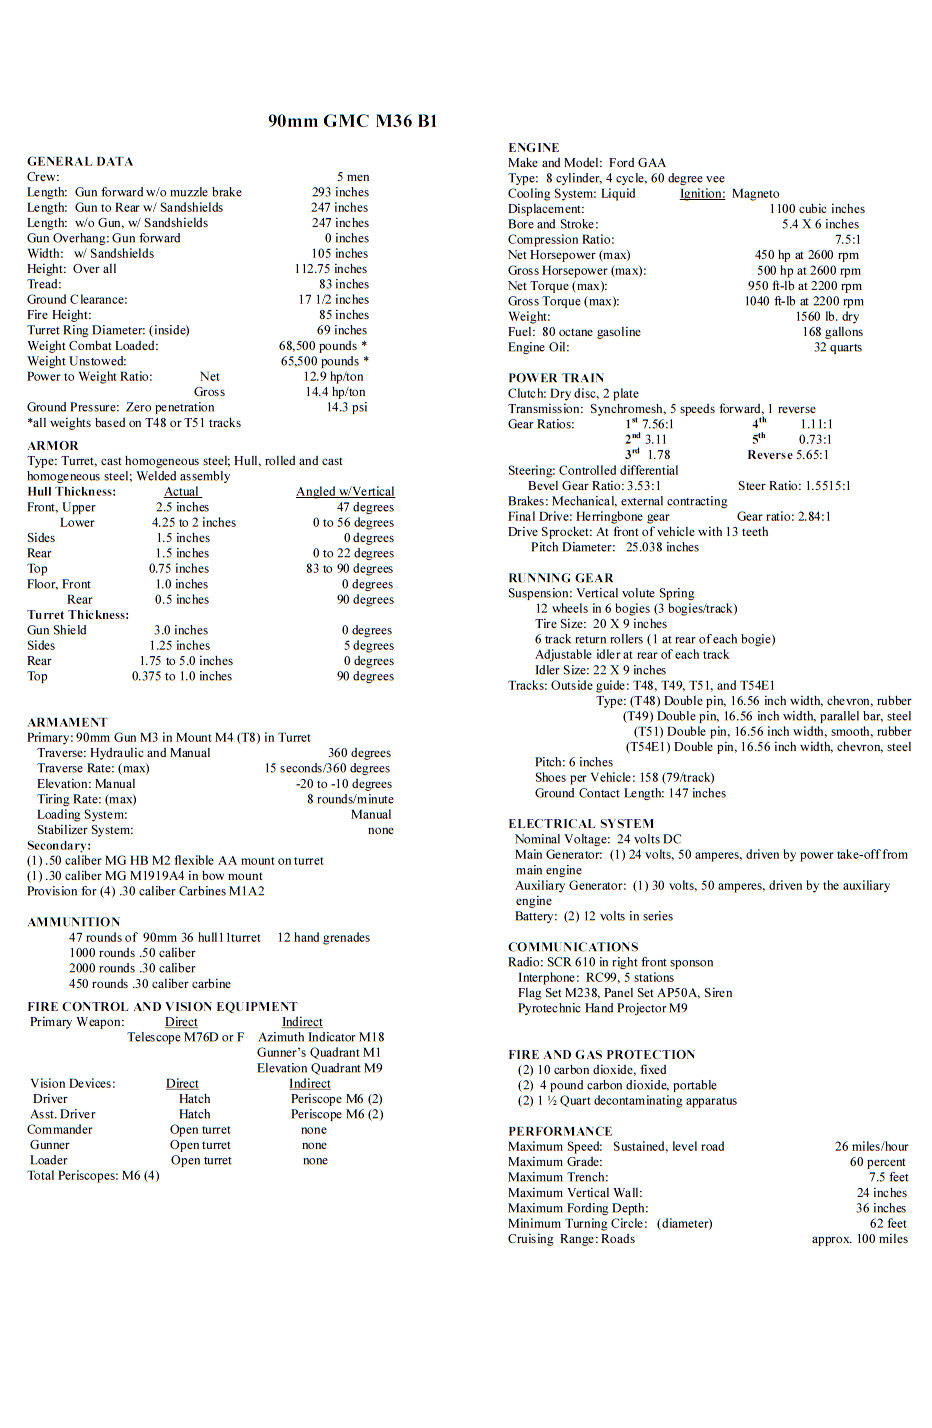
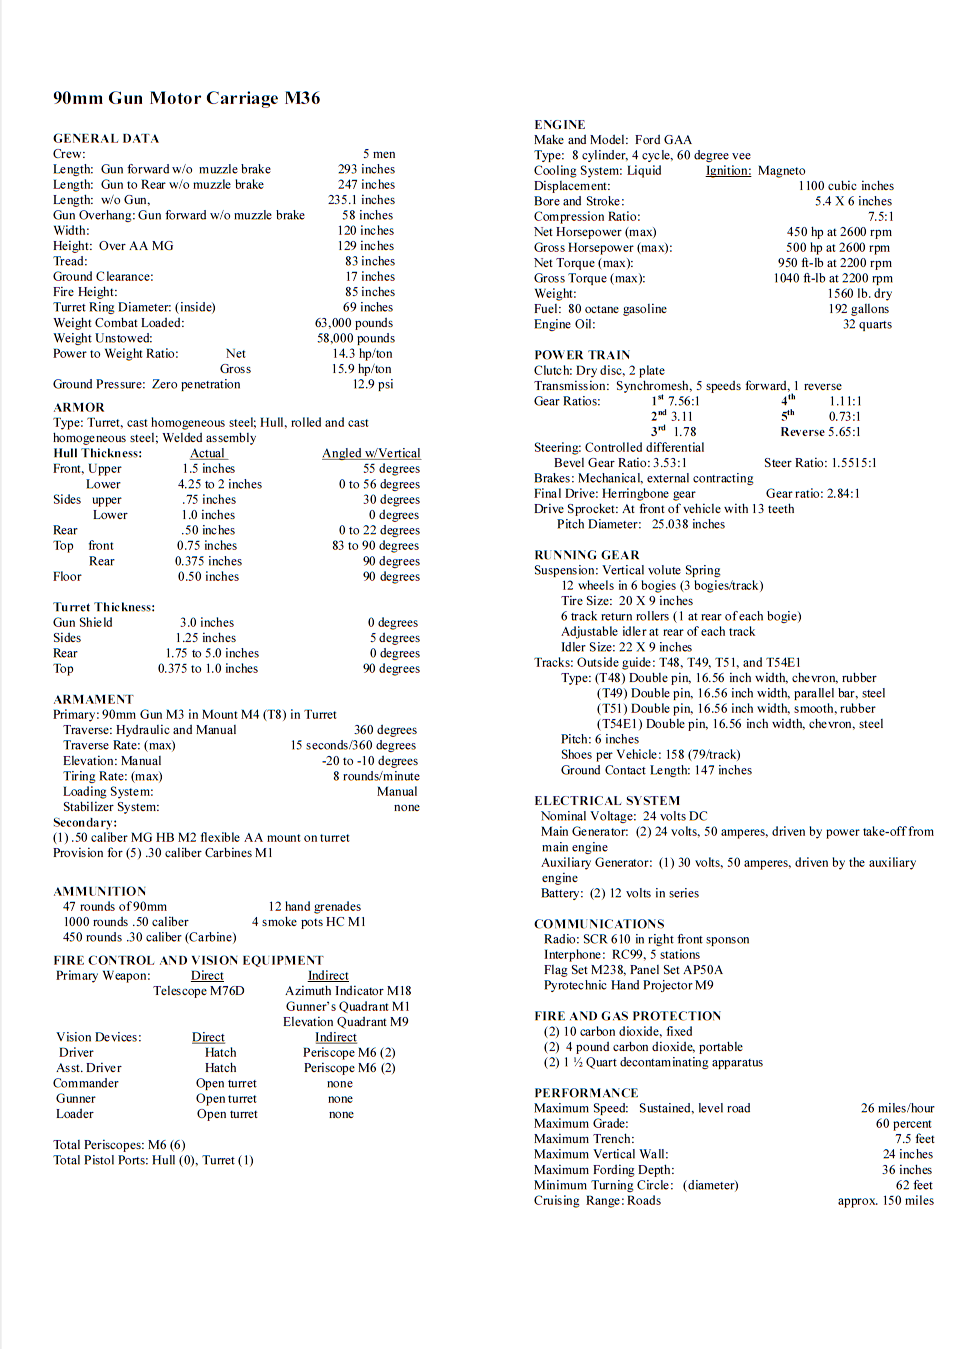
90mm GMC M36B1 Spec Sheet PDF
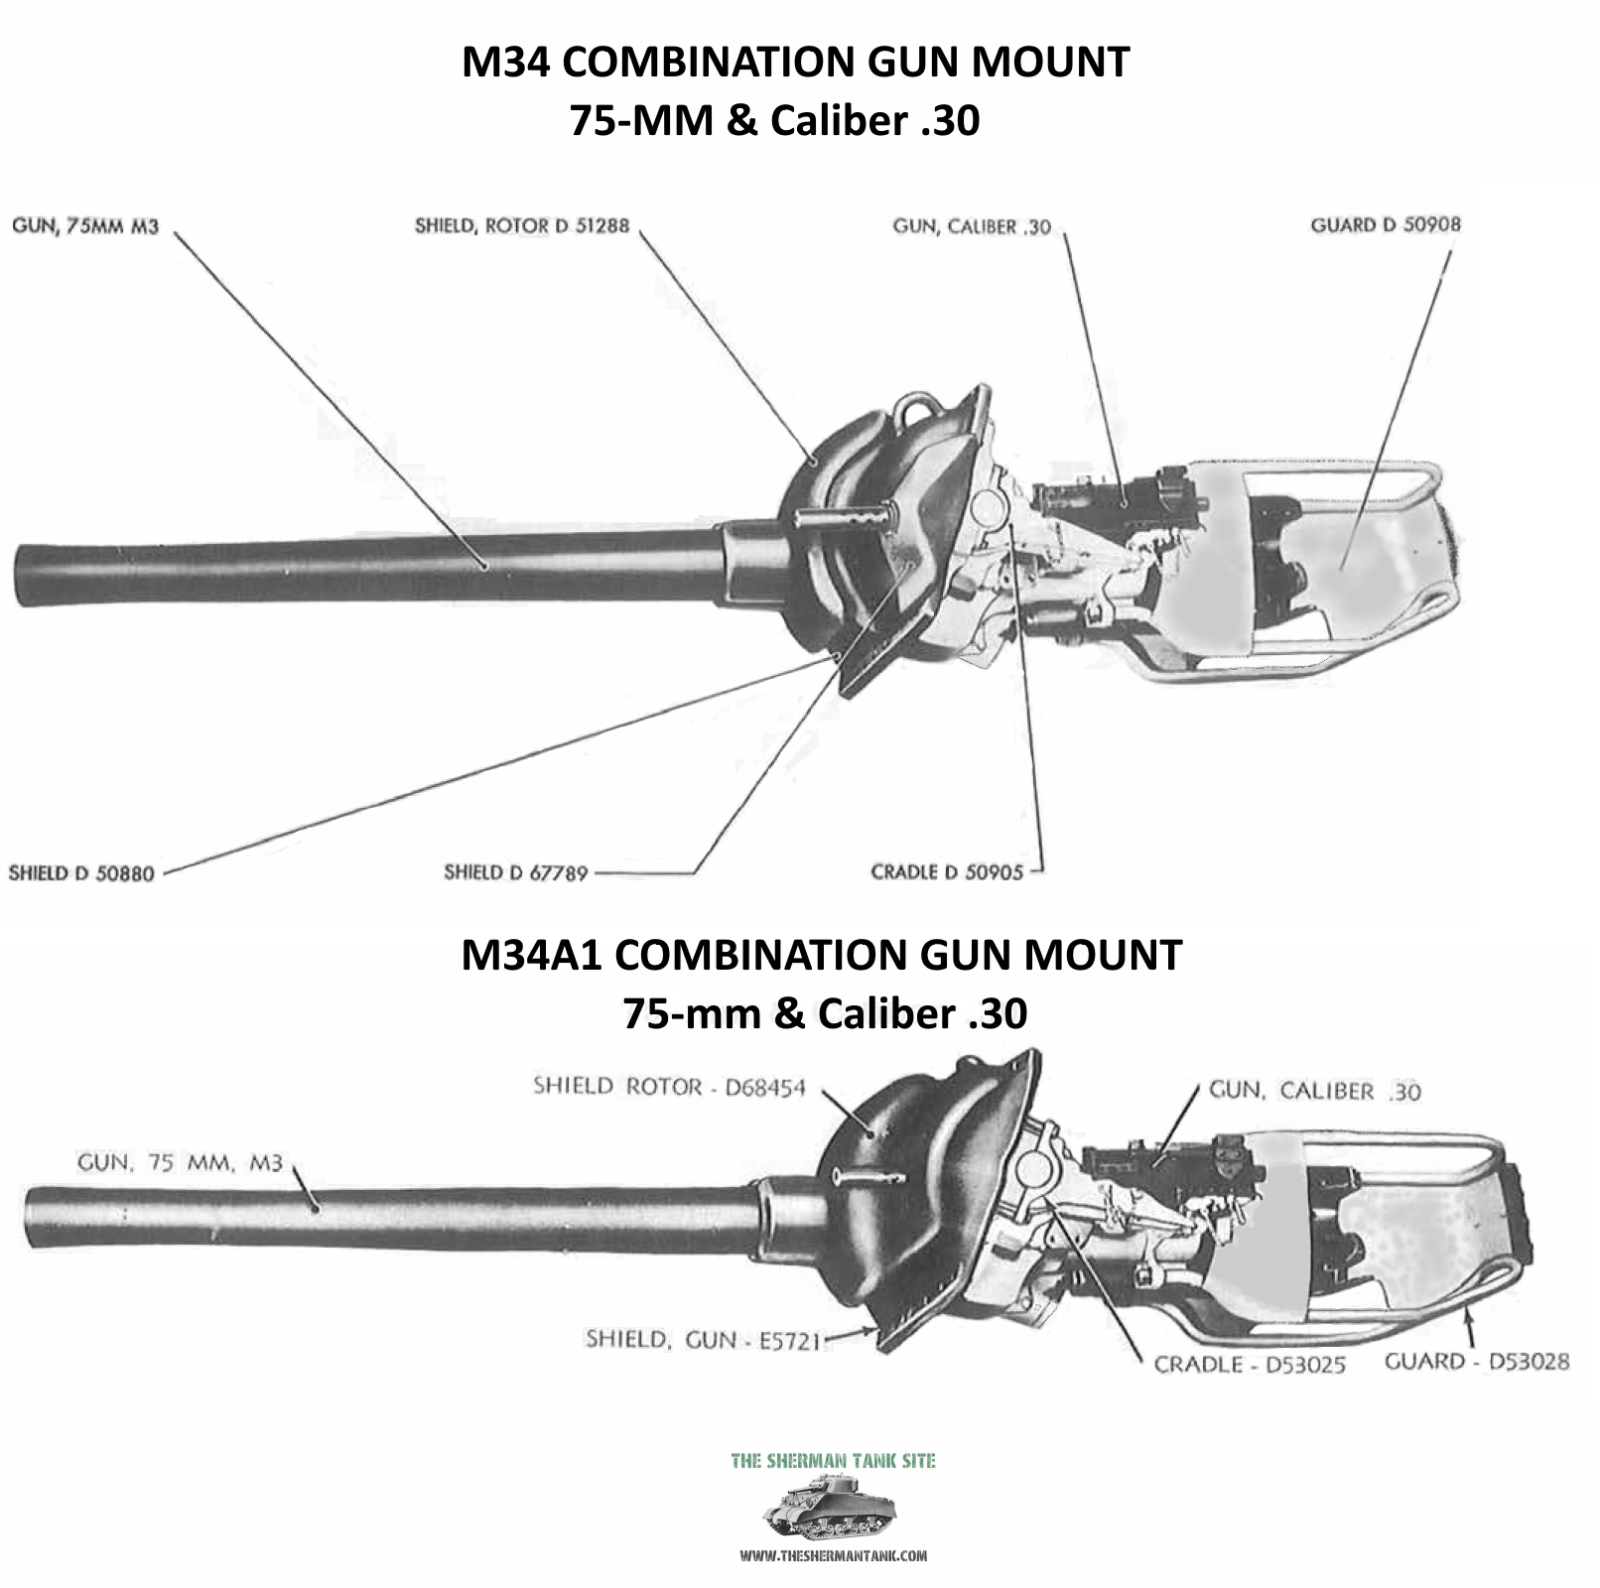
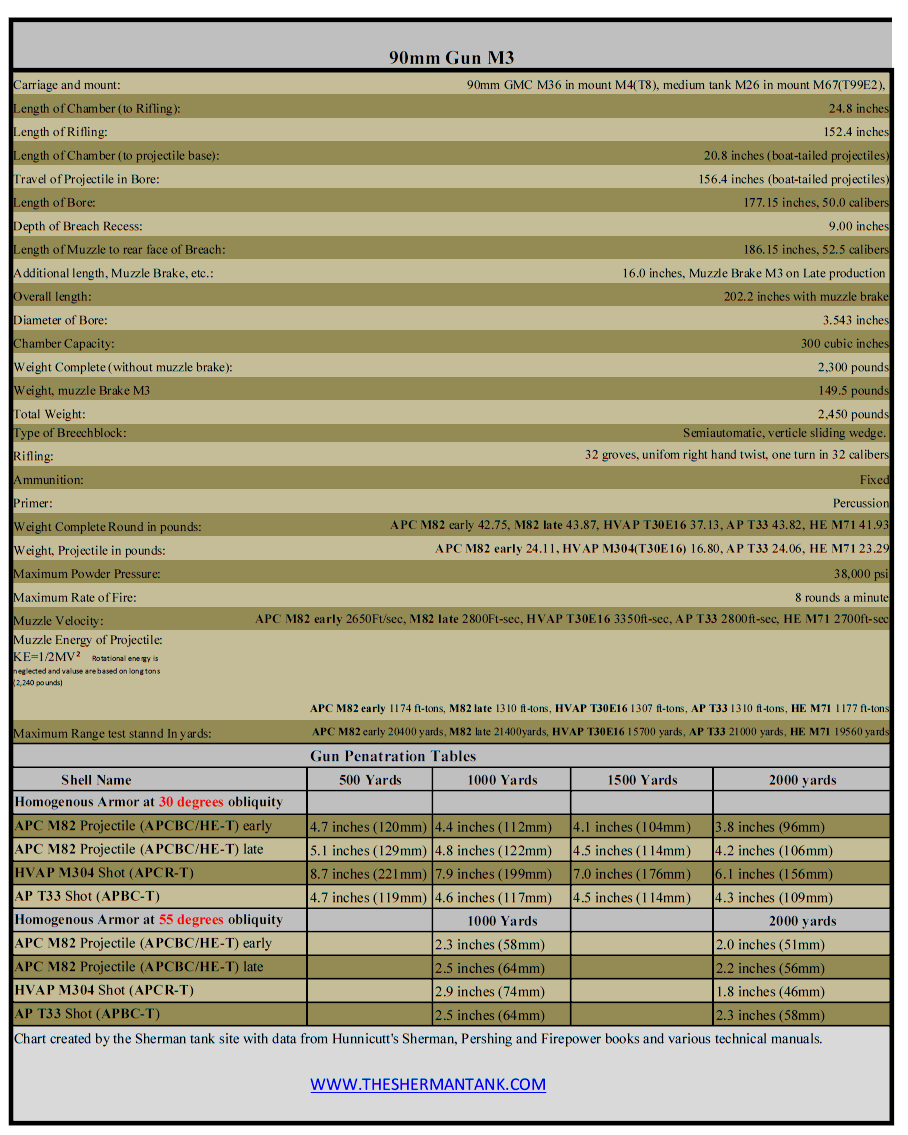
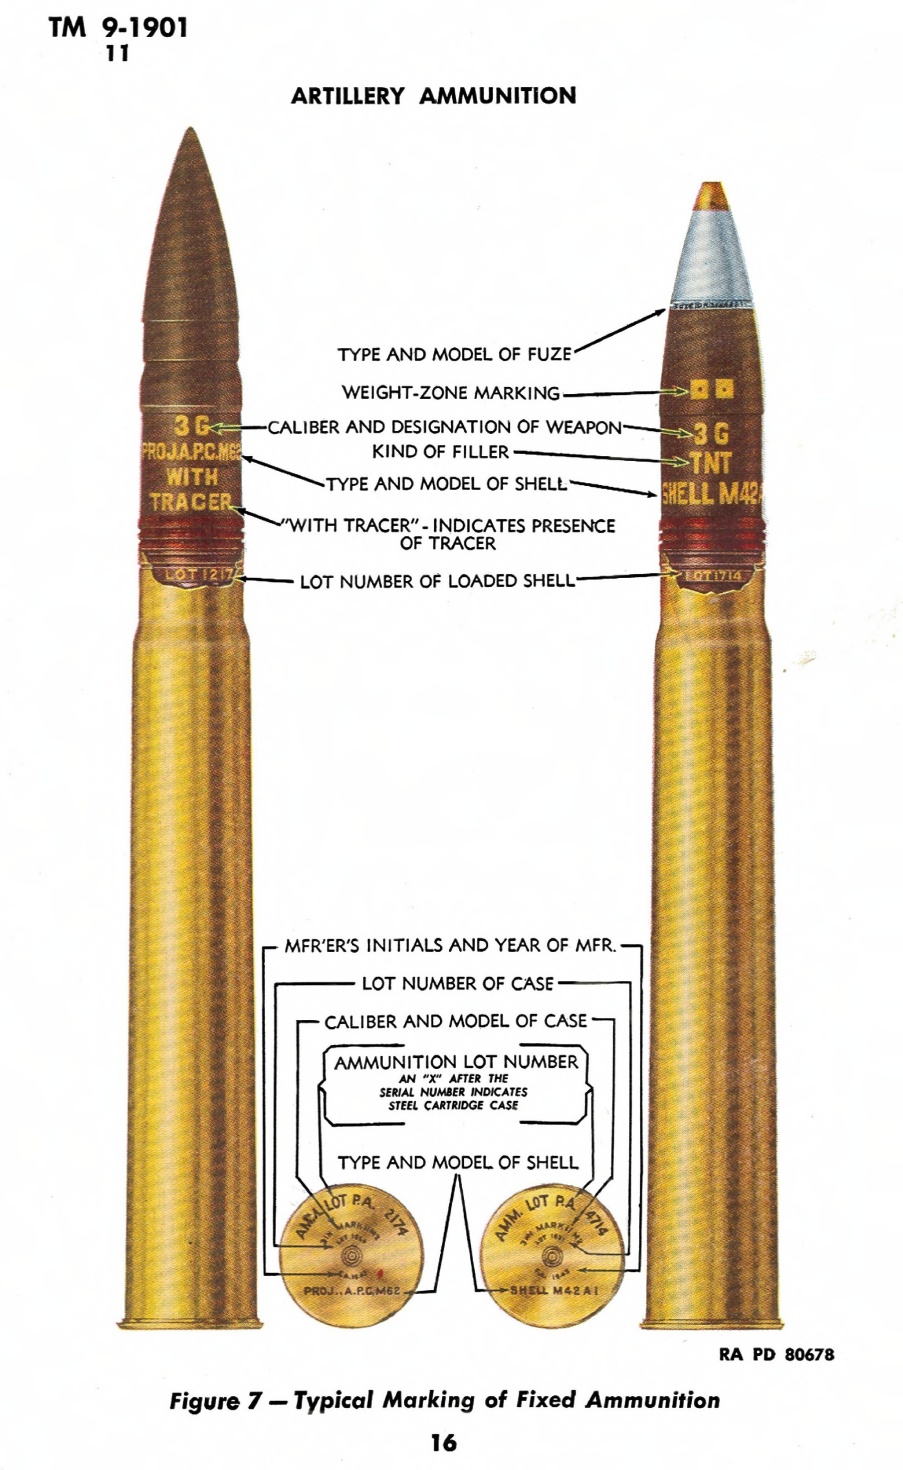
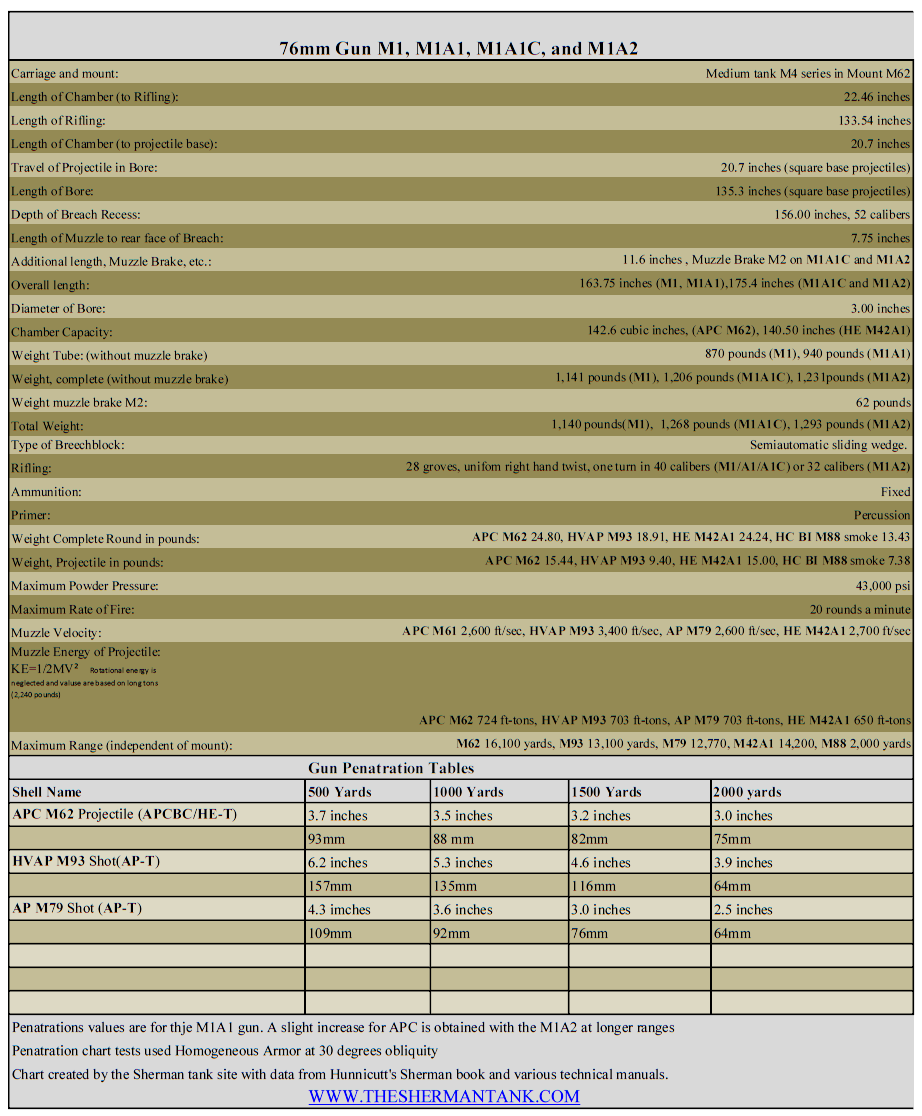
That’s not all though, I decided the gun Data sheets in Hunnicut were really interesting, so I started replicating those, but with an improved format, and slightly more data.  These gun Data Sheets can be found here, Main Guns: THings that go  BOOM!  All the guns the Sherman tank used are covered, and more are coming.

m1-M1A1-M1A2 guns 76.2 Sherman tanks
In the works are Data Sheets for each Sherman tank motor, and several experimental models. These Data sheets will have much more detailed info on the motor, and will include interesting images from the manuals for the motors.
Also in the works as dedicated pages for these data sheets, the beta test of the gun version is up and can be found here.  Next up will be ones for each tank model and then motor.
Also note the latest post on the Ram tank, The Ram: The Shermans awkward Canadian Cousin. This post covers the Canadian and British attempt to come up with a better Sherman before the Sherman design and prototype was done. I’ve been sent some very interesting documents, some are included in the post.

Thanks for reading and stay tuned for more Sherman information!
 

#30 Sherman Model Specifications: Data, and Lots of It.
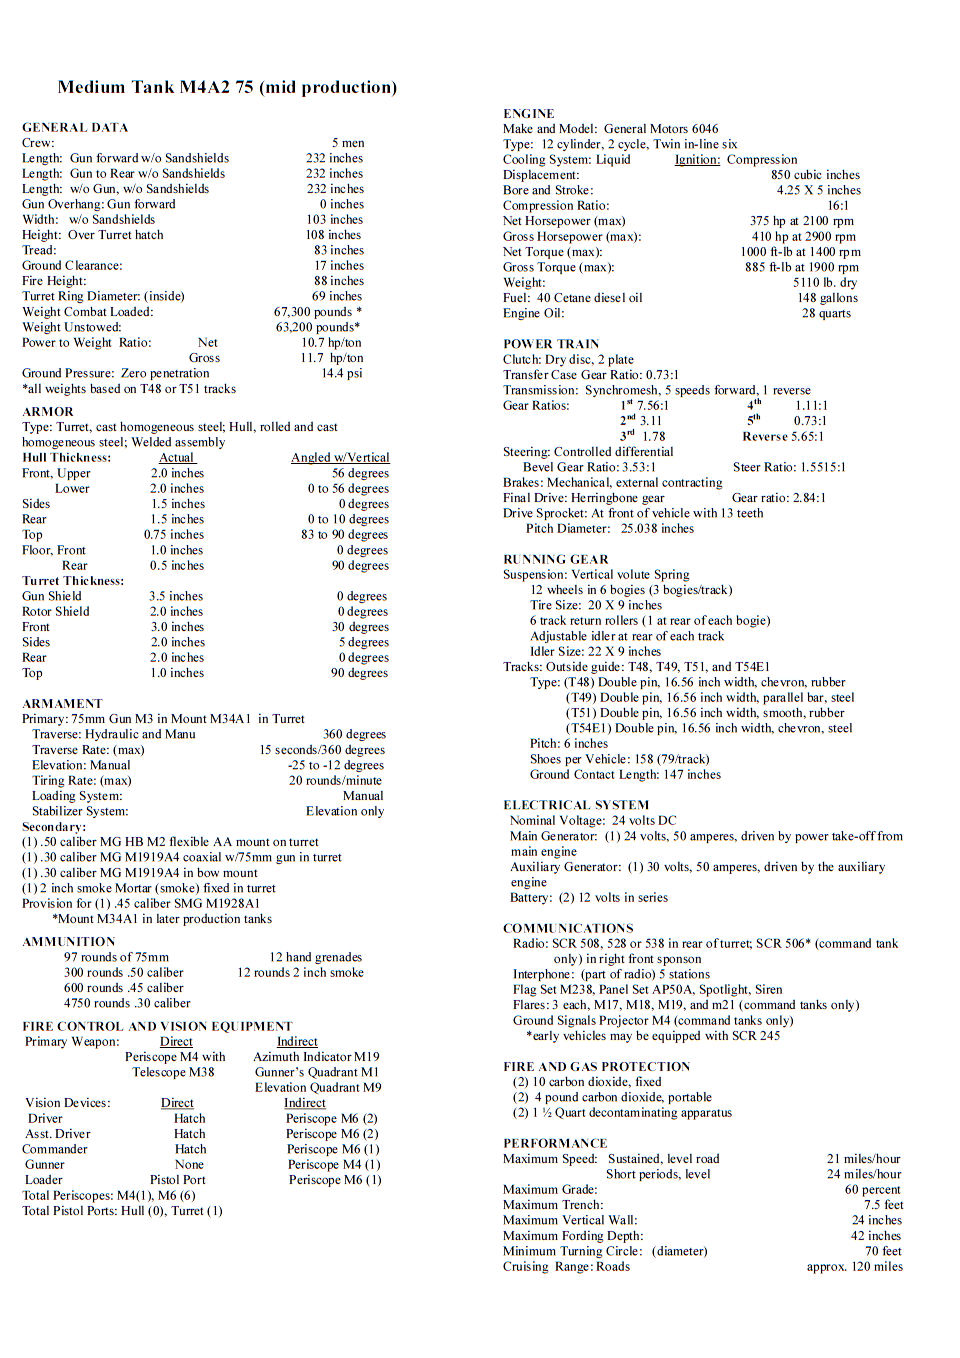
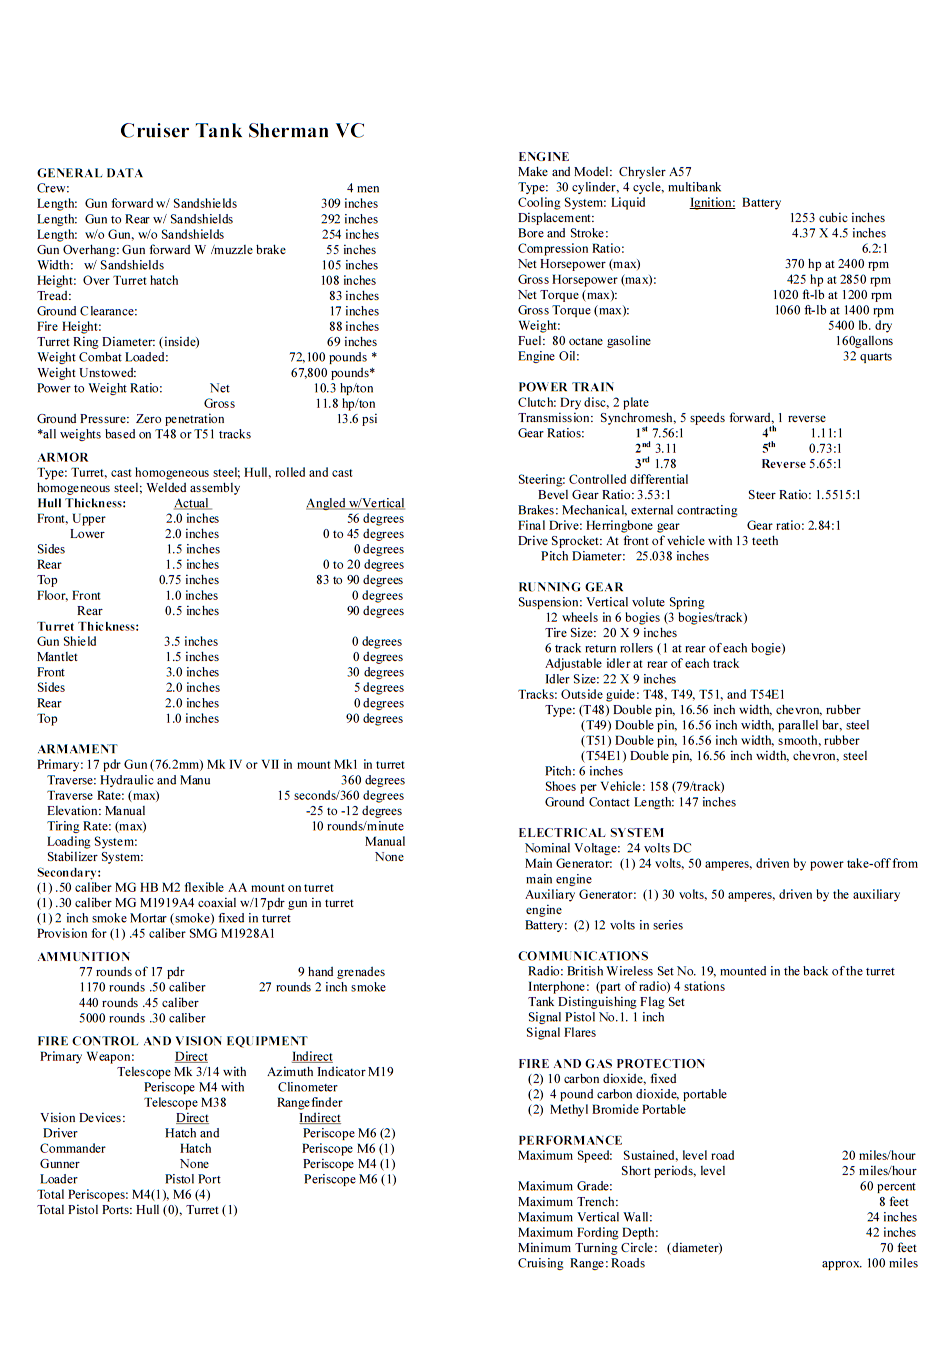
Sherman Model Specification Sheets: Detailed Data Sheets For Each Model.

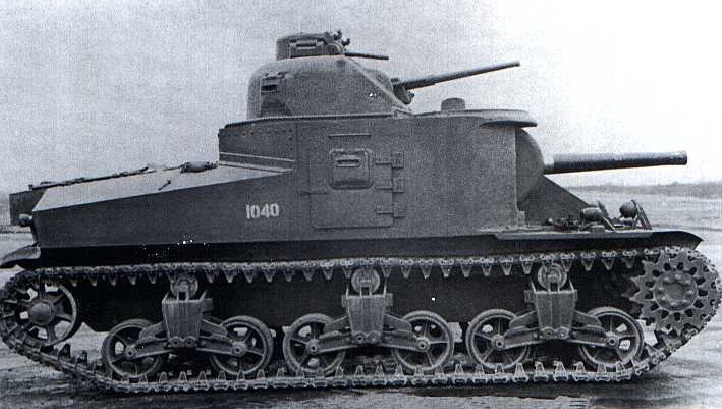
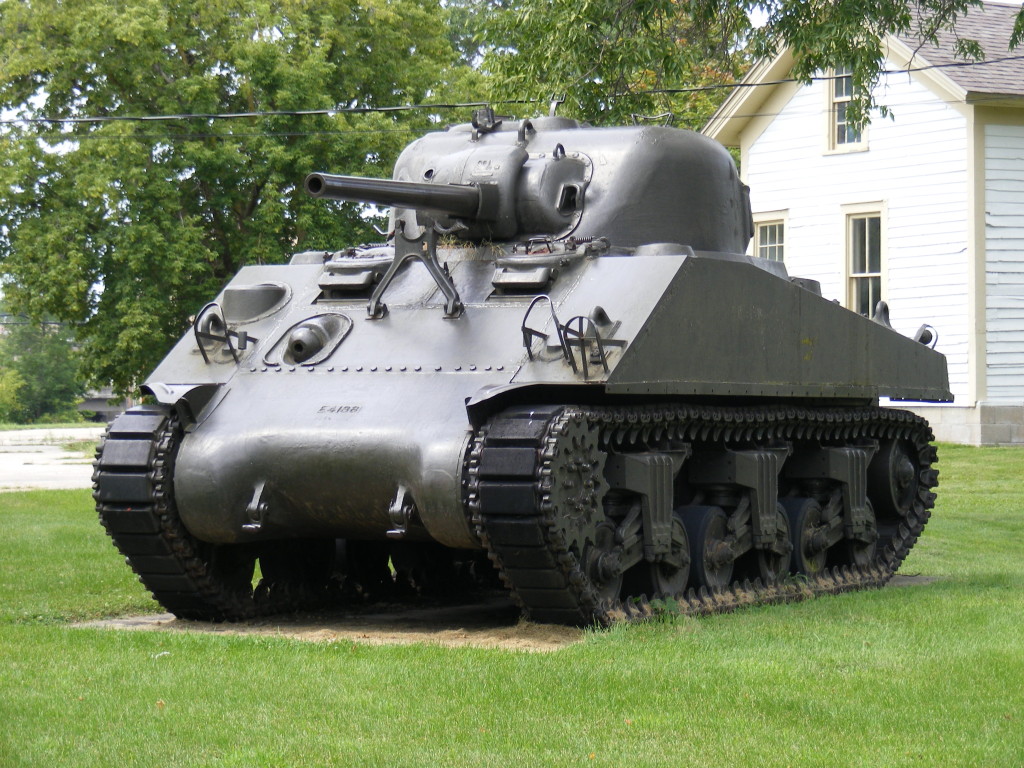
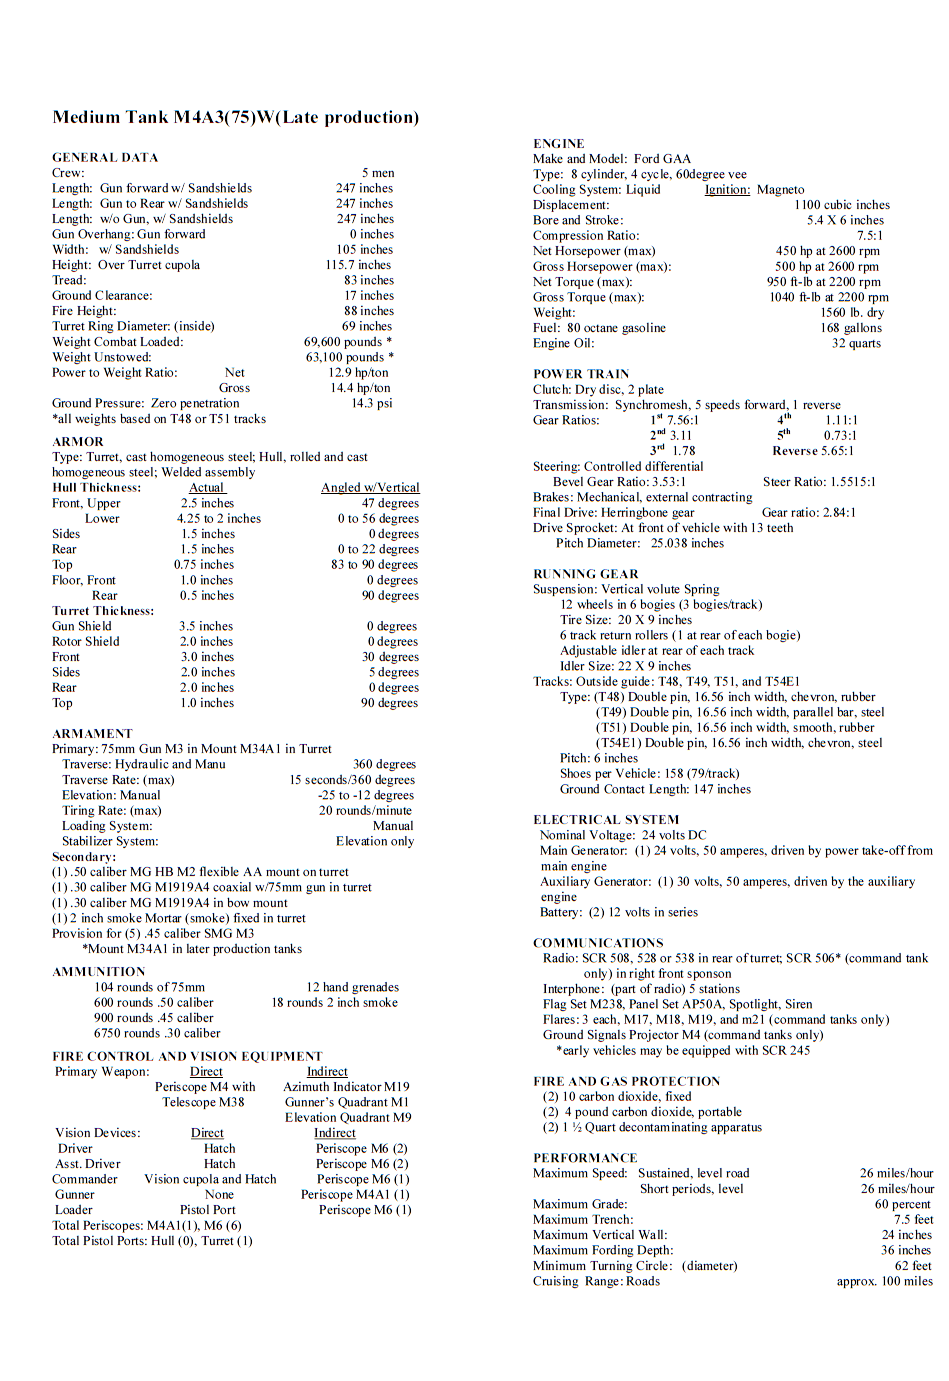
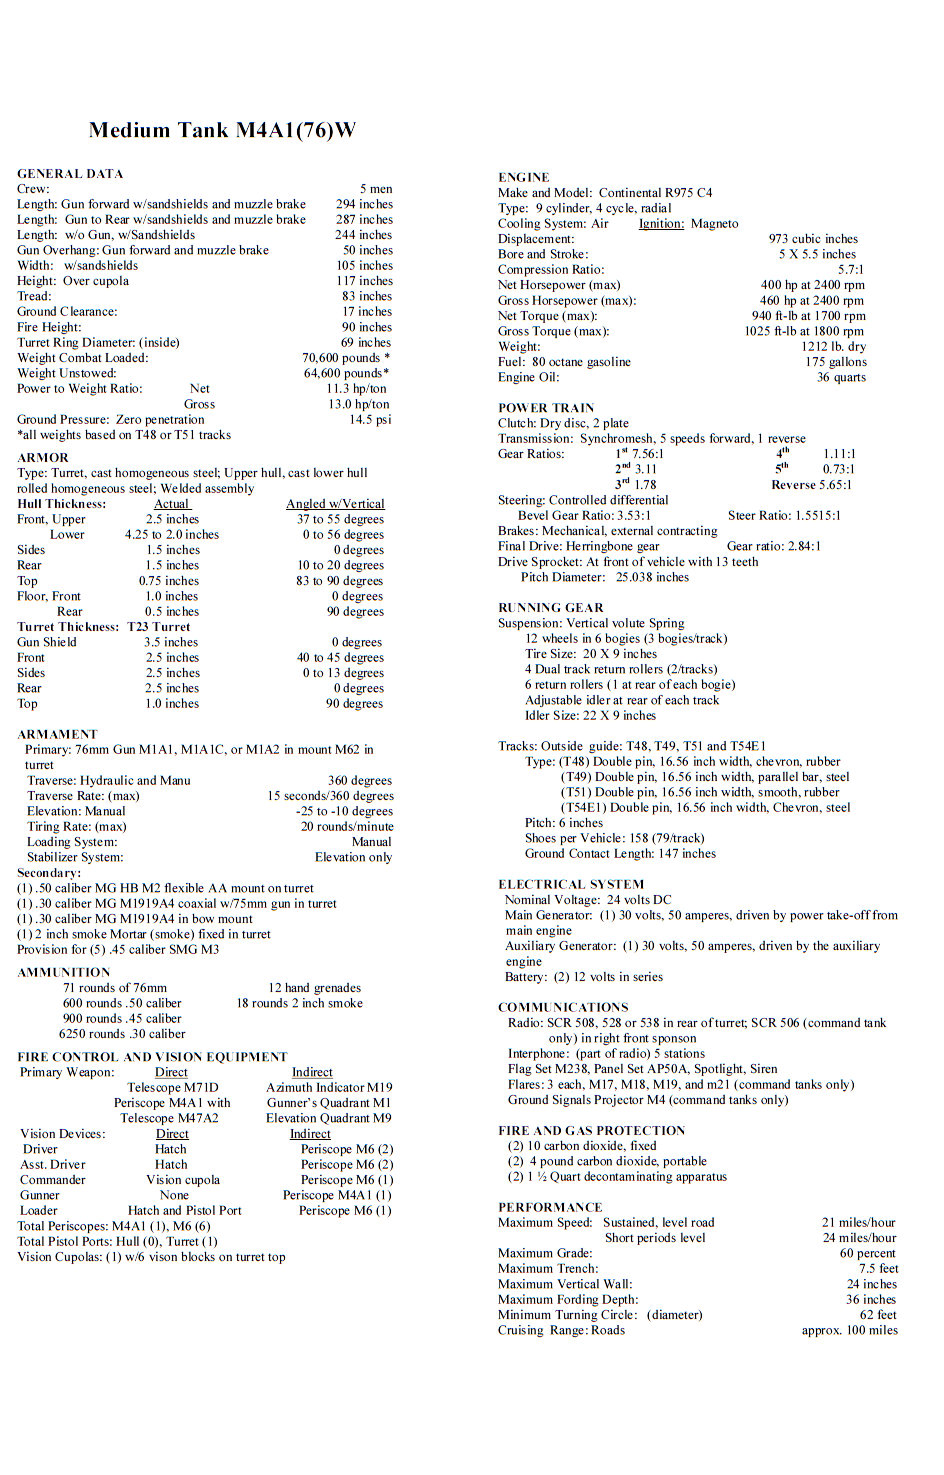
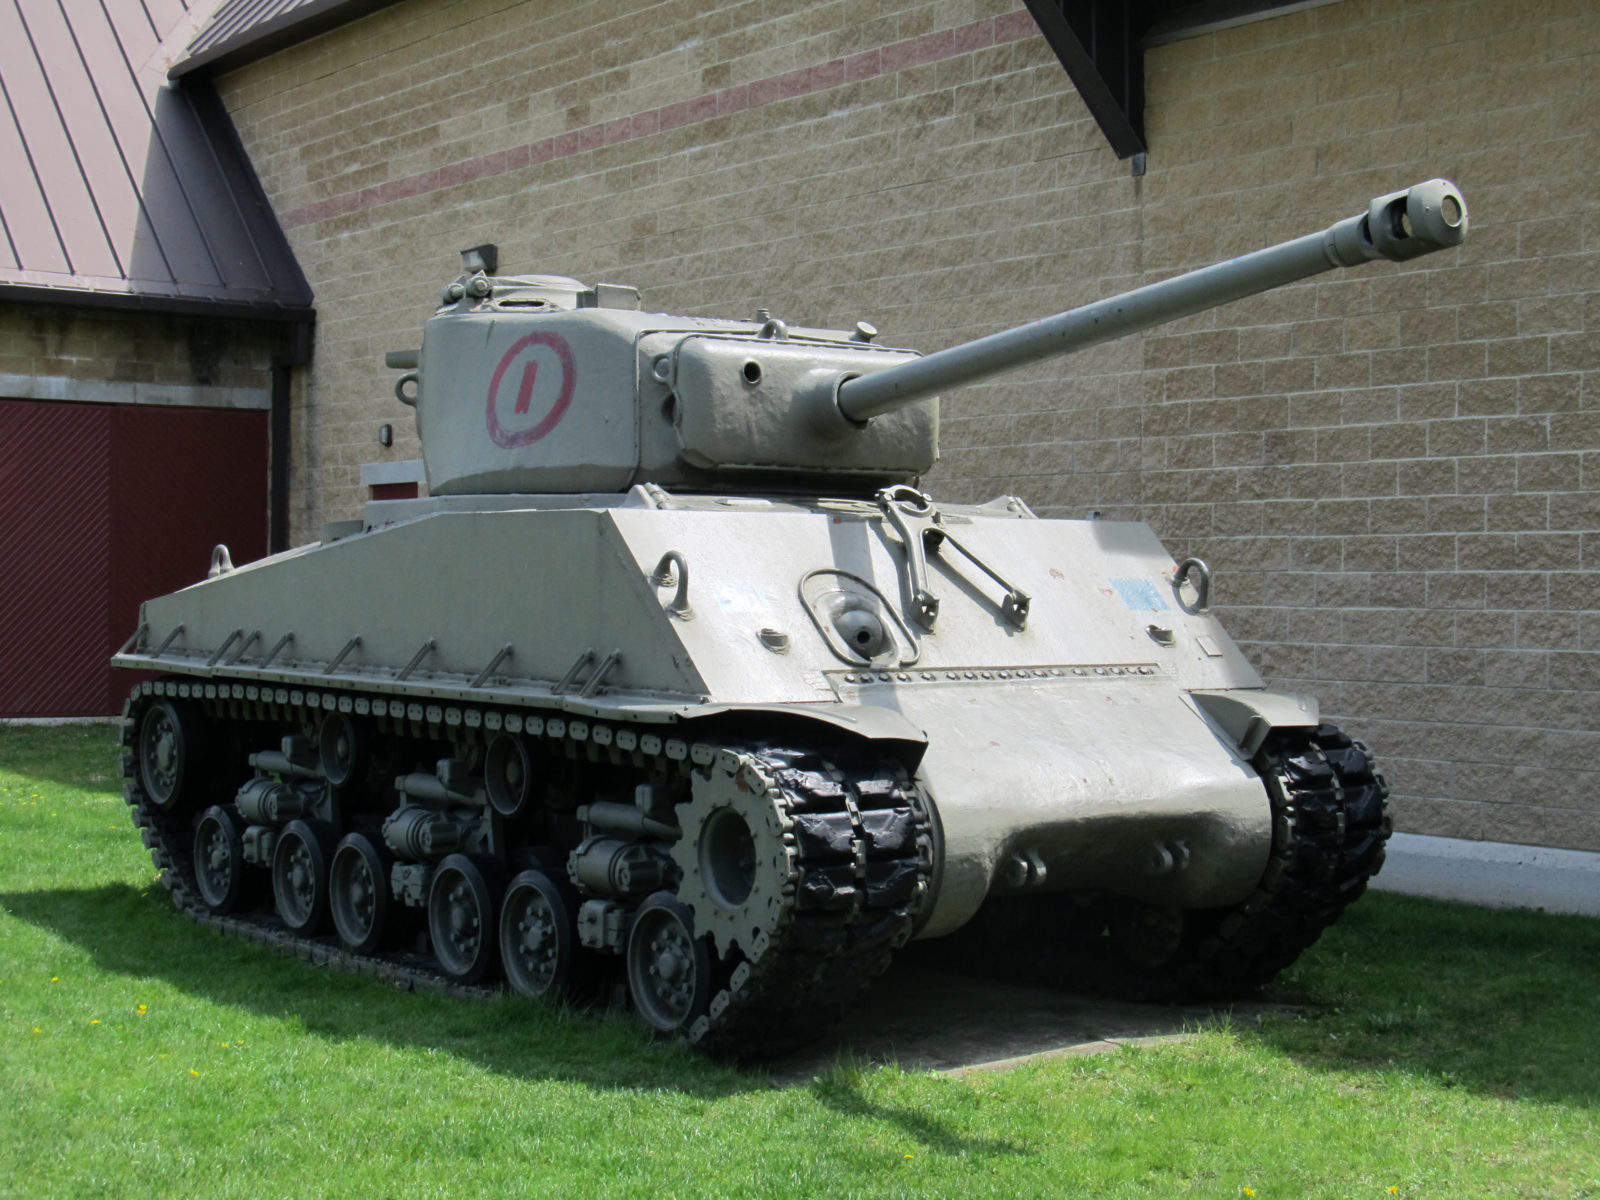
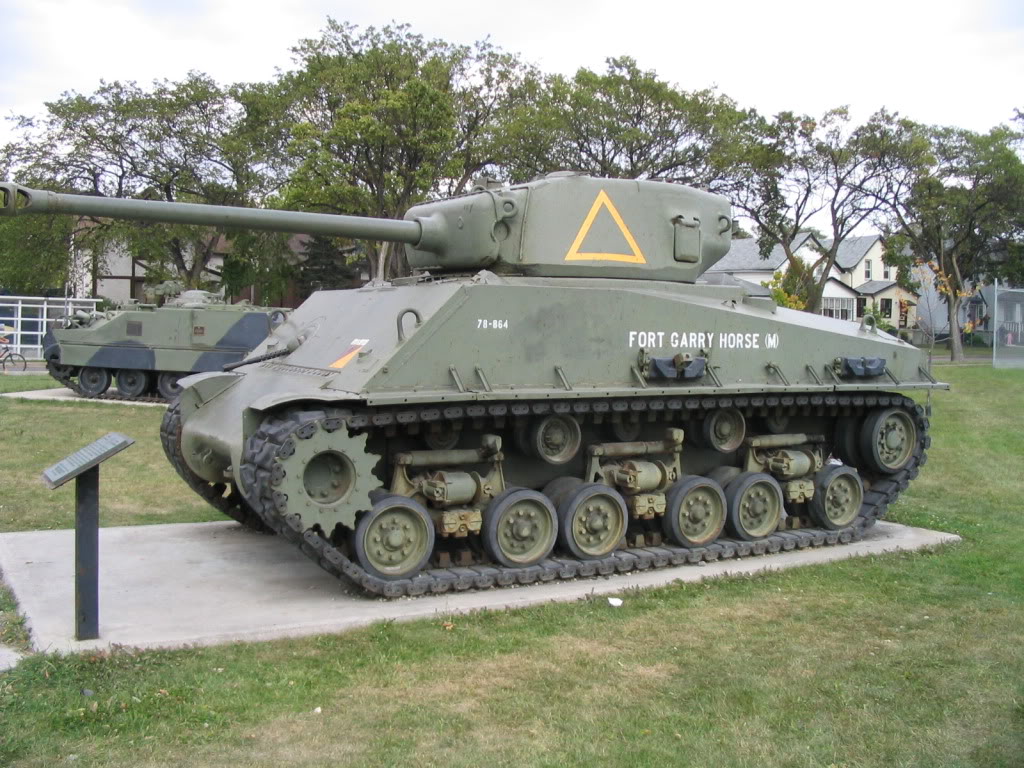
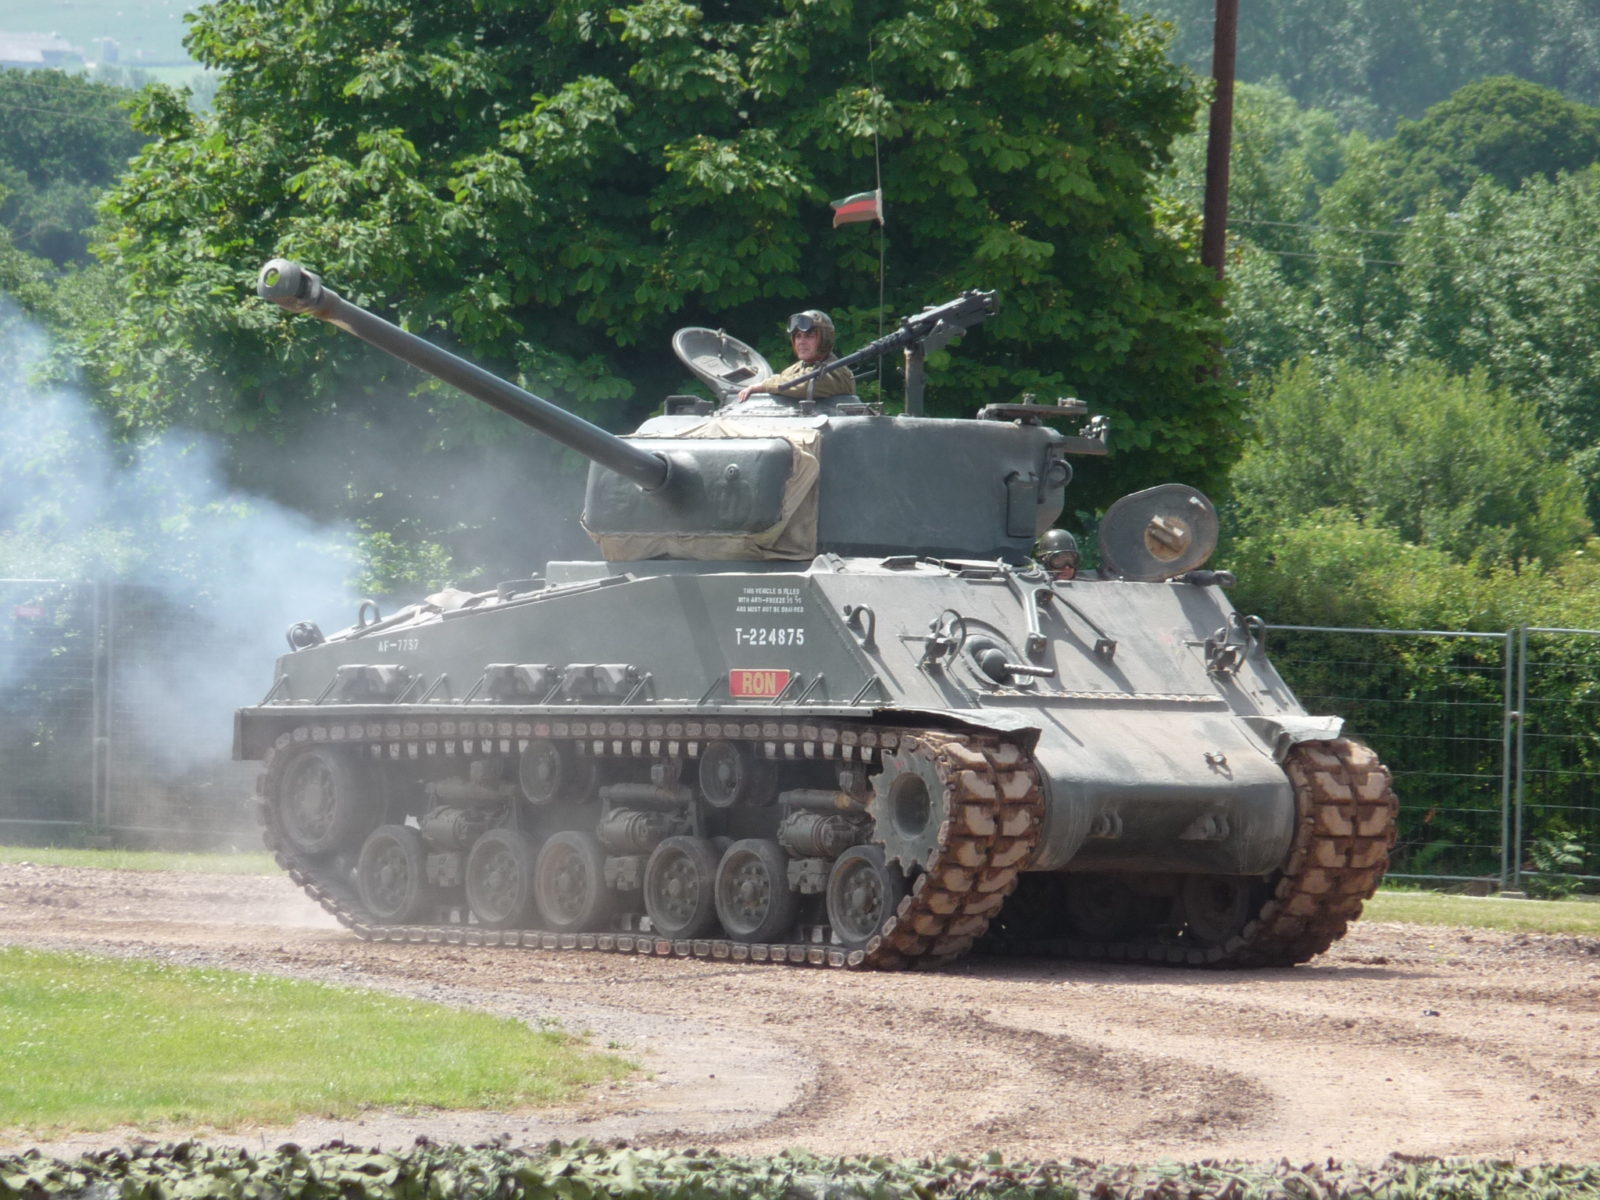
These were a pain in the rear to make, the ones in the back of my copy of Hunnicutt are very bad, so I have reproduced some in Word, and then print them out as PDFs, then take a screen shot of the PDF for this post. I have now hosted all the PDF files, if you want something with copy and pasteable text. I’ve got a system not for these and it’s semi easy to do, so I will keep adding them. I also added at least one, and up to five images with each spec sheet, of the Sherman the spec sheet is for. You can click to enlarge all these images, the sizes very.

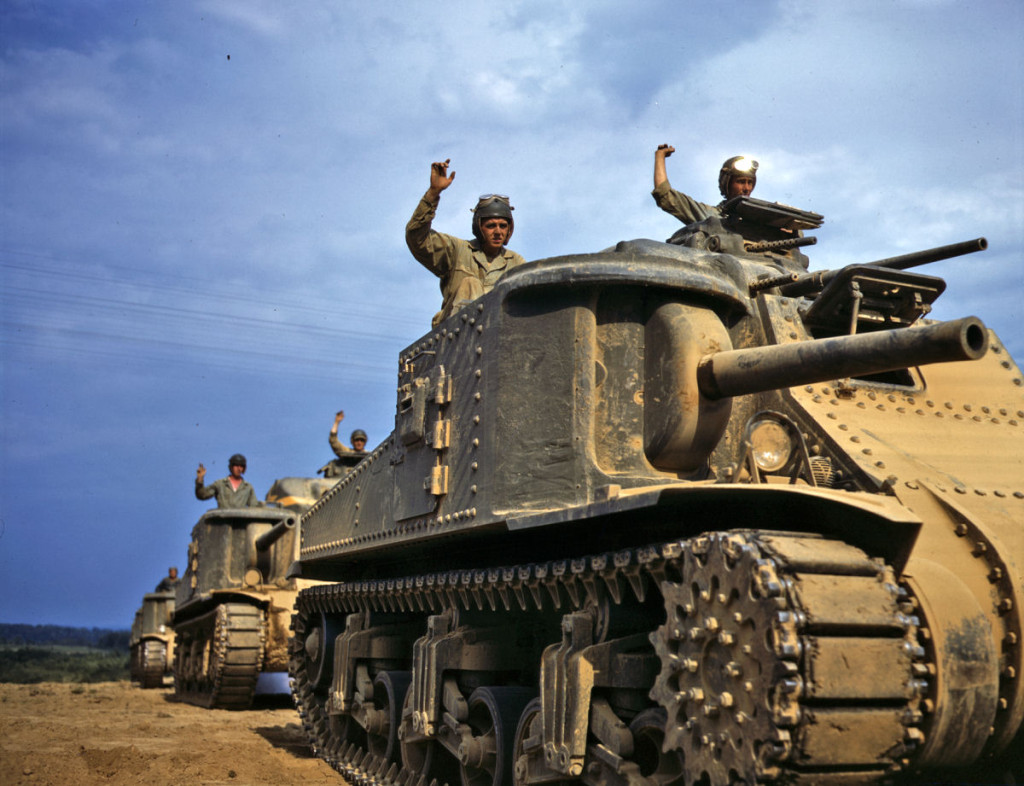
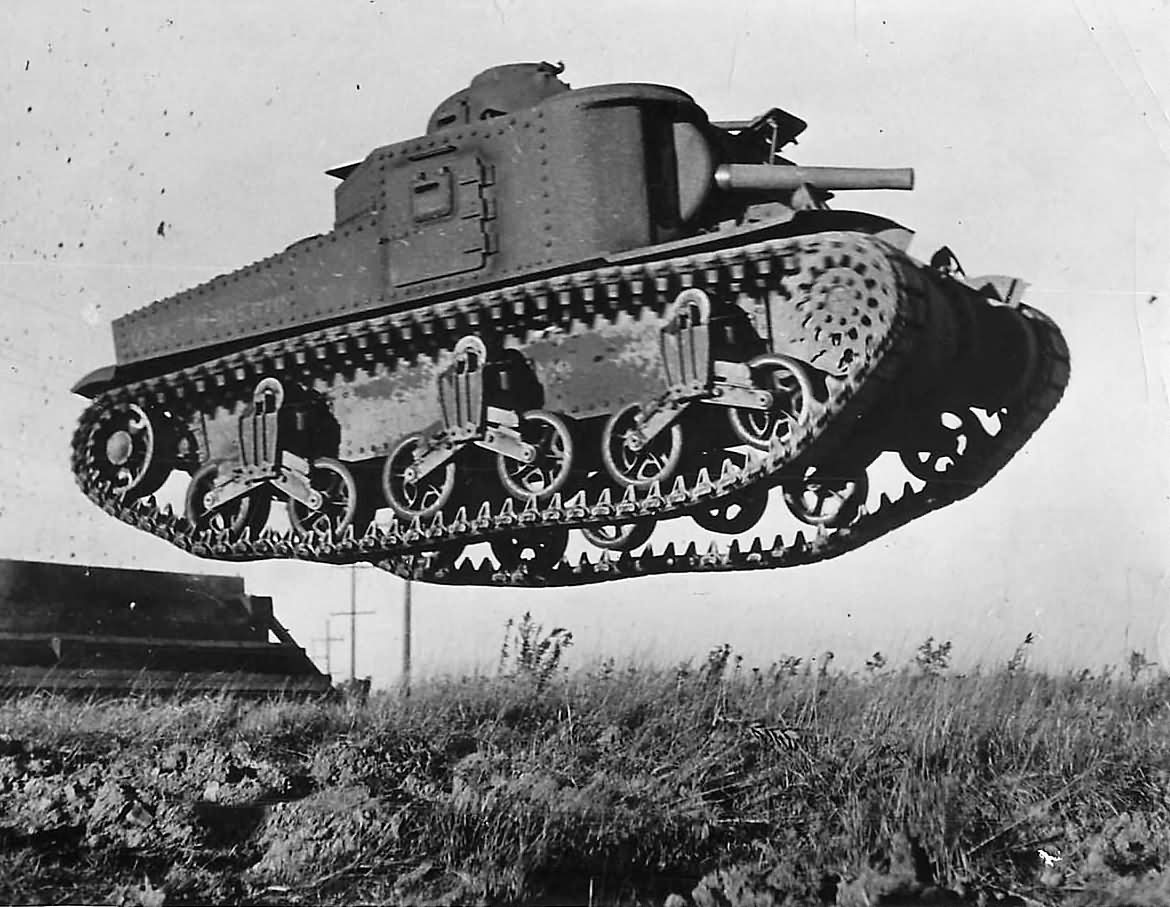
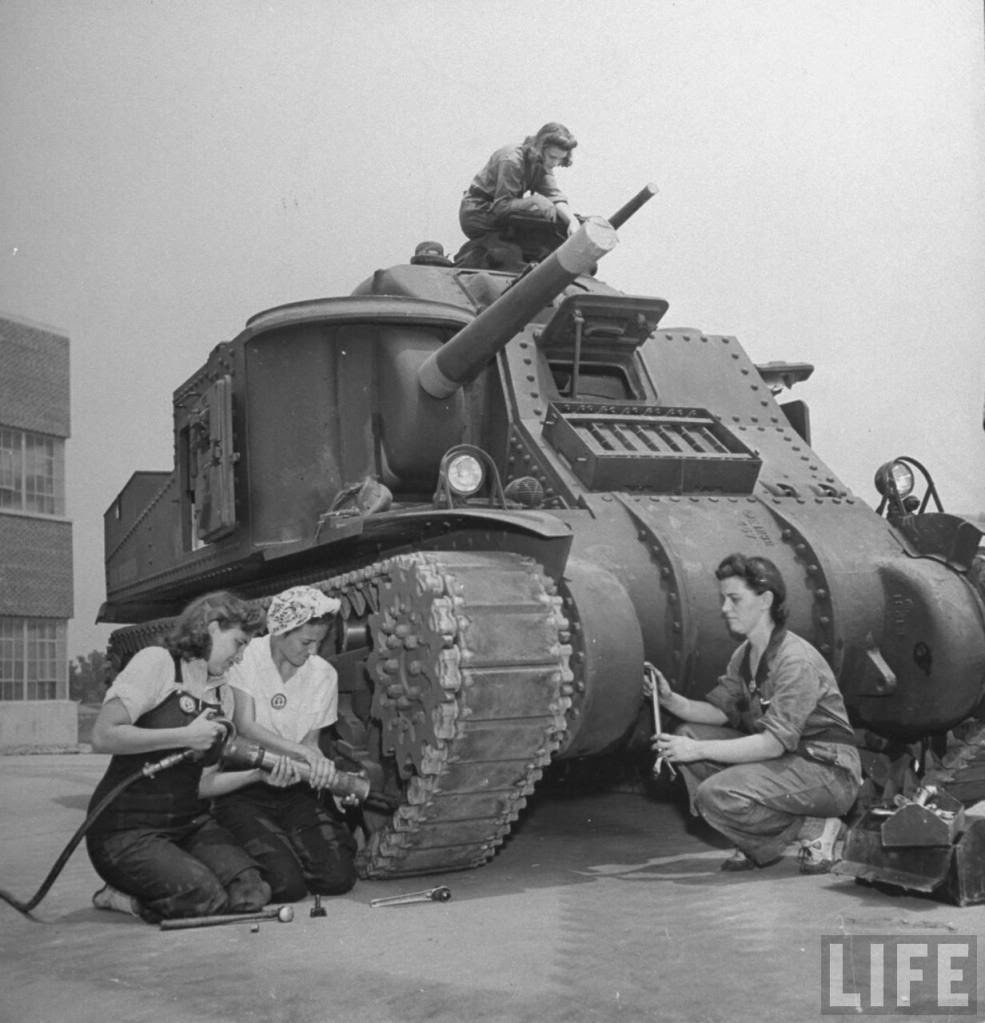
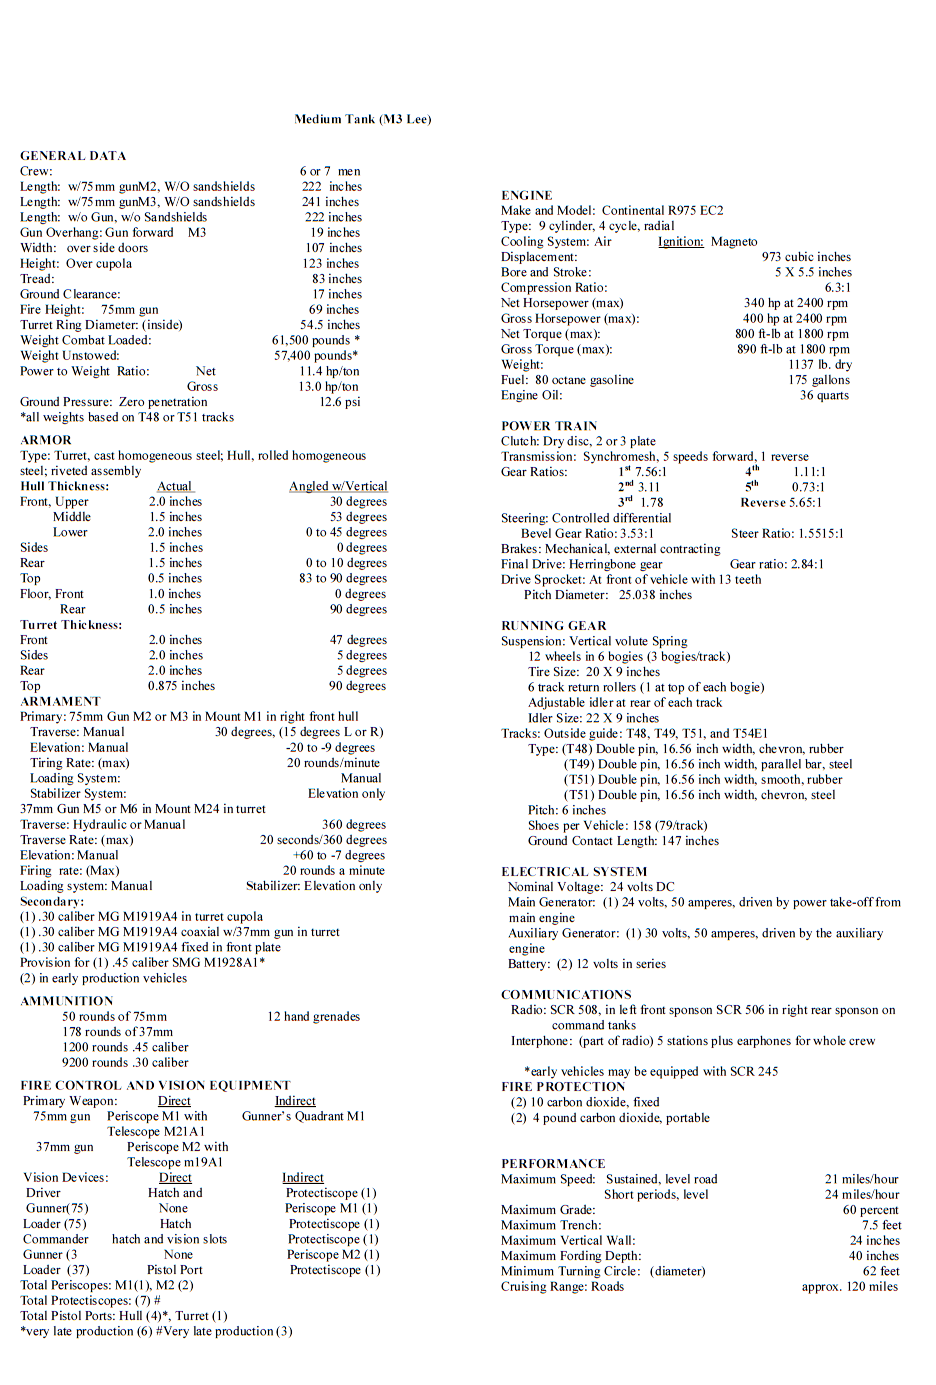
M3 Lee spec Sheet


M3 Lee spec sheet in PDF


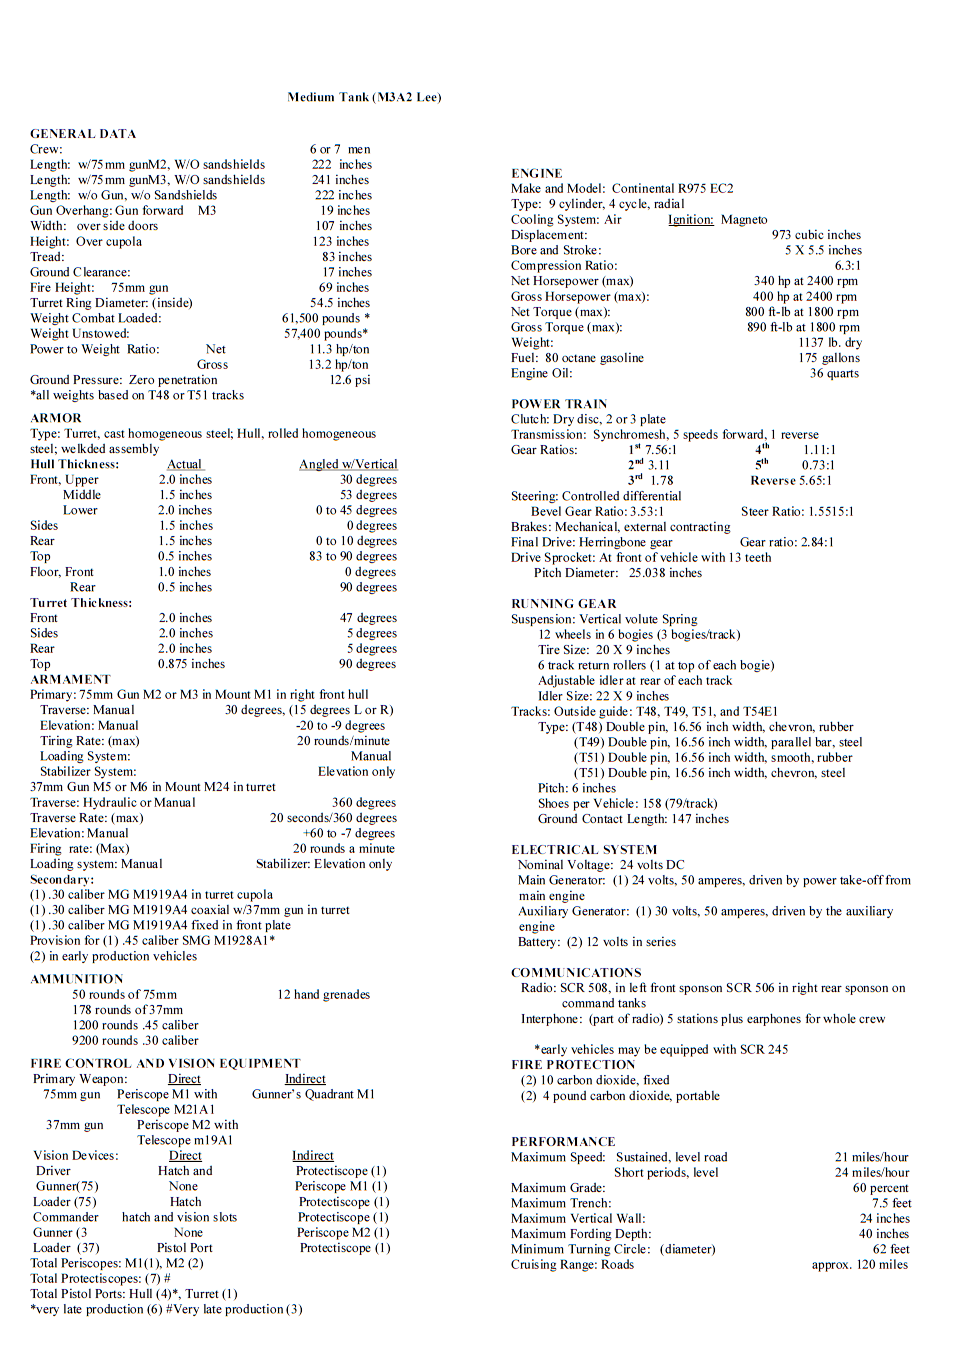
M3A2 Spec Sheet

M3A2 Lee Spec Sheet in PDF


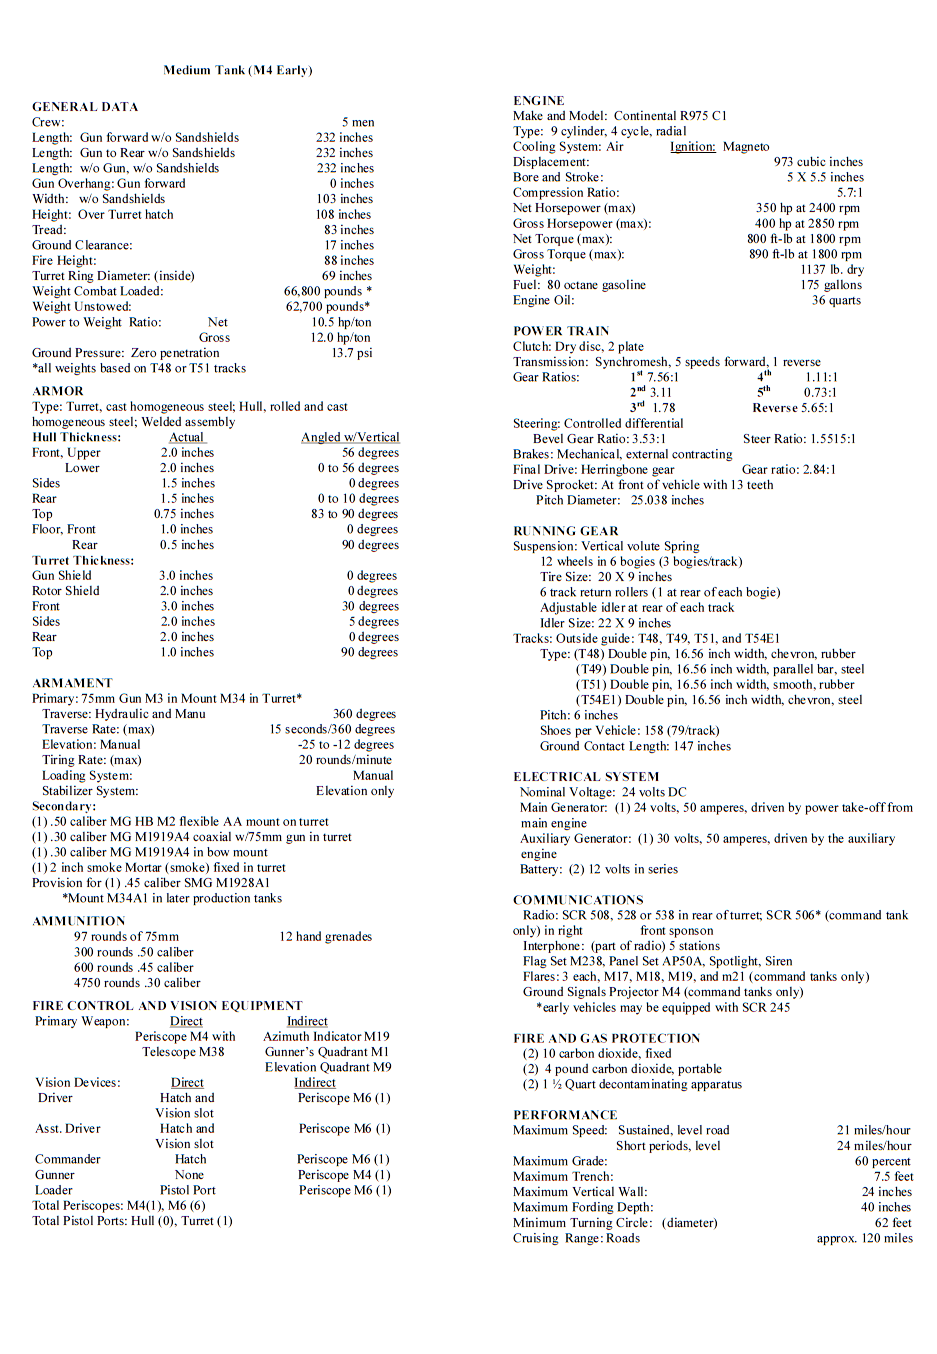
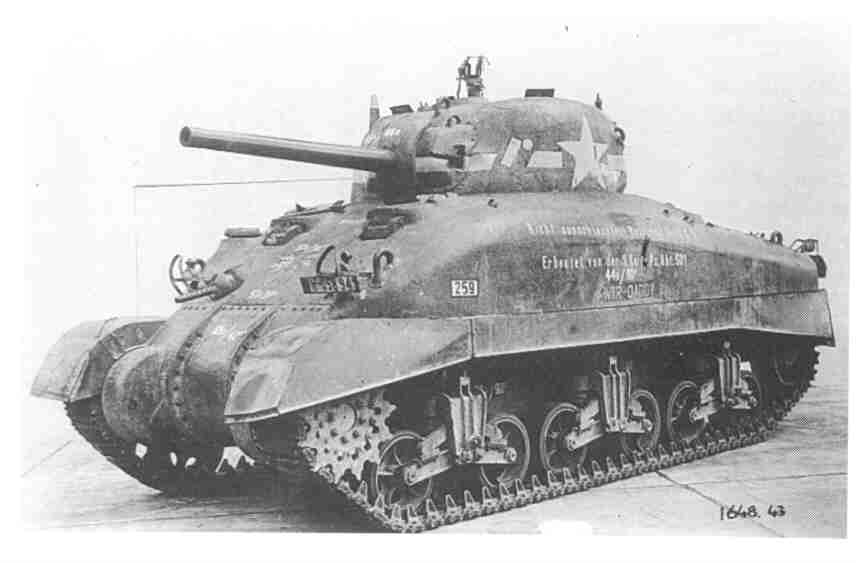
Early Production M4 75


M4 Early spec sheet

 
M4 Mid Production


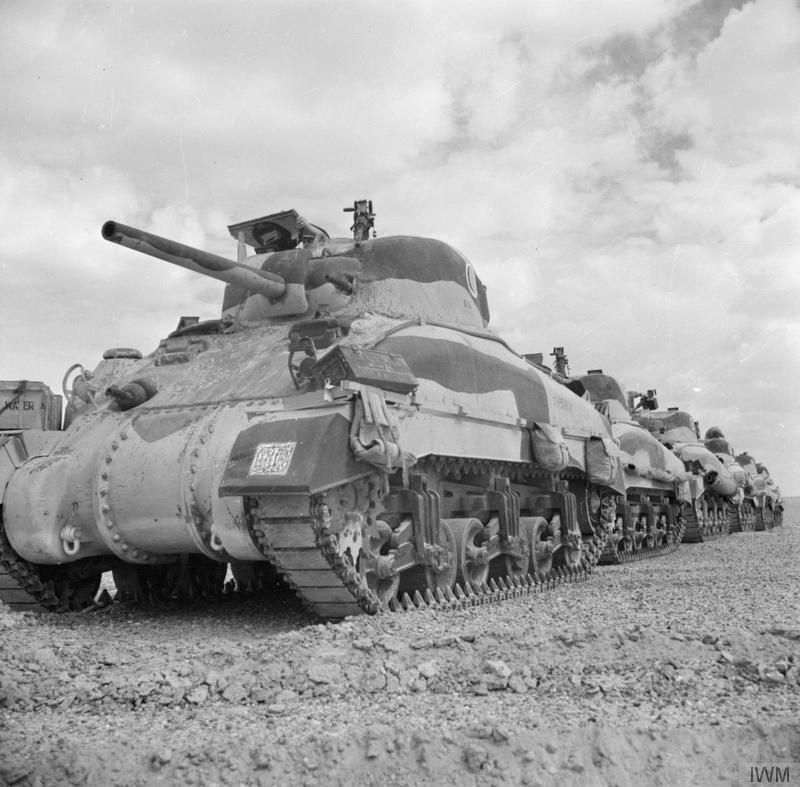
Early M4A1 75


M4A1 Early Spec Sheet


Mid Production M4A1 75


M4A1 75 mid war spec sheet


Mid production M4A2 75


M4A2 75 mid production spec sheet


Mid production M4A3 75


M4A3 75d mid spec sheet
 

M4A3 75 wet large hatch VVSS


M4A3 75w spec sheet


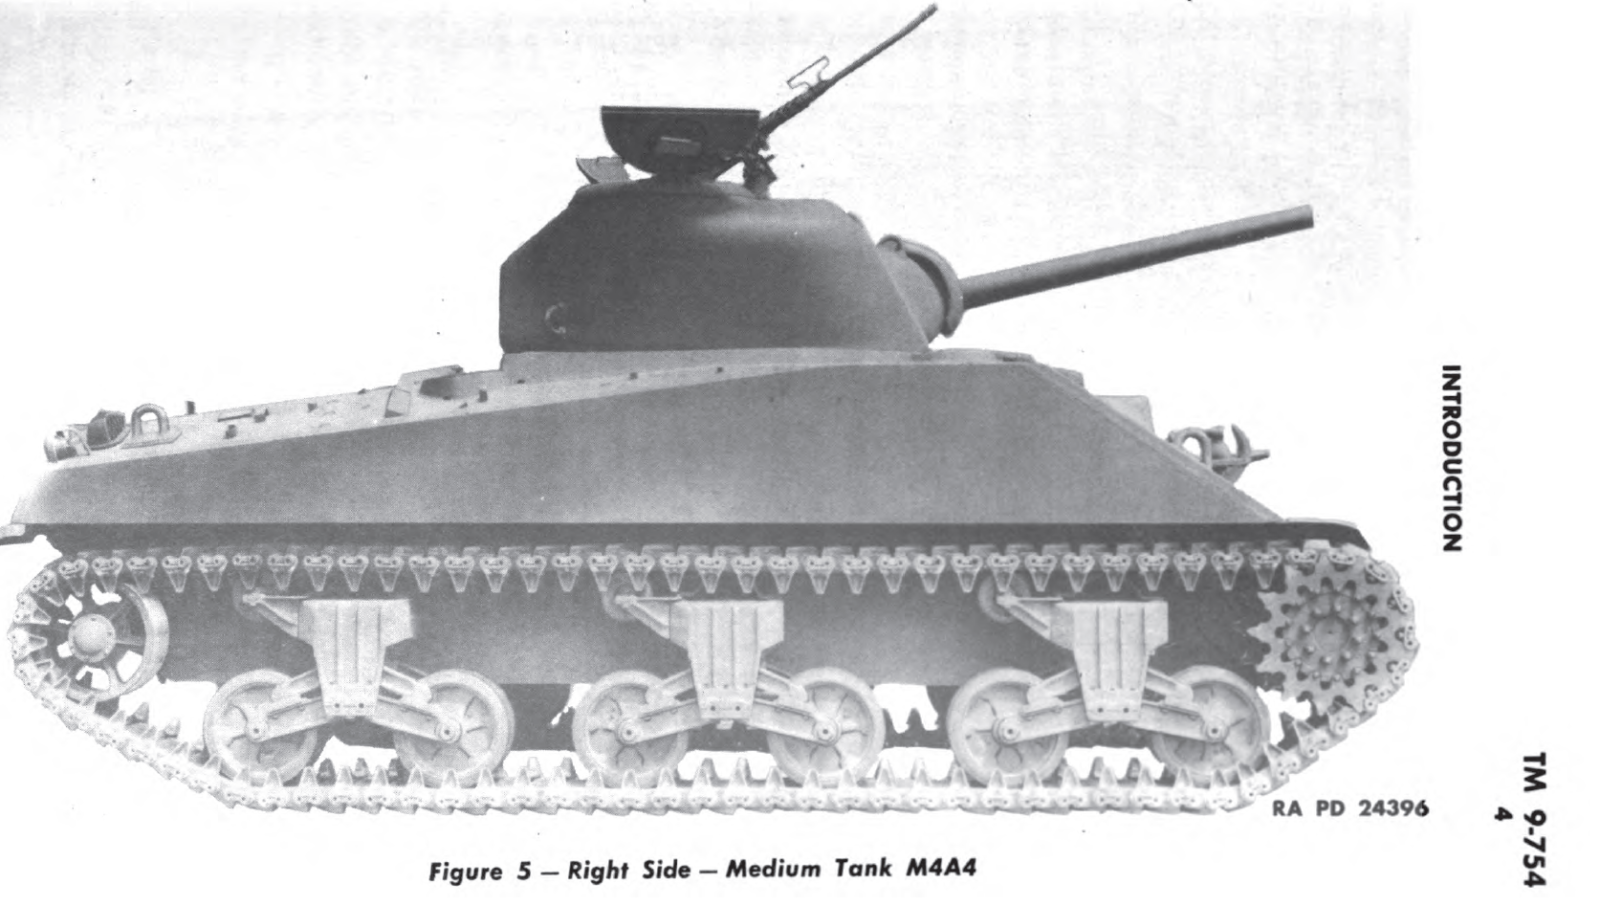
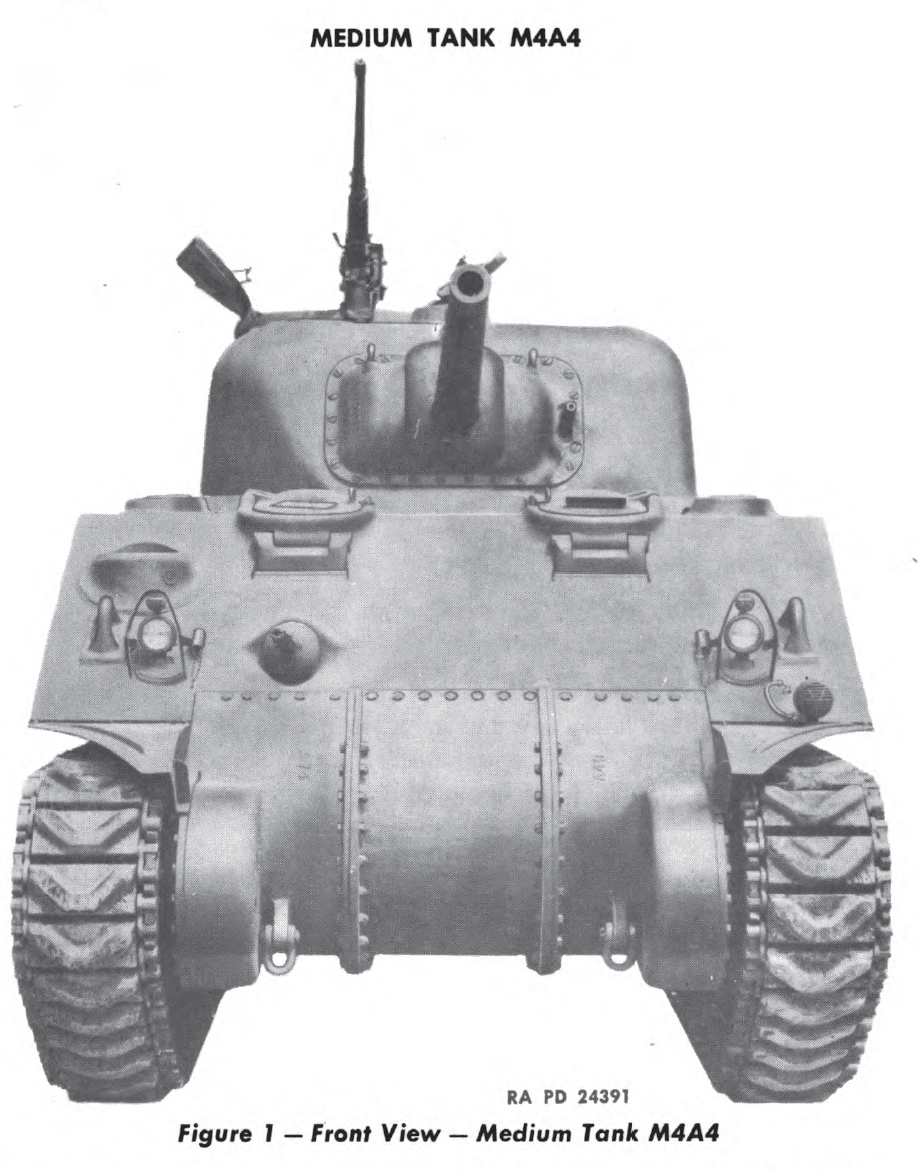
Early M4A4 75 


Early M4A1 75


M4A1 Early Spec Sheet


Mid Production M4A1 75


M4A1 75 mid war spec sheet


Mid production M4A2 75


M4A2 75 mid production spec sheet


Mid production M4A3 75


M4A3 75d mid spec sheet
 

M4A3 75 wet large hatch VVSS


M4A3 75w spec sheet


Early M4A4 75 


Early M4A1 75


M4A1 Early Spec Sheet


Mid Production M4A1 75


M4A1 75 mid war spec sheet


Mid production M4A2 75


M4A2 75 mid production spec sheet


Mid production M4A3 75


M4A3 75d mid spec sheet
 

M4A3 75 wet large hatch VVSS


M4A3 75w spec sheet


Early M4A4 75 


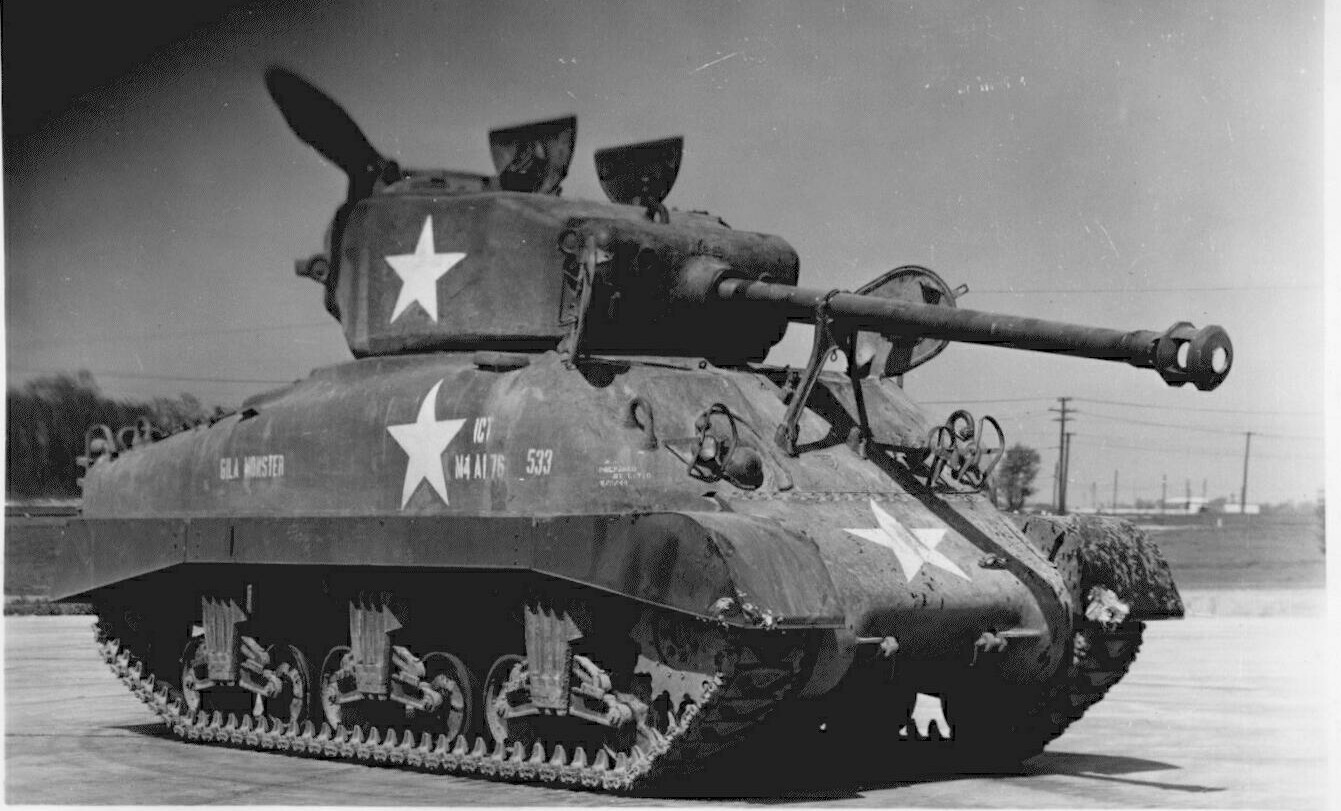
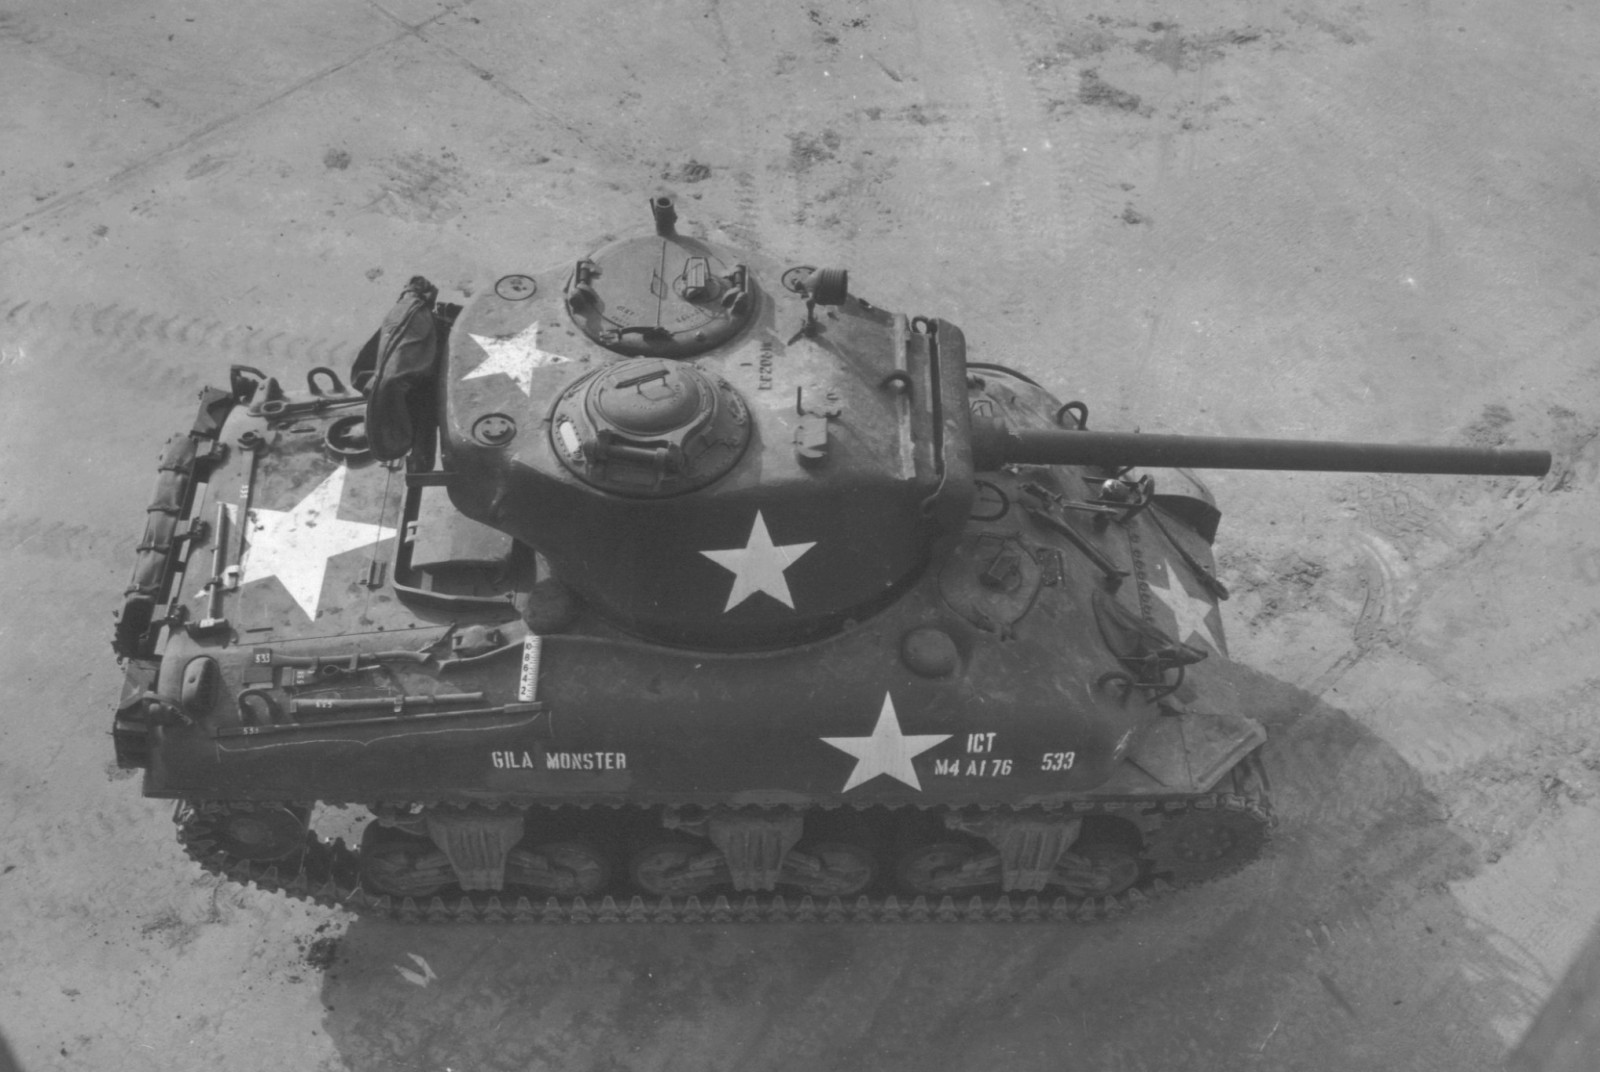
M4A1 76 wet VVSS


M4A1 76w specsheet


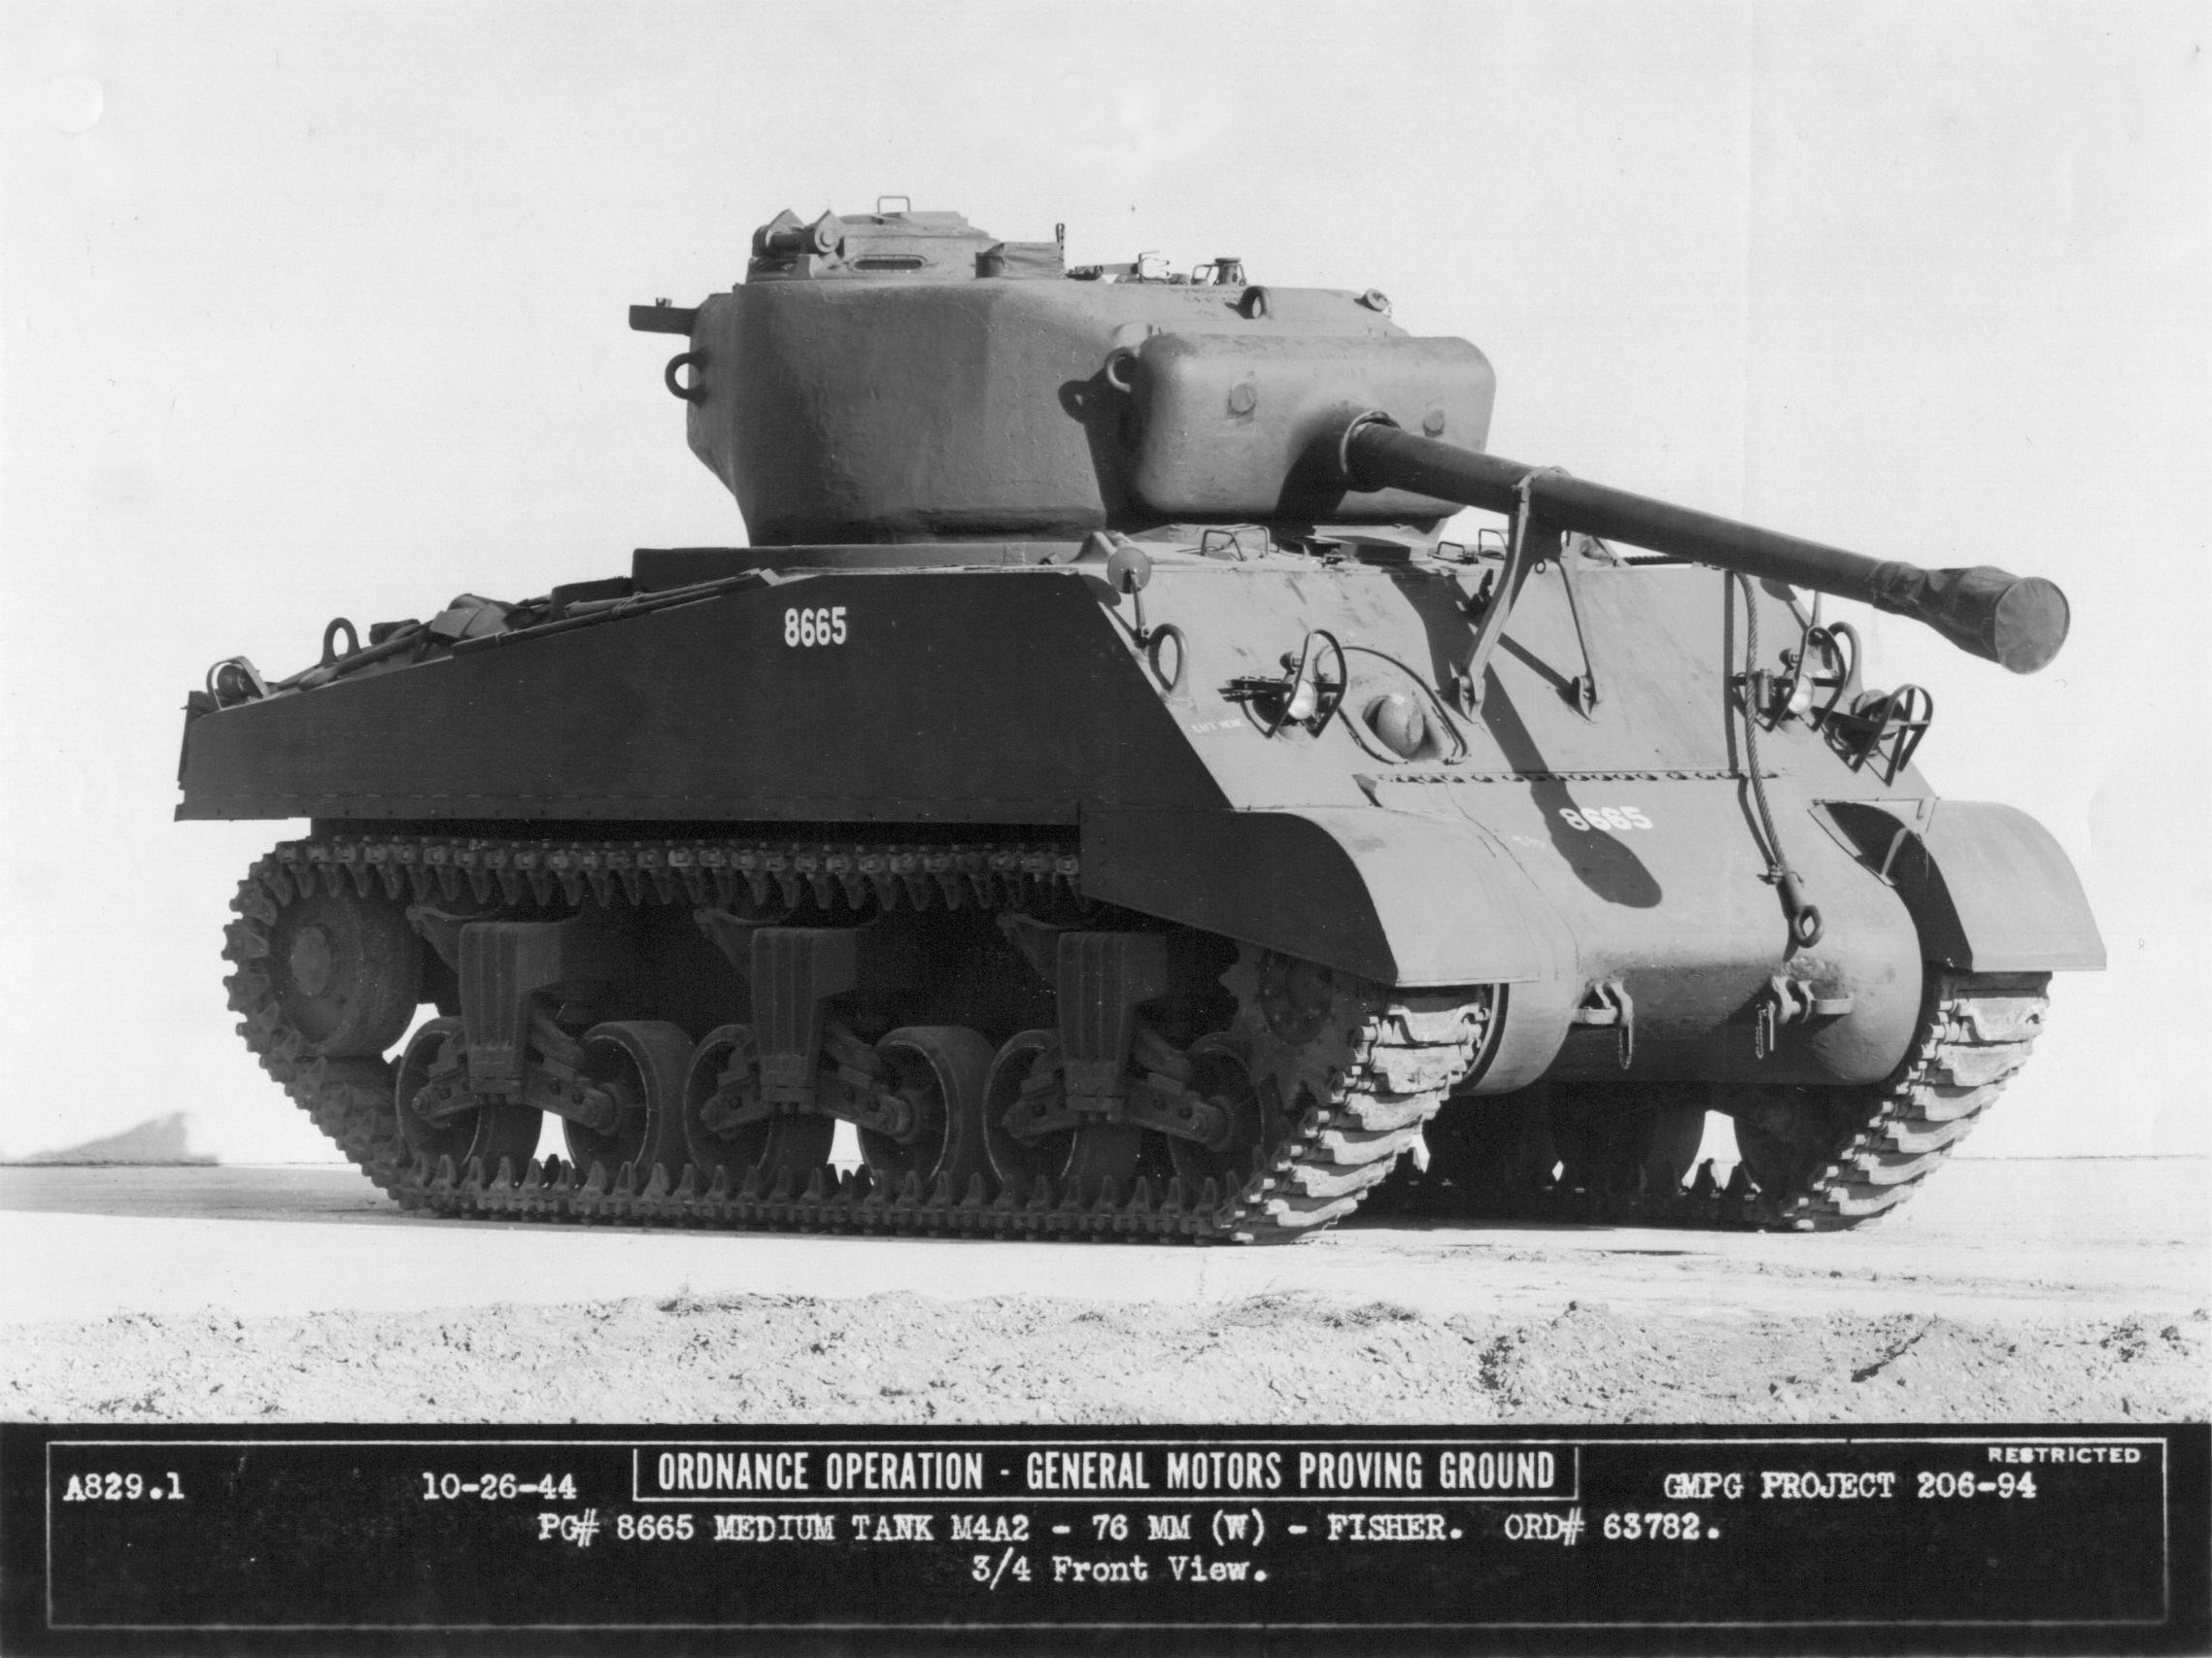
M4A2 76 wet VVSS


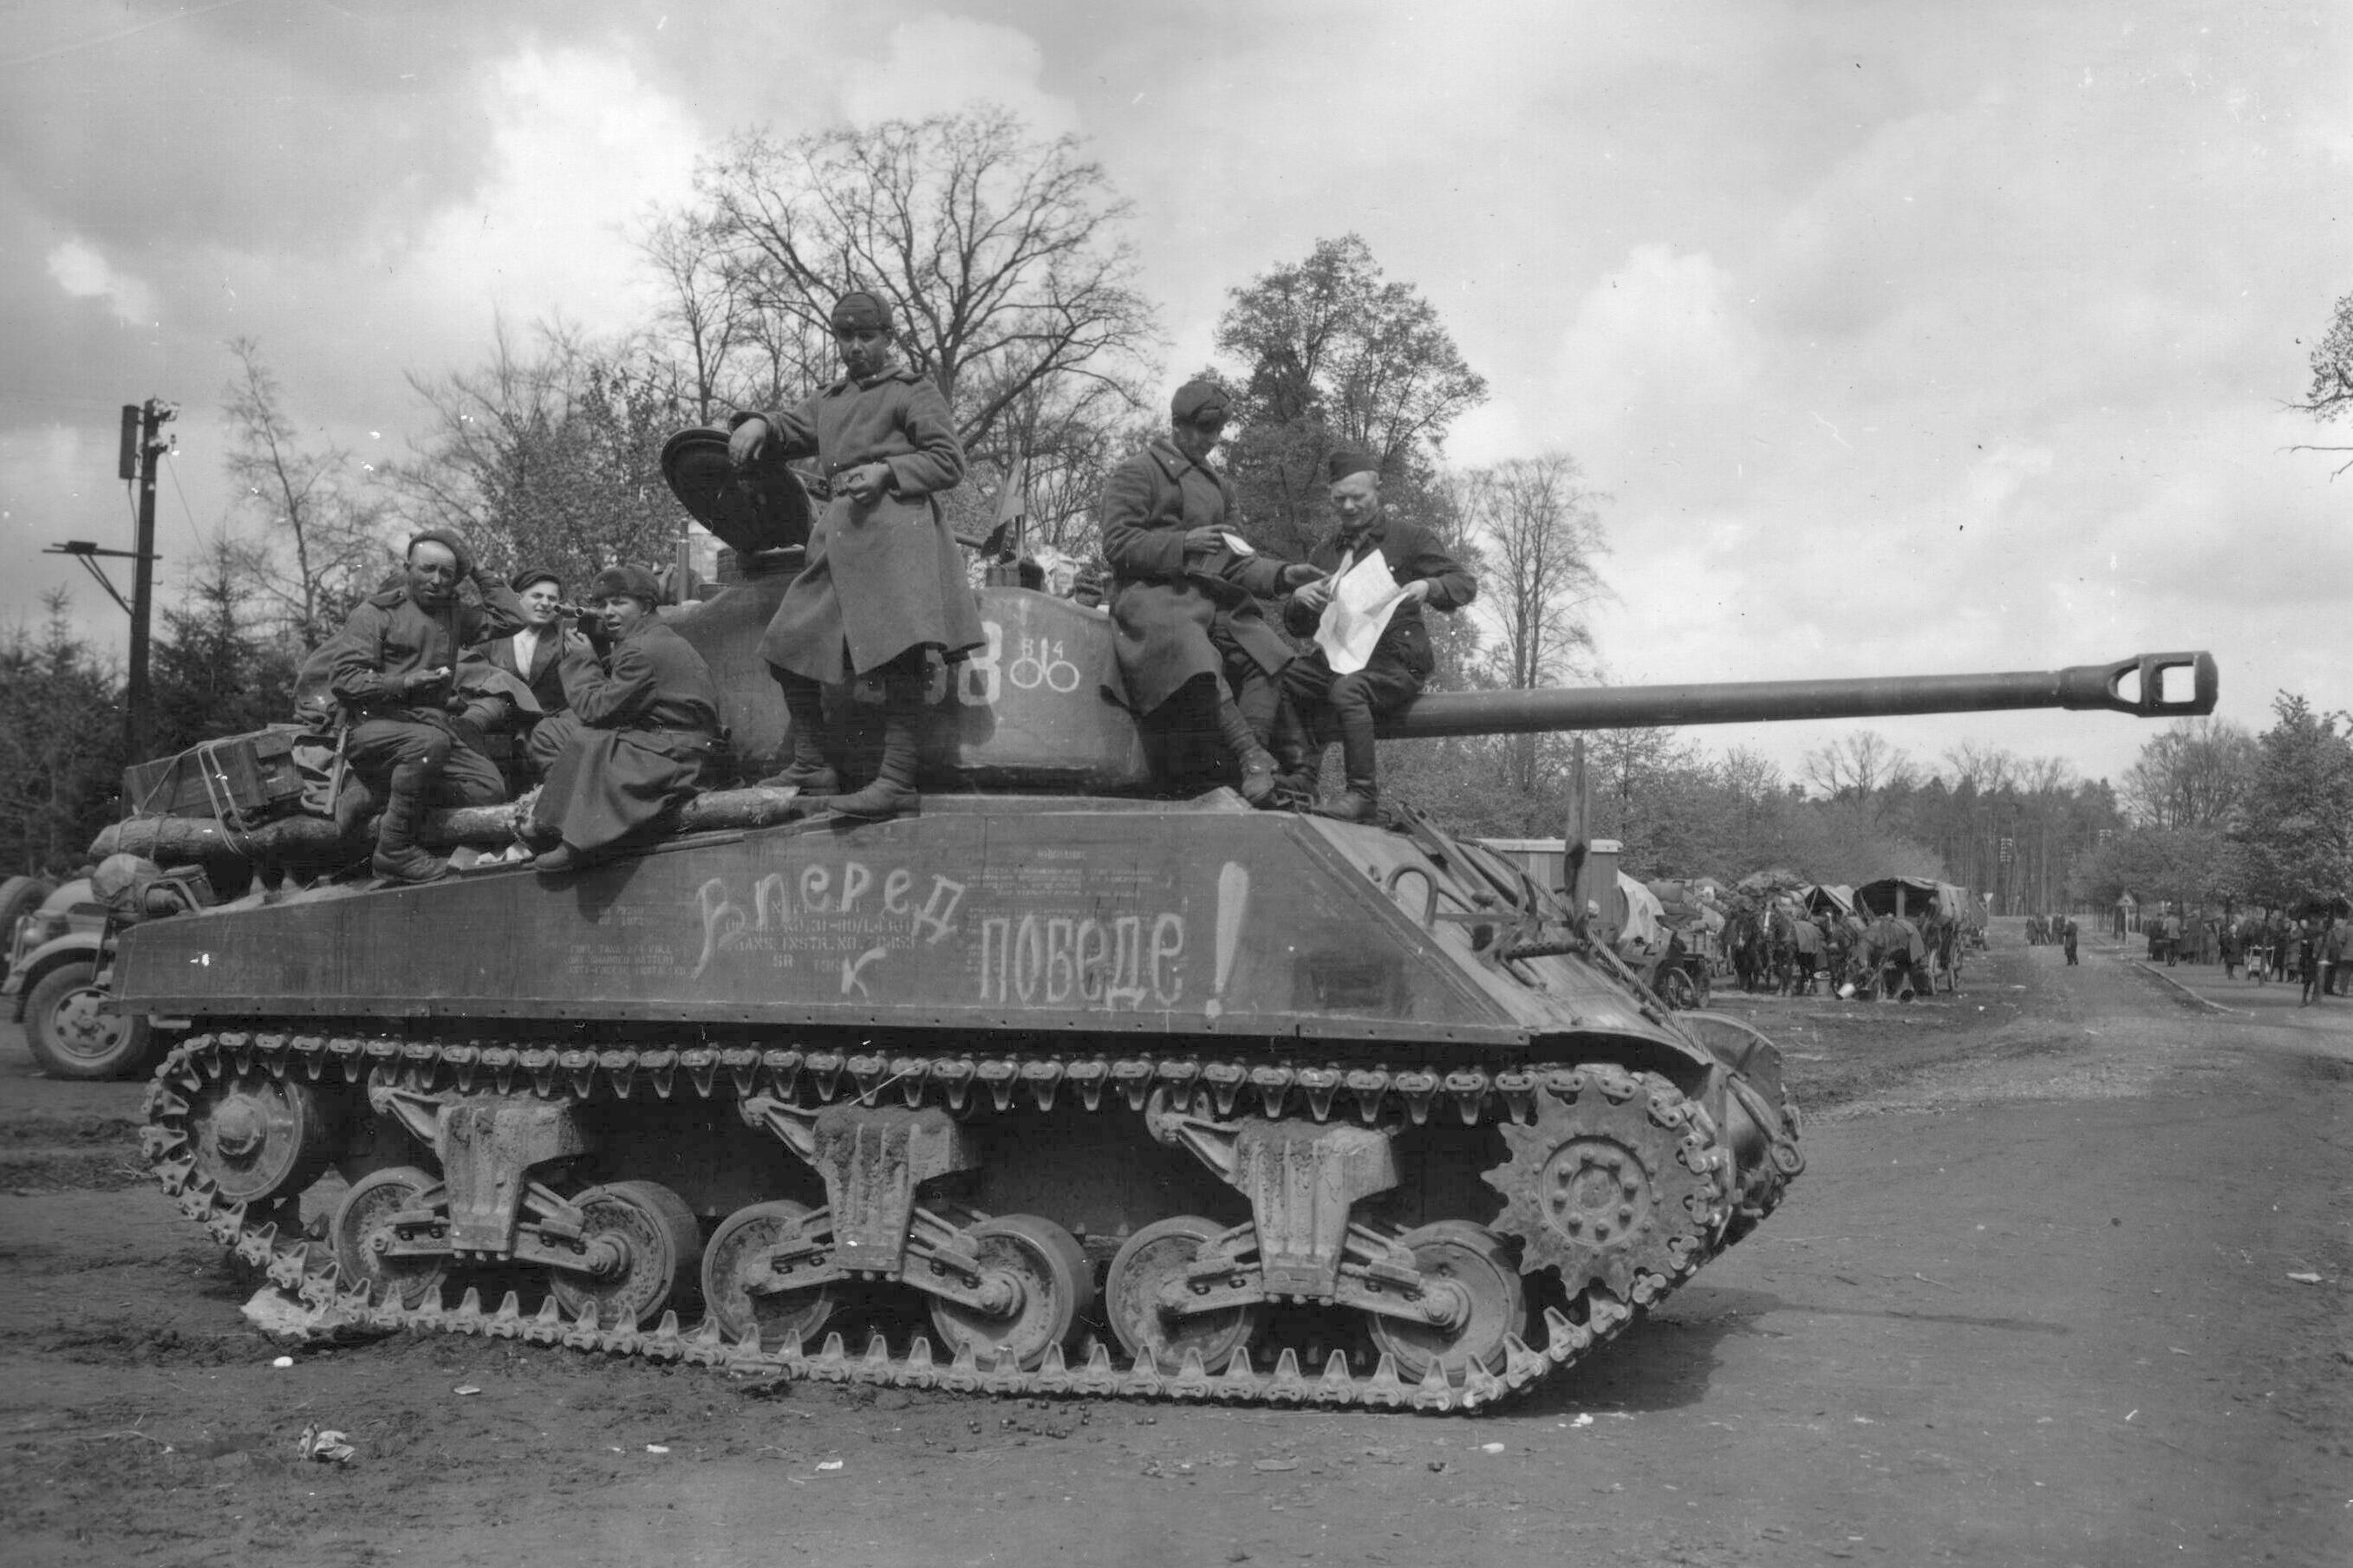
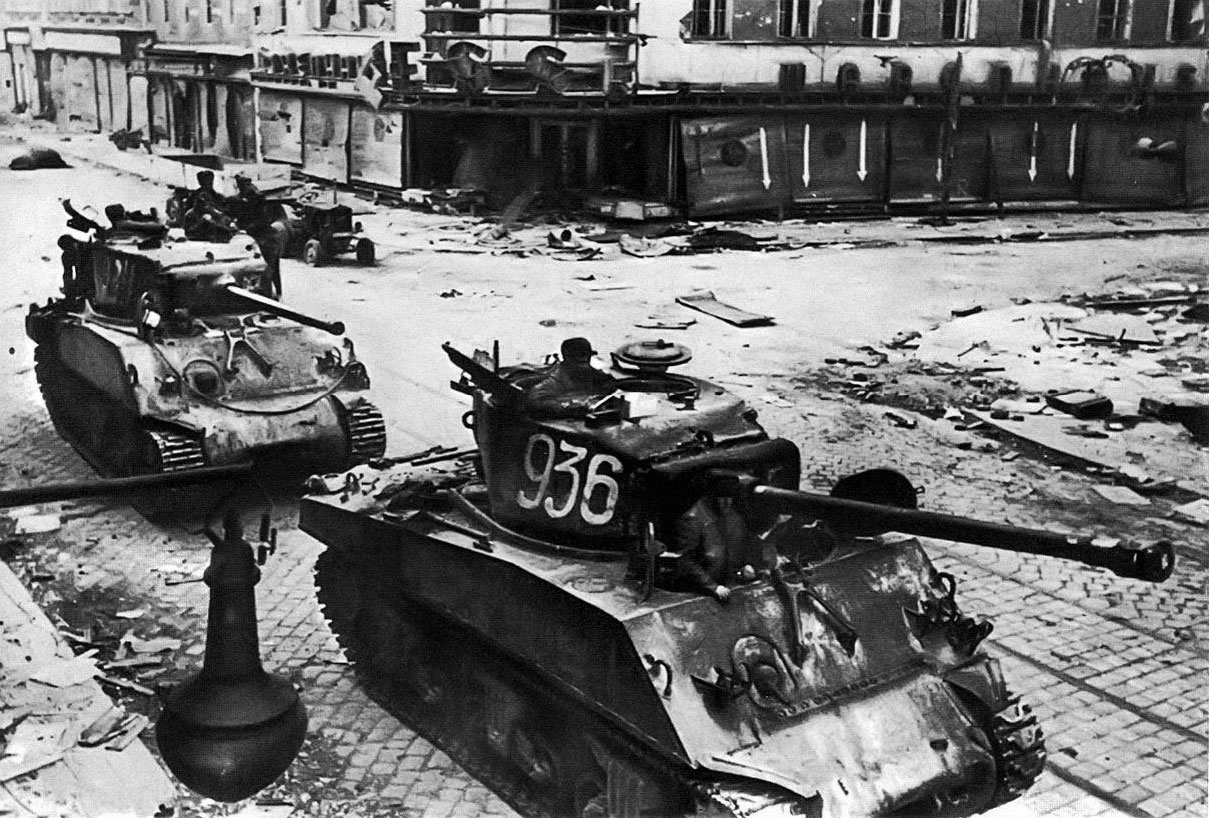
 M4A2 76w spec sheet

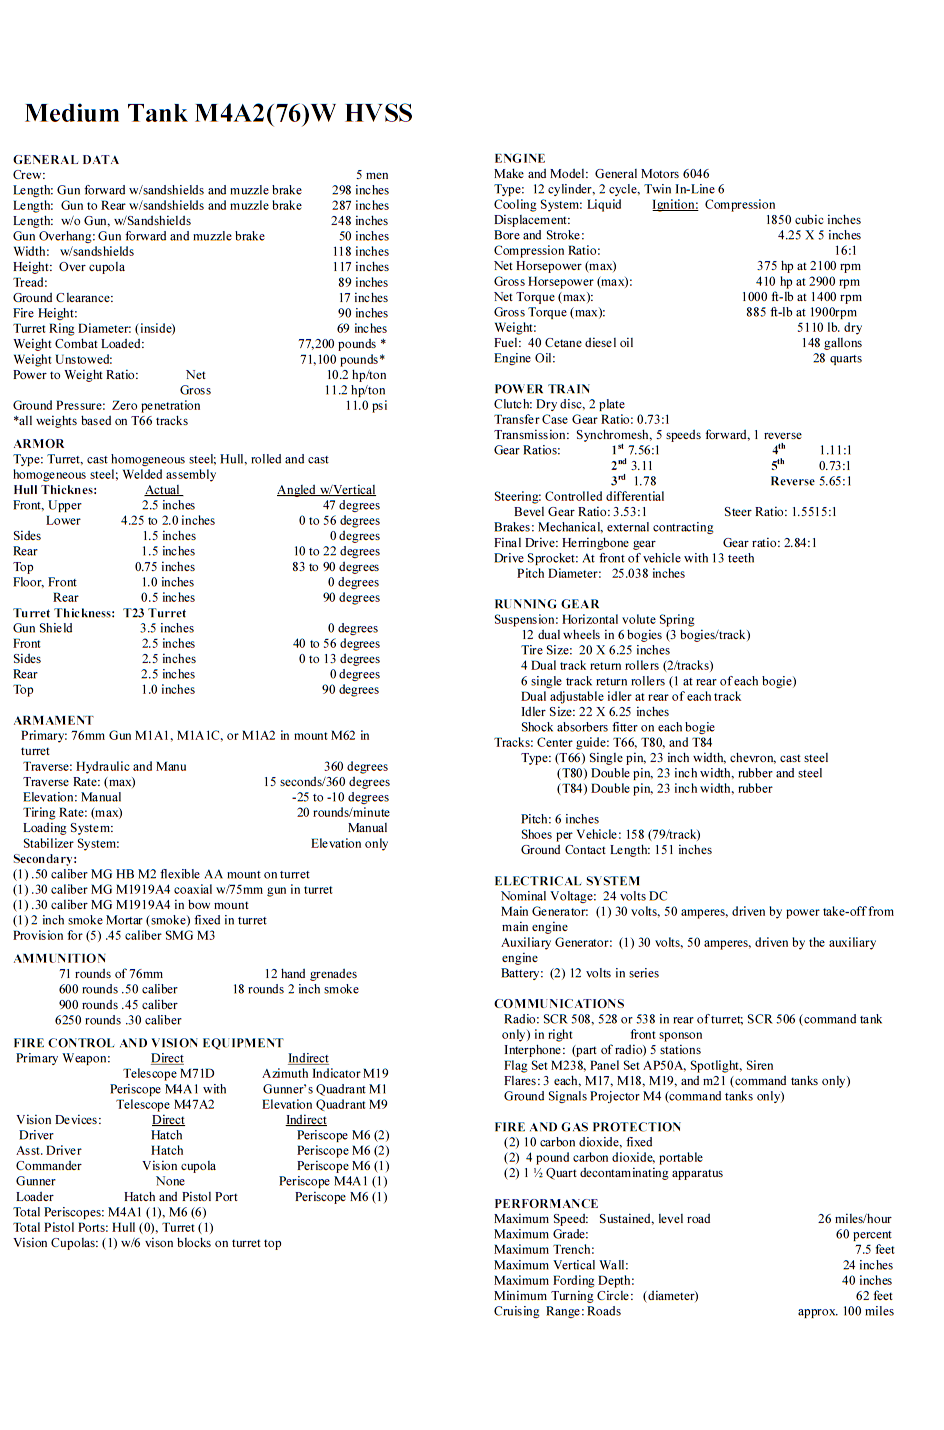
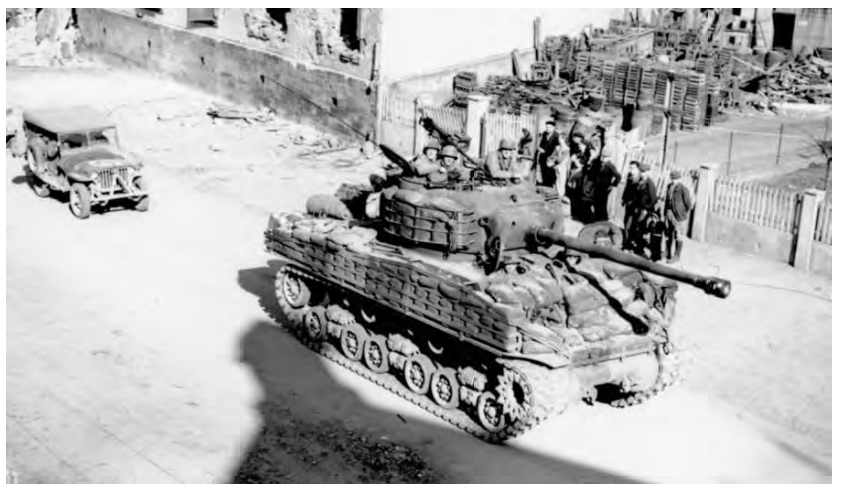
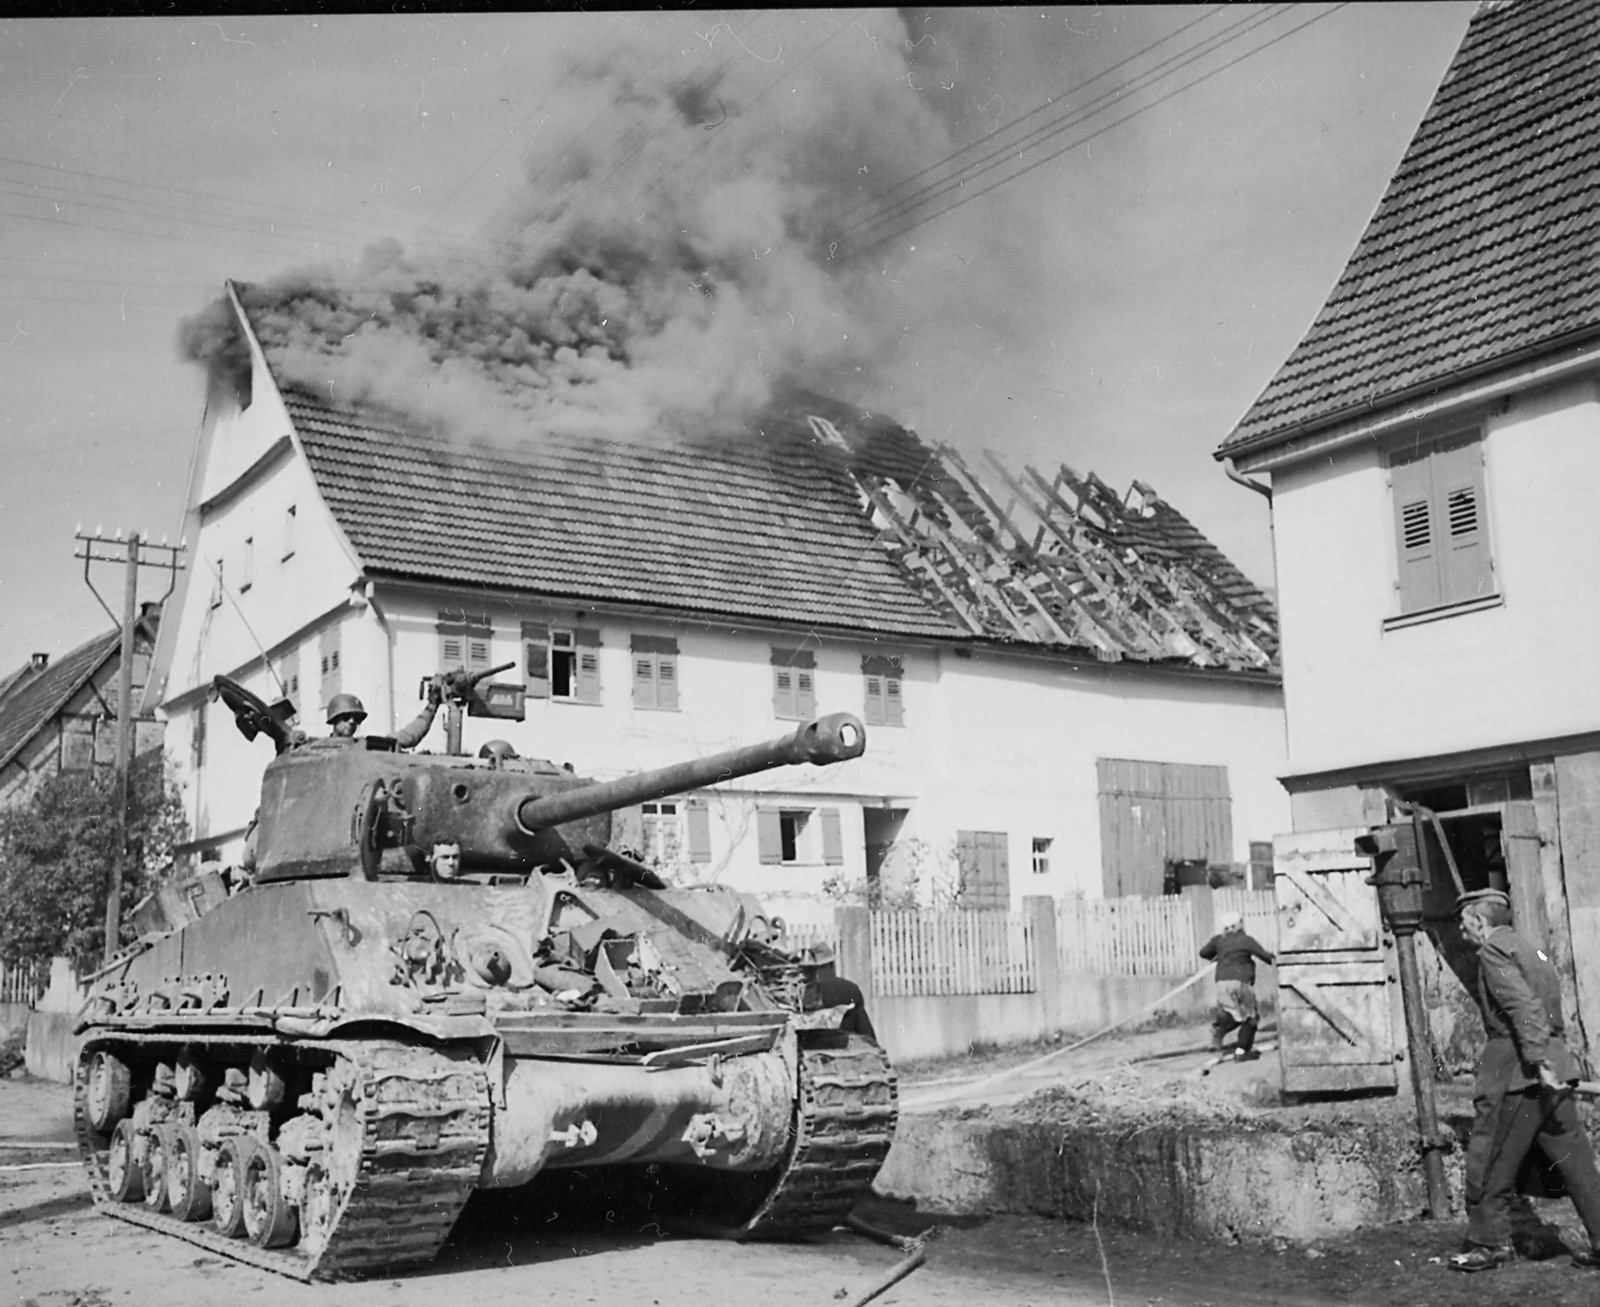
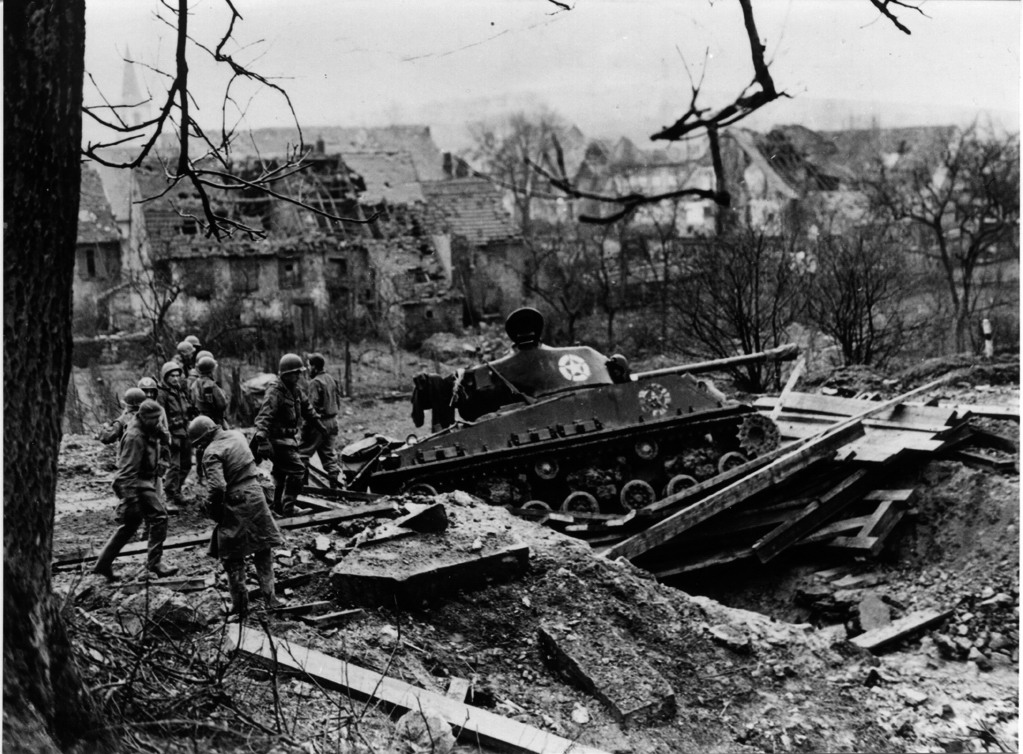
M4A2 76 wet HVSS


M4A2 76w HVSS Easy 8 Spec Sheet


M4A3 76 wet HVSS, or Sherman Easy 8


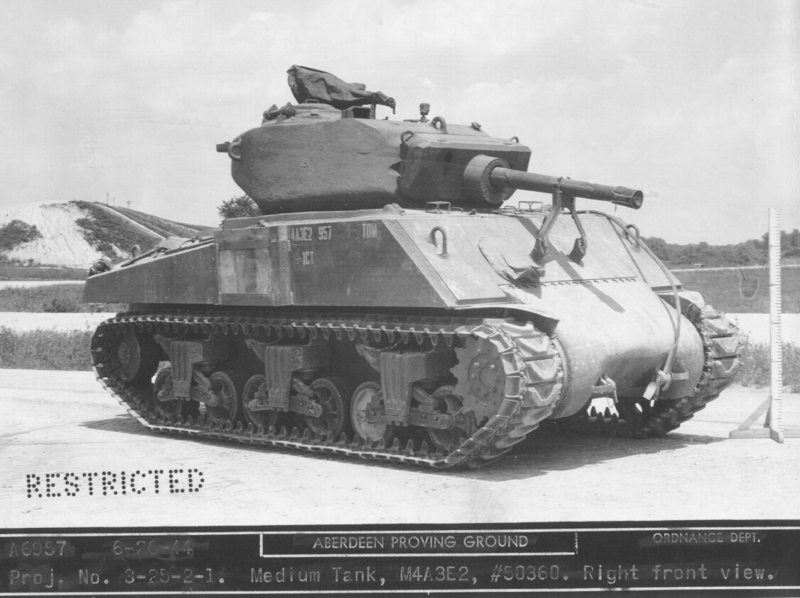
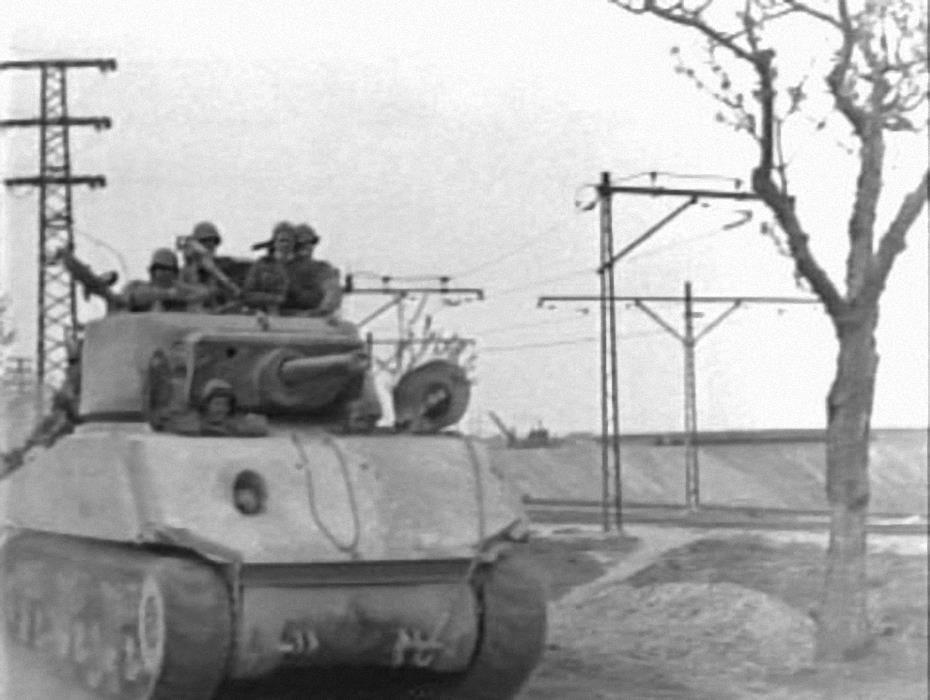
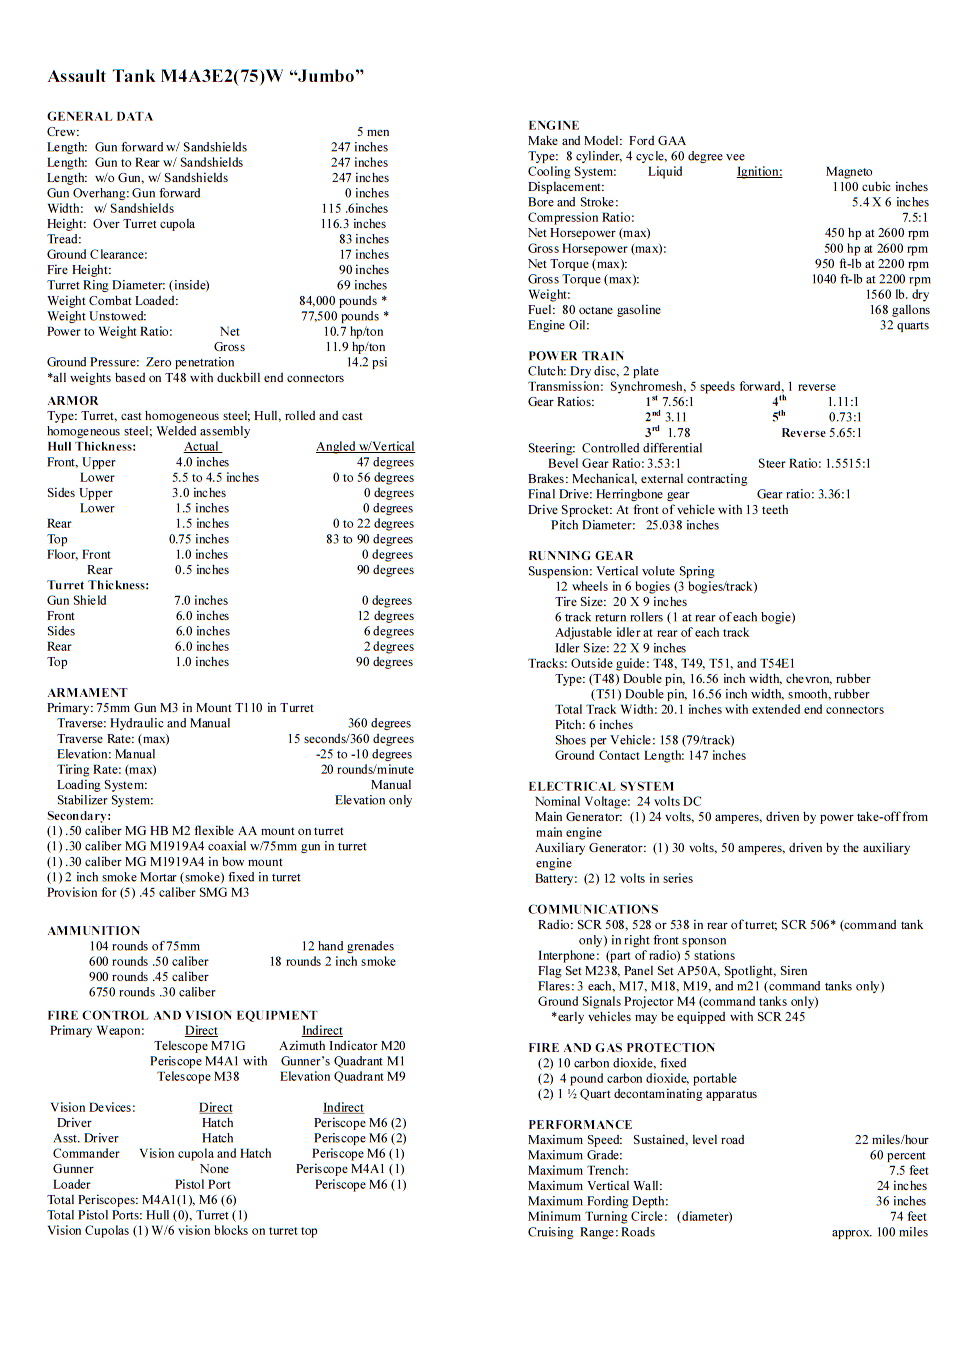
The M4A3E2 Jumbo 75


M4A3e2 Jumbo spec sheet


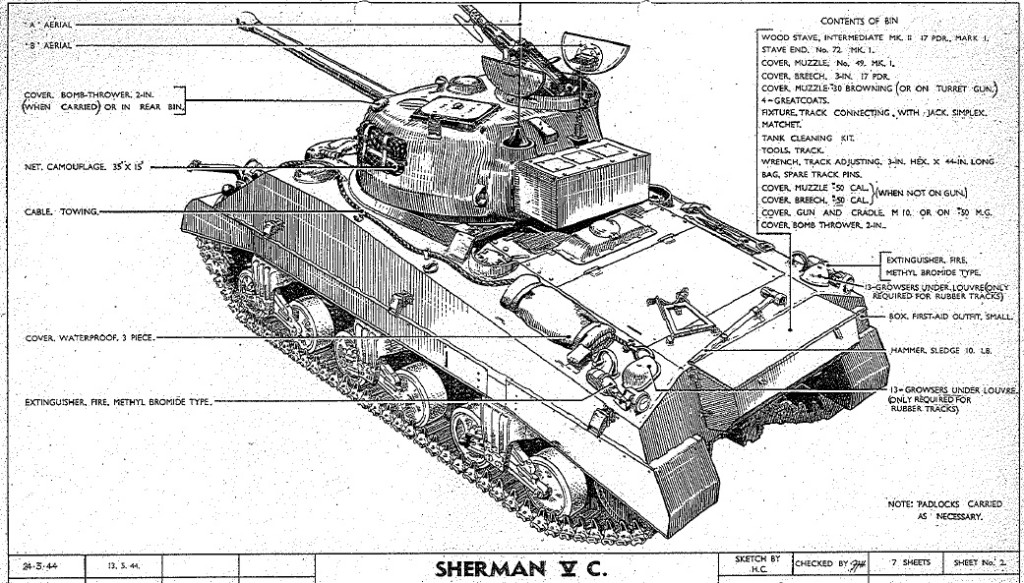
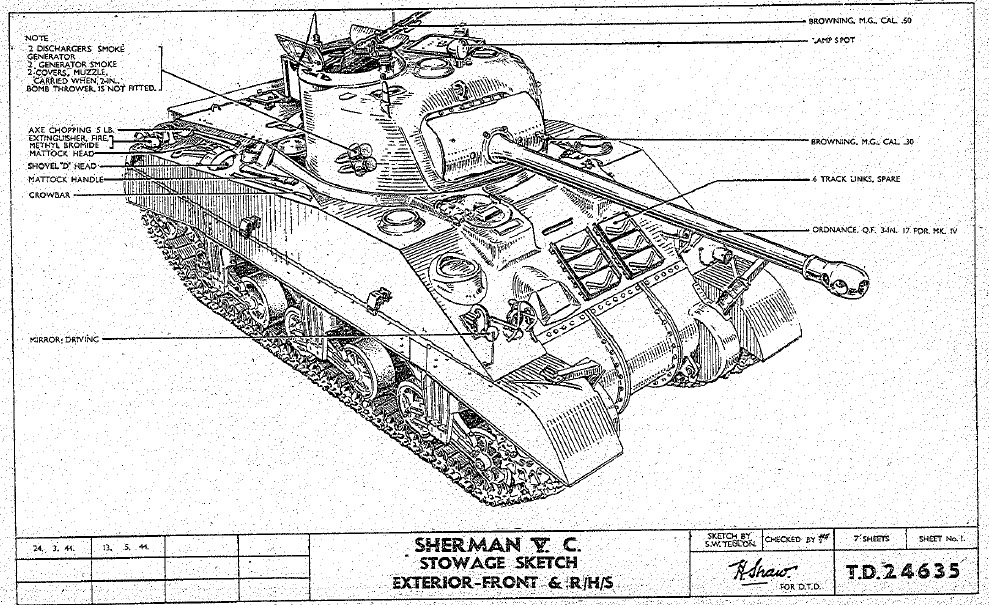
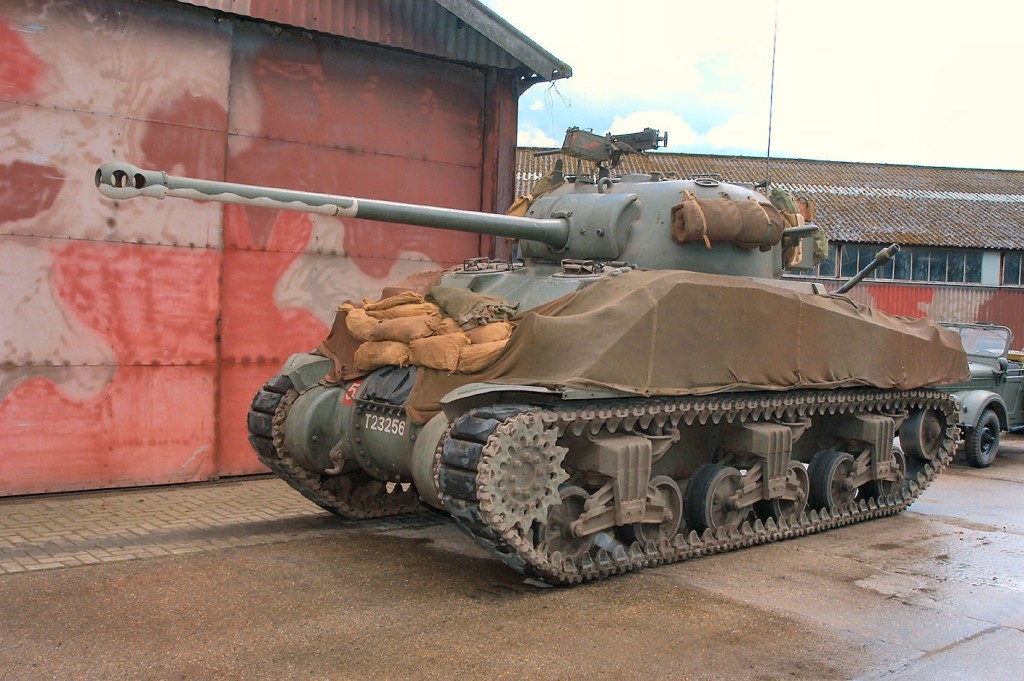
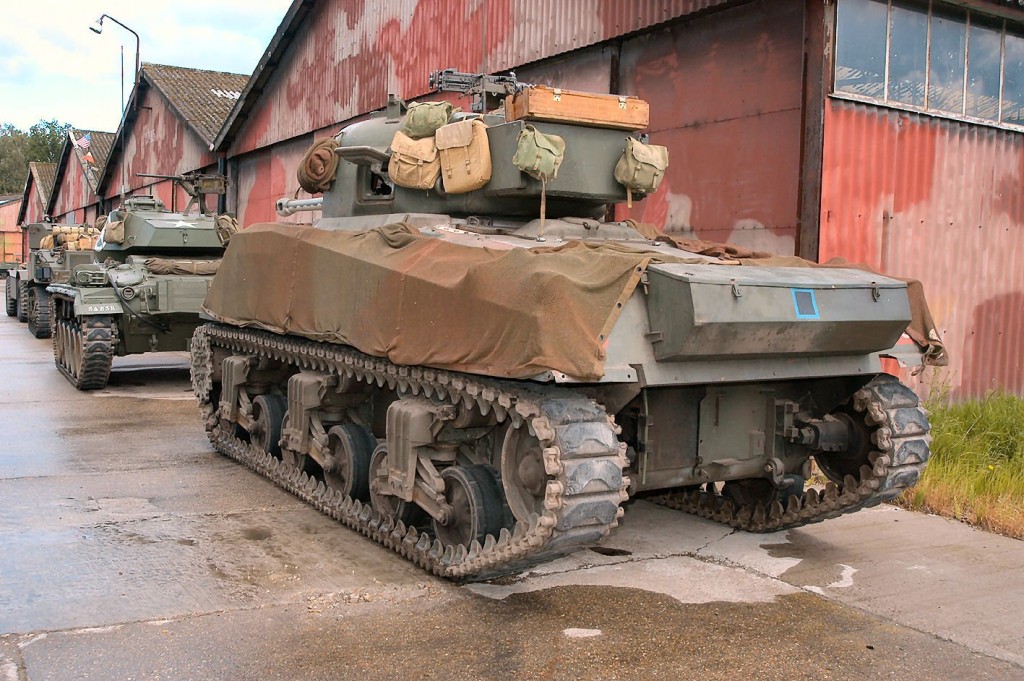
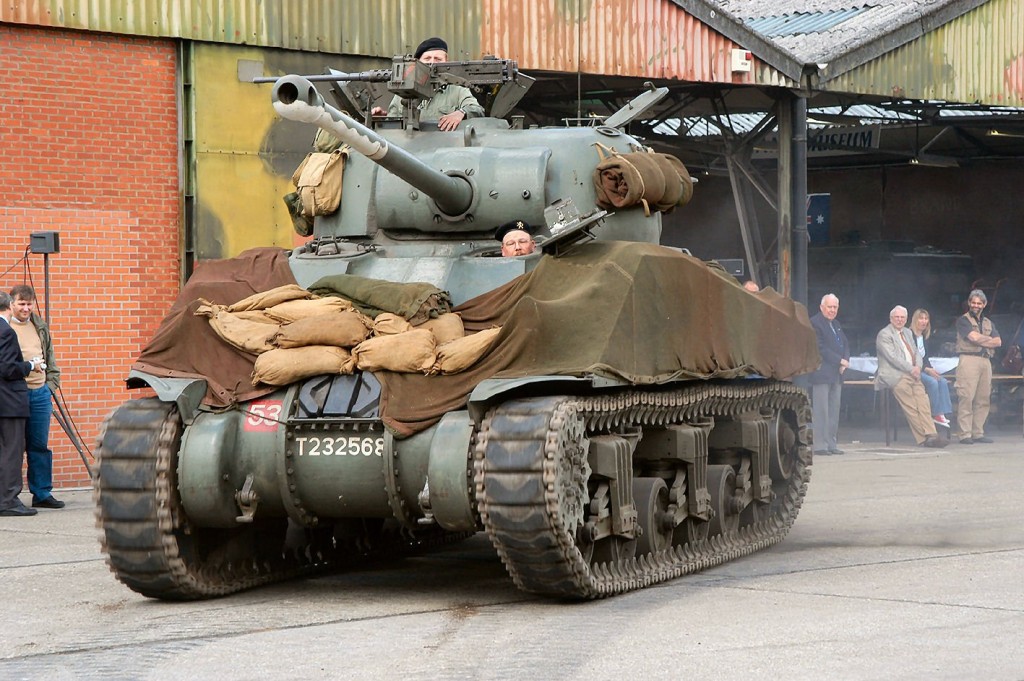
Sherman Firefly VC


Firefly Vc Spec Sheet


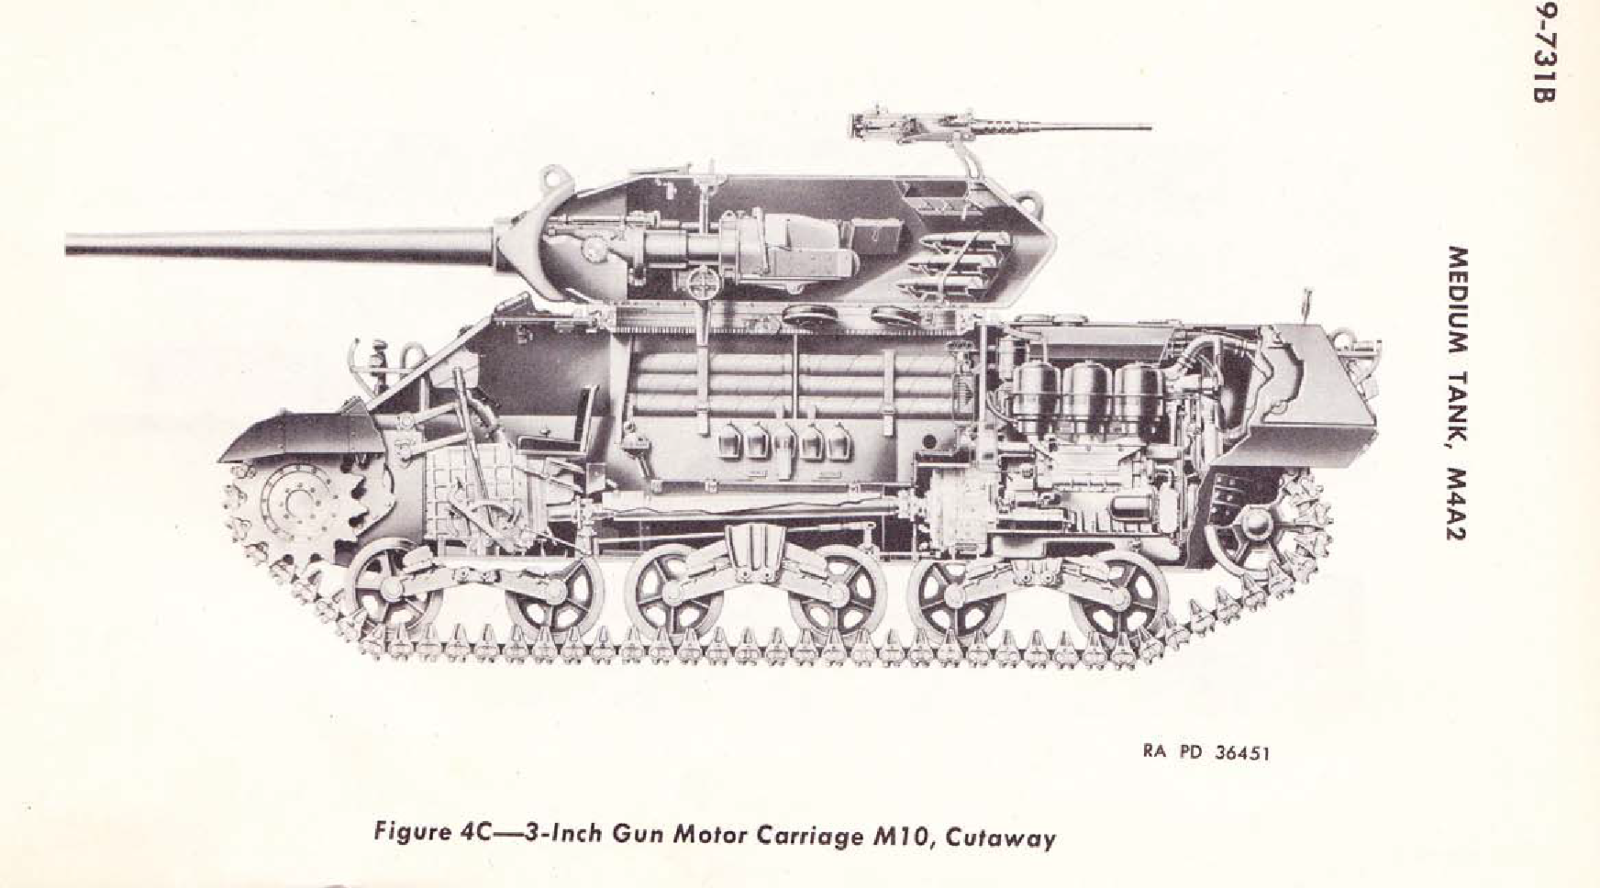
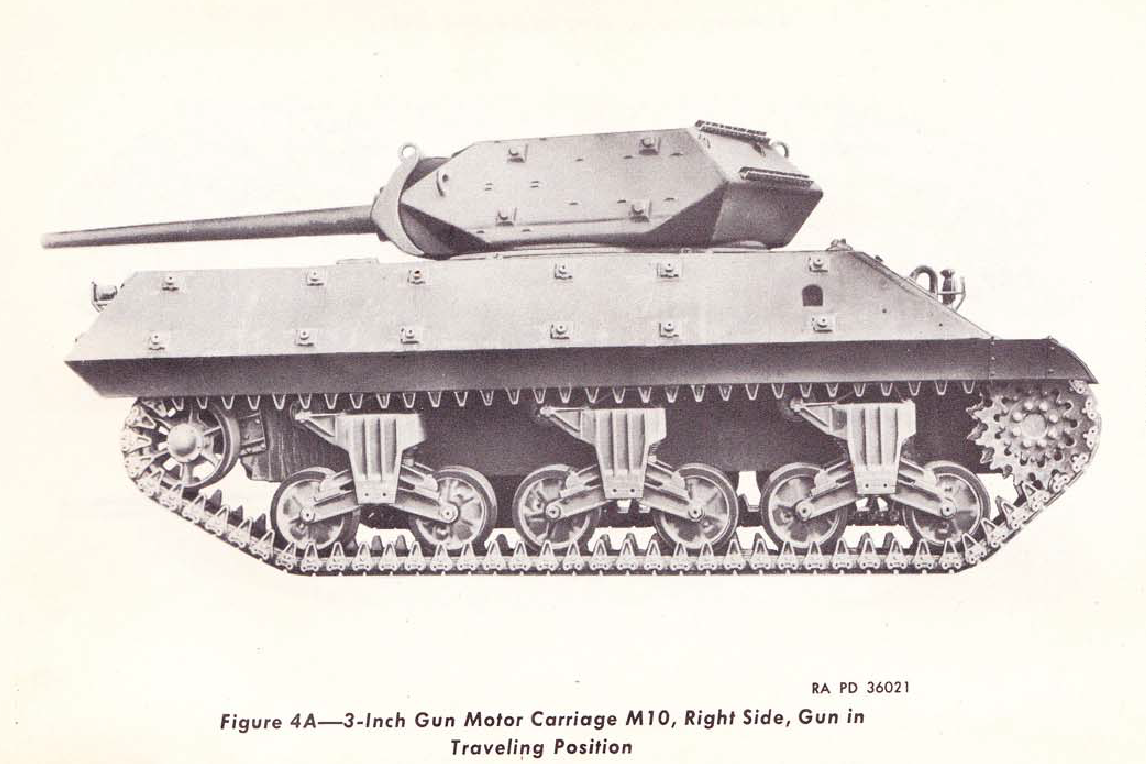
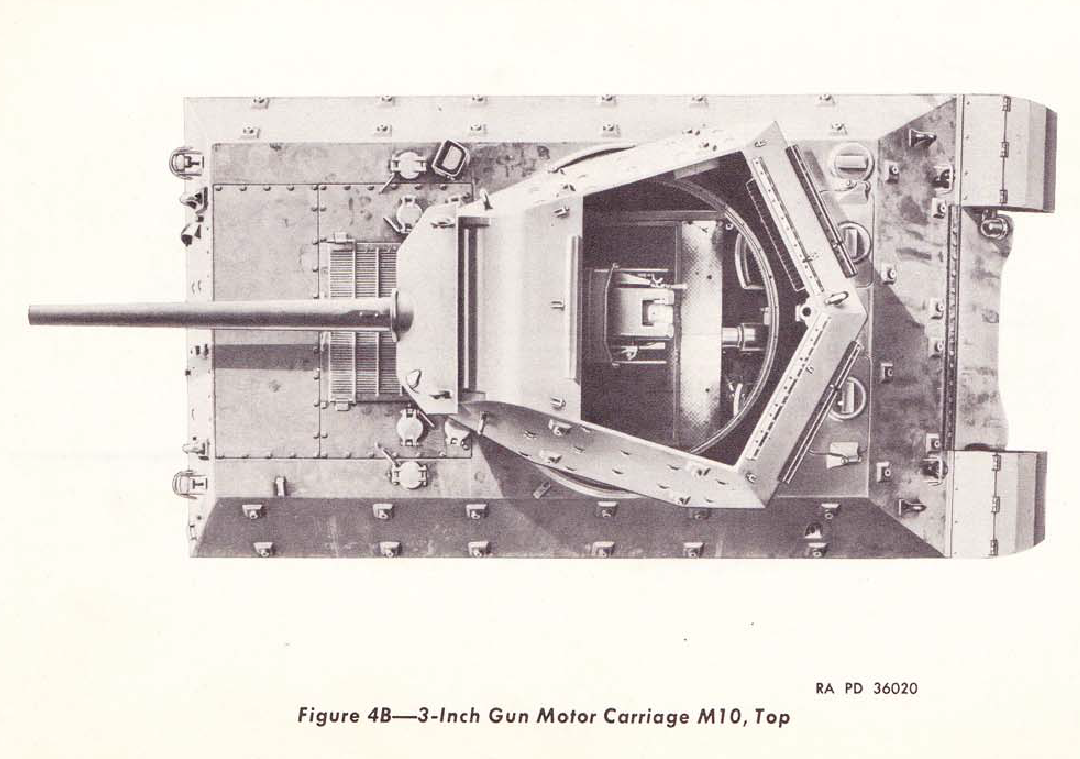
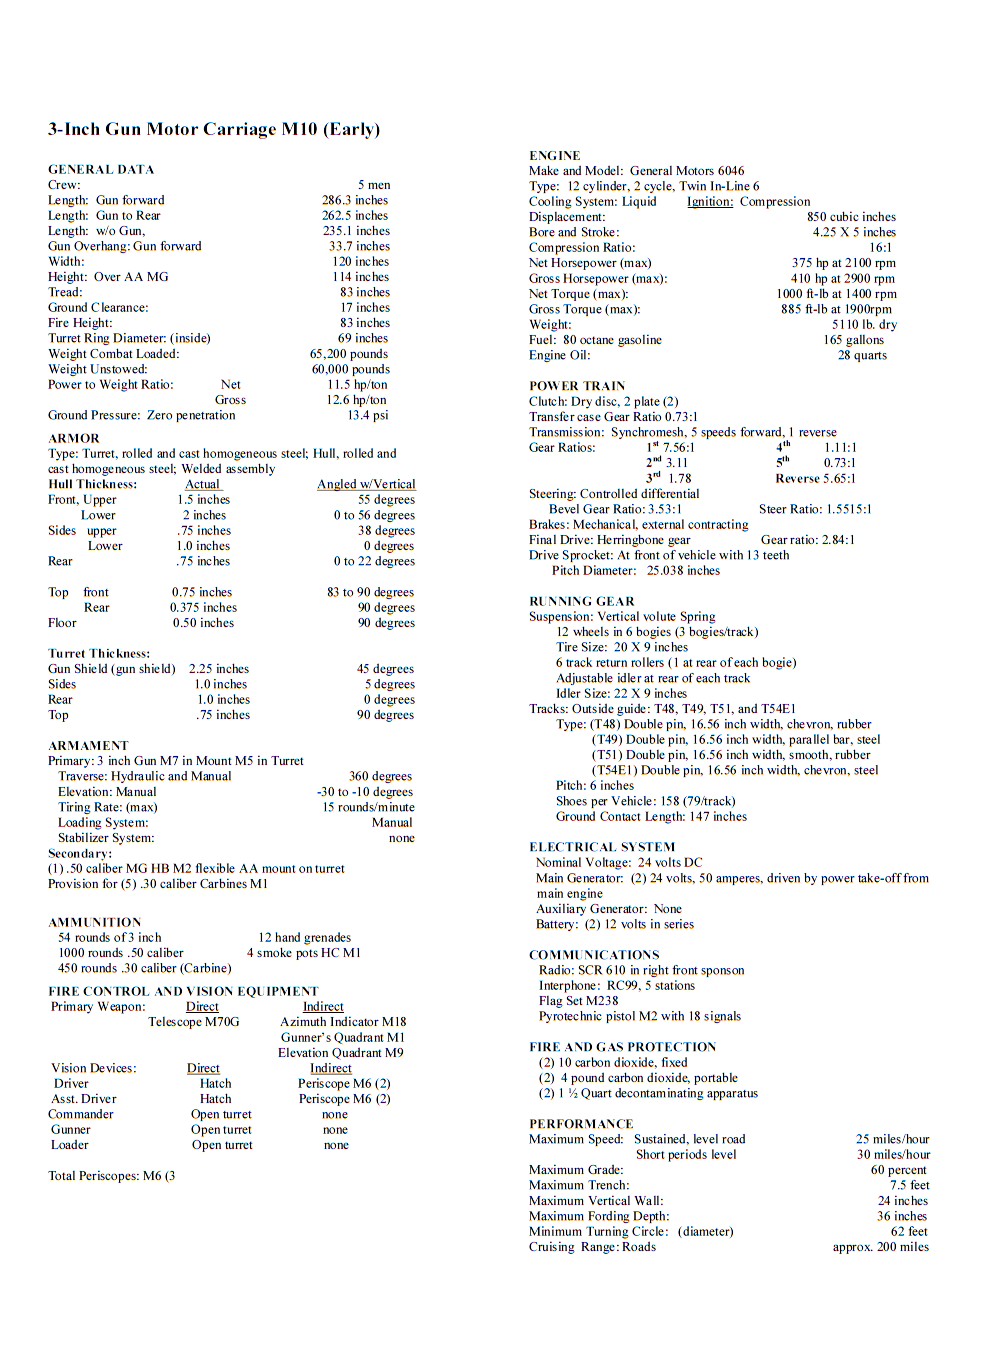
M10 GMC


M10 GMC 3inch spec sheet


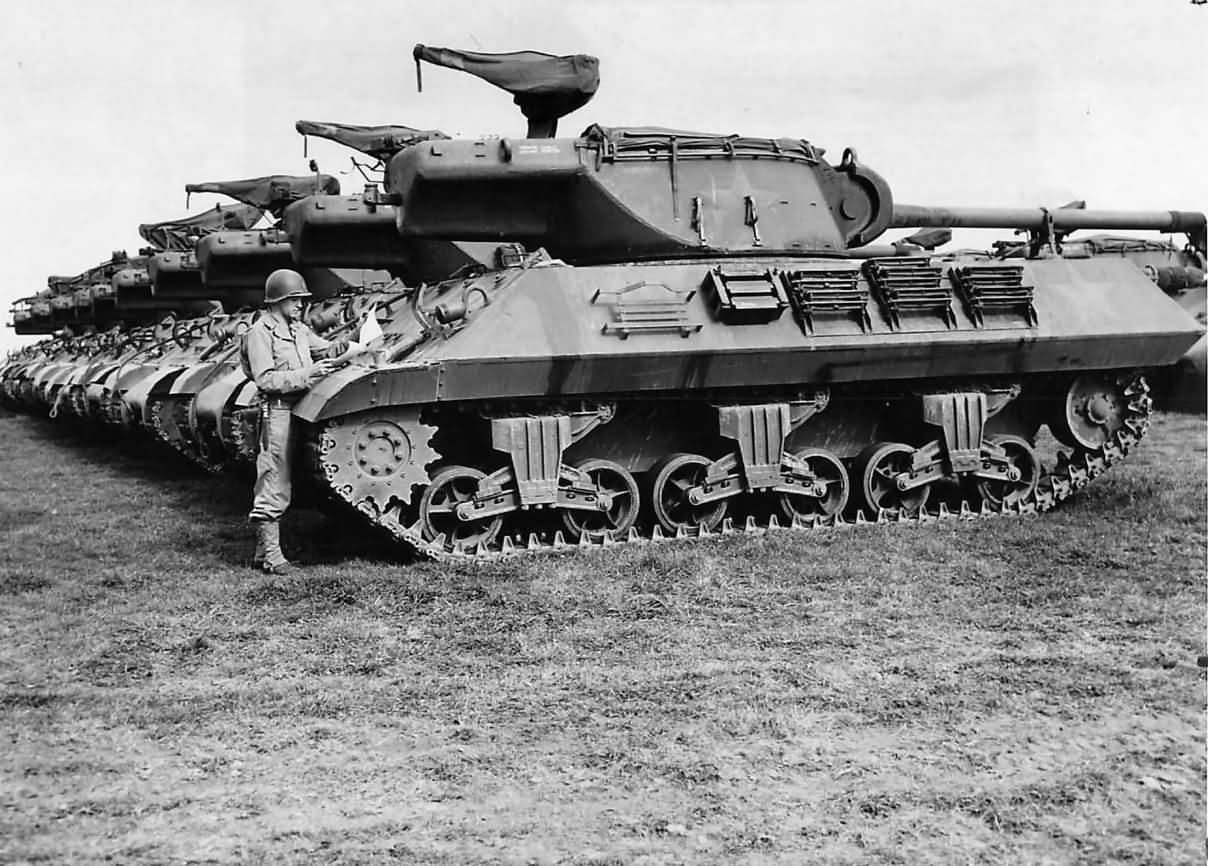
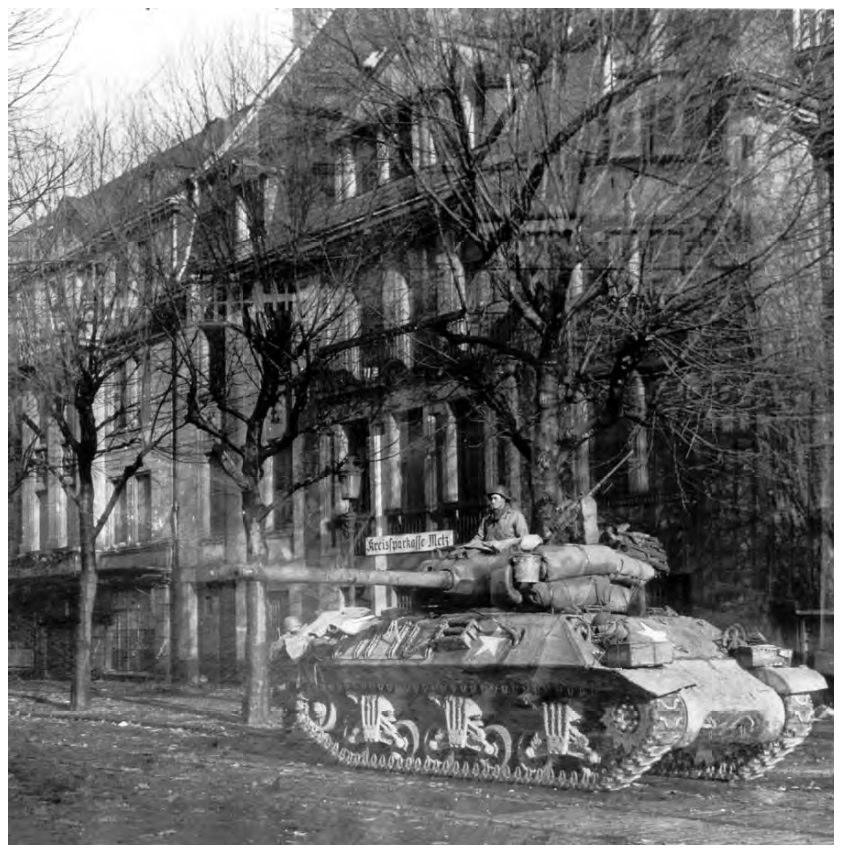
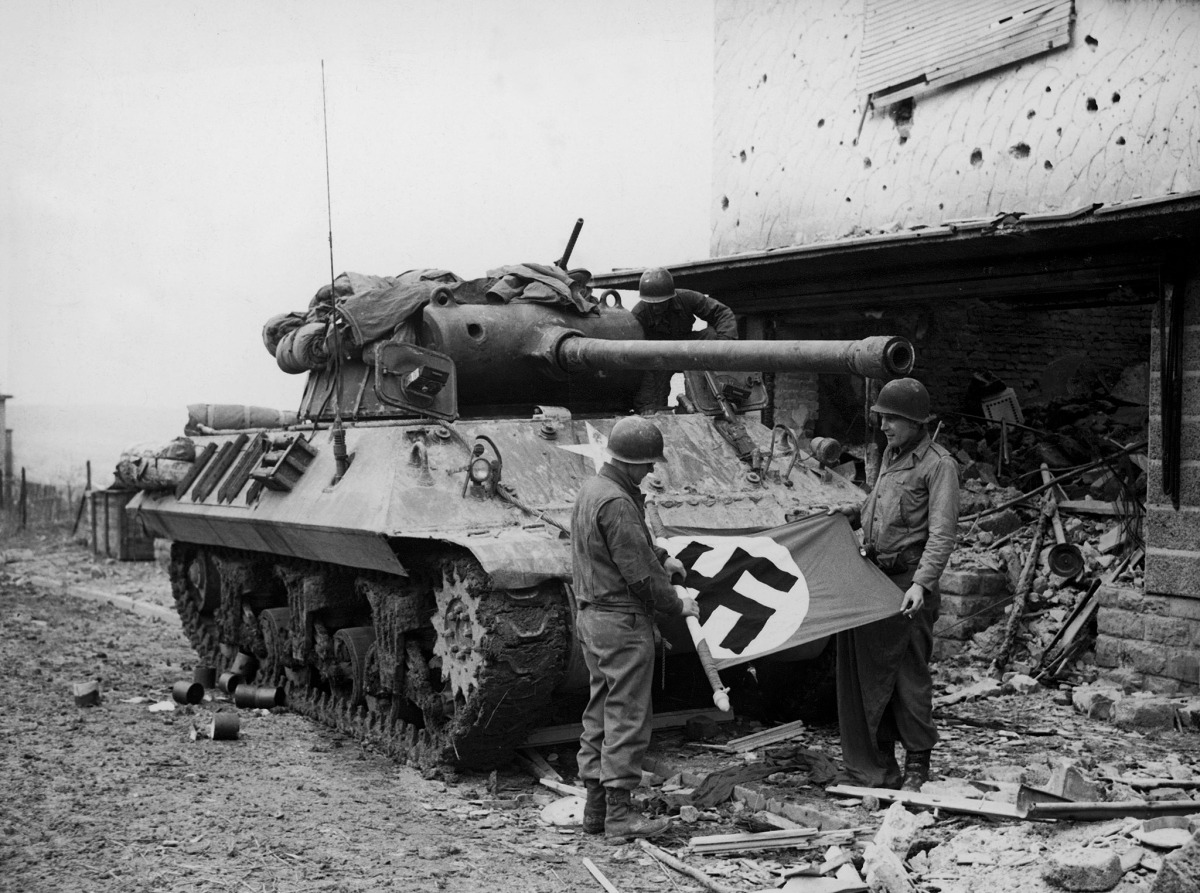
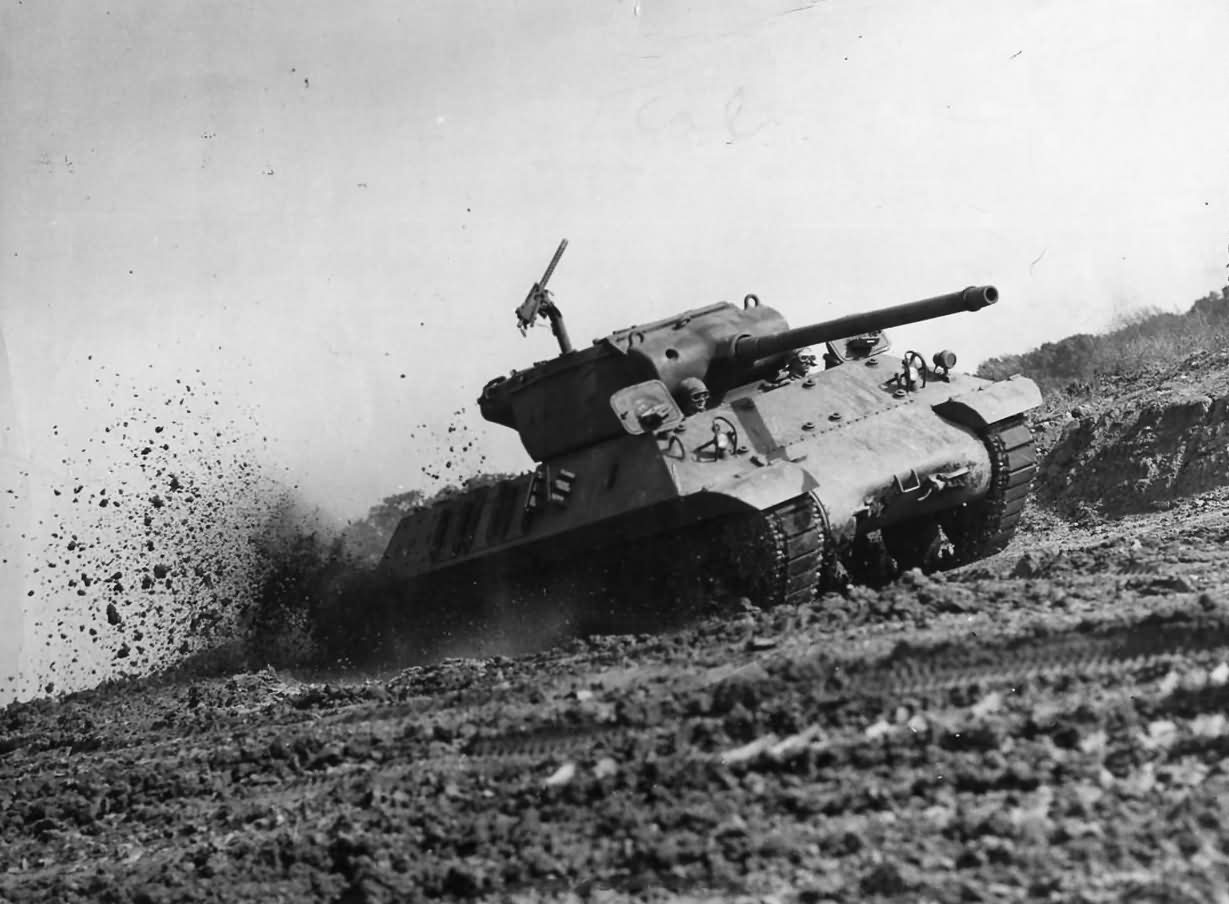
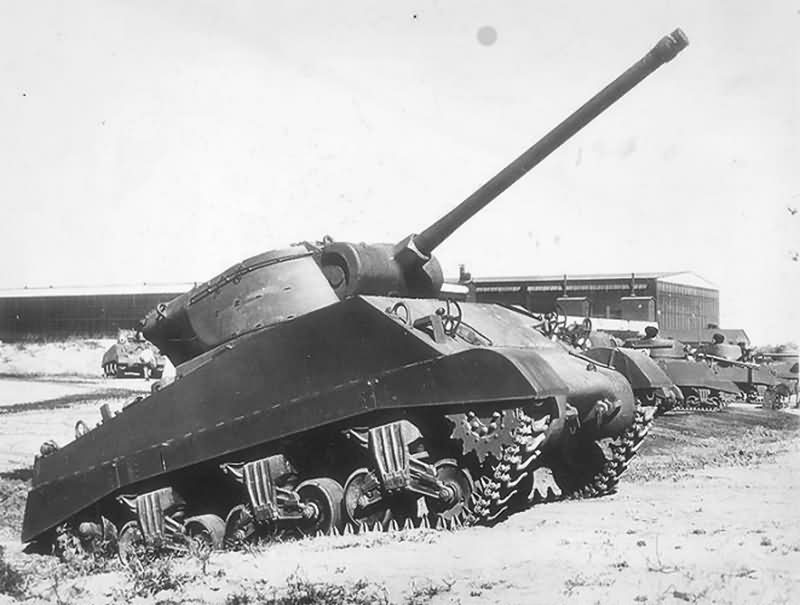
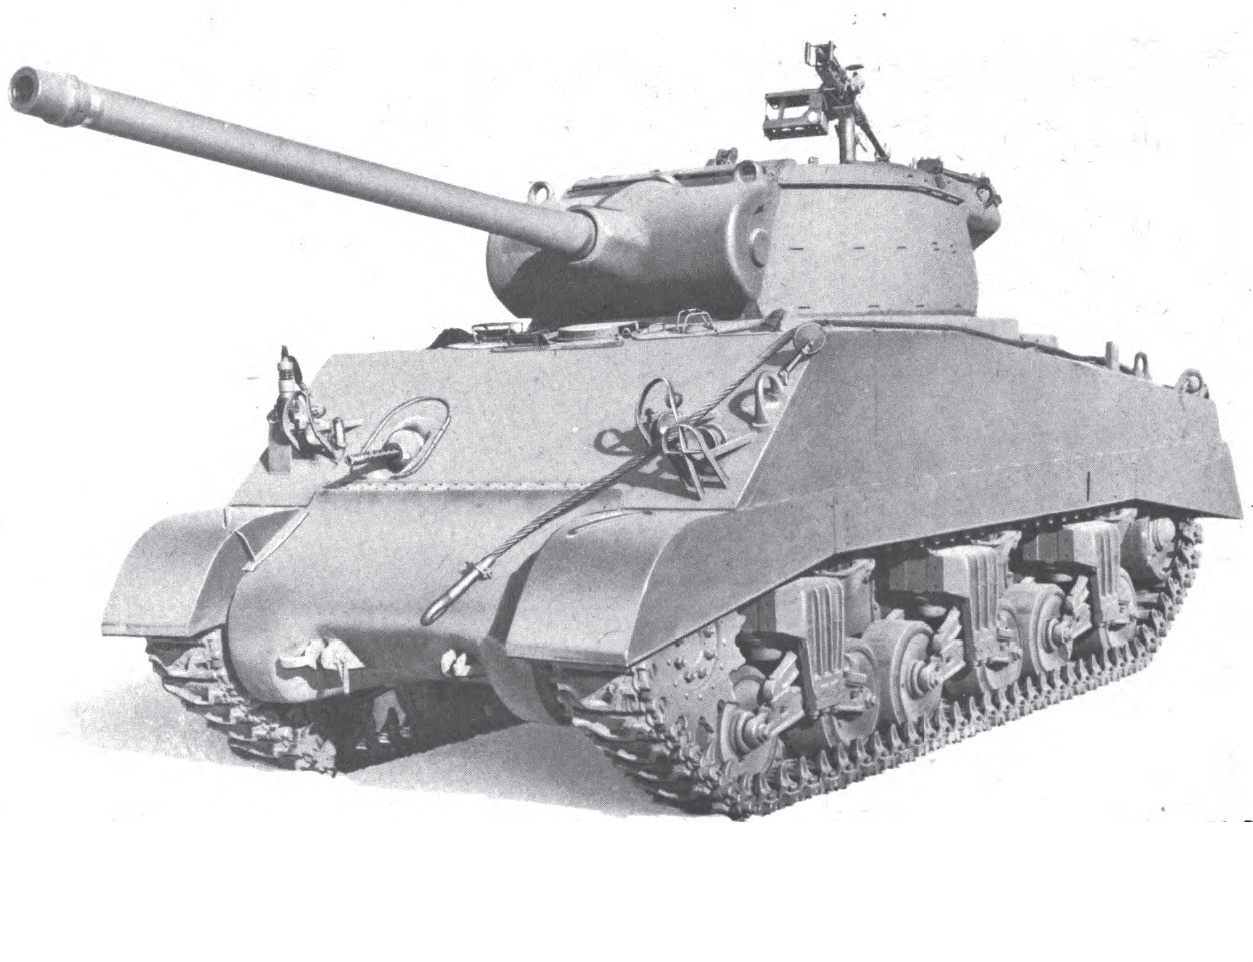
M36 GMC


M36B1 90mm GMC