Categories
Category: Fieldcraft
Categories
Darwin would of approved of this! Fieldcraft Funny Pictures & Memes Hard Nosed Folks Both Good & Bad Manly Stuff Paint me surprised by this Real men Some Red Hot Gospel there! This looks like a lot of fun to me! Well I thought it was funny! Well I thought it was neat! You have to be kidding, right!?!
Talk about getting into your opponents mind before the fun starts!

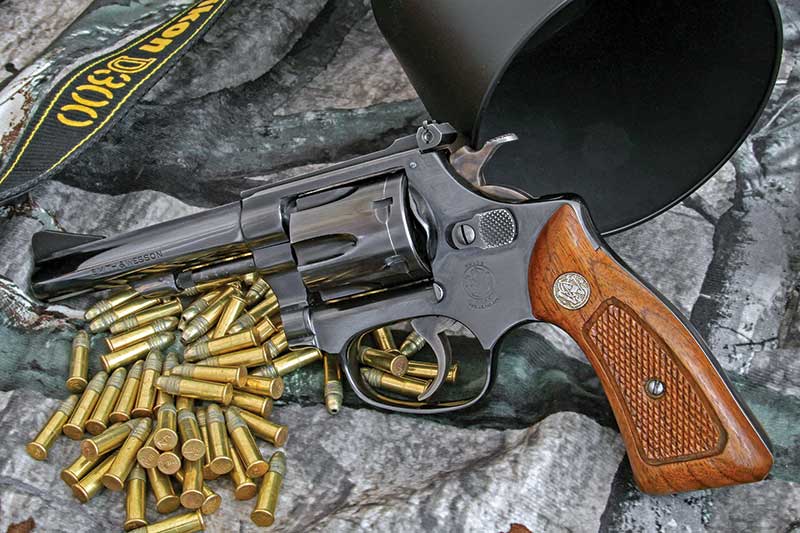
A new handgun shooter with small hands may be best suited with a J-Frame
S&W revolver, originally known as the Kit Gun. This model 34 is the standard .22 rimfire version.
In the ’60s and ’70s, S&W had an ad for their K22 revolver with the headline “The Beginner’s Gun the Experts Can’t Put Down.” The K22 is a lot more than a beginner’s gun, but the novice handgunner who starts with a K22 is fortunate indeed. A K22 wasn’t the first handgun I owned — it was the third, as I recall — but it taught me more about shooting a handgun than any other before or since.
It seems the concept of learning the basics with a .22 has become old school. I get it. Many buyers want a handgun for defense and don’t like the idea of buying more than one. They buy a centerfire and they’re satisfied if they can hit a silhouette target at five yards.
I know of no better tool for learning handgun skills than a quality double-action revolver. For me, the K22 is about perfect. The first one I owned was a Model 17 made in the early 1970s. This was the model number assigned to the K22 when S&W introduced model numbers in 1957. The original K22/Model 17 revolvers weighed about 38 1/2 oz. The current Classic Model 17 weighs just under 40 oz., while the stainless 617 with a 6″ barrel is a bit over 44 oz.
Good options for shooters finding these a bit heavy are the model 63 with a 4″ barrel at just under 25 oz. and a personal favorite, the Ruger SP-101 .22 at 30 oz.
Here’s why I like the K22 and similar revolvers as training tools:
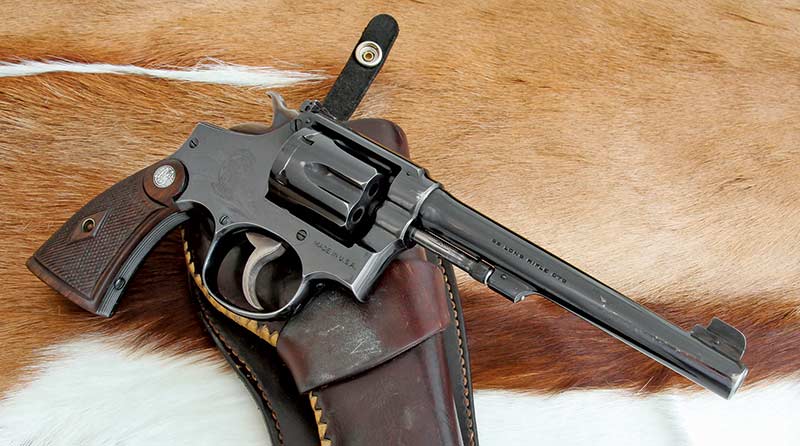
This Prewar S&W K22 with adjustable rear and post front sight was a gem
when first introduced and is still a pleasure to shoot 85 years later.
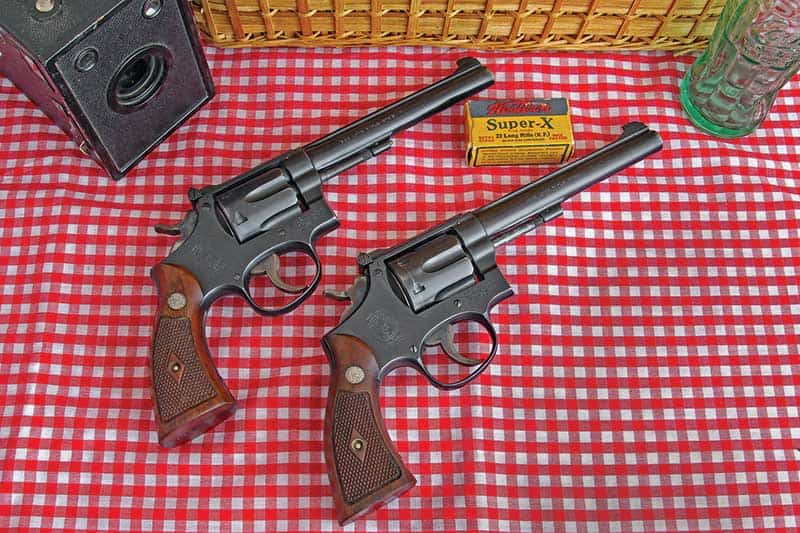
Dave’s favorite K22s are this pair from the early 1950s before
S&W model numbers were introduced.
Trigger Quality
A cocked double-action revolver has about the best out-of-the-box trigger break available. With the K22, there is virtually no perceptible take-up, creep, or over-travel and the pull is consistent. Just index the sights on target and smoothly increase pressure until the shot breaks. If the only handgun you’ve shot is a service-style 9mm semiauto, experiencing a really good trigger pull is a revelation.
Adjustable Sights
I have nothing against fixed sights; in fact, I prefer them for applications such as concealed carry, provided they are correctly sighted. The novice shooter is much better served with easily adjustable sights, especially considering point of impact can change as the shooter learns a more consistent sight picture, hand position and grip strength, and trigger control.
Ammunition Versatility
For target shooting, plinking and training, I use and recommend standard velocity .22 LR cartridges. A revolver provides the option of using .22 Shorts or even CB caps if reduced noise is desired. It used to save money back when .22 Shorts were cheaper than Long Rifles. These days one can hardly find Shorts for sale, and if you do, they often cost as much or more. For small game hunting and pest control, high-speed Long Rifles are an option.
Grip Size And Shape
If the revolver has a fault, it is the grips used on older models, which left a big ditch behind the trigger guard. On my older guns, I often add a grip adapter. Current production revolvers have much-improved grip styles and there are many aftermarket styles. Most revolvers permit the shooter to easily fit grips to suit their hand size or add features such as finger grooves. Synthetic grips offer an alternative to wood.
Safety
I hesitate to say revolvers are safer than semiauto pistols. Strictly speaking, the shooter, not the gun, is safe or unsafe. Still, when a novice is shooting a handgun, I feel more comfortable if it’s a revolver. After firing a shot from a cocked revolver, the next shot can only be fired by a long, heavy pull or by cocking the hammer. After a shot is fired from a semiautomatic, the pistol is loaded, cocked, off-safe and ready to fire again with a short, light trigger pull.
One way around this is to load one cartridge at a time, which is a good idea for a novice with any handgun. This does get old in a hurry. I won’t make a huge issue of safety and the DA revolver — I can only point out my personal preference.
Fans of SA revolvers may feel I’m slighting their choice. Not at all; I would as soon teach with a single action. In some ways, it’s even safer since the hammer must be manually cocked for every shot. I prefer the DA since the SA pull is usually excellent, plus the shooter may someday want to acquire skill at DA shooting.

In May of 2017, a father of three named Troy Johnson donned a ghillie suit and stalked a 12-year-old girl as she was heading to school in New South Wales, Australia. The 31-year-old abducted, subdued, gagged, and raped the child. Police searched his home and seized several items of evidence that supported the resulting charges. There were allegations of other assaults and attempted assaults as well. This freaking loser supposedly suffered some kind of medical episode after his arrest and was subsequently hospitalized. He appeared in the Wyong Local Court after his discharge and was ultimately sentenced to 28 years in prison.

I struggle to comprehend what could drive a person to do something like that. Not meaning to sound uncharitable, but whatever his “medical episode” was, I can only hope it was something fairly agonizing. Most anything involving a power drill, a propane torch, or an intractable intestinal blockage would be OK with me. What makes this whole sordid tale pertinent to today’s discussion, however, was his attire. The ghillie suit has a long and fascinating military history.
Origin Story

Gille is a Scots Gaelic term that describes a young man who works outdoors. Gille Dubh translates to “Black-Haired Youth” or “Dark-Haired Lad.” The Gille Gubh is some kind of bizarre earth spirit adorned in moss and leaves that figures prominently in Scottish mythology. The general understanding is that ghillie is a poorly-translated version of this term.

Our Australian comrades call their ghillies “yowie suits.” This is a reference to the yowie, a mythical aboriginal creature akin to the Sasquatch. While there are a dozen or more local names for this thing, they all describe a hairy ape-like hominid that stands and walks upright. I rather suspect the yowie accounts for more than a little lost sleep among Australian children.

The ghillie suit is simply a camouflage outfit designed to meld a sniper into the background vegetation and leave him essentially invisible on the battlefield. In years past, ghillie suits were handmade as part of sniper training. Traditionally, this involved sewing strips of burlap of various colors onto an old camouflage uniform until the end result was adequately leafy and bulky.

The first recorded use of the ghillie suit in combat was by the Lovat Scouts during the Second Boer War. This Scottish Highland Regiment was mustered by Simon Fraser, the 14th Lord Lovat. The first batch of troops for this motley band was drawn from gamekeepers, professional stalkers, and similar men of the earth who toiled on Scottish estates.

The Lovat Scouts were initially commanded by the Honorable Andrew David Murray with Lord Lovat as 2IC. After 17 months in action, Murray was killed and Lord Lovat took command at age 29. He served until the end of the war in 1902.

At the dawn of the 20th century military tacticians were still trying to define themselves in the age of long-range repeating rifles, high explosives, smokeless powder, and belt-fed machineguns. In the Lovat Scouts we find soldiers well informed in fieldcraft and marksmanship. When combined with some innovative leadership these rugged men ultimately changed the way wars were fought.

The Lovat Scouts were attached for a time to the Black Watch, but that relationship ended in the summer of 1901. A year later the Lovat Scouts returned to England and were disbanded. With chaos on the horizon in Europe, the Lovat Scouts were reformed in 1903 as two regiments. From these troops were drawn a group of dedicated sharpshooters that became the British Army’s first operational battlefield sniper unit. The unit was dissolved and reconstituted another time or two before finally finding itself deployed as two separate regiments in September of 1915 to Gallipoli.
The First War to End All Wars

The WW1-era Lovat Scouts Sharpshooters were formed into ten platoons. Each platoon was led by a commissioned platoon leader and consisted of 21 soldiers and NCOs. That first sniper unit totaled 220 specially-trained men. In a fairly prescient bit if tactical acumen, each platoon was subsequently attached to a particular Army Corps to be tasked out to subordinate units as needed.

These sharpshooters were indeed renowned for their facility behind a rifle. Their weapons were typically variations of the standard-issue Short Magazine Lee Enfield (SMLE) that equipped most of the British Army. The SMLE was itself exceptionally capable for its day. However, it wasn’t necessarily their facility as snipers that so endeared the Lovat sharpshooters to their supported units.

These early snipers were highly esteemed for their covert intelligence-gathering skills. On a battlefield bereft of drones and spy satellites, the accurate establishment of enemy locations and dispositions made the difference between success and failure. While using little more than 20-power spotting scopes these skilled warriors could offer great detail on enemy movements within ten miles and still offer reliable insights out to twenty. Major Vernon Hesketh Prichard, a legendary soldier and adventurer whose story we will no doubt explore eventually in this venue, was quoted as having said of the Lovat sharpshooters, “Keener men never lived…if they reported a thing, the thing was as they reported it.”
The Guns

When faced with the prospects of protracted trench warfare, the British set out to equip their sharpshooters with precision rifles worthy of their mission. At first, these dedicated marksmen were equipped with a motley array of repurposed scoped hunting weapons. However, by 1915 the British government began mounting 3x and 4x scopes atop SMLE and P14 Enfield rifles. During the course of the war roughly 10,000 rifles were thusly converted. The optics on these weapons were not standardized until 1918.

Though the SMLE fed from a detachable 10-round box magazine, most loading was still undertaken by stripper clips from the top. As a result, early scopes featured offset mounts to allow access to the rifle’s action from above. Later versions were center-mounted to facilitate a more effective cheek weld. These weapons had to be either loaded from the bottom using magazines or loaded from the top one round at a time. A skilled rifleman was expected to fire between 20 and 30 aimed shots per minute.

The Short Magazine Lee-Enfield Mk I was first introduced in January of 1904. The SMLE’s 25.2-inch barrel represented the sweet spot halfway between that of the original Lee-Enfield rifle and the carbine version. The SMLE was distinguishable at a glance by the stubby little bayonet boss protruding just below the muzzle. The subsequent WW2-era Mk IV sported a small length of barrel at the nose. The definitive WW1 version of the rifle was the slightly-modified Mk III introduced in 1907. British Tommies affectionately referred to the SMLE as the “Smelly.”
The Suit

The basic ghillie suit changed very little for nearly a century. If properly executed such a contrivance was almost unnaturally effective. However, those traditional burlap ghillies had their downsides.

Frayed burlap is notoriously flammable. On a battlefield contaminated with such vile stuff as white phosphorus, incendiary rounds, smoke grenades, and similar pyrotechnics the ghillie suit can be a simply epic fire hazard. Two snipers assigned to the 11th ACR burned to death during combat operations in Iraq when their ghillie suits were set ablaze. Additionally, burlap soaks up moisture like a sponge. Once a burlap ghillie suit gets wet it becomes unnaturally heavy. Wet burlap close to the skin for long periods in cool climes can precipitate hypothermia as well.

Modern sensors rely upon thermal detectors and IR imagers that can significantly degrade the effectiveness of traditional visual camouflage. While a generation ago such gear had to be mounted in the nose of an attack helicopter and cost as much as my hometown, nowadays thermal sights of surprising effectiveness are within financial reach of your typical middle-class pig hunter. As regards thermal technology, with each passing year the prices go down and the capabilities go up. Traditional ghillie suits don’t do much to conceal a person’s thermal signature.

While this might not seem like a big deal, a ghillie suit also attracts burrs and twigs like some kind of magnet. Once you’ve rolled around in the brush in one of these things for a while it becomes a gigantic mass of prickly crap. Most normal people wouldn’t care, but it’s impossible to keep a field-worn ghillie suit tidy.
The Next Generation

We Americans have a well-earned reputation for smothering our problems in science and technology. In 2007 the US Army Soldier Systems Center undertook a program to develop an enhanced ghillie suit material. Where burlap or jute had all those detriments described earlier, this new stuff was purportedly water-repellent and fire-resistant. After extensive field testing at the Sniper School at Fort Benning, this new material was incorporated into the FRGS (Flame Resistant Ghillie System). Testing began in 2018 on the IGS (Improved Ghillie System), a modular design intended to be even safer, more comfortable, and more effective.

Though they have really changed very little over the past century, the ghillie suit remains an integral part of the modern sniper’s kit. Wherever men institutionally kill each other there will be precision marksmen decked out in fluffy earth tones creeping about in the brush visiting death upon their enemies. Born in South Africa in the late 19th century, the ghillie suit remains a timeless sniper tool even today.
Categories
How Much Ammo? Published by Divemedic
Once you pick your flavor of ammo as we did earlier this week, how much of it should we have on hand? Some people say that the most handgun ammunition that you need on hand is 250 or 500 rounds. That’s ridiculous. I have more than that in any given caliber.
For starters, there are two types of ammo: range ammo and war shots. PewPew Tactical recommends 500 rounds as a starting point, with 150 of those rounds being war shots. I still think that’s low. So what do I consider to be a good amount of ammo?
For range ammo, I buy in bulk because it’s cheaper, meaning in 1,000 round cases. If I find a good deal, I snap it up. That’s how I scored 9mm FMJ for 15 cents a round back in January of 2020, when I got 2,000 rounds for $300. Of course, that was pre-COVID. Good luck getting 9mm at that price now.
For starters, .22lr comes in bricks of 500 rounds. I own a few .22 firearms, both pistols and rifles. You will seldom see me with less than a couple of thousand rounds of .22 lying about. Of course, there is really no such thing as a “war shot” with .22lr. A brick of .22 will cost you about $30 at today’s prices, making it the cheapest way to shoot. It’s also great for squirrels and rats. That’s why I keep a bunch on hand.
When it comes to range ammo, I try to stock a minimum of 500 rounds per caliber. For the high use calibers of 9mm and .45, I find that 1,000 rounds on hand is a minimum.
For defensive handguns, we need to consider war shots. For semi-autos, I try to keep a minimum of 500 war shots per handgun. For revolvers, 150 war shots per handgun. So if I have a pair of 9mm handguns, that’s 1,000 rounds.
When we get into 5.56mm and 7.62x51mm, we get into a whole different ballgame. For the AR, all I stock in 5.56mm is Green Tips. I don’t do different war shots and range ammo, because I want my war shots to perform identically to my range ammo. For that reason, I try to keep a minimum of 5,000 rounds on hand of 5.56mm.
Likewise for the 7.62x51mm, but my round count there is lower simply because it is more expensive and takes up more room. So I want my minimum there to be no less than 2,500 rounds. With the 7.62, I look for nothing but the 147 grain. That way, every round is similar in performance to every other round.
For shotguns, all I have are 12 gauges. I stock 250 defense rounds in buckshot and slug, and 250 rounds of #7 shot (for hunting).
Toss in a few smoke grenades and a couple of pepper grenades, and the fire marshal’s office will shit themselves if they ever find out about that stash.
So as you can see, that means a lot of ammo on hand. We are talking about more than 20,000 rounds of ammo. I didn’t get there by buying it all at once. I just buy ammo on a regular schedule, buy a case at a time when I do buy, and try to get more than I shoot. Eventually, you get a decent stockpile.

Chances are you already know the NRA’s Three Rules of Gun Safety (1.ALWAYS keep the gun pointed in a safe direction; ALWAYS keep your finger off the trigger until ready to shoot; ALWAYS keep the gun unloaded until ready to use.), and those rules will always apply…everywhere, every time, every gun, every person.
But when you’re heading into the field with a firearm, there are some additional rules to follow. Any time you’re out in the wilderness with a long gun, these rules will help keep you, your hunting party and your legal status safe.
1. Be positive of your target’s identity before shooting.
This might sound overly simplistic, but the fact remains that, every year during whitetail season, farmers everywhere are forced to spray-paint their cattle or risk having them “harvested” by hunters who don’t bother confirming the species of the large ungulate in their sights. Why does this happen? The most likely explanation is “buck fever,” meaning that the hunter wants so badly to see a nice big buck that sometimes his eyes deceive him into thinking that there’s one there. When in doubt, don’t shoot. (This will become something of a refrain.)
2. Take time to fire a safe shot.
If, in order to make your shot, you must move too quickly or in a way that might allow your muzzle to cover something you’re not prepared to see destroyed…don’t do it. If you’re not sure of what’s on the other side of the game animal…don’t do it. It’s better to pass up a trophy animal than to put yourself or any other people in your vicinity at risk.
3. If you fall…
Things happen in the woods. No matter how surefooted you are or how great your boots, even the most graceful among us will take a tumble sooner or later. If you fall, try to control where the muzzle of your gun points. After a fall, check your gun for dirt and damage, and make sure the barrel is free of obstructions.
4. Scopes are not binoculars.
Never use a riflescope as a substitute for binoculars. The temptation to do so is real, but when one does this, one is by definition pointing the muzzle of the gun at unknown targets.
5. Know how to cross a fence.
When you are alone and must cross a fence, unload your firearm and place it under the fence with the muzzle pointed away from where you are crossing. When hunting with others, and you must cross a fence, unload the gun and keep the action open. Have one of your companions hold the gun while you cross. When over the fence, take your gun and your companion’s unloaded gun, so that he or she may cross safely.
6. Know when to unload.
When finished hunting, unload your firearm before returning to camp. You should also unload your gun before attempting to climb a steep bank or travel across slippery ground.
Categories
Individual Fieldcraft
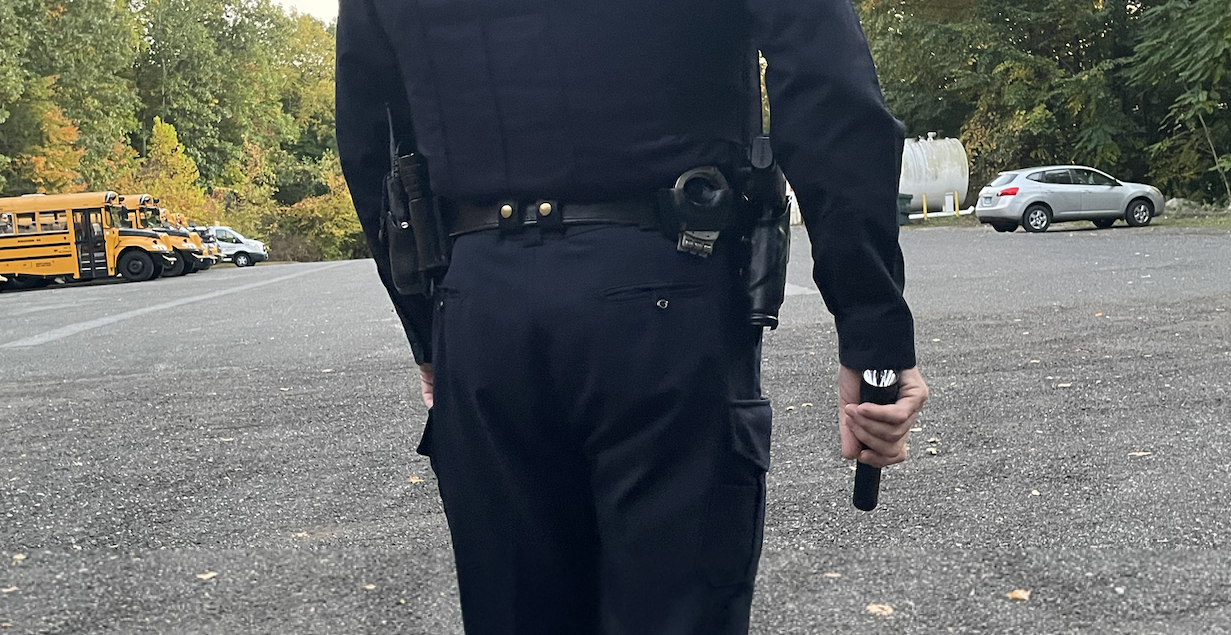
After more than two decades in police work, I sometimes struggle not to get complacent on patrol. After you have conducted thousands of traffic stops and, most of the time, nothing bad has occurred, you may not use as much caution as you once would have. After checking your 500th false burglar alarm, do you find yourself nonchalantly checking a business or a residence?
I have heard similar stories from other cops over the years.
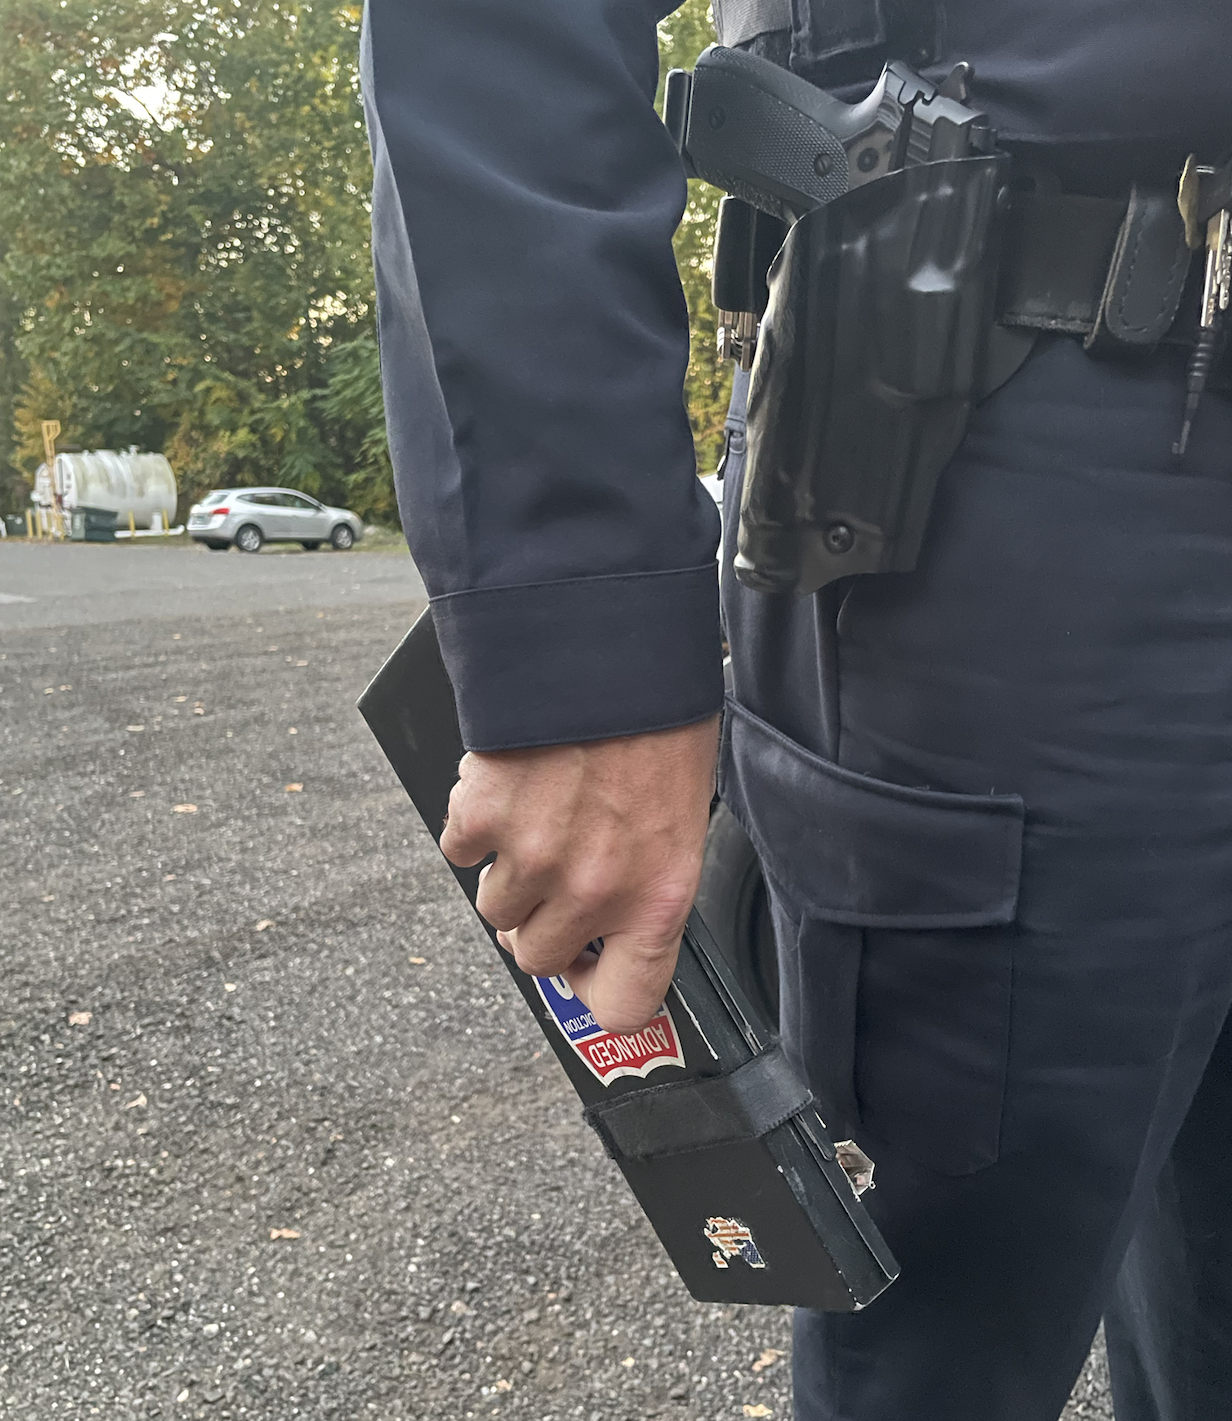
What’s more important? Having your gun hand free? Or is it having your ticket book with you?
There were times I wasn’t as switched on as I should have been during a traffic stop or other incident. When I recognize that, I try to raise my awareness and keep it that way immediately. But then, complacency slowly creeps back in.
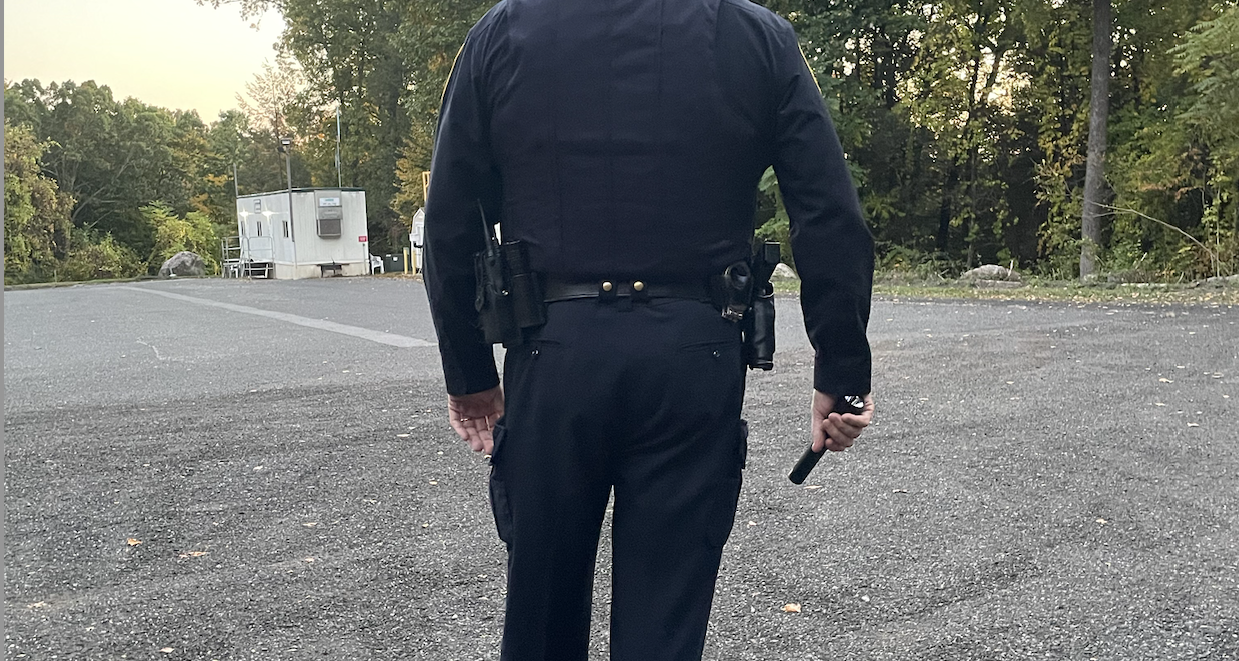
Have we all done it? Why did we?
So, what can we do to prevent complacency creep? A little mental preparation can help. I will visualize an event, usually a worst-case scenario, and how I will respond. For example, what will my reaction be when I attempt to stop this car, and the driver immediately gets out with a firearm? Do I approach the vehicle? What if they drive off? Doing this keeps the worst-case scenarios fresh in my mind and keeps me on my toes during patrol. And hopefully creates a slightly quicker response to this problem since I’ve already gamed it in my mind.
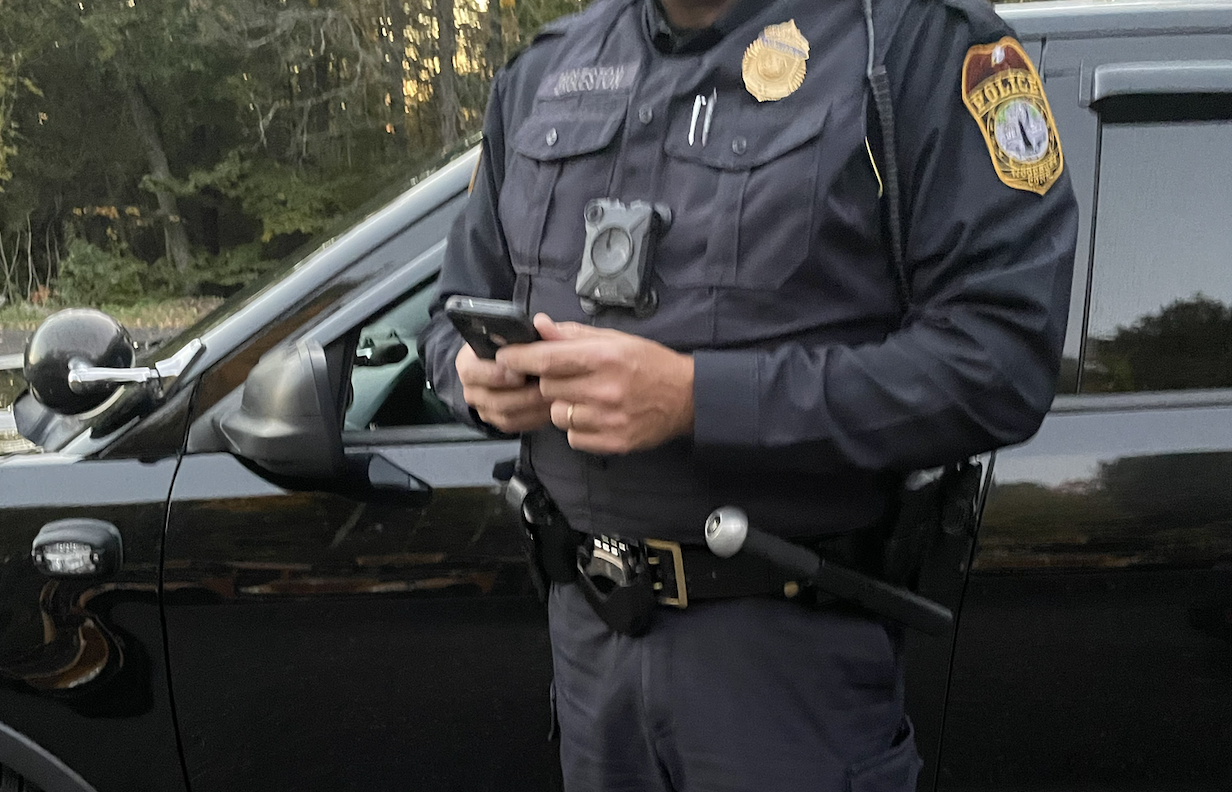
One of the Below 100 tenants is What’s Important Now? Well, is it returning that text? Or paying attention to the world around us?
Oddly, I have some things so ingrained I never forget to do them. I always take my seatbelt off before getting to where I am going. I even do this in my car if my wife is lying waiting for me when I get home. My patrol rifle and shotgun are always accessible, and I check them every payday for lube, problems, battery, etc. I change the batteries in my optics and flashlight every time I change the clocks. I keep my flashlight in my weak hand and carry a spare light with me. I wear my vest and carry a backup gun.
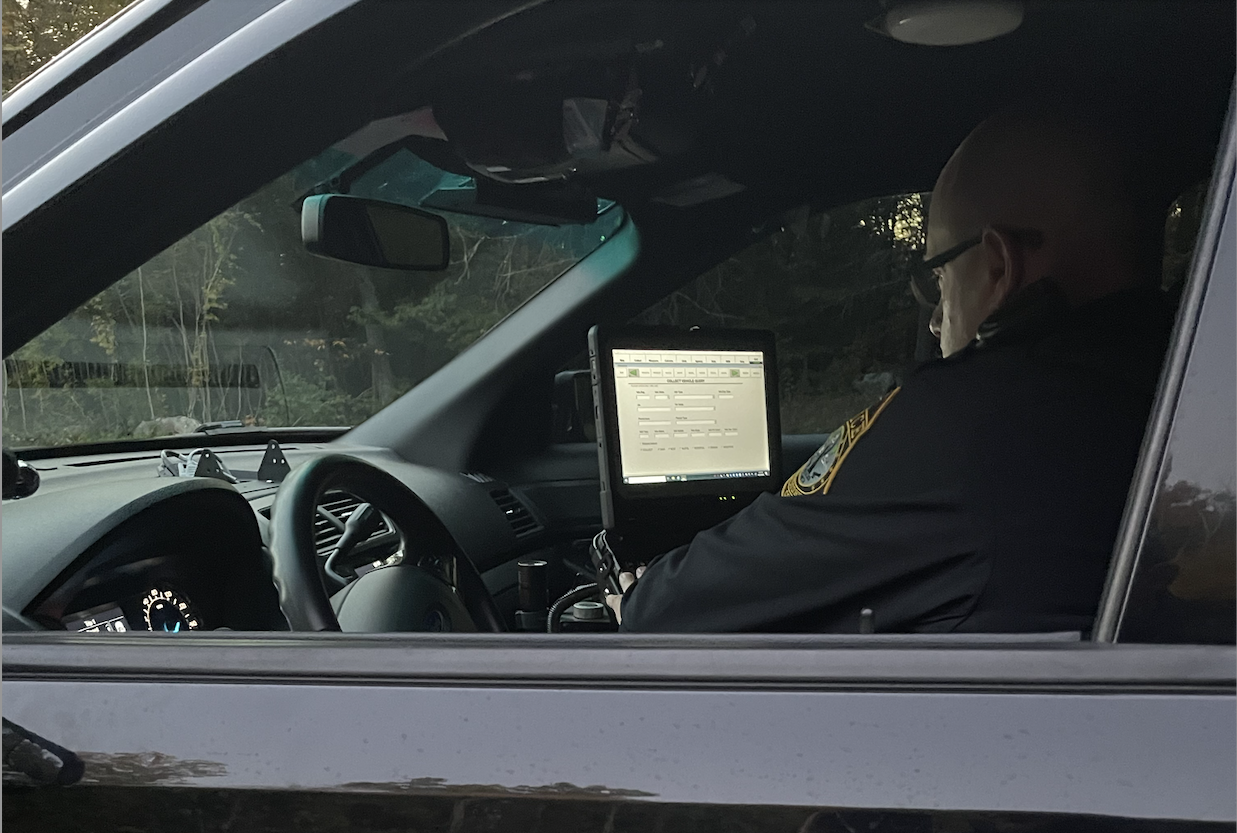
It is easy to get drawn in to our MDCs. What does that do to your awareness?
One instance of a positive outcome – I responded to an attempted burglary in a neighboring town. We have checked numerous buildings throughout our careers, and they are rarely, if ever, an actual burglary. I arrived at the address, a real estate office in a senior citizens community. This community had its own public safety officers who are EMT-trained security guards. They had found an office door that had been partially pried open. The alarm had gone off an hour earlier, but the security officers could not respond because of a medical call. The town police were tied up on a fatal wreck and asked for a state trooper (me) to check the building. While walking the exterior of the building looking for signs of forced entry or damage, I would usually check the property surrounding the building. As I swept the area with my flashlight, I noticed a tree with arms rather than branches. At least, it looked like it had arms because a person was trying to hide behind the tree, and his arms were sticking out both sides of the tree. He was arrested and later admitted to attempting to break into the office. Had I just walked around the building and not been looking and paying attention, I might have missed him hiding in the woods.
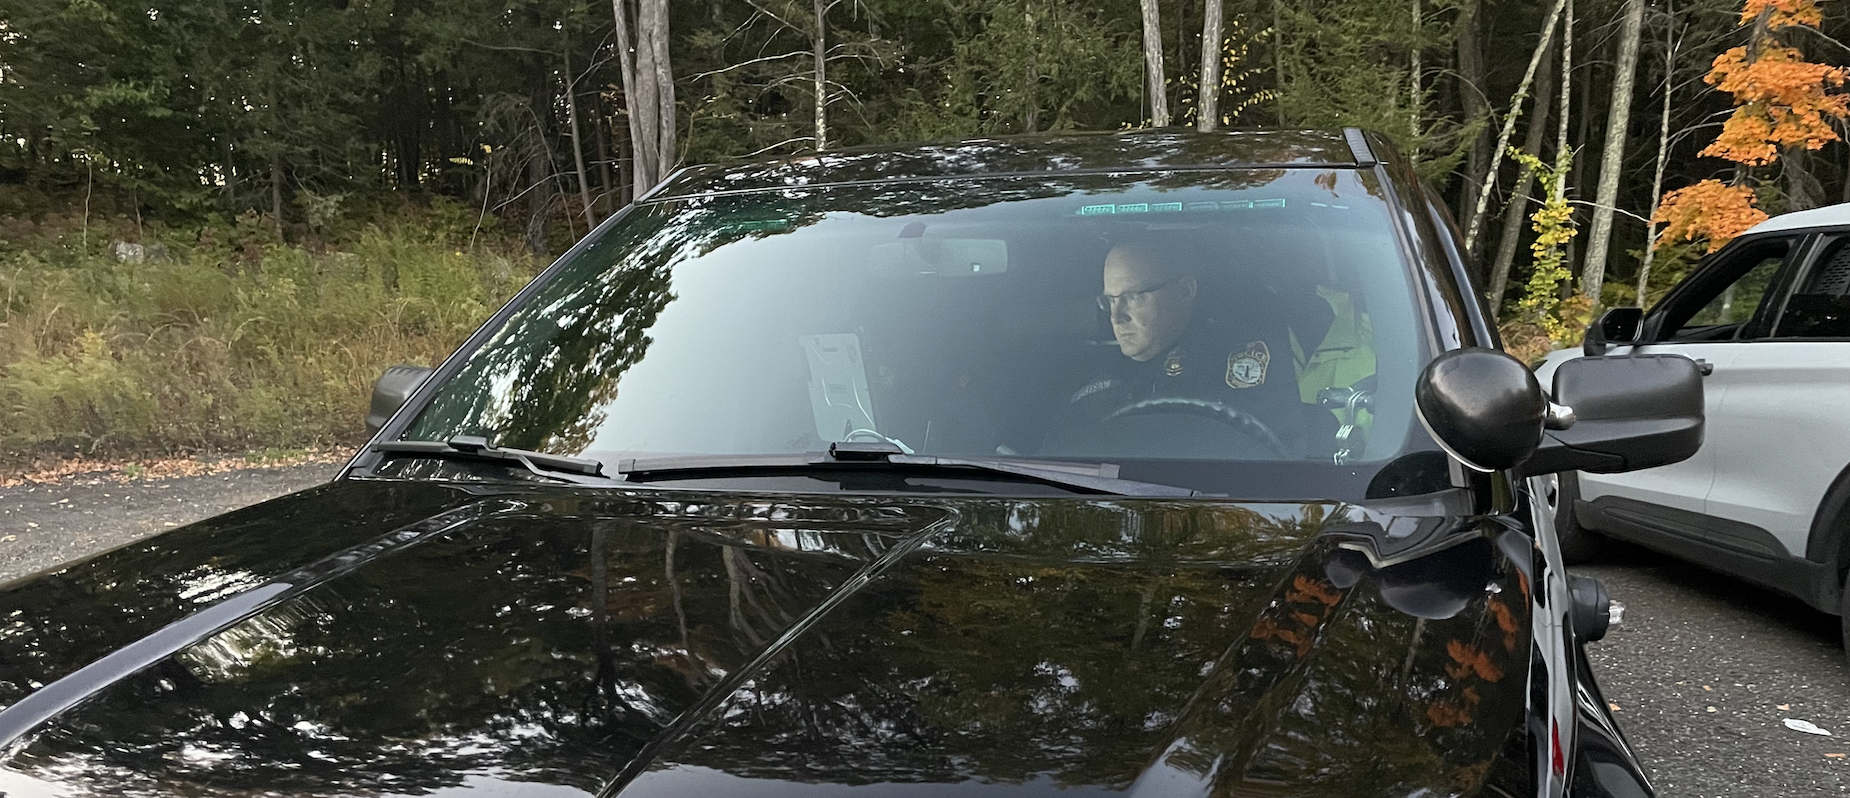
If your attention is on the MDC, how much attention are you paying to the world around you?
If you become complacent on patrol or in police work, try a bit of worst-case-scenario planning. You could run through possible issues with your wingman. If you can teach, or be a role player for, recruits, take it. You may find that it helps.
What other things have you tried that worked in keeping complacency at bay?