


Month: May 2023
Categories
The Battle of Rorke’s Drift
It was the greatest stand in British military history.
Frederic Augustus Thesiger, Second Baron Chelmsford, was promoted to major general in March 1877, and appointed to command British forces in South Africa with the temporary rank of lieutenant general in February 1878.
In January of 1889, Henry Bartle Frere [1], a personal friend of Thesiger, engineered a war against the Zulu nation, then led by King Cetshwayo, previously a associate of the British Empire by treaty. Consequently, Lord Chelmsford initiated a military expedition against the Zulu nation. On 22 January 1879, a large Zulu army attacked Chelmsford’s force at Isandlwana, overwhelming the British and destroying Chelmsford’s central (albeit separated) military column. The attack was unexpected and the worst defeat of the British Army by native forces in the entire history of the British Empire.
On 11 January 1879, Company B, 2ndBattalion, 24th(2ndWarwickshire) Regiment of foot, under the command of Lieutenant Gonville Bromhead was detailed to garrison a post along the Buffalo River abutting the Zulu borderland. The post had been turned into a supply depot and hospital under the overall command of Brevet Major Henry Spalding of the 104thFoot, a member of Chelmsford’s staff.
On 20 January, Chelmsford’s central (Number 3) column marched six miles further east, leaving Company B in charge of the garrison at Rorke’s Drift (in the local language, known as Jim’s land), a Christian mission station and the trading post of James Rorke, an Irish merchant. A company of the 2ndNatal Native Contingent (NCC) under Captain William Stevenson was detailed to remain at the post to reinforce Company B. The NCC company numbered about 100 locally recruited militia. Later that evening, a contingent of Number 2 Colum under Brevet Colonel Anthony Dumford (Royal Engineers) arrived and camped along the river bank, where it remained through the next day.
Late in the evening of the next day (21 January), Dumford was ordered to Isandlwana, along with a small detachment of British Engineers under the command of Lieutenant John Chard. Chard’s mission was to repair the pontoon bridge over the Buffalo River. Chard rode ahead of his detachment to Isandlwana to clarify his orders, but was sent back to Rorke’s Drift with only a wagon and its driver to construct a defense for the expected reinforcement of a company of infantry. En route, he passed Dumford’s column going in the opposite direction.
Sometime around noon on 22 January, Major Spalding departed the station for Helpmekaar to ascertain the whereabouts of Company G, which was overdue in its arrival. He left Chard in command. Not long after, two members of the NCC arrived at Rorke’s Drift with news of the defeat at Isandlwana. Chard and Bromhead were informed that a large force of Zulu warriors was not far behind. Together with Acting Assistant Commissary James Dalton, Chard and Bromhead decided that given their few wagons and the number of hospital patients at the mission, it would be best to stand and defend rather than to attempt a cross country withdrawal.

Chard, as senior officer with Bromhead serving as second in command, ordered preparations to defend the station. Working quickly, a defensive perimeter was constructed out of sacks of maize and wooden biscuit boxes. The perimeter included the storehouse, the hospital, and a stout stone cattle enclosure. The buildings were fortified with firing holes; external doors were barricaded with furniture.
Around 1530 on 22 January, a mixed troops of Natal Native Horse (NNH) arrived under Lieutenant Alfred Henderson, having withdrawn from Isandlwana in good order. Henderson volunteered to picket the far side of Rorke’s Drift, a large hill that overlooked the station and from the expected avenue of approach of Zulu forces. Chard was now in charge of around 400 men: Bromhead’s 104-man company, Stevenson’s NNC, and Henderson’s NNH troop, with a mixed bag of others (most of whom were hospitalized patients but regarded as walking-wounded). A trooper of horse was sent to warn the garrison at Helpmekaar.
Chard believing that his force was sufficient to defend Rorke’s Drift, posted British soldiers around the perimeter, adding among them, hospitalized casuals and available civilians. The NCC, armed mostly with spears, were posted outside the perimeter but within the stone-walled corral. When the Zulu finally appeared, Chard must have been aghast at their numbers: between 4 to 6,000 men, none of whom had been involved in the assault at Isandlwana. It was a reserve force commanded by King Cetshwayo’s brother, Prince Dabulamanzl kaMpande. By the time Dabulamanzl reached Rorke’s Drift, at around 1630, they had quick-marched some 20 miles in eight hours.
The Zulu were armed with a short spear and shield made from cowhide. As a force, they were tactically proficient and strategically efficient. Some of the Zulus had antiquated muskets, but they were ill-trained in the use of this weapon and the quality and supply of powder and shot was inadequate. Most warriors preferred the spear, since the use of firearms was regarded as cowardly. Nevertheless, Dabulamanzl was a rash and overly aggressive commander. He disregarded Cetshwayo’s directive to act “in defense of Zululand” against the British. He was specifically told not to carry the war across the border of Zululand, which would have included Rorke’s Drift on the opposite side of the Buffalo River.
The follow sequence of events then transpired, this according to author Jonathon Mayo [2].
- The Zulu were formidable, well-disciplined, and adept in hand to hand fighting. Their main weapon is the short spear, called “Iklwa” because that’s the sound it makes when pulled from an opponent’s body. As the first Zulu arrive at the Buffalo River, they are fired on by British pickets serving under Lieutenant Henderson. Henderson’s force, intimidated by the large force, make a rapid withdrawal. Henderson shouts his apologies to Chard. When the remaining NNC soldiers at the mission observe their fellows retreating, they leap over the barricades and join them. The men of Company B fire upon the cowards, killing a British corporal.
- Zulu scouts report that the station is weakly defended and full of stores of weapons and food. Dabulamanzl believes that such rich stores will be easy for the taking.
- Chard realizes that the well-prepared perimeter was designed for a force of around 200 men; 100 of these have just ran away, leaving him with a force of only one-hundred. He orders Company B to construct a new barricade behind the previous structure; this will allow him a secondary position, if needed. Private Fred Hitch is sent to the roof of the storehouse as a lookout. At 1630, Hitch announces the arrival of the Zulu force. Lieutenant Chard asks, “How many.” Hitch’s answer, “Between 4,000 and 6,000 sar.” Lieutenant Bromhead answers, “Is that all? We can manage that.”
- 28-year-old Private Henry Hook observes the Zulu speed of approach. It is as if they expect little resistance. He announces their approach to the hospitalized men. Although sick or injured, some of these men ask for weapons so that they can defend themselves. Hook and five casuals are assigned to defend areas so small that “…you could hardly swing a rifle within them.” When the enemy is within 500 yards, Hook and others begin to fire their rifles. The Zulus continue the speed of march (a running trot). They remain completely silent. Within 300 yards, the Zulu force takes shelter behind large boulders on the rise across the Buffalo.
- By 1700, Zulus mass in front and behind the Mission Station. They begin their assault by leaping over a garden wall and charging British positions. Dozens of Zulus in front of the perimeter are killed but are quickly replaced by second and tertiary ranks. The attack continues; Zulus continue to fall, either killed or mortally wounded. Private James Dunbar shoots one of the Zulu leader’s dead; Prince Dabulamanzl takes cover behind a tree only one-hundred yards from the perimeter and directs the ongoing attack from this near-in position.
- By 1715, wave after wave of Zulu were hurtling themselves at the barricades. The length of the British bayonetted rifles provides them with a distinct advantage. Private Hicks descended from the roof of the storehouse to join the fray.
- At 1730, rifled Zulus took up positions to fire upon the British; their weapons were inaccurate at that range and there were no casualties. Commissary James Dalton begins pacing behind the front rank offering calm-voiced encouragement to his men. A Zulu warrior rushed the front rank; Dalton directed fire at the fellow and he was killed. Second later, Dalton was wounded in his shoulder. Calmly handing his rifle to Lieutenant Chard, Dalton is led to the rear for medical attention before Chard is even aware that he’d been injured. Within moments, however, Dalton is back at his post —his calm voice giving confidence to the riflemen. Private Hook later wrote of Dalton, “…the bravest man I ever knew.”
-

Artist unknown, discovered via internet search engine By 1800, two British soldiers had been killed with four others wounded. Still, Company B was in grave danger of being overwhelmed by the onslaught of Zulu warriors. Lieutenant Chard ordered his men to take up their secondary positions as the Zulu surround the hospital. At 1820, Privates Hook and Thomas Cole were defending a corner room in the hospital. Hook described the ordeal as being like “trapped rats in a hole.” One of the patients begs hook to remove the bandages from his hands so he can use a rifle. Cole, who is claustrophobic, forces open a door and is immediately killed. The Zulu begin throwing torches on the thatched roof. Hook, with no wish to be burned alive, slips through a door into the next room. His situation has not improved.
- At 1830, chaos reigns within the hospital as the Zulu break down the barricaded doors. Private Joseph Williams and four patients are killed. In the next room, Hook is fighting like a cornered tiger, bayoneting and shooting any Zulu he sees. Private John Williams soon joined Hook, bringing with him a pickaxe. Williams begins to punch a hole in the wall furthest from the attackers. The last patient left alive is Sergeant John Connolly, a large man who suffered a broken leg. Hook crawls through the small hole made by Williams, grabbed Williams by his coat, and pulled him through the small opening. Connolly’s leg is re-broken in the process, but he’s alive. As Hook and Connolly exited the room, Zulus broke into the room and in a fit of rage, attempt to spear Hook through the opening. Hook kills as many as show their faces in the aperture. Again, Williams begins to axe his way through the furthest wall.
- By 1915, Hook, Williams, and the rest of the survivors have reached a room at the far end of the hospital building, closest to their fellows defending the storehouse. The room has a window barely big enough to get a man through. The flames atop the building allow the men to see that they are fifty yards from the storehouse, but the yard is being raked by British and Zulu rifles. The first man out of the window is Private Hunter, promptly killed by a Zulu spear. Lieutenant Chard called for two volunteers to help rescue the Hook party. Private Fred Hitch and Corporal William Allen leap over the barrier and rush to the aid of their comrades; British soldiers provide covering fire. One by one, Hitch and Allen pull the men through the window as Private Hook remained inside killing Zulus with their bayonets. They have run out of ammunition.
- By 2000, all remaining redcoats have escaped from the hospital building and joined their fellows behind the barricades.Zulus butcher what remain of the hospital patients who didn’t get away.
- By 2030, Prince Dabulamanzl’s force is assured of victory. He orders an assault of the storehouse, which is furthest away from the burning building, allowing his men to fight under the cover of darkness. Lieutenant Chard realizes that his position is getting worse by the minute. Company B will not be able to survive if the storehouse falls. He orders his troopers to construct an 8-foot high redoubt from available sacks of maize. The redoubt is constructed within ten minutes and the wounded are carried inside. Now the British soldiers form a protective circle within the redoubt and they begin to deliver accurate fire over the heads of the soldiers firing from the barricade.
- At 2100, the Zulu attack comes to a halt as a force of British appear in the distance from Natal. Reinforcements never arrive, however. The British force can see the burning buildings and, assuming that Company B has been destroyed, retreat back to Natal.
- At midnight on 23 January, the British have been without water for more than eight hours. To relieve their suffering, Chard orders a small detail to retrieve the water cart situated halfway between the ruins of the hospital and the storehouse. Private Henry Block and two others attack the Zulu who remain inside the yard and pull the wagon toward the redoubt and the men are promptly watered.
- By 0100, both sides are exhausted. Zulu attacks are becoming less ferocious—they have had nothing to eat or drink for over 17 hours. Lieutenants Chard and Bromhead have no idea what is going on outside the barricades. It is pitch black. The din of battle has subsided. In turn, the officers climb to the highest part of the redoubt to watch and listen. Chard later reported, “It was an anxious watch.”
- By 0330, excepting an occasional gunshot and a cry from the suffering, the battle area is completely quiet.
- Sunrise came at 0520. As the sun lights the surrounding area, Chard and Bromhead observe that the Zulu have gone. All that remained were pools of blood, dead bodies, broken spears, spent cartridges, and damaged shields. A cloud of smoke hangs over Rorke’s Drift.
- At 0600, Private Hook approached a sentry who stood near the barricade looking across the river. Hook asked, “What are you looking at?” The soldier didn’t respond, so Hook tilted his helmet back. The man has been shot through the head and died at his post.
- At 0700, Chard set his men back to work repairing barricades. Suddenly, a thousand Zulus appear from the southwest and perch themselves on the grass hill overlooking Rorke’s Drift. Chard and Bromhead call their men back behind the barrier, but they are aware that ammunition is perilously short. Another attack will be fatal to Company B.
- 0800 arrived and there had been no activity among the Zulu. After an intense hour, the Zulu arise and begin walking away. Chard and Bromhead are baffled until they observe a column of men approaching in the distance. Private Hook wondered aloud: “Are they friends to relieve us, or more Zulus to destroy us?” They were British mounted rifles. Surgeon Reynolds surmised that the weary Zulu had no desire to clash with fresh troops.
It had been a long day. Lieutenant Chard was refreshing himself with the water from the Buffalo River when Lord Chelmsford [3] approached him. The general was emotional in thanking Company B for their heroic service under insufferable circumstances. The biscuit boxes that saved Company B were opened and the men finally fed. A barrel of rum is shared among the men. Private Hook, who doesn’t drink … changed his mind on this one occasion.
The Zulu situation was equally dire: they had been on the move for six days; had not eaten for two. Within their ranks were hundreds of wounded and they were several days away from any supply. Of killed in action were 351 confirmed deaths, but this number may have increased to 500. The British relief force did not spare the wounded Zulu; additional deaths may have resulted from among the wounded carried away by the main body of Zulu warriors.
British losses were 17 killed, 15 wounded.
 The Victoria Cross (VC) is the most prestigious award in the British honors system. Created on 29 January 1856, its recipients are cited for gallantry in the presence of the enemy. Since established, only 1,358 brave men have received this award. Eleven of these men distinguished themselves in this one battle.
The names of these men are:
Lieutenant John Rouse Merriott Chard, 5thField Company, Royal Engineers
Lieutenant Gonville Bromhead, Company B, 2nd/24thFoot
Corporal William Wilson Allen, Company B, 2nd/24thFoot
Private Frederick Hitch, Company B, 2nd/24thFoot
Private Alfred Henry Hook, Company B, 2nd/24thFoot
Private Robert Jones, Company B, 2nd/24thFoot
Private William Jones, Company B, 2nd/24thFoot
Private John Williams, Company B, 2nd/24thFoot
Surgeon Major James Henry Reynolds, Army Medical Department
Acting Assistant Commissary James Langley Dalton, Commissariat and Transport Department
Corporal Christian Ferdinand Schiess, 2ndNatal Native Contingent
Endnotes:
[1] 1815-1884, British colonial administrator, who enjoyed a successful career in India, became the governor of Bombay. As high commissioner for Southern Africa, Frere, he implemented a policy which attempted to impose a British confederation in the region that led to a series of regional wars, culminating in the invasion of Zululand and the First Boar War (1879-1881). British Prime Minister William Ewart Gladstone recalled Frere to London to face charges of misconduct. He was eventually censured for his reckless behavior while in the service of Queen Victoria.
[2] Author of Titanic Minute by Minute, this section obtained from the Daily Mail, 15 January 2019.
[3] The British Government was not happy with Chelmsford’s performance as a field commander. The foreign office issued orders for his relief but the delay in securing his replacement left him in command, which in turn led to the Zulu War. Chelmsford finally handed over command to Wolseley on 15 July at the fort at St. Paul’s, leaving South Africa by ship for England two days later. Despite of his incompetence, Chelmsford was honored as a Knight Grand Cross of Bath —even though he was severely criticized by a subsequent inquiry initiated by the British Army into the events that had led to the Isandlwana debacle. Lord Chelmsford would not again serve in the field.

.JPG) Especially since I am old, crippled with a bad back & seen way too much real violence in my time. Grumpy
Especially since I am old, crippled with a bad back & seen way too much real violence in my time. Grumpy
Categories
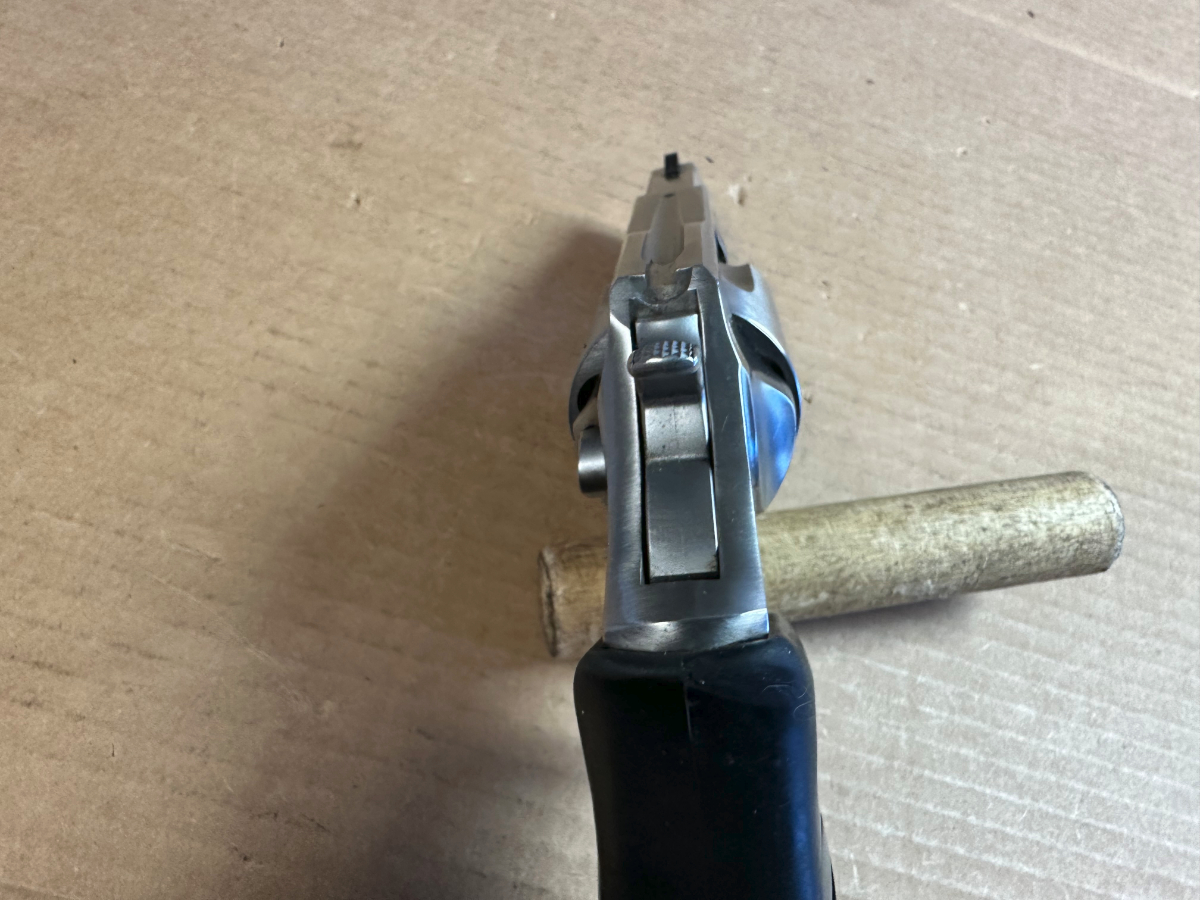
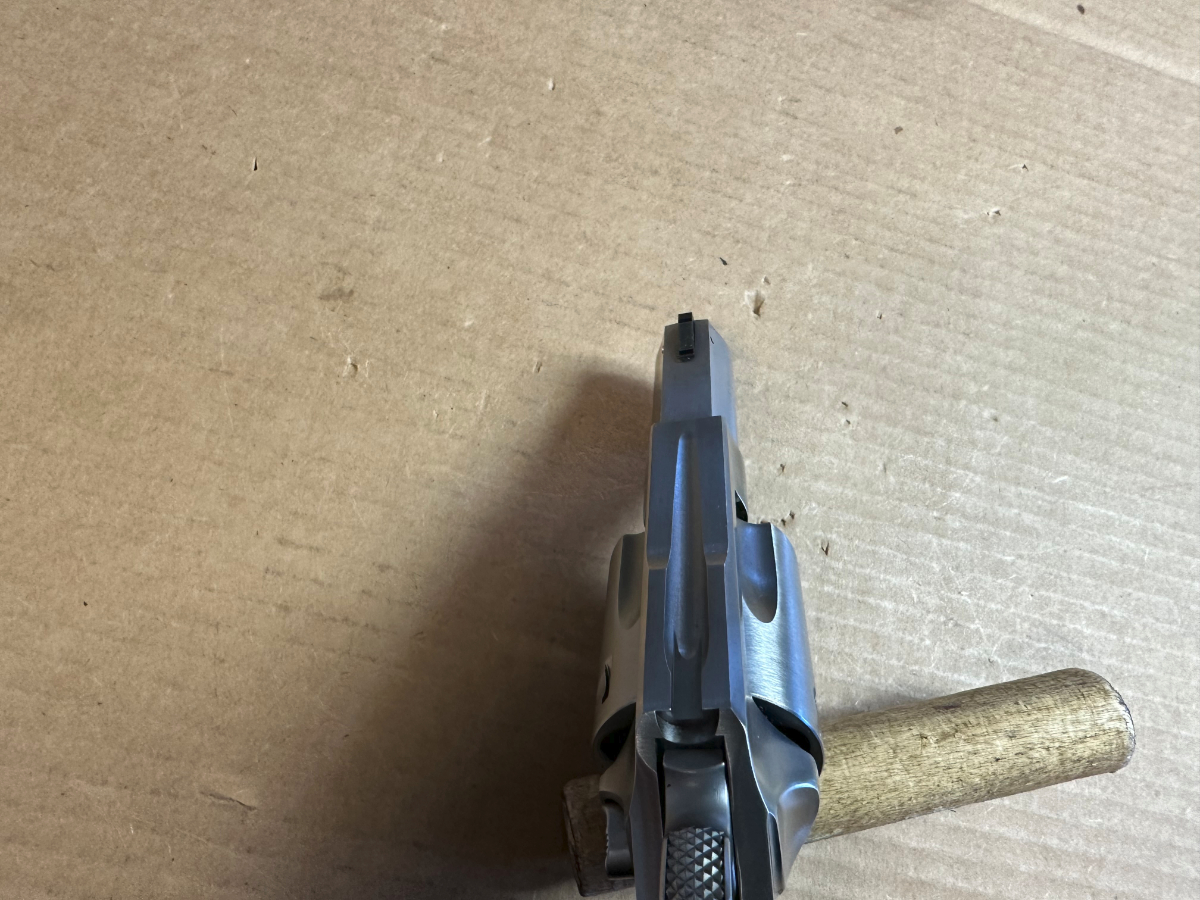
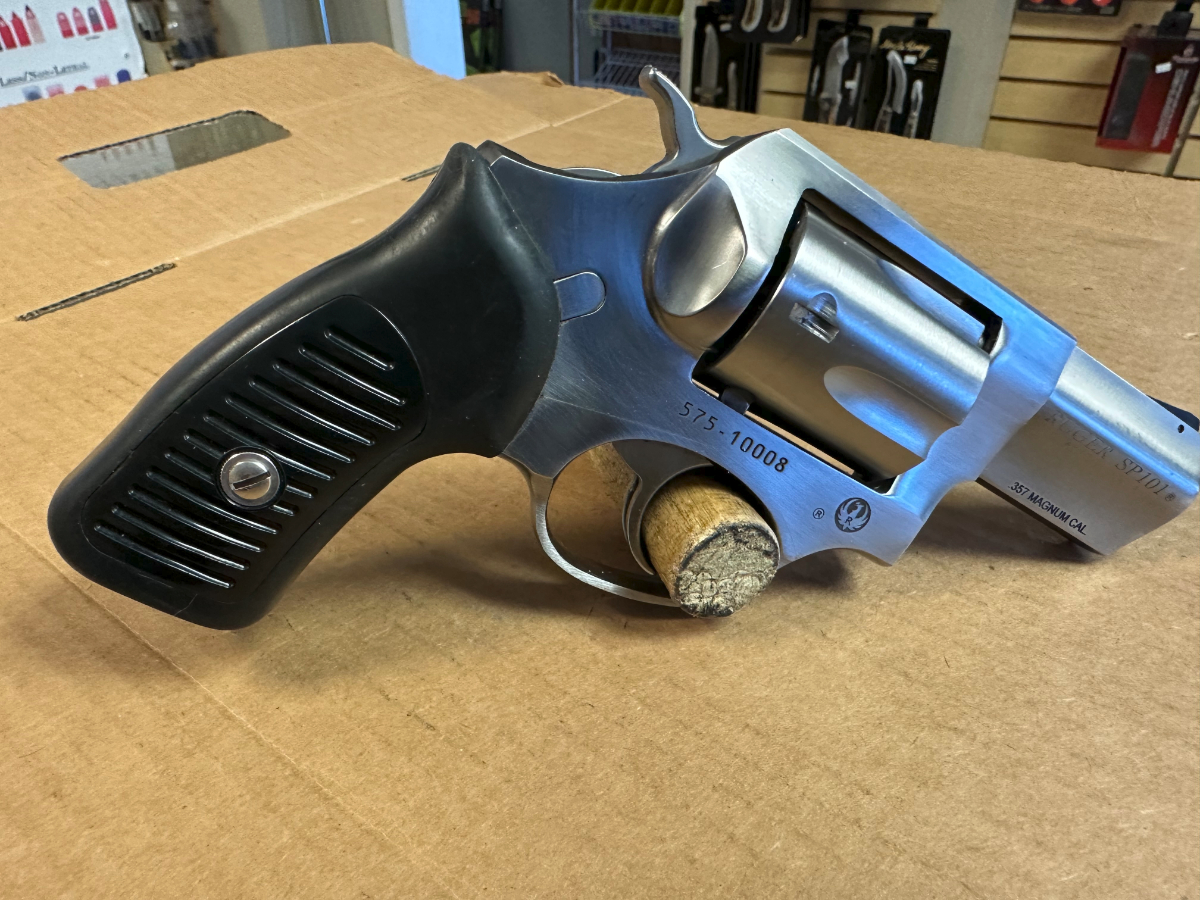
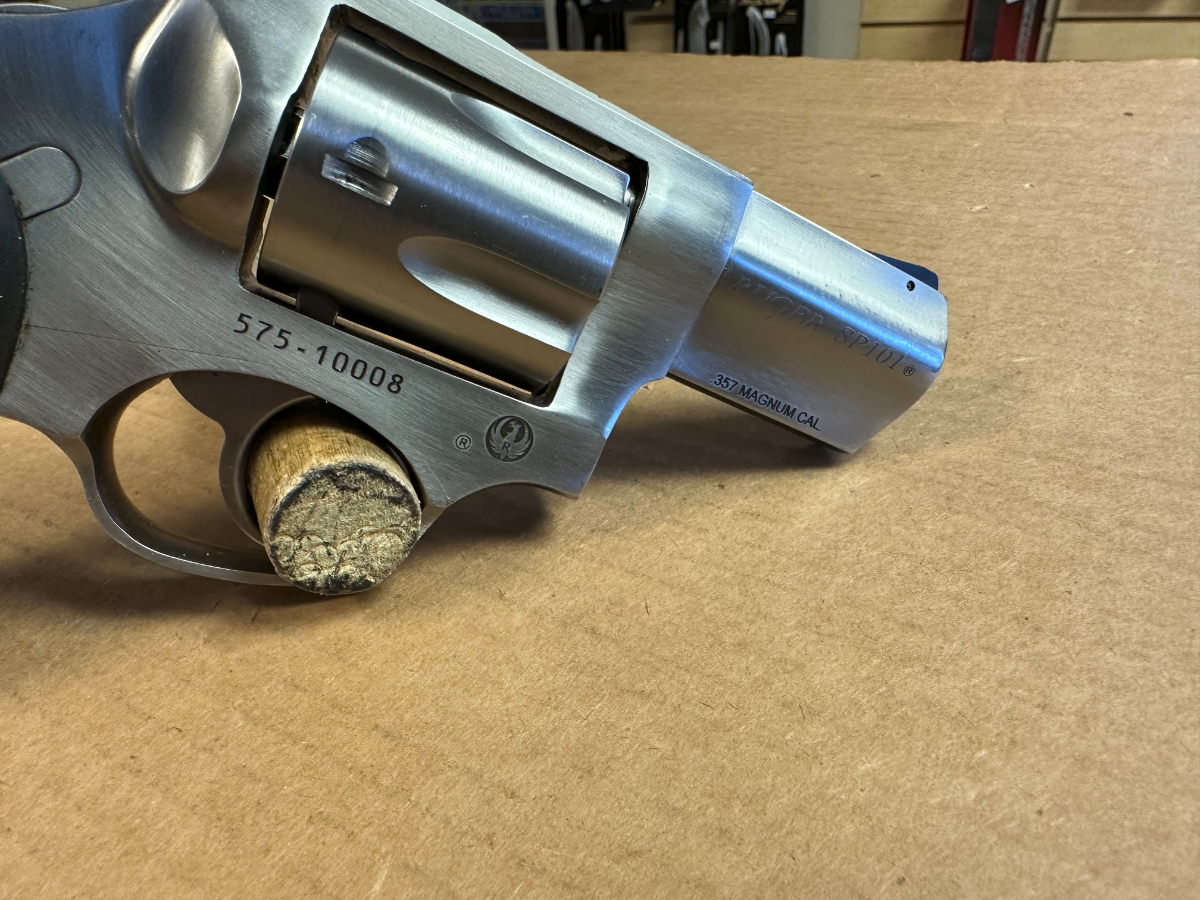
Colt Officer`s Model Match 22LR

A teenager helped save his younger sister from an alleged kidnapper by shooting the suspect with his slingshot, Michigan authorities said.
The 8-year-old girl was mushroom-hunting in her backyard in Alpena Township on Wednesday when “an unknown male appeared from the woods,” the Michigan State Police said in a press release on Friday.
“The suspect had come through the woods onto the property and came from behind her, grabbed her like you’d see in the movies — hand over the mouth, arm around the waist — and was attempting to pull her into the woods,” Lt. John Grimshaw with the Michigan State Police told ABC Traverse City affiliate WGTU.
The girl was able to break free, police said. Her 13-year-old brother also witnessed the attack and shot the assailant in the head and chest with his slingshot, police said.
Grimshaw called the teen’s actions “extraordinary.”
“He really is the one that … I believe saved his sister’s either life or from something seriously bad happening to her,” Grimshaw told WGTU. “He should be commended for it.”
The suspect fled the area but was located by state troopers hiding at a nearby gas station and was able to be identified in part due to injuries from the slingshot, police said.
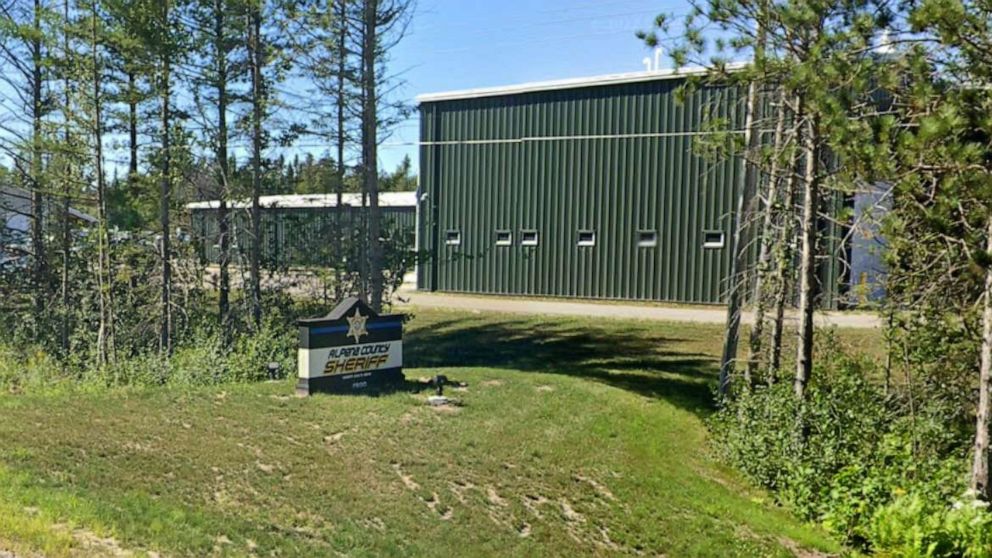
An Alpena County Sheriff’s Office sign is shown in front of the county jail, in Alpena, Mich.
Google Maps Street View
“The suspect had obvious signs of injury sustained from the slingshot with wounds to his head and chest,” police said.
The suspect — identified as a 17-year-old from Alpena — was taken into custody and allegedly confessed to detectives that he “planned on severely beating the victim,” police said. He was lodged in the Alpena County Jail without incident, police said.
The suspect was arraigned on Thursday on one count of attempted kidnapping/child enticement, one count of attempted assault to do great bodily harm less than murder, and one count of assault and battery, according to police.
His bond was set at $150,000 and his next court appearance was scheduled for May 17, police said.
The suspect is being charged as an adult but his name has not been released by police.
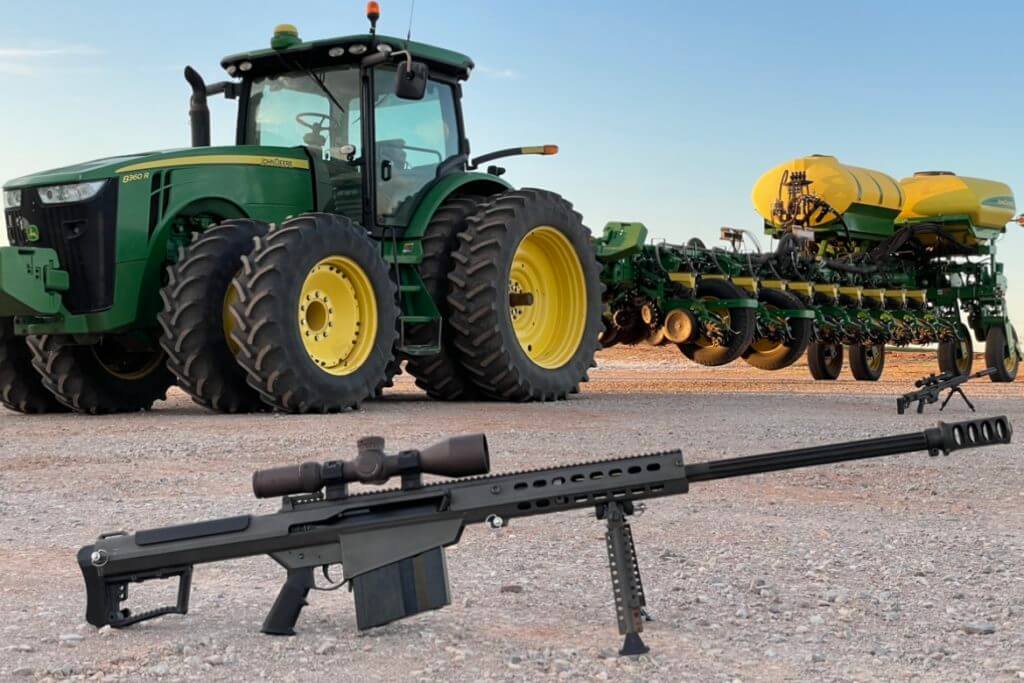
While the Barrett M107A1 has been out and fielded for over a decade now, its legendary status still reigns true. For this reason, I recently had the chance to fulfill a dream by putting it to the test in 2023. Over the course of two days, I shot approximately 90 rounds between target shooting, hunting, and stretching this 50 BMG out to 1265 yards. I also put the rifle through its paces with various drills, hiked five miles in the dark, and experienced an unforgettable weekend. While I normally run rifles longer before writing a review, we had an action-packed weekend and a good variety of situations to test the rifle with. Given its proven history of exceptional performance and devastating power, this rifle is truly a force to be reckoned with.
The M107A1 utilizes state-of-the-art design, manufacturing, and materials, every component of the rifle has been engineered to be lighter and stronger than its predecessors. In addition to a 4-pound weight reduction over the M82A1, the M107A1 is optimized for use with a sound suppressor, providing a much-needed signature reduction capability. Lighter, stronger, more accurate, and more capable; the M107A1 has truly been engineered for action.
Barrett M107A1 Specifications:
- Caliber: 50 BMG
- Operation: Recoil Operated, Semi-Automatic
- Barrel Length: 29″ (737 mm) or 20″ (508 mm)
- Twist Rate: 1 : 15″ (381 mm)
- Overall Length: 57″ (1448 mm) or 48″ (1219 mm)
- Weight: 28.7 lbs (13 kg) or 27.4 lbs (12.4 kg)
- Mag. Capacity: 10 Rounds
- Rail Length/MOA: 23″ (584 mm)/27 MOA
Recoil System
When people think of shooting a 50 cal, they immediately anticipate a ridiculous amount of recoil. Luckily for anyone who has the opportunity to shoot the Barrett M107A1 that is not the case. Utilizing a massive muzzle brake, dual barrel recoil springs, a massive buffer spring, and weighing around 28 lbs, this rifle kicks about like a 12 gauge shooting 3″ shells. It is not quite as sharp as a 12 gauge, but the recoil impulse is much longer due to the distance the bolt carrier assembly has to move to eject and chamber another round. Shooting close to 100 rounds spread between two days, I never even ended up with a bruised shoulder. Kudos to Barrett for designing a rifle to tame the felt recoil of the renowned 50 BMG.


Bolt Carrier Assembly
The M107A1 features a bolt carrier assembly that is suppressor-ready. It comes with a Nickel Teflon® coated bolt which requires less maintenance when shooting with a suppressor. This rifle is designed to shoot both suppressed and unsuppressed without the need to change any components. This carrier is no joke being by far the largest and heaviest I have ever seen. However, it is built to take a beating.

Stock
One of the upgrades for the M107A1 is the “thermal cheek guard” featured on the top of the stock. This functions as a low-profile cheek riser that is comfortable and more temperature stable. The stock also uses a rear hand module which is mounted on an M1913 rail.
This helps shave some weight while providing a good resting point for the shooters off-hand to control shots. It also can be used to mount a lightweight monopod if one so desires, but I did not use it throughout my testing and just used rear bags instead.
An interesting feature is the curved rubber butt pad. While I appreciate the dense rubber, I would have preferred a flat butt since the curved one seemed to draw my shoulder a little too low causing my neck to stretch a little to get a proper cheek weld when shooting laying down.

Sights
While this rifle is worthy of a high-end scope, Barrett includes a set of pop-up irons with this rifle. The rear sight is adjustable for windage and elevation with ticks marked out to 1500 meters. I guess better have and not need than to need and not have.


Throughout this review, I never did end up using the iron sights, but I did use a Vortex Razor 6-36 for target shooting out to 1265 yards, and a Pulsar Thermion 2 LRF XP50 Pro for hunting wild pigs at night. Capable of shooting very heavy projectiles at very long distances, the M107A1 features a 27 MOA Picatinny rail machined into the upper receiver. This is nice as it allows for more elevation adjustment for any scope mounted to it.

Bipod
While shooting this rifle standing up is doable, Barrett includes a bipod for going prone when accurate shots matter. The bipod is lightweight and the whole thing features a quick-detach mount. The legs can be stowed either forward or backward by simply pulling down on the arm and rotating. Each side is independently adjustable to compensate for uneven terrain and accommodate various shooting positions.

Magazine
The M107A1 comes with standard 10-round steel magazines. For a 50BMG, that is a lot of heat. Featuring cutouts on the rear of the mag as witness indicators, it is easy to see how many rounds are currently loaded. Throughout my shooting, I never had a single magazine-related issue. They fed well and rocked in solid.

Muzzle Brake
The M107A1 muzzle brake is a cylindrical muzzle brake that accepts Barrett QDL Suppressor. One of the big perks to this weapon system is the fact that it was designed to run suppressed and the muzzle break works as a great suppressor host. Also, due to the cylindrical muzzle brake, this is easier to shoot un-suppressed than the iconic M82 muzzle brake which was known for a rather brutal muzzle blast. Now don’t get me wrong, even with the newer muzzle brake the M107A1 still packs a punch. The gas-punching me in the face was not a pleasant experience, but the muzzle brake does a good job of reducing recoil and keeping the gun on target for quicker follow-up shots.

Barrel
The M107A1 is available in two barrel lengths: 20 inches and 29 inches. Both barrels have a chrome-lined chamber and bore, while being capable of pushing standard 660gr ammunition at speeds of 2500fps and 2750fps, respectively.
While the 29-inch barrel offers greater velocity and is well-suited for long-distance shooting, it adds an additional 1.3 lbs to the rifle and made maneuvering in and out of vehicles while hunting more difficult. The 20-inch barrel, on the other hand, sacrifices around 250fps in velocity but is much more maneuverable. However, I will say that even the 29″ version is still wieldable. I hiked roughly 5 miles through fields and pastures with night vision chasing wild hogs during this review. While the M107A1 is heavy, it is not unbearable.
Both versions of the rifle feature deep flutes that help to reduce weight and improve barrel cooling during extended shooting sessions. Overall, the choice between the two barrel lengths will depend on the user’s specific needs and preferences.

Trigger
For a rifle as expensive as the M107A1 I would have loved to see a better trigger. While it works, I don’t feel like I was as accurate as I could have been. I forgot to bring a gauge to measure the pull weight, but it was around 5 lbs. There was no real defined wall, and the slack was smooth yet springy as in the 5 lbs of pull was required throughout the whole trigger press. It got the job done but wasn’t the typical precision rifle trigger people may think of.

Accuracy
While I have heard mixed reviews about the accuracy of the Barrett M107A1, I had to test things for myself. During this part of the review, I shot a cardboard target from a distance of 100 yards while battling intense crosswinds of 25-50mph. Due to the wind, the target was shaking, and I had to admit that I was only a 1MOA shooter at best. Oklahoma wind can be relentless, so it was anticipated to cause trouble.

Precision
Considering the circumstances, most of the ammunition I tested performed as expected, producing groups between 2-4MOA. However, I managed to achieve a 1.04 MOA 4-round group using match-grade PPU 725gr ammunition, discounting the fifth shot which I acknowledge I pulled. I have seen other people shoot sub-MOA groups using Hornady 750gr A-Max, which I believe is achievable after my testing. Unfortunately, I had ordered some, but it didn’t arrive in time for this review.

Despite the average groups, I was still able to shoot a TaTargets Goliath AR550 steel silhouette at distances ranging from 100 to 1265 yards. There aren’t many targets that can withstand the power of a 50 BMG, but the Goliath held up remarkably well. Even at a distance of 100 yards, the steel target remained unscathed on the front face, with not even a dimple to show for it. Although it’s a loud ringing target, we couldn’t hear anything due to the 30-50mph winds, but it was satisfying to see the target visibly swing when hit.

Devastation
As expected, 50 BMG is capable of causing significant damage. The typical 660gr M33 Ball ammo, for example, has a muzzle energy of approximately 11,000 ft-lbs, which is roughly 3-4 times more than that of a 308. While there are various rounds designed for specific equipment, the sheer energy of even ball ammunition can have a devastating effect on tissue.
During my review, I took the rifle out for hunting, but I was unsuccessful in catching any wild pigs. However, I did come across an armadillo, which is considered a varmint and tears up our farmland. I deemed it necessary to quickly dispatch it with the M107A1. The image below is a screenshot taken from a Pulsar thermal scope mounted on the rifle. Let’s just say that it got the job done.

Performance
During my testing, the Barrett M107A1 performed admirably. While I didn’t have the chance to test it with Barrett’s QDL suppressor, others I talked to have reported that it works well. The rifle had no trouble firing rounds downrange with enough force to obliterate an engine block.
The only problem I encountered was that by the end of the day, the rifle started to get gummed up with dirt. The combination of 30-50 mph winds and fine dust created a very dirty environment, which led to failures to feed. Fortunately, disassembling the rifle was easy thanks to the takedown pins, as illustrated in the user manual. After wiping down the chamber and applying more oil, the M107A1 was back up and running. In fact, it was able to cycle through 11 rounds in about 3 seconds without any issues – a mag dump to remember!

Summary
The Barrett M107A1 is a powerful and durable semi-automatic rifle chambered in .50 BMG. It has a solid construction and ergonomic design, that made it easy to shoot accurately and bearable to hike miles with. The rifle has impressive long-range capabilities and can take down targets at distances past one mile away. I was even able to get a few hits on a silhouette out to 1265 yards. The M107A1 has a reputation for accuracy and can shoot around 1 MOA groups when paired with premium ammunition. While the barrier to entry for owning the legendary M107A1 is high with an MSRP of $13,275, this rifle provides a lot of capability when used in the right circumstances.