


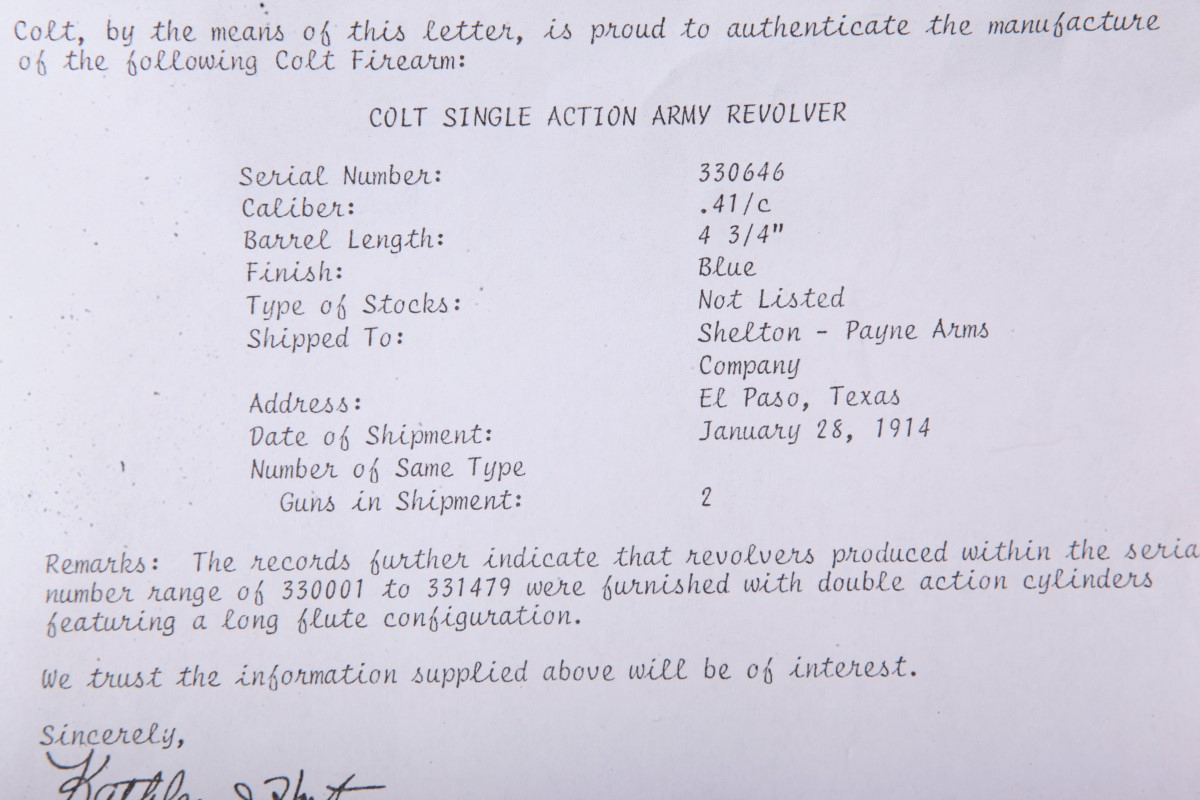
Month: April 2018
Introduction and Overview; Right Side of Rifle
/mauser-93-01-56a4f9af3df78cf772859d7c.jpg)
This is the first in a series of articles about rebuilding an old rusty, ratty, somewhat rotten Spanish Mauser Model 1893 rifle. I’ll talk about how it all began, and what kind of shape the rifle was in, before moving on to discuss all the work that went into ‘smithing this hunk of junk into a fine rifle that would eventually kill a fine ten-point buck with its first woods-fired shot.
To my everlasting delight, I was given this rifle – for free. Sadly, it turned out to be worth just about as much as I’d paid for it – but it offered a golden opportunity to explore rifle building and gunsmithing farther than I’d done in the past, and I jumped in with much consideration and enthusiasm.
When I was given the rifle by an old family friend, I was told that the rifle’s barrel was shot out and needed to be replaced. Being an optimist, I decided to doubt that assessment, and began entertaining visions of cutting down the long 29-inch barrel to do a simple and easy sporterization of the old clunker. So I began cleaning the bore.
CLEANING THE BORE
I used a series of products from Sharp Shoot R Inc. to clean the bore, and they did an exceptional job of removing ages of rust and black crud. The problem was that the bore kept growing!
As I removed more and more crud, I kept having to move to larger brushes to get good contact with the bore. I lied to myself and claimed that the copper solvent was simply eating away my brushes’ bristles… and staunchly ignored the fact that I kept having to move to larger patch jags, too. Discarding the facts, I kept cleaning until there was no more crud hidden in the deep rifling, and my patches came out nice and clean every time.
Then I took the rifle out to shoot it.
MORE OF THIS ARTICLE
- Page 1: Introduction and Overview; Right Side of Rifle
- Page 2: Shooting the Rifle; Left Side
- Page 3: Assessing the Project; Top of Rifle
- Page 4: Rear Sight, Closed
- Page 5: Rear Sight, Open
- Page 6: Front Sight and Muzzle
- Page 7: Receiver Stamping, Ready to Start Rebuilding
ABOUT THIS MAUSER
- Spanish 93 Mauser Article 1: Before I Began Gunsmithing
- Spanish 93 Mauser Article 2: Beginning The Work
- Spanish 93 Mauser Article 3: More Gunsmithing Work
- Spanish 93 Mauser Article 4: Modifying the Bolt Handle
- Spanish 93 Mauser Article 5: Jeweling Bolt, Modifying Shroud
- Spanish 93 Mauser Article 6: Shaping Trigger Guard, Finishing Chamber
- Spanish 93 Mauser Article 7: Bedding Action, Fitting and Finishing Stock
- Spanish 93 Mauser Article 8: Finishing the Metal Parts
- Spanish 93 Mauser Article 9: Conclusion, Finished Rifle, Tools and Materials
02
of 07
Shooting the Rifle; Left Side
/mauser-93-02-56a4f9b05f9b58b7d0da2f97.jpg)
After spending much time and effort to clean out the rifle’s barrel, I grabbed some ammo and targets, crammed the gun into the truck, and headed out to shoot the rifle with the now-sparkling bore. My hopes were absurdly high; I really wanted to see some kind of accuracy.
That was not to be.
The rifle did not shoot near point of aim at all – in fact, I couldn’t even hit the target until I closed to within a few yards of it. When I did manage to hit the target, it soon became evident that I was wasting time and ammunition, as the bullets were keyholing.
Back home again, I did what I should have done before, and very roughly measured the rifle’s bore using a caliper. It measured about .290 inch; the standard 7mm bullet size is .284 inch, and this rifle was originally chambered for the 7x57mm Mauser cartridge. Clearly, the barrel was far too oversized to be any good, and a new plan began to take shape.
Let me say here that the Sharp Shoot R products I used did a good job, and allowed me to clean a bore that was extremely nasty. I suppose that’s one reason I kept cleaning even though I was pretty sure the bore was hosed; just to see if it would ever come clean. It finally did, thanks to a lot of elbow grease along with Wipe-Out, Patch-Out, and Accelerator.
Now that using the original barrel was not an option, it was clear that I was looking at a fairly large project.
MORE OF THIS ARTICLE
- Page 1: Introduction and Overview; Right Side of Rifle
- Page 2: Shooting the Rifle; Left Side
- Page 3: Assessing the Project; Top of Rifle
- Page 4: Rear Sight, Closed
- Page 5: Rear Sight, Open
- Page 6: Front Sight and Muzzle
- Page 7: Receiver Stamping, Ready to Start Rebuilding
ABOUT THIS MAUSER
- Spanish 93 Mauser Article 1: Before I Began Gunsmithing
- Spanish 93 Mauser Article 2: Beginning The Work
- Spanish 93 Mauser Article 3: More Gunsmithing Work
- Spanish 93 Mauser Article 4: Modifying the Bolt Handle
- Spanish 93 Mauser Article 5: Jeweling Bolt, Modifying Shroud
- Spanish 93 Mauser Article 6: Shaping Trigger Guard, Finishing Chamber
- Spanish 93 Mauser Article 7: Bedding Action, Fitting and Finishing Stock
- Spanish 93 Mauser Article 8: Finishing the Metal Parts
- Spanish 93 Mauser Article 9: Conclusion, Finished Rifle, Tools and Materials
03
of 07
Assessing the Project; Top of Rifle
/mauser-93-03-56a4f9b03df78cf772859d7f.jpg)
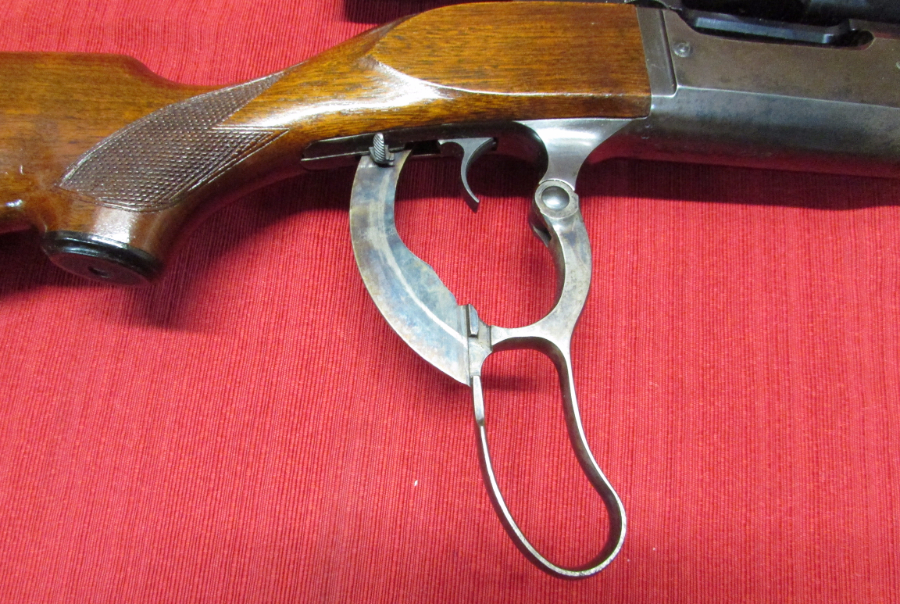
Once it became clear that I was going to completely rebuild the rifle, I began taking photos and taking stock. A close examination of the receiver and bolt convinced me that the action was strong enough to use.
As the photo shows, the bolt handle stuck straight out to the side when closed. When opened, it stuck straight up in the air – right where I would eventually want a scope to be – so I would need to modify the bolt handle. The bolt-mounted safety would also interfere with scope use, and would have to be removed or replaced.
I found and ordered a barrel, then began planning and locating parts and tools for the job ahead.
MORE OF THIS ARTICLE
- Page 1: Introduction and Overview; Right Side of Rifle
- Page 2: Shooting the Rifle; Left Side
- Page 3: Assessing the Project; Top of Rifle
- Page 4: Rear Sight, Closed
- Page 5: Rear Sight, Open
- Page 6: Front Sight and Muzzle
- Page 7: Receiver Stamping, Ready to Start Rebuilding
ABOUT THIS MAUSER
- Spanish 93 Mauser Article 1: Before I Began Gunsmithing
- Spanish 93 Mauser Article 2: Beginning The Work
- Spanish 93 Mauser Article 3: More Gunsmithing Work
- Spanish 93 Mauser Article 4: Modifying the Bolt Handle
- Spanish 93 Mauser Article 5: Jeweling Bolt, Modifying Shroud
- Spanish 93 Mauser Article 6: Shaping Trigger Guard, Finishing Chamber
- Spanish 93 Mauser Article 7: Bedding Action, Fitting and Finishing Stock
- Spanish 93 Mauser Article 8: Finishing the Metal Parts
- Spanish 93 Mauser Article 9: Conclusion, Finished Rifle, Tools and Materials
04
of 07
Rear Sight, Closed
/mauser-93-04-56a4f9b03df78cf772859d82.jpg)
I didn’t plan to use open sights on the finished rifle, but thought it was worthwhile to show the original rear sight. Like many battle rifles, this 93 Mauser had a rear sightthat could be opened or unfolded and adjusted for shooting at absurd distances. It’s shown here in its closed, or folded, position.
MORE OF THIS ARTICLE
- Page 1: Introduction and Overview; Right Side of Rifle
- Page 2: Shooting the Rifle; Left Side
- Page 3: Assessing the Project; Top of Rifle
- Page 4: Rear Sight, Closed
- Page 5: Rear Sight, Open
- Page 6: Front Sight and Muzzle
- Page 7: Receiver Stamping, Ready to Start Rebuilding
ABOUT THIS MAUSER
- Spanish 93 Mauser Article 1: Before I Began Gunsmithing
- Spanish 93 Mauser Article 2: Beginning The Work
- Spanish 93 Mauser Article 3: More Gunsmithing Work
- Spanish 93 Mauser Article 4: Modifying the Bolt Handle
- Spanish 93 Mauser Article 5: Jeweling Bolt, Modifying Shroud
- Spanish 93 Mauser Article 6: Shaping Trigger Guard, Finishing Chamber
- Spanish 93 Mauser Article 7: Bedding Action, Fitting and Finishing Stock
- Spanish 93 Mauser Article 8: Finishing the Metal Parts
- Spanish 93 Mauser Article 9: Conclusion, Finished Rifle, Tools and Materials
05
of 07
Rear Sight, Open
/mauser-93-05-56a4f9b15f9b58b7d0da2f9a.jpg)
Here we see the Mauser 93 rear sight in the open position. The notched portion of this sight has been moved all the way down. By depressing the spring-loaded button on the left side, that portion can be moved up and down the sight’s frame and set at any of the positions (note the notches on the right side of the frame).
The purpose of this type of sight is to provide a way for soldiers to aim for long-range shooting, but by and large it’s not all that practical.
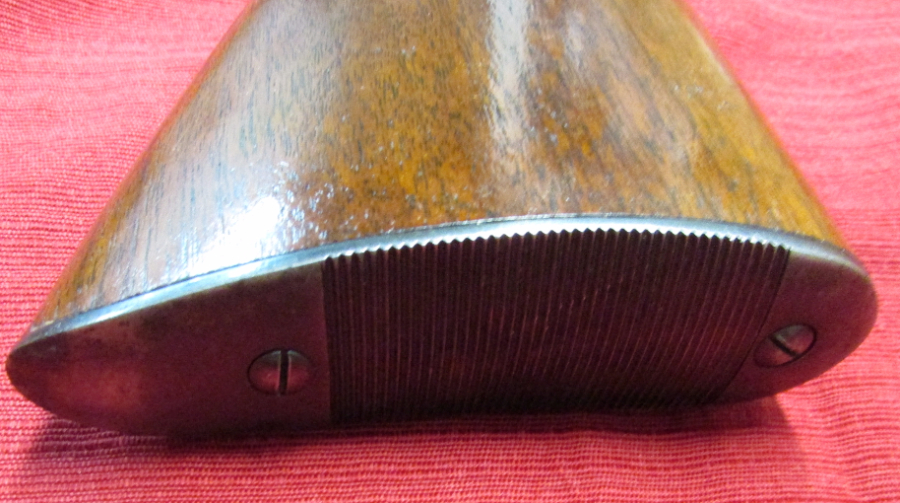
The rust present here is indicative of the rifle’s overall condition when I got it. I believe the fellow who gave it to me must have kept it leaning against a tree out in the yard for at least a few months, because some portions of the gun were severely rusted and some of the wood stock was beginning to rot.
MORE OF THIS ARTICLE
- Page 1: Introduction and Overview; Right Side of Rifle
- Page 2: Shooting the Rifle; Left Side
- Page 3: Assessing the Project; Top of Rifle
- Page 4: Rear Sight, Closed
- Page 5: Rear Sight, Open
- Page 6: Front Sight and Muzzle
- Page 7: Receiver Stamping, Ready to Start Rebuilding
ABOUT THIS MAUSER
- Spanish 93 Mauser Article 1: Before I Began Gunsmithing
- Spanish 93 Mauser Article 2: Beginning The Work
- Spanish 93 Mauser Article 3: More Gunsmithing Work
- Spanish 93 Mauser Article 4: Modifying the Bolt Handle
- Spanish 93 Mauser Article 5: Jeweling Bolt, Modifying Shroud
- Spanish 93 Mauser Article 6: Shaping Trigger Guard, Finishing Chamber
- Spanish 93 Mauser Article 7: Bedding Action, Fitting and Finishing Stock
- Spanish 93 Mauser Article 8: Finishing the Metal Parts
- Spanish 93 Mauser Article 9: Conclusion, Finished Rifle, Tools and Materials
06
of 07
Front Sight and Muzzle
/mauser-93-06-56a4f9b15f9b58b7d0da2f9d.jpg)
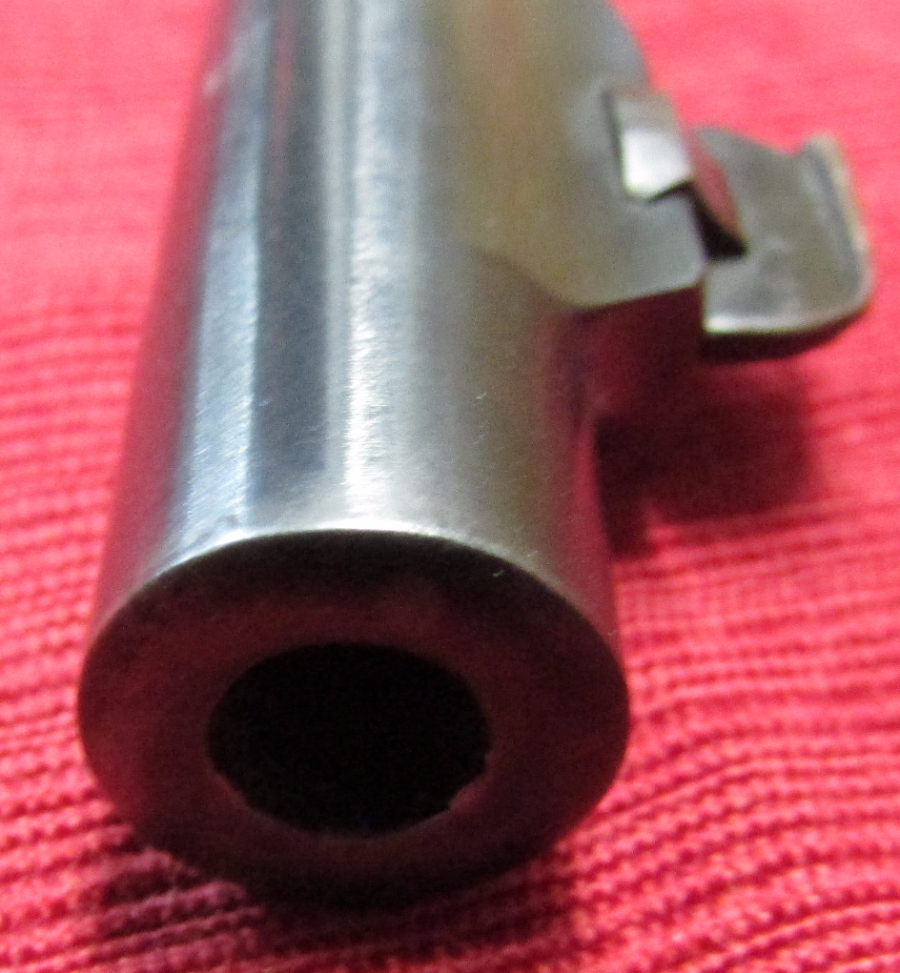
Like the rear sight, the front sight on the Spanish Mauser 93 is attached to a base which is indexed via a set screw, and soldered onto the barrel. The presence of two index holes (not visible here) in the barrel for each sight indicates that this barrel was probably chambered and installed twice in its life.
Like the rest of the gun, the front sight base shows multiple battle scars.
The Spanish 93 is far from the strongest Mauser model, but it’s not a bad action and it can be readily gunsmithed. While it lacks some safety features built into Mauser’s later designs, if ammunition pressures are kept reasonable, the 93 will work just fine.
MORE OF THIS ARTICLE
- Page 1: Introduction and Overview; Right Side of Rifle
- Page 2: Shooting the Rifle; Left Side
- Page 3: Assessing the Project; Top of Rifle
- Page 4: Rear Sight, Closed
- Page 5: Rear Sight, Open
- Page 6: Front Sight and Muzzle
- Page 7: Receiver Stamping, Ready to Start Rebuilding
ABOUT THIS MAUSER
- Spanish 93 Mauser Article 1: Before I Began Gunsmithing
- Spanish 93 Mauser Article 2: Beginning The Work
- Spanish 93 Mauser Article 3: More Gunsmithing Work
- Spanish 93 Mauser Article 4: Modifying the Bolt Handle
- Spanish 93 Mauser Article 5: Jeweling Bolt, Modifying Shroud
- Spanish 93 Mauser Article 6: Shaping Trigger Guard, Finishing Chamber
- Spanish 93 Mauser Article 7: Bedding Action, Fitting and Finishing Stock
- Spanish 93 Mauser Article 8: Finishing the Metal Parts
- Spanish 93 Mauser Article 9: Conclusion, Finished Rifle, Tools and Materials
07
of 07
Receiver Stamping, Ready to Start Rebuilding
/mauser-93-07-56a4f9b25f9b58b7d0da2fa0.jpg)
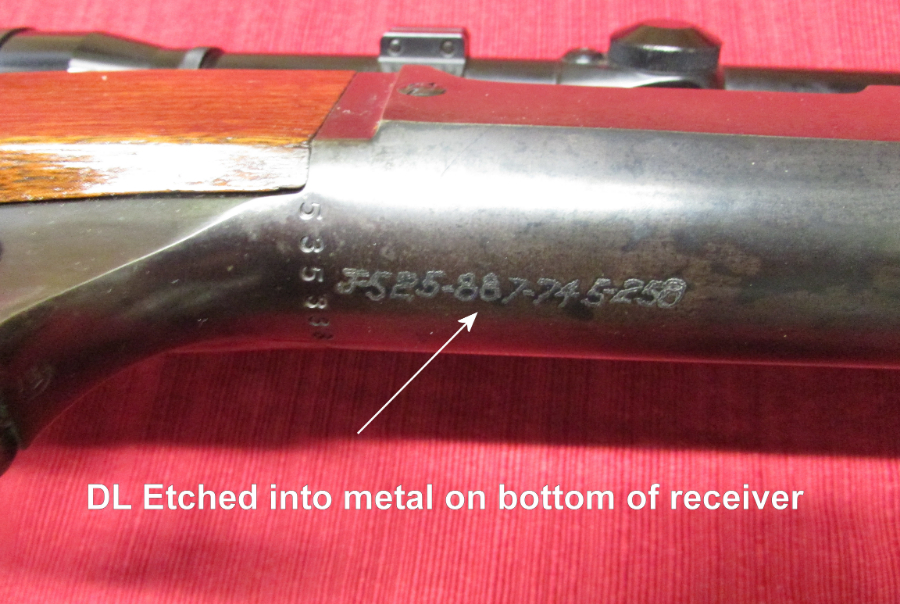
The stamping shown here on the front receiver ring indicates that this receiver was made in Oviedo, Spain in 1928. That’s not to say that the rifle in its present form was made at that time and location; mismatched serial numbers and other clues indicate that this rifle was rebuilt from miscellaneous parts at some point.
Note the rust pitting and overall ugly appearance of the bolt. I dealt with that later on by jeweling the bolt, which greatly improved its looks.
Once I had documented the rifle’s condition, I began tearing it down, working through hurdles as they arose, moving ever forward towards a finished product that would one day be an accurate, attractive source of pride rather than a rattly-bored eyesore.
– Russ Chastain
MORE OF THIS ARTICLE
- Page 1: Introduction and Overview; Right Side of Rifle
- Page 2: Shooting the Rifle; Left Side
- Page 3: Assessing the Project; Top of Rifle
- Page 4: Rear Sight, Closed
- Page 5: Rear Sight, Open
- Page 6: Front Sight and Muzzle
- Page 7: Receiver Stamping, Ready to Start Rebuilding
ABOUT THIS MAUSER
- Spanish 93 Mauser Article 1: Before I Began Gunsmithing
- Spanish 93 Mauser Article 2: Beginning The Work
- Spanish 93 Mauser Article 3: More Gunsmithing Work
- Spanish 93 Mauser Article 4: Modifying the Bolt Handle
- Spanish 93 Mauser Article 5: Jeweling Bolt, Modifying Shroud
- Spanish 93 Mauser Article 6: Shaping Trigger Guard, Finishing Chamber
- Spanish 93 Mauser Article 7: Bedding Action, Fitting and Finishing Stock
- Spanish 93 Mauser Article 8: Finishing the Metal Parts
- Spanish 93 Mauser Article 9: Conclusion, Finished Rifle, Tools and Materials
BRITAIN’S KNIFE CONTROL CAMPAIGN JUST GOT WAY FUNNIER

Over the weekend London mayor Sadiq Khan announced a strict crackdown, banning all knife possession.Yesterday the London police bragged about confiscating tools like pliers and scissors in their knife control efforts to keep the streets safe.
If you’re like me, you find this all to completely hilarious, but it’s nothing compared to what came next. A British police agency has released a series of anti-knife public service announcements that make those “this is you brain on drugs” commercials seem semi-serious.
The following are real tweets from the Office of the South Yorkshire Police and Crime Commissioner and not something from a parody account or a satire site:

 Office of SYPCC
✔@SYPCC
Find positive activities to channel your energy and help you avoid dangerous situations. This will also help you meet others living knife free. #knifefree
Living knife free? This is like some kind of crazy abstinence propaganda, but instead of sex they are talking about stabbing. Too bad they didn’t include a list of activities people can do instead of stabbing. Like maybe beating people to death or shooting them.

Office of SYPCC✔@SYPCC
If you find yourself in a confrontation, you have a choice – pulling a knife can escalate the situation and put you in serious danger. #knifefree
But what if you are being attacked by someone with a knife? I guess it’s better to just take the stabbing than to escalate things to where you might actually defend your life. It’s a small price to pay to live that healthy knife-free lifestyle.

Office of SYPCC✔@SYPCC
Going knife free can be a brave and difficult choice – but your life will be better for it.
Unless you are stabbed to death by someone else, in which case your life will be much much worse.

Office of SYPCC✔@SYPCC
Remember, it’s never too late to change your life. You are full of potential, and there are always options open to you – even if they aren’t clear in the moment. #knifefree
What, they could only afford 3 models to pose for these things?

Office of SYPCC✔@SYPCC
99% of young people aged 10–29 don’t carry a knife. #knifefree – https://goo.gl/RjiMDP
See, everyone’s doing it, so you should too.

Office of SYPCC✔@SYPCC
People who carry a weapon are more likely to be hospitalised with an injury caused by violence. #knifefree – https://goo.gl/RjiMDP
People who don’t carry a weapon are more likely to be victimized by someone who does. Facts are fun.

Office of SYPCC✔@SYPCC
There is no ‘safe place’ to stab someone – any stab can be fatal – and the consequences will be just as severe. #knifefree
That’s the weirdest one. Is there a common believe among young people in the UK that stabbing people is generally safe? Also, I call BS, there’s plenty of safe places to stab people: the earlobe, the pinky toe, anywhere there isn’t a major artery or vital organ, etc…
You thought anti-smoking or drug commercials in the US were stupid? This is literally old people telling youngsters that stabbing people isn’t as cool as they thought. I suspect that this will do nothing but make kids want to try stabbing another person just to see what it’s like.


Having been a Teacher in Los Angeles County for 24 years. I actually understand the problems faced by these Folks. (As I was told that my district had students whose primary language numbered over 50 different types.)
Especially when you come from a Homogenized society and now have to deal with a group of folks that have vastly different ideas from yours.
But their problem is vastly worse as Religion is the key factor over there. As just opposed to just language here. Although they have that problems too in spades.
All I can say is Thank God that I am Retired Now!
https://youtu.be/Ab9NyQZfU90 Attachments area Preview YouTube video Austrian teacher of 25 years explains islamic students, major problem in schools


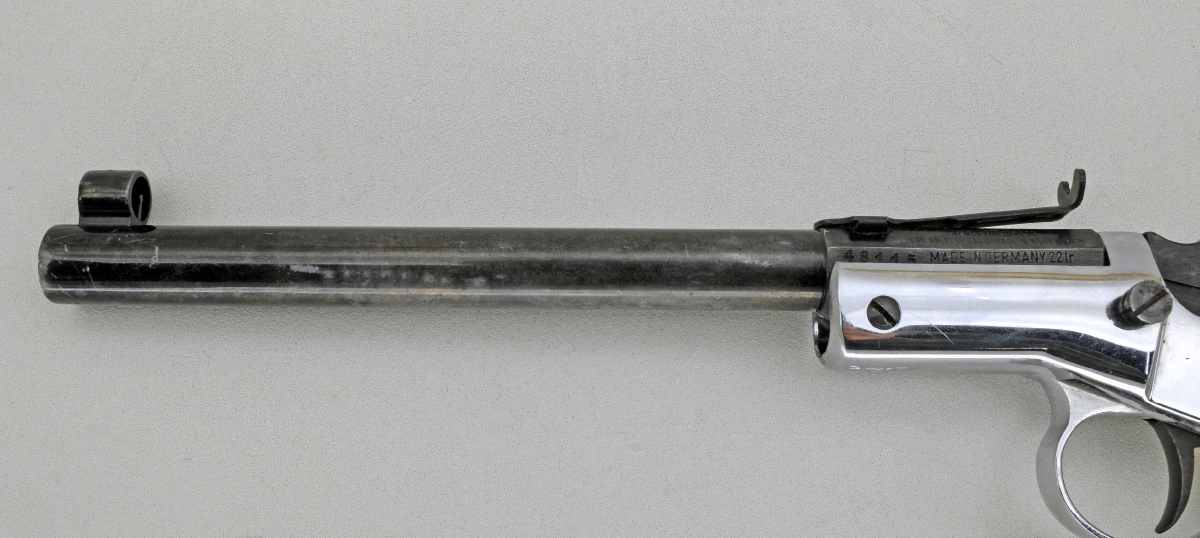
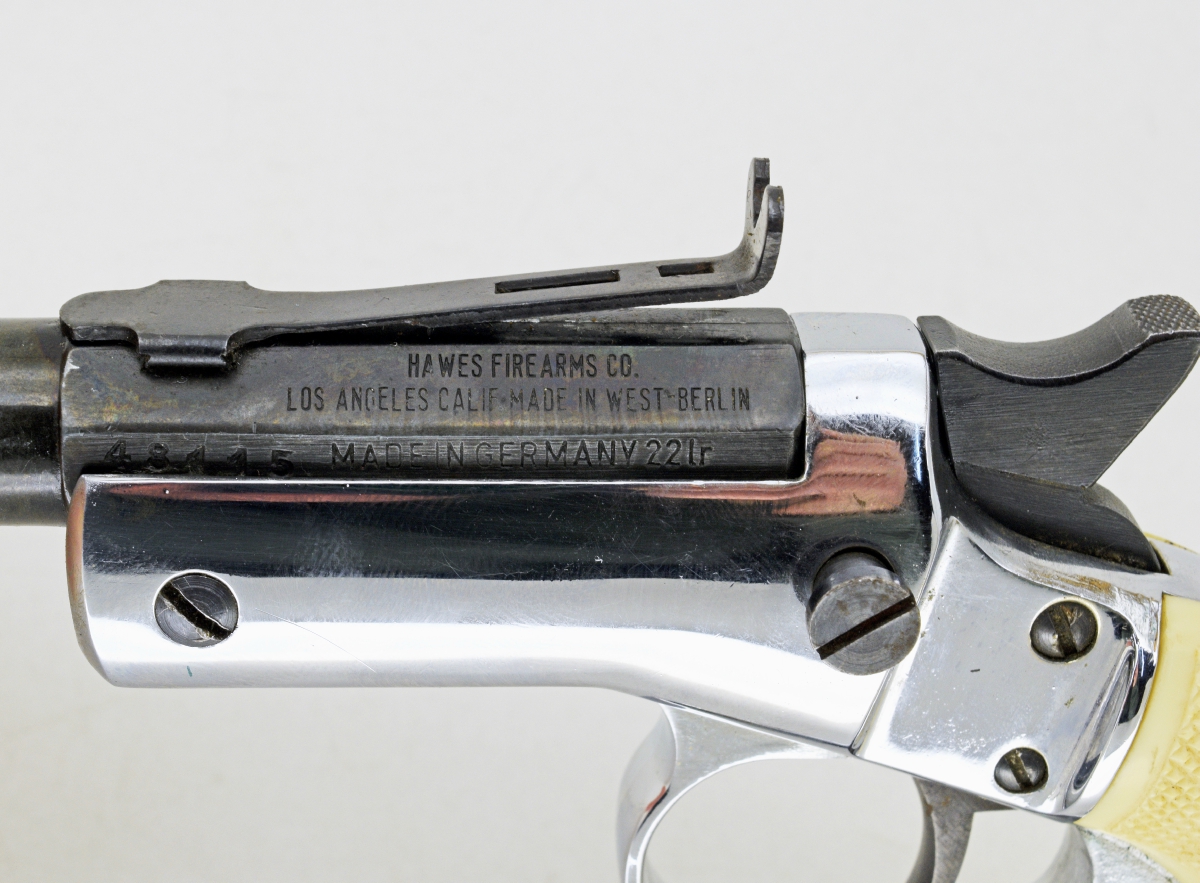

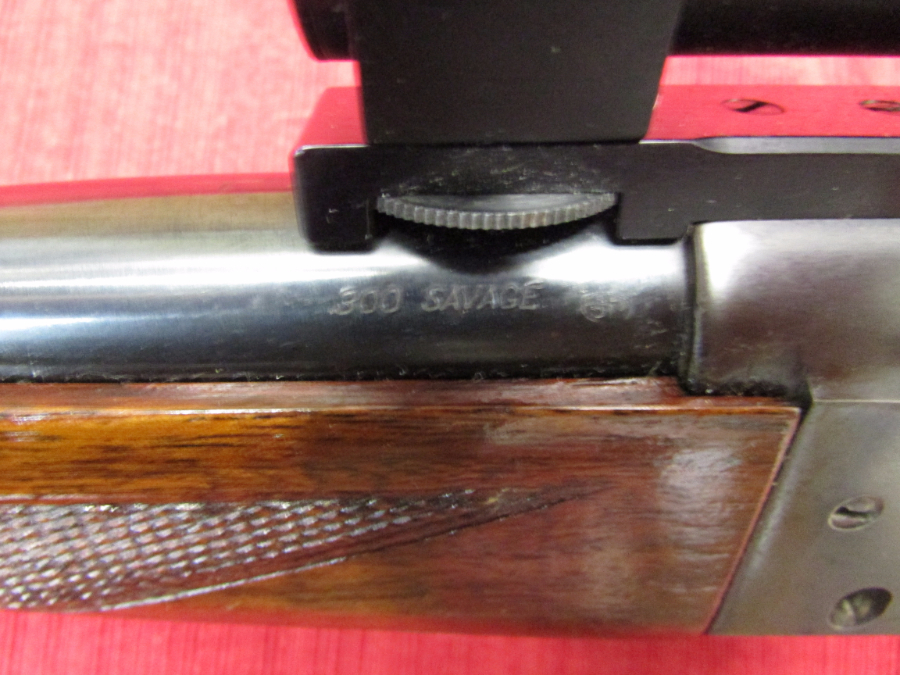
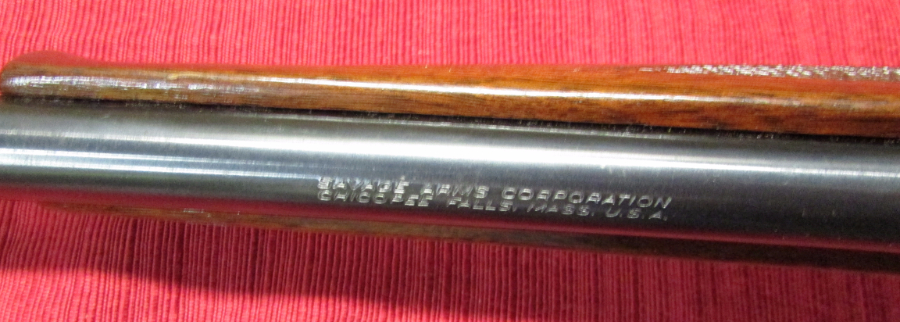
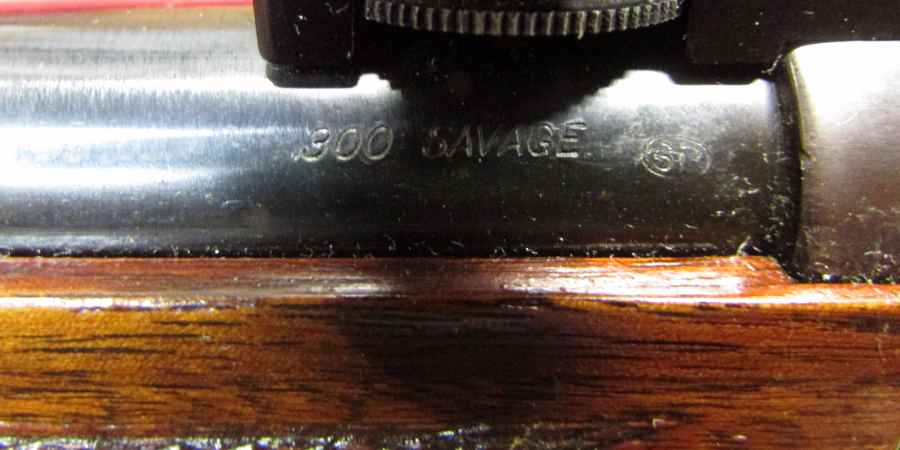
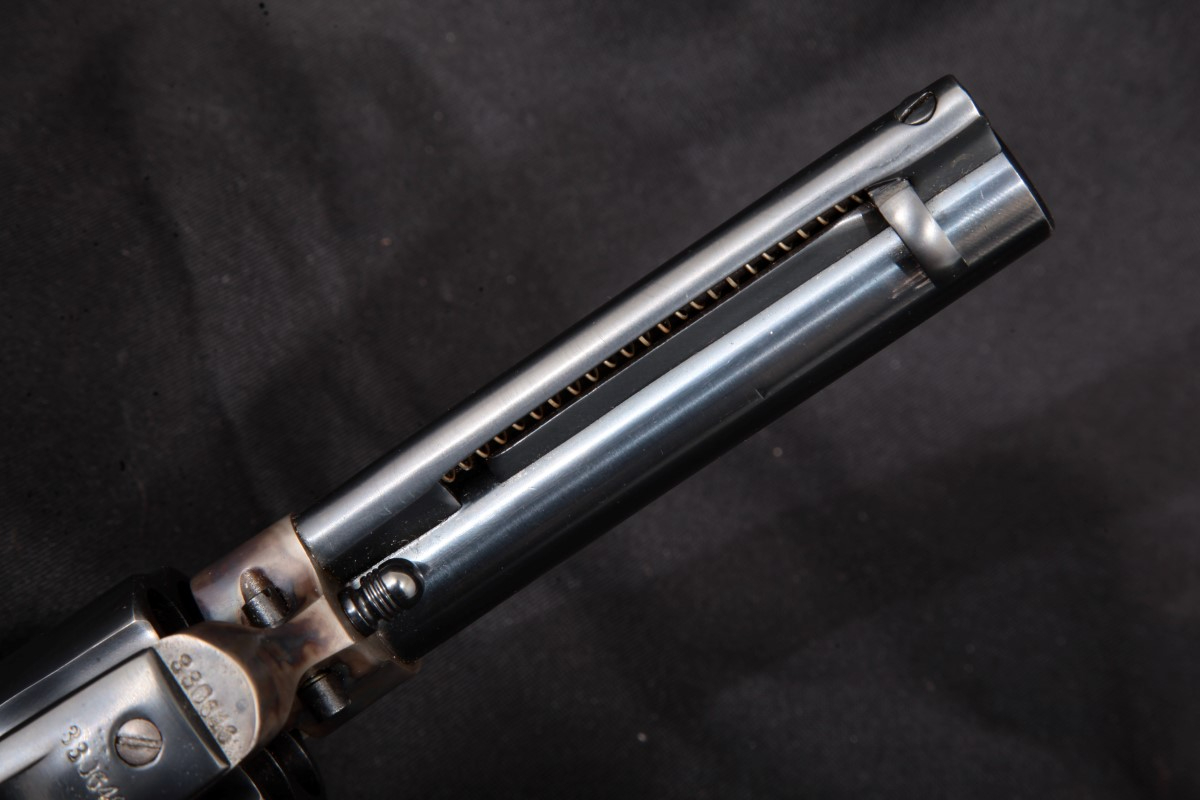
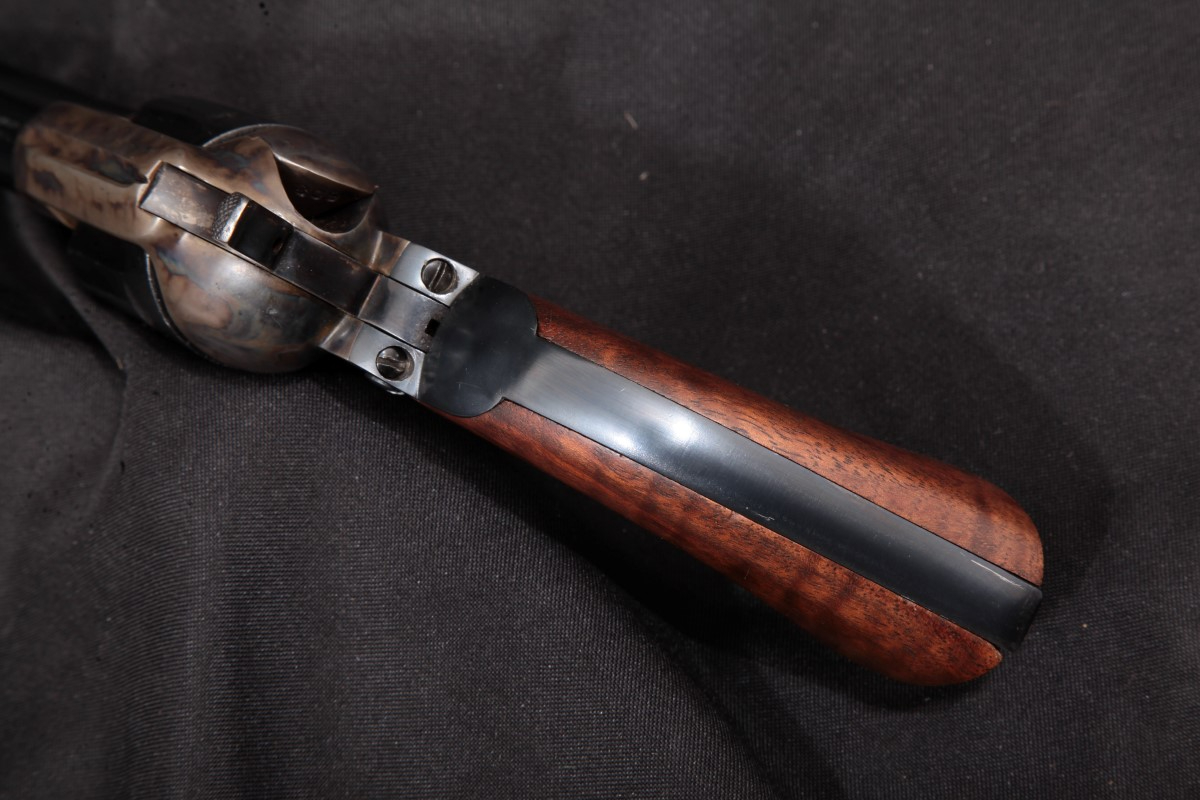
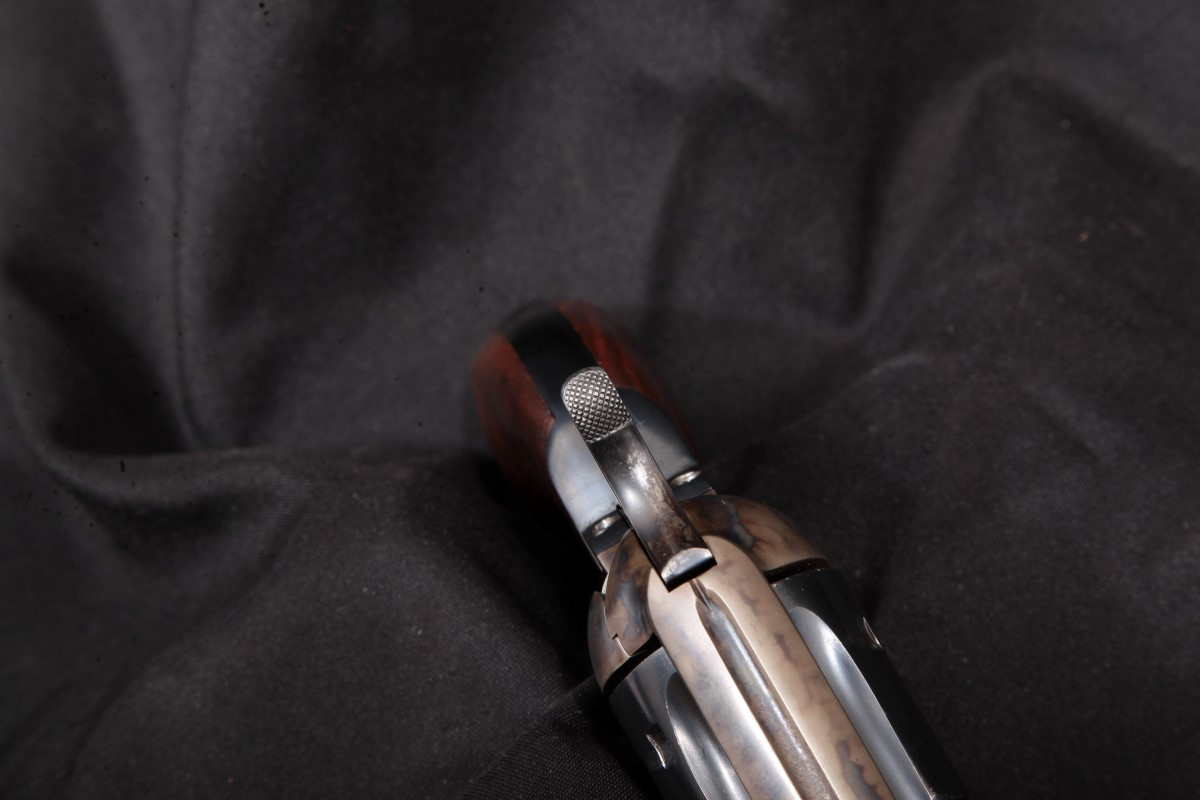
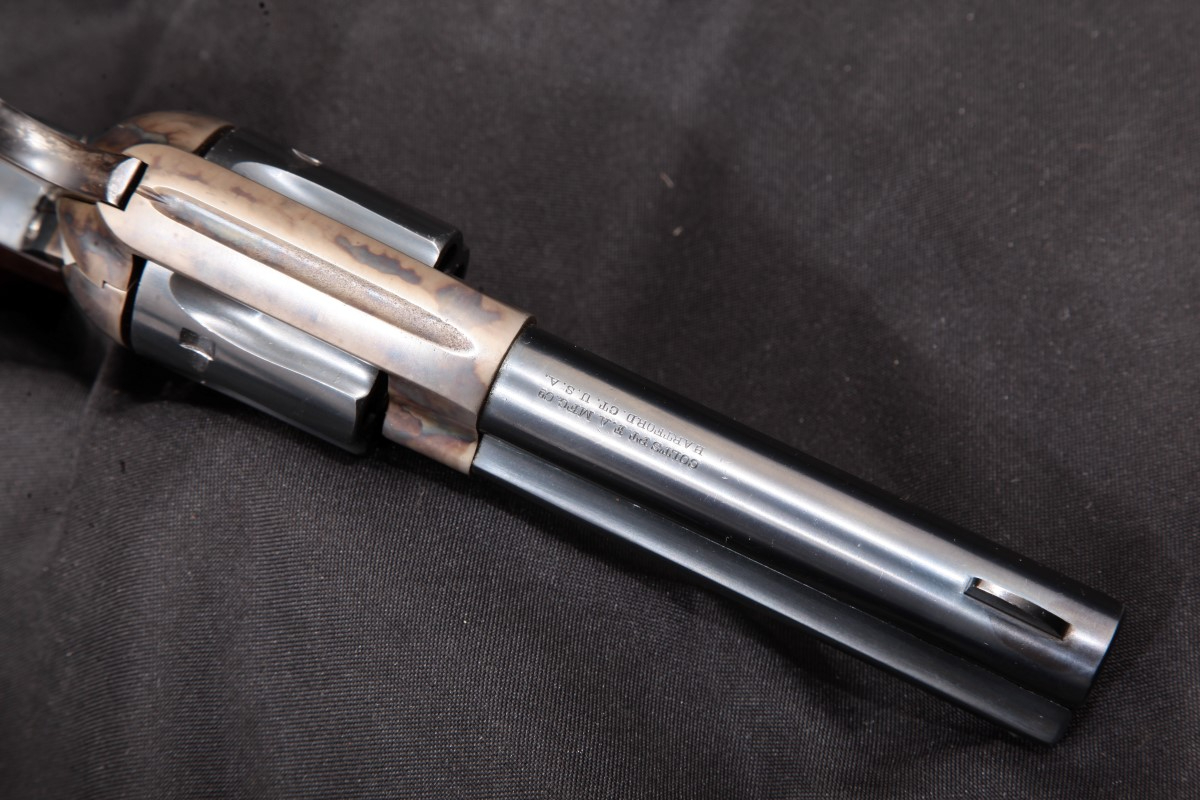
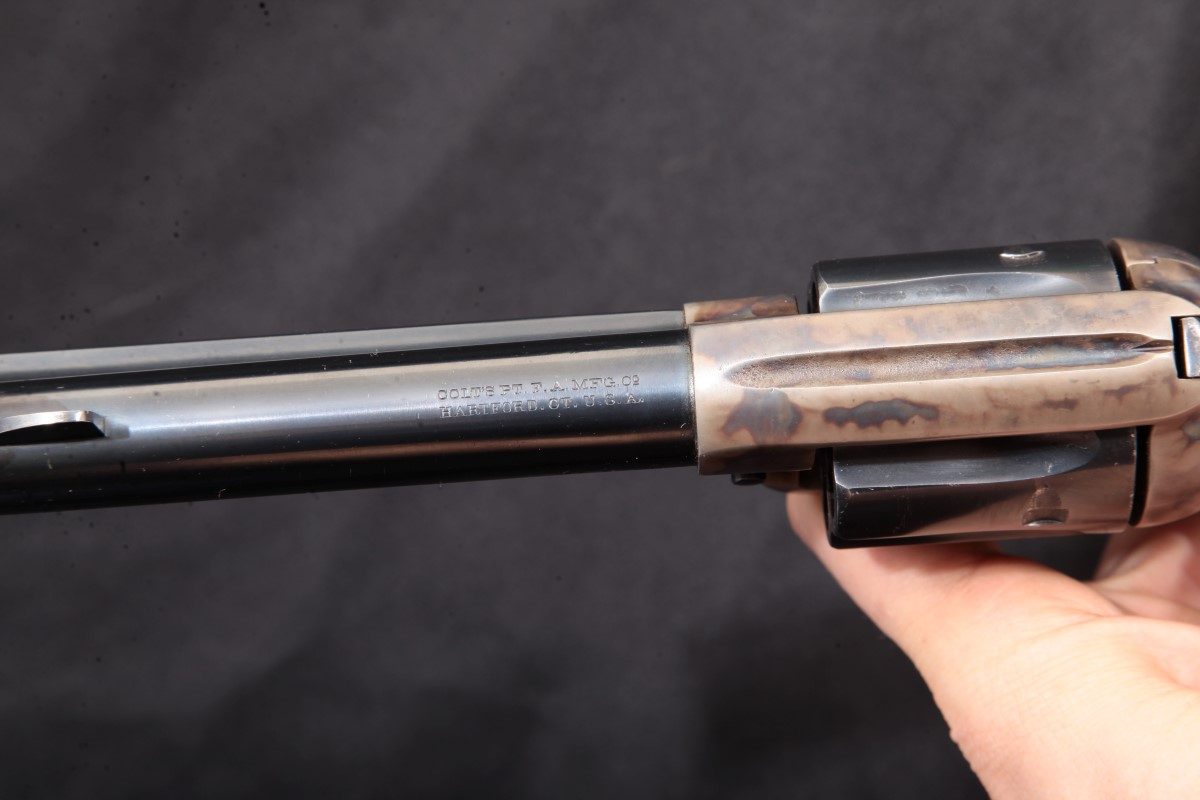
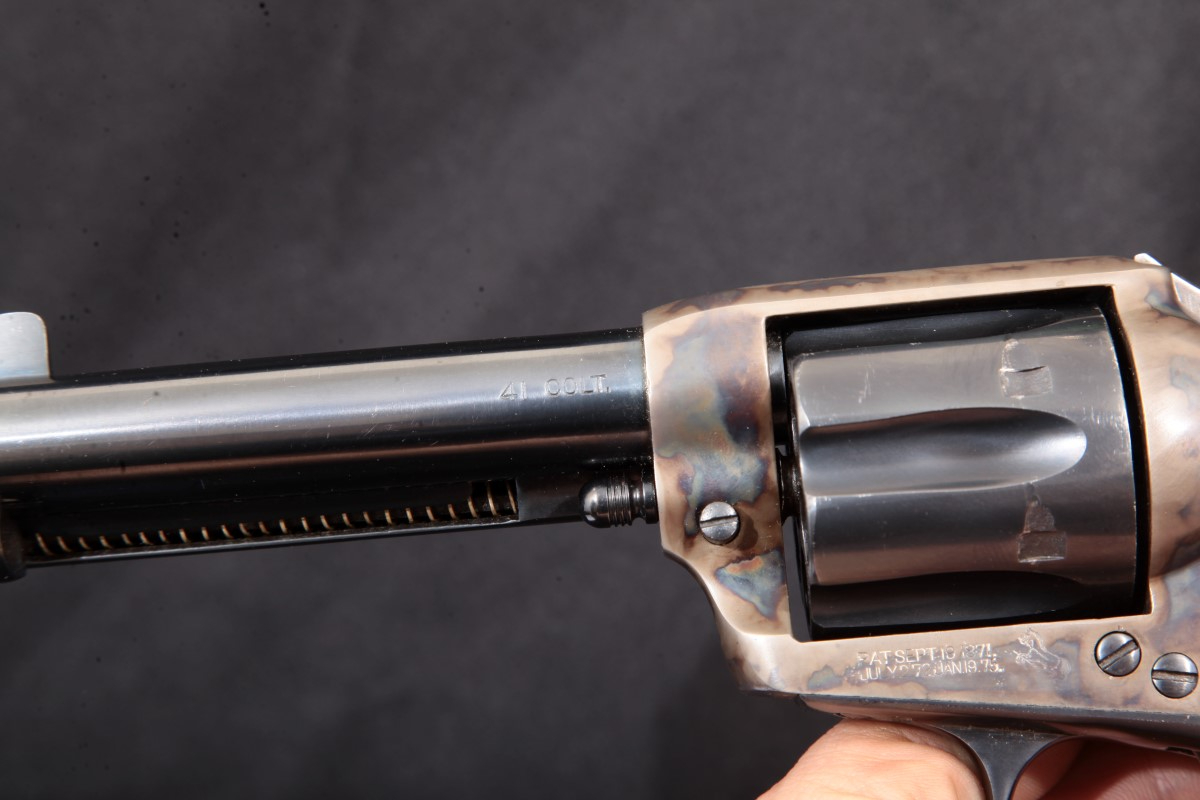
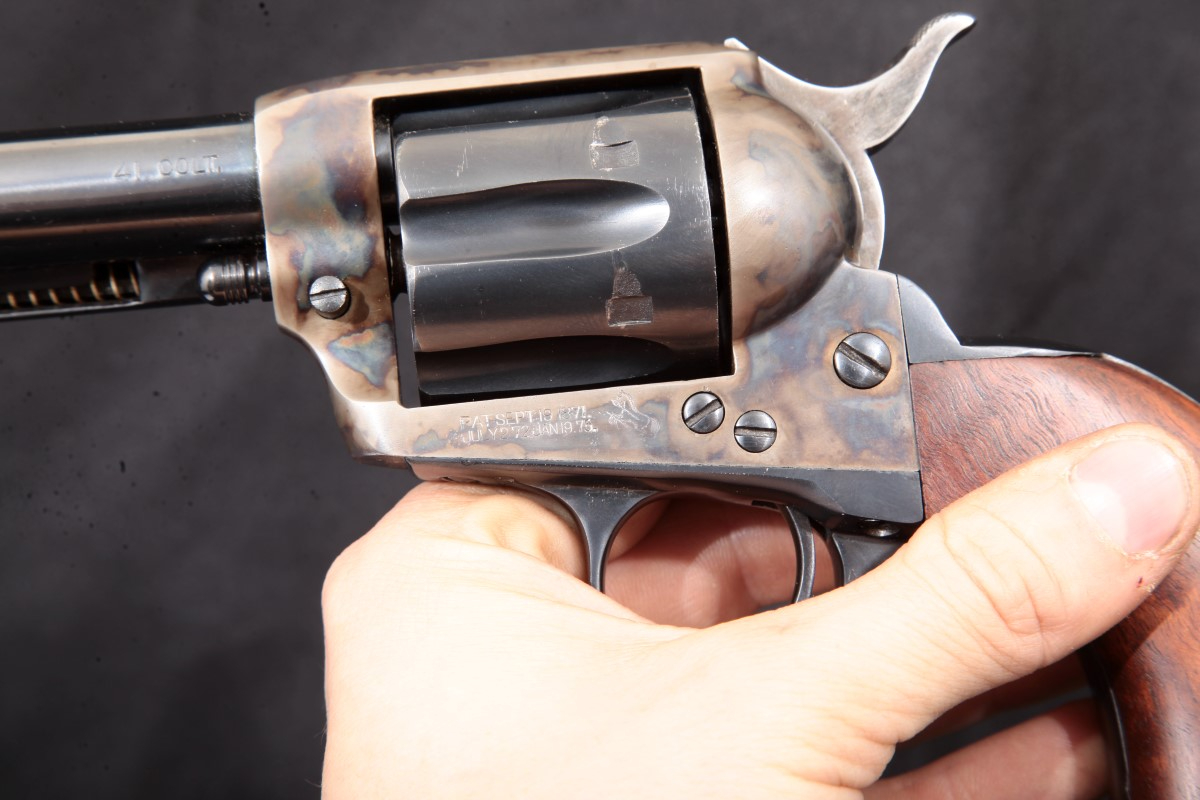
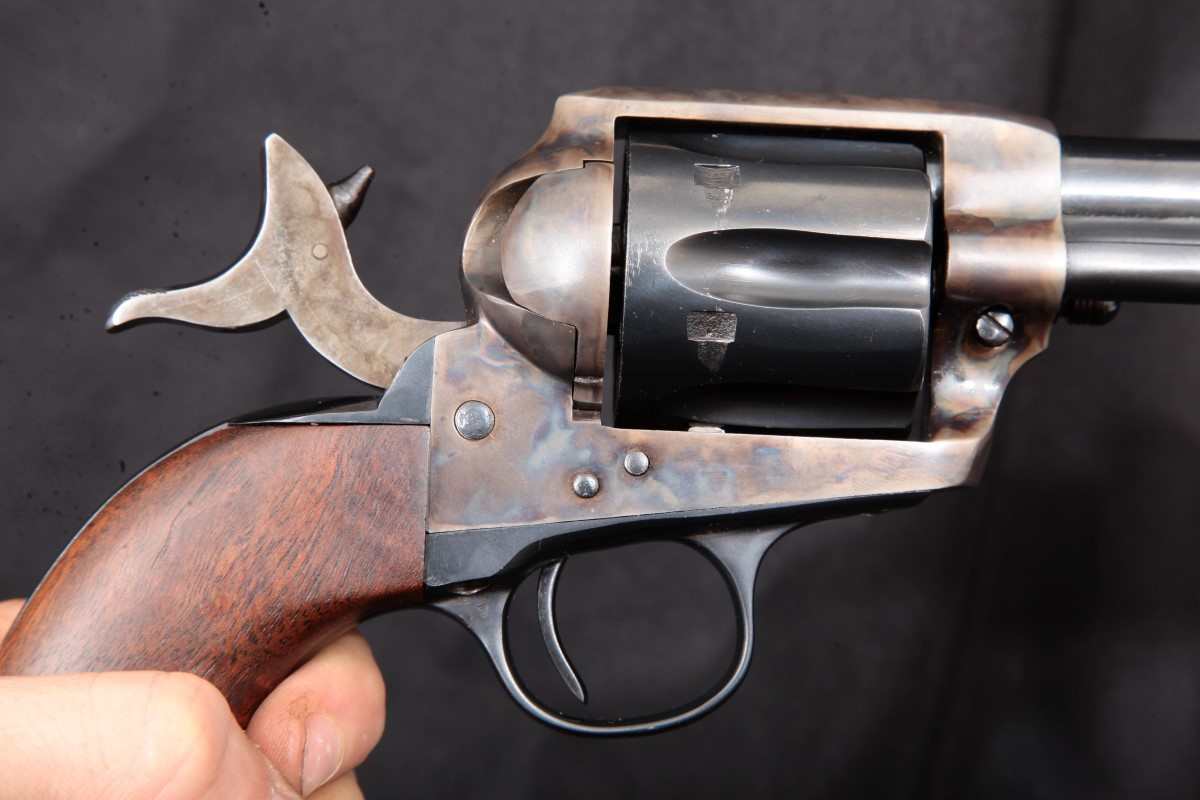
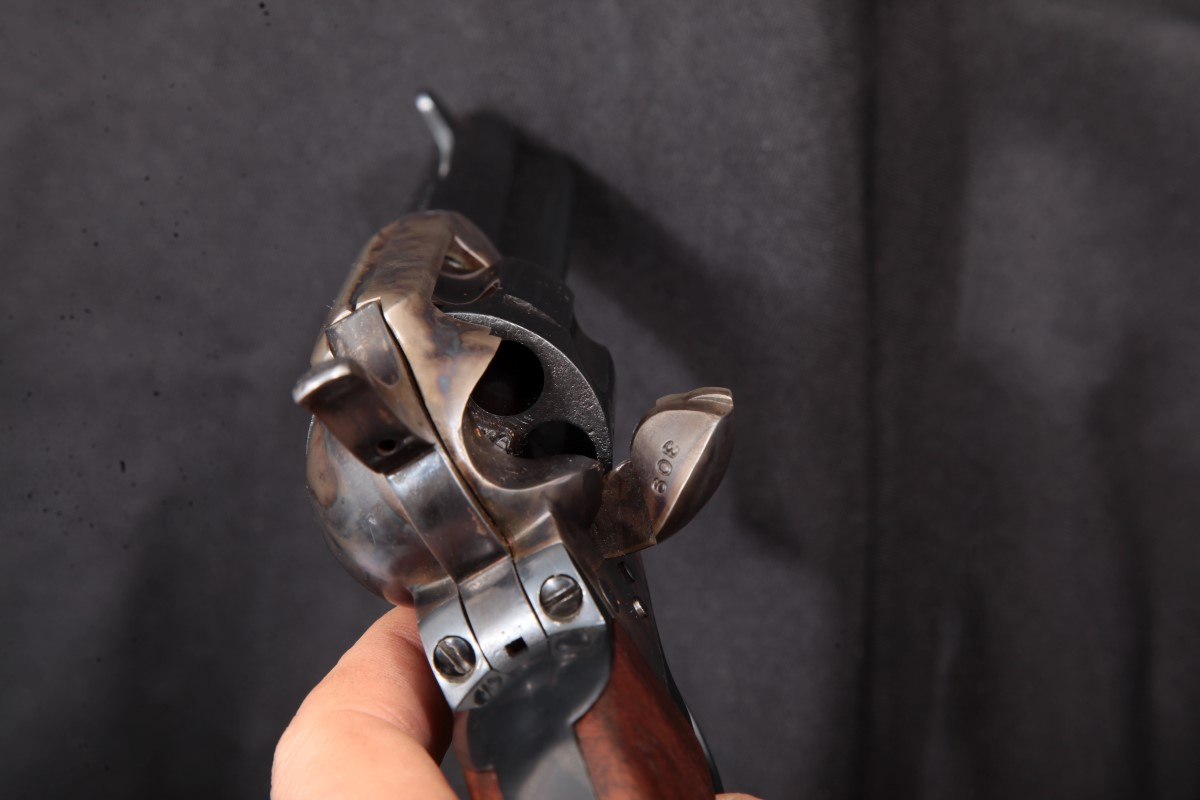
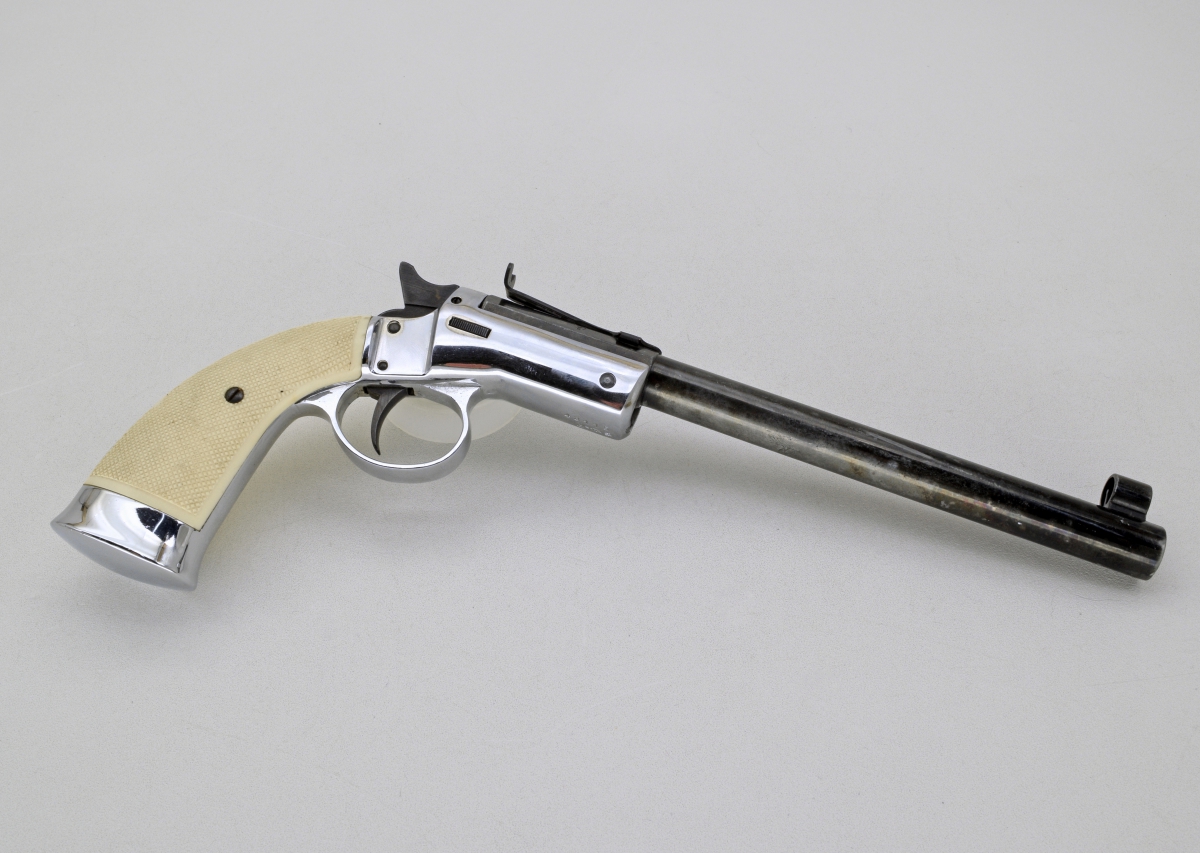 But who would of thought that you would see LA stamped on a gun huh? My how times have changed!


I found this piece by Kim du Toit & his opinions about certain Cartridges. Let me know what your opinion about this is!
Grumpy
5 Worst Cartridges
Ranked in ascending order of awfulness:
- .45 GAP — Glock’s answer to… what was the question again?
- any “Short Magnum” rifle cartridge — e.g. .300 WSM, .270 WSM, etc. They don’t do anything their longer predecessors can’t already do, their sharply-shouldered casings can cause feeding problems, and they were really just a sales gimmick like today’s new darling, the 6.5mm Creedmoor.
- FN 5.7x28mm — expensive and designed by modern-day Europeans, it’s basically a .22 Win Mag, just worse.
- .22 Hornet — while a good performer, it’s difficult to reload because of the tapered casing, and other .22 cartridges (e.g. the .223 and .222 Rem) perform as well or better.
- .25 ACP / 6.35mm Browning — as the saying goes, if you ever shoot someone with this little thing, and he finds out about it, you’re going to be in trouble.
Categories
Top 7 9mm Pistol-Caliber Carbines
FROM GUNS & WEAPONS FOR LAW ENFORCEMENT MAGAZINE
ROUNDING UP SOME OF THE BEST 9MM CARBINES THAT TAKE PISTOL MAGAZINES!


Want your 9mm to hit like a magnum and be accurate out to 100 yards or more without having to carry any specialty ammunition? The AR-15, chambered in 5.56mm NATO, might be the current standard for patrol rifles, but it is not the only option.
For years, many agencies have adopted or allowed pistol-caliber carbines that were fed by the department-issued duty pistol magazine. This meant an officer exiting the car with a rifle on a high-risk call would always have a few spare magazines on his or her duty belt if needed.
RELATED STORY
The concept is not unique to modern times. Lawmen in the Old West sometimes carried revolvers that chambered the same rounds as their trusty lever-action rifles. Maintaining only one kind of cartridge made sense to a lot of men on the trail back then, just as it still does for many officers on the street today.
The 9mm cartridge has been in police service for many decades, and it remains quite effective today. From carbine-length barrels, the 9mm becomes an even more potent round due to increased velocity.
In my own testing, moving from a 4-inch barrel to a 10.5-inch barrel increased the bullet speed by 100 to 300 fps depending on the load. A 16-inch barrel can wring even more velocity from the cartridge.
Considering that the 9mm round is a fairly mild cartridge to shoot, putting it into a rifle-sized platform makes it nearly recoil-free. For officers who have problems with the 5.56mm NATO or 12 gauge, these light-recoiling carbines can drastically improve their effectiveness in a violent encounter. Add to the mix a longer sight radius, or even a red-dot sight, and getting hits on target is even more likely.
Take a look at the gallery of carbines above for options available for law enforcement officers today. Each of these guns is chambered for the 9mm and will accept at least one kind of popular duty handgun magazine.
For more information on the carbines mentioned in the gallery above, please visit the following websites:
- Kel-Tec Sub-2000 Gen2: (keltecweapons.com; 800-515-9983)
- Angstadt Arms UDP-9 SBR: (angstadtarms.com; 980-222-4342)
- Beretta Cx4 Storm: (beretta.com)
- JP Enterprises GMR-13: (jprifles.com; 651-426-9196)
- Just Right Carbines: (justrightcarbines.com; 585-396-1551)
- Thureon Defense GA Carbine: (mycarbine.com; 920-898-5859)
- TNW Firearms Aero Survival Rifle: (tnwfirearms.com; 503-429-5001)