


As we age in the firearms world, it is often easy to forget the challenges presented to someone new to shooting. I live in the West with miles of public land. I have my own pile of steel and targets from when I ran a training company. When I learned to shoot a pistol, it was from professionals in the military. This was all part of the benefits package from giving up your youth to play hardball in all away games. It is very easy to overlook the cost and time barrier for someone just starting, not to mention the lack of access to shooting areas for most people. So while I am normally not a user of indoor ranges, I was excited to see the new system Action Targets is installing across the country.
Though I initially saw the system at Action’s Headquarters in Provo, Utah, I got a chance to play with it in depth closer to home. Independence Indoor Shooting opened not long ago in Meridian, Idaho, and they let me come in after hours to film a segment on the new range. Action Targets has always been an industry leader in indoor ranges, it is their core business. But this year is something special. Gone are the dim lights and clothesline target hangers. This isn’t your grandfather’s indoor range, hang onto your hats.
Article Continues Below
 The first difference you notice with the new system is the robust I beams in the target carriages. Not only does this make for smooth target movement, it ensures the range isn’t going to shut down every five minutes for line repairs. It also makes target movements that otherwise wouldn’t be possible a reality. The lighting is well engineered, with enough LED lumen power to perform surgery if needed. I took a SIG Sauer P320 X-Five with fiber optic sights as my test gun specifically to test this. Not once was the lighting a problem. Just as important, the lighting can be controlled to simulate any environment you like. I could run the pistol through its paces in all conditions. Low light, no light, even sirens, and strobes.
The best part, by far, is the new computer control system. The problem with indoor ranges has always been, what if you don’t know how to train? You’re stepping up to a range for the first time and aren’t sure what types of drills to run. Maybe you’re a seasoned shooter, but remember when you were a new shooter. How did you know what to do? You buy a gun and some bullets, learn to put those bullets through cardboard, with no idea if you are improving on speed or skill.
Enter the Action Targets system. It has onboard training drills that range from beginner to advanced. It is a system that grows with you, steady progression from Barney Fife to John Wick. The beginner modules are simple, but they do build on fundamentals with both speed and accuracy. The advanced models are challenging, even if you have been at this for a while. And if you do get past the advanced models, you can always program your own. The training includes both rifle and pistol drills, and the range reaches all the way to 100 yards. Also included are several Federal Agency qualification sequences, a good check on progression. A very far cry from the indoor ranges I have seen in the past.
In the very near future, Action Targets will have a link on their website showing you the indoor ranges with the upgrades in your area. If you train by yourself, this is an awesome resource to use.
For more information about Action targets, click here.
For more information about Independent Indoor Shooting Range, click here.


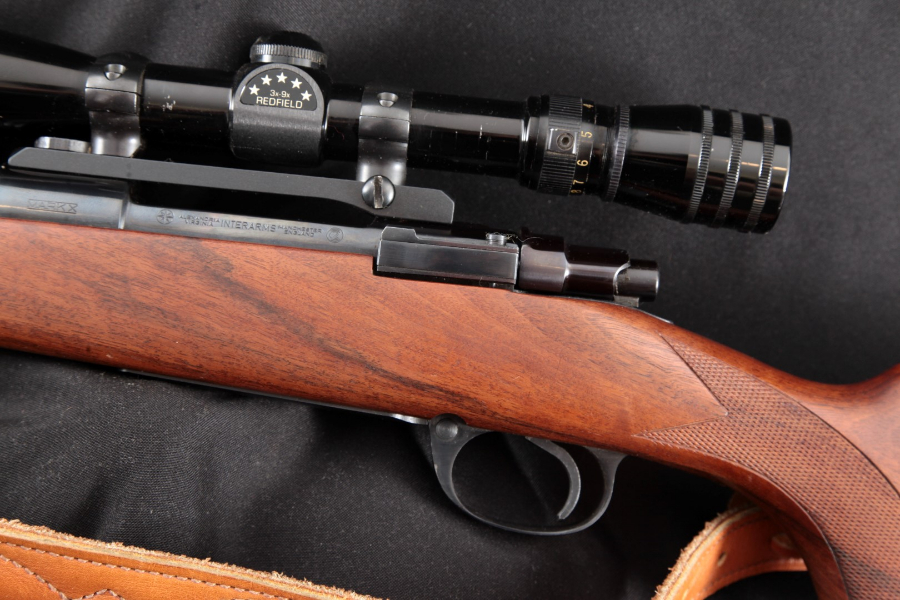

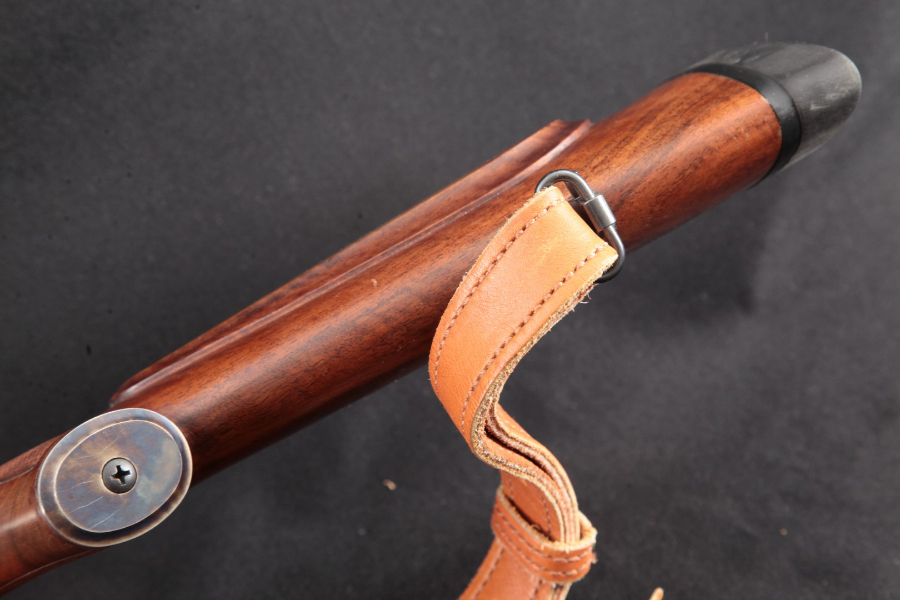


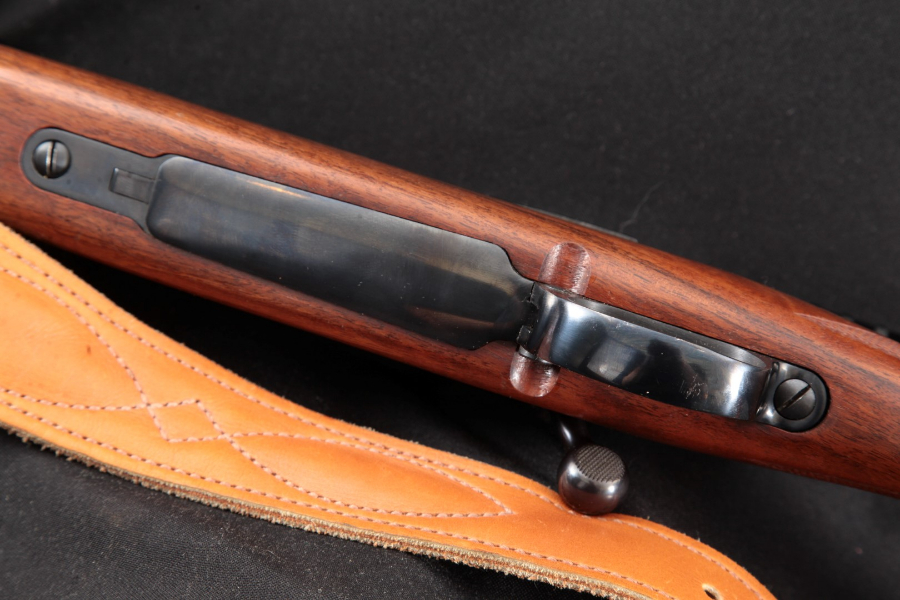
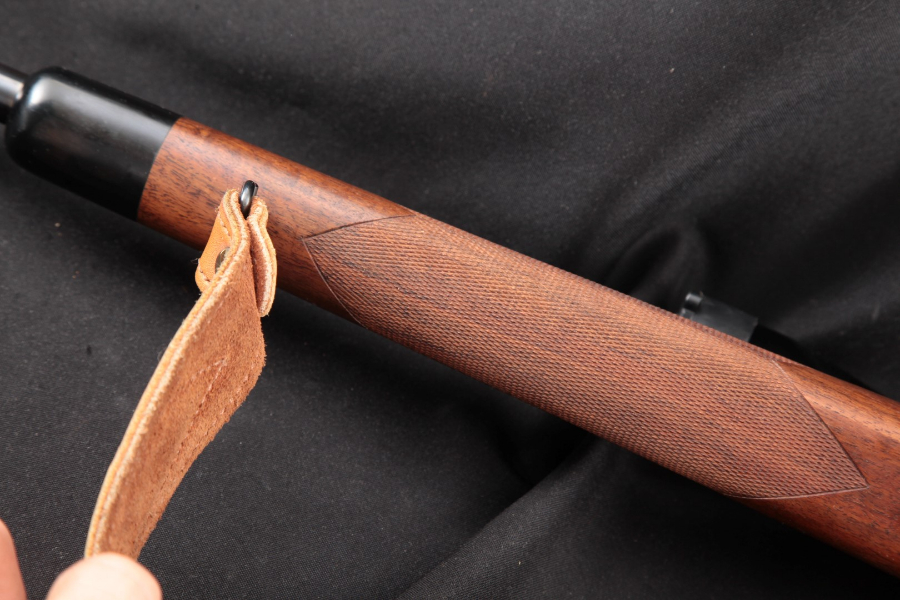

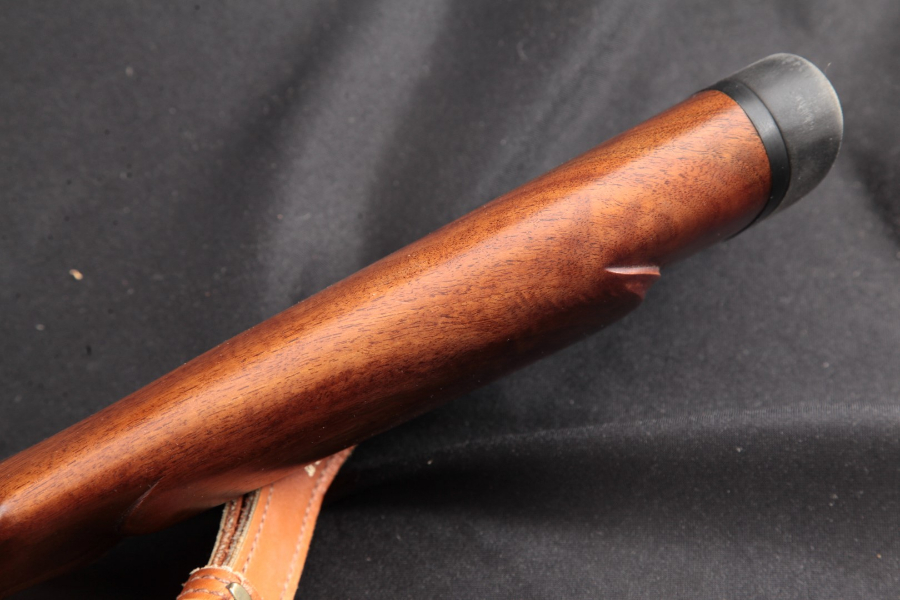
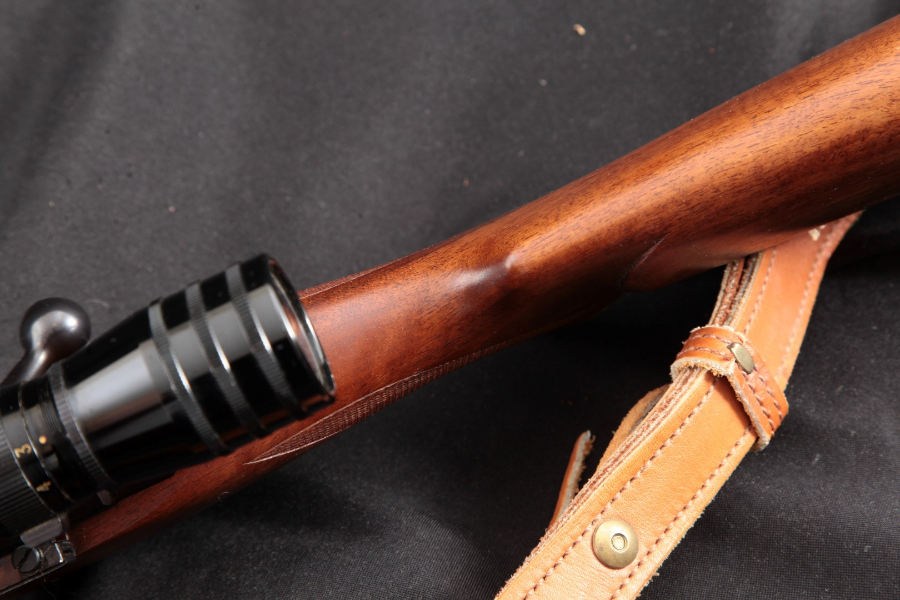
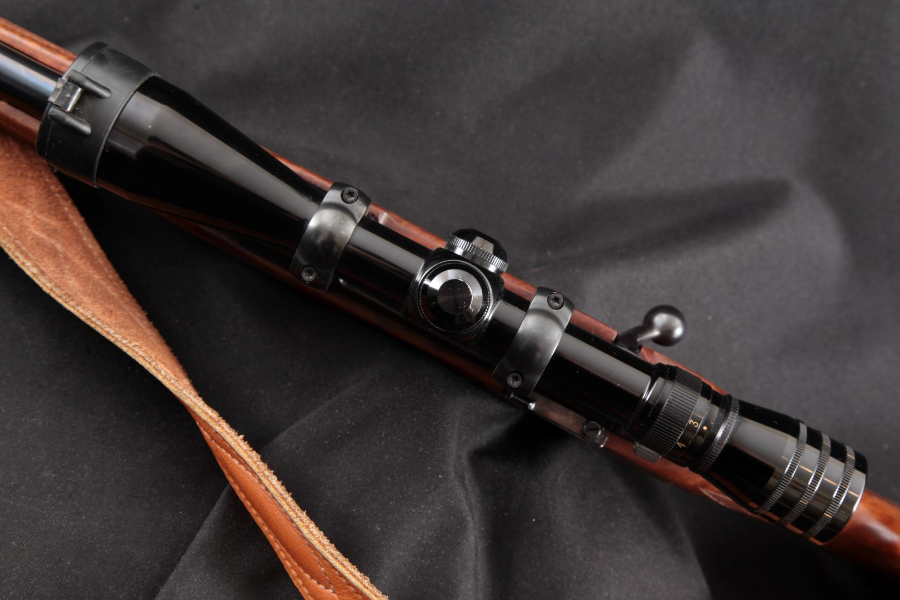
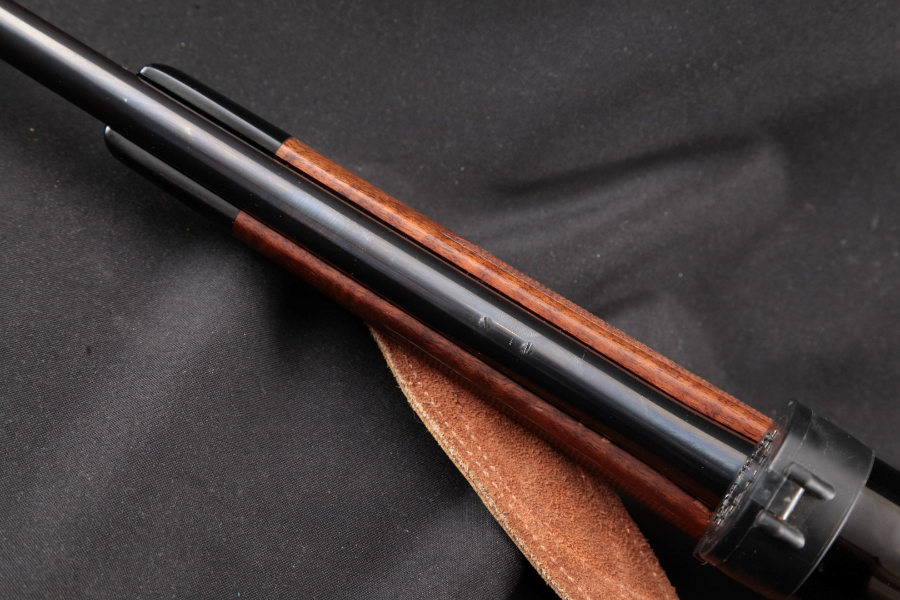
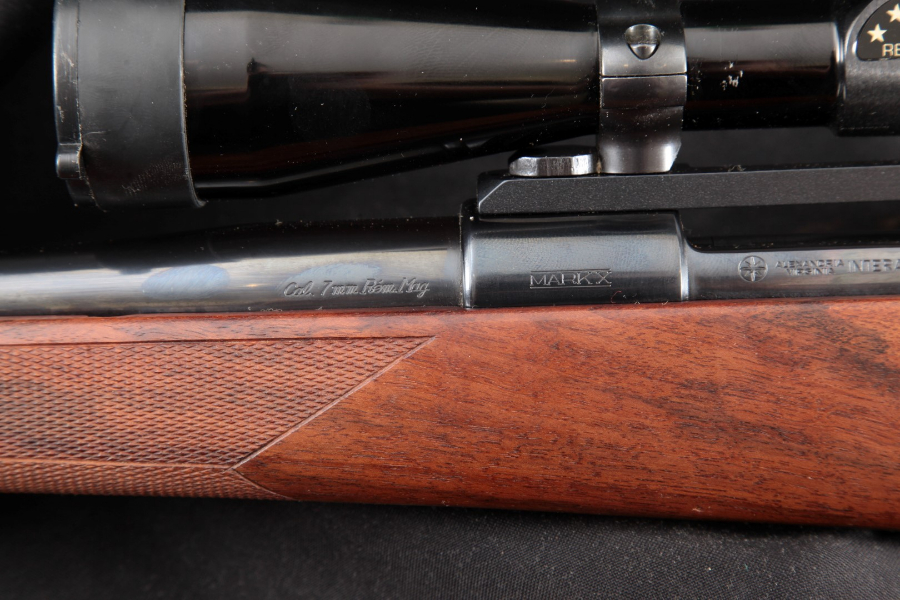
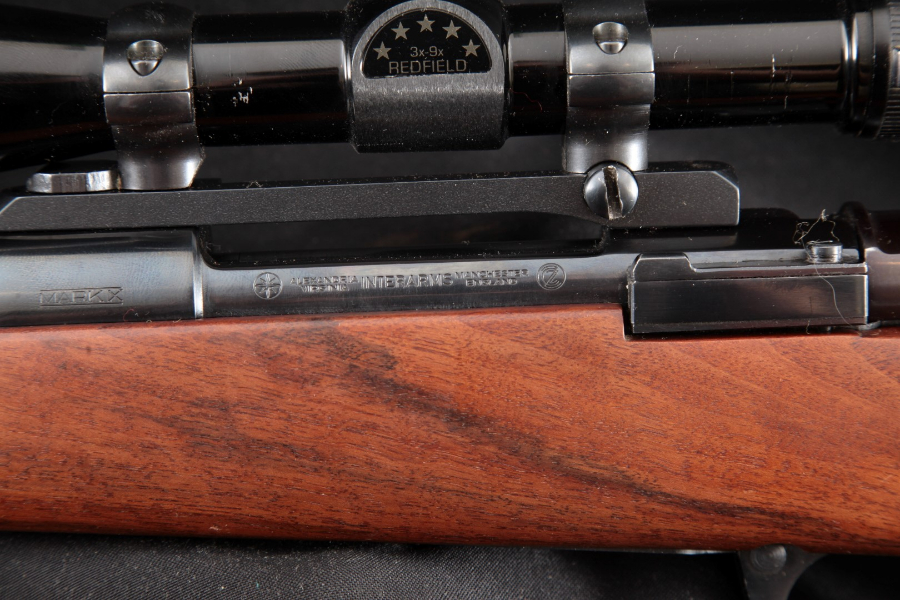
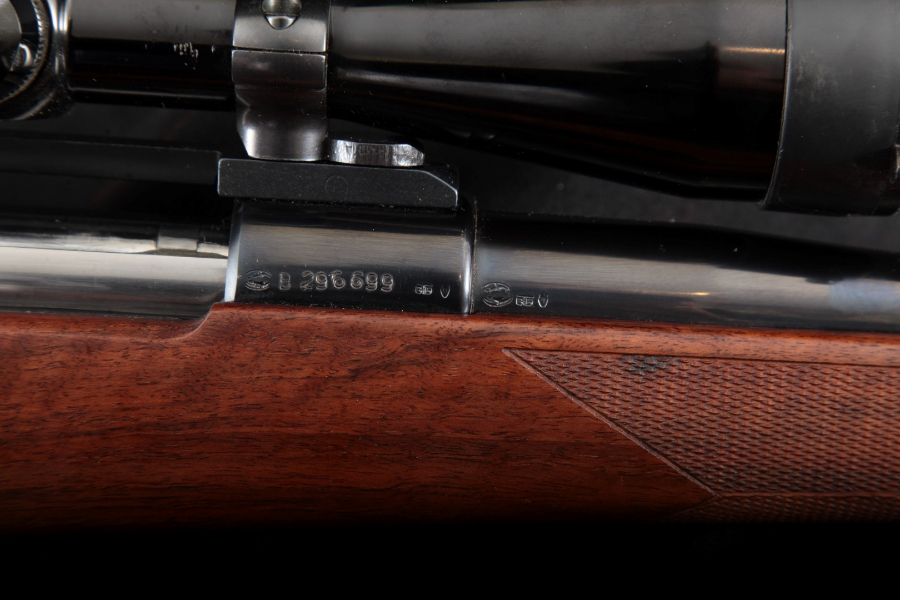
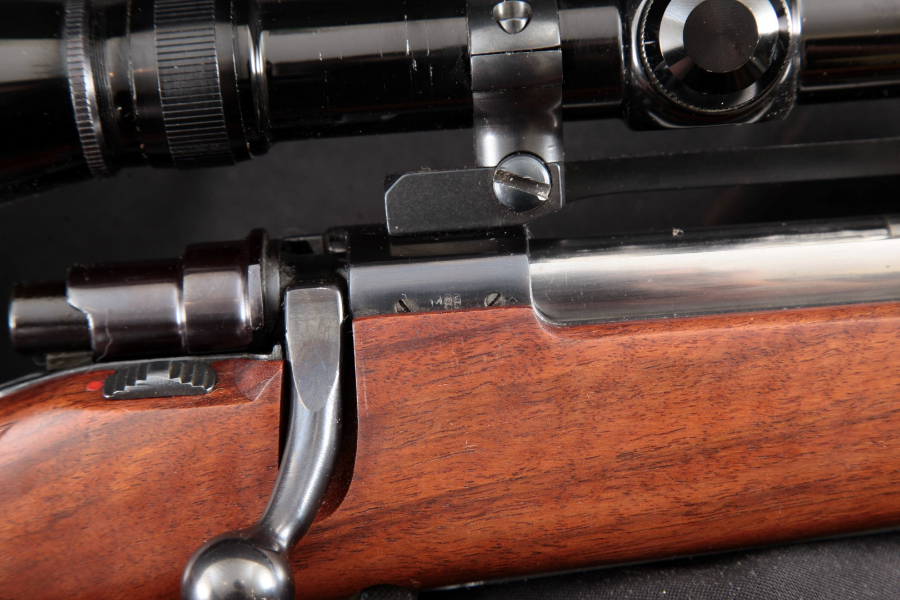
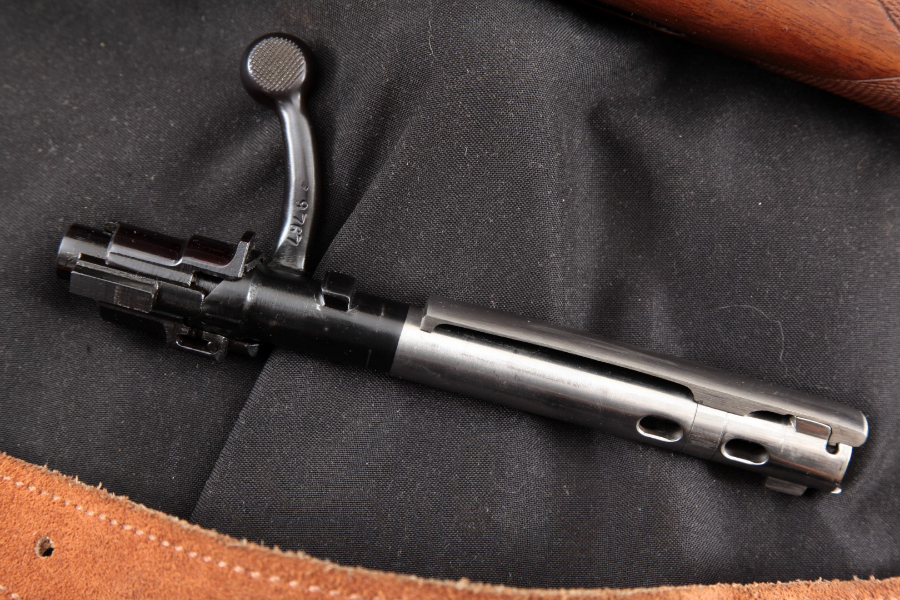

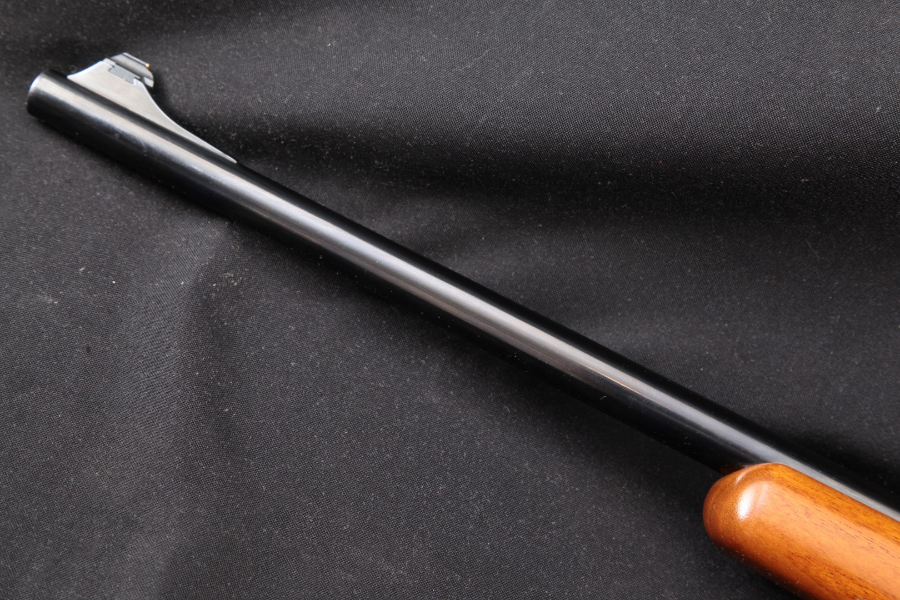
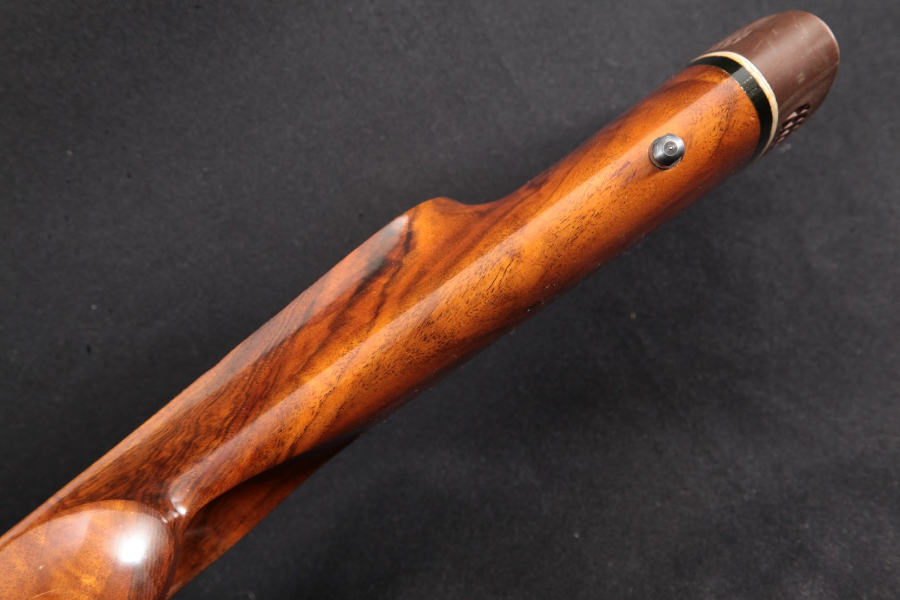
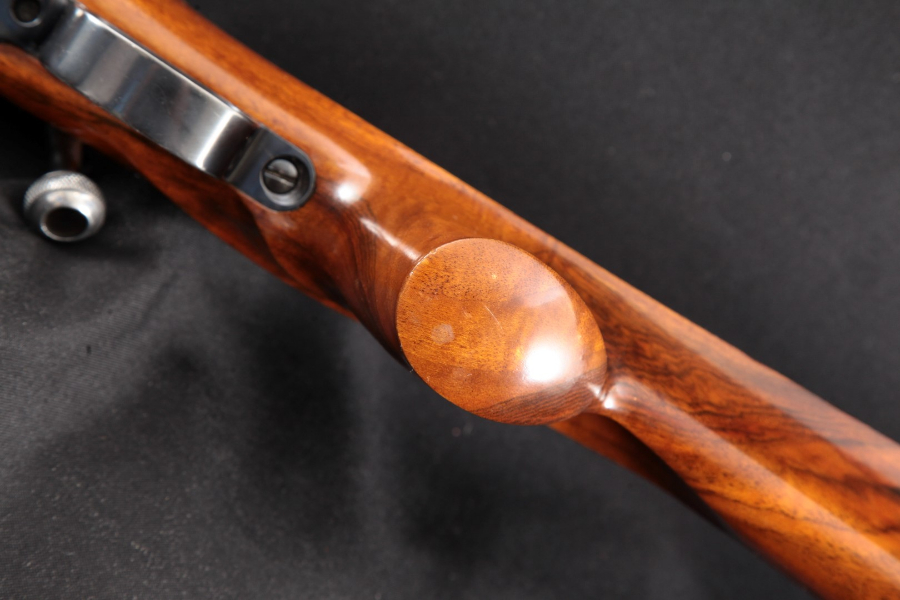
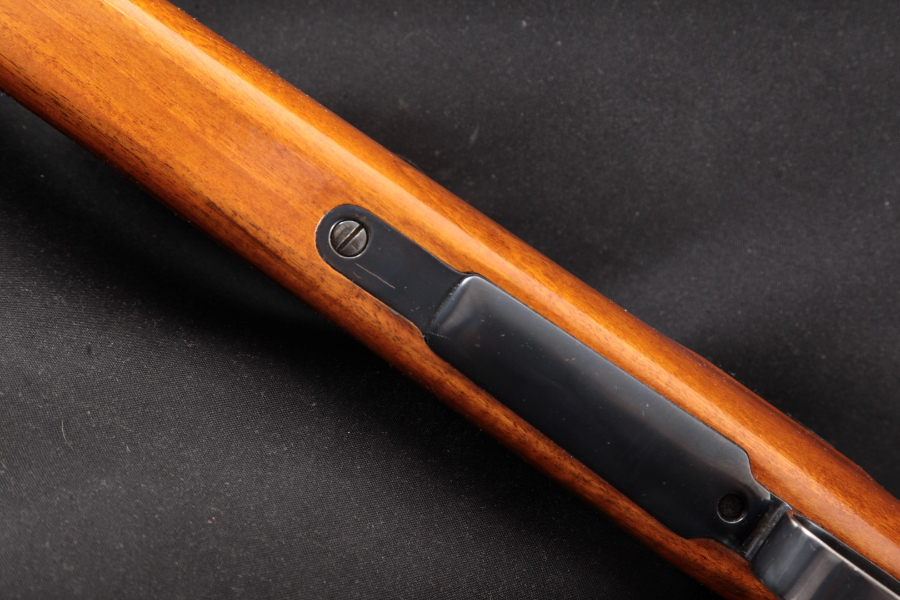
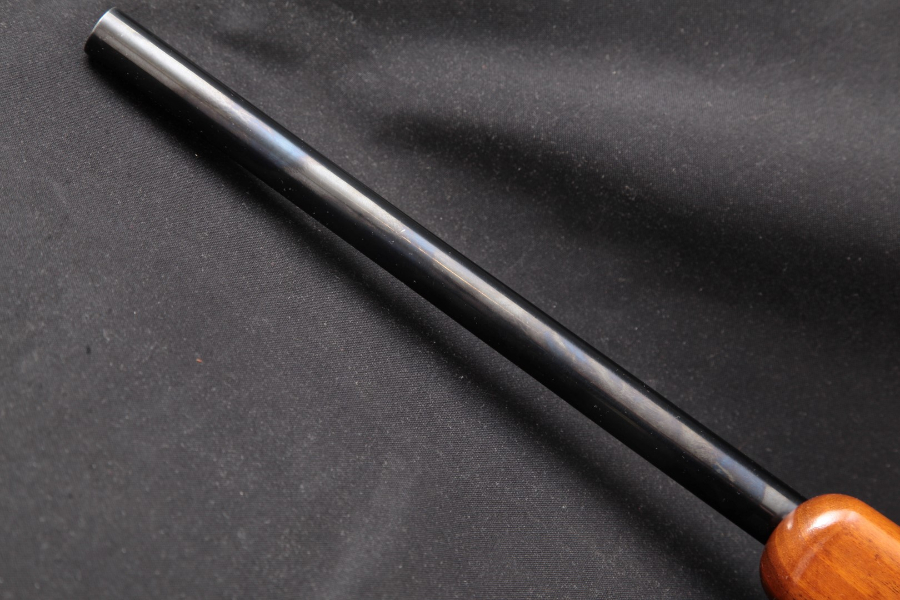
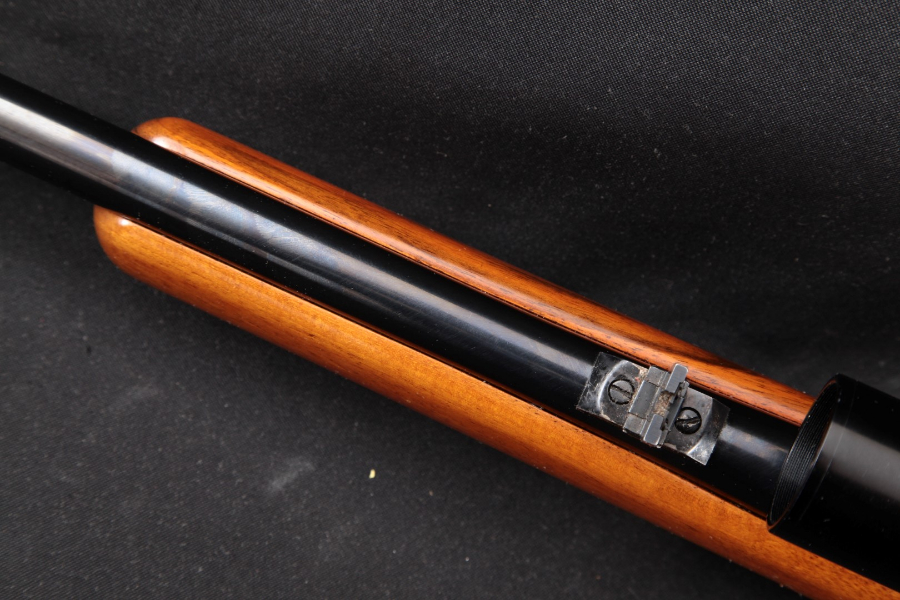
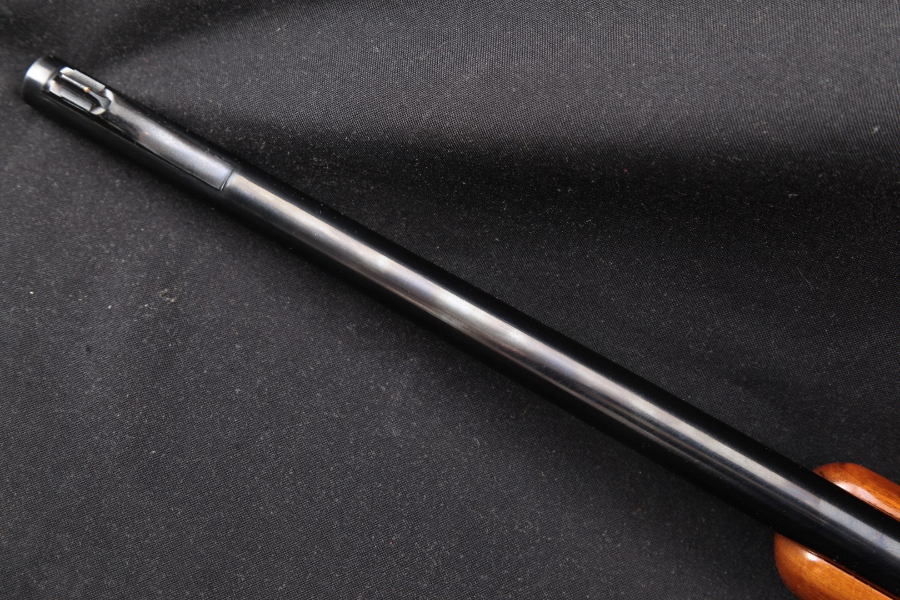
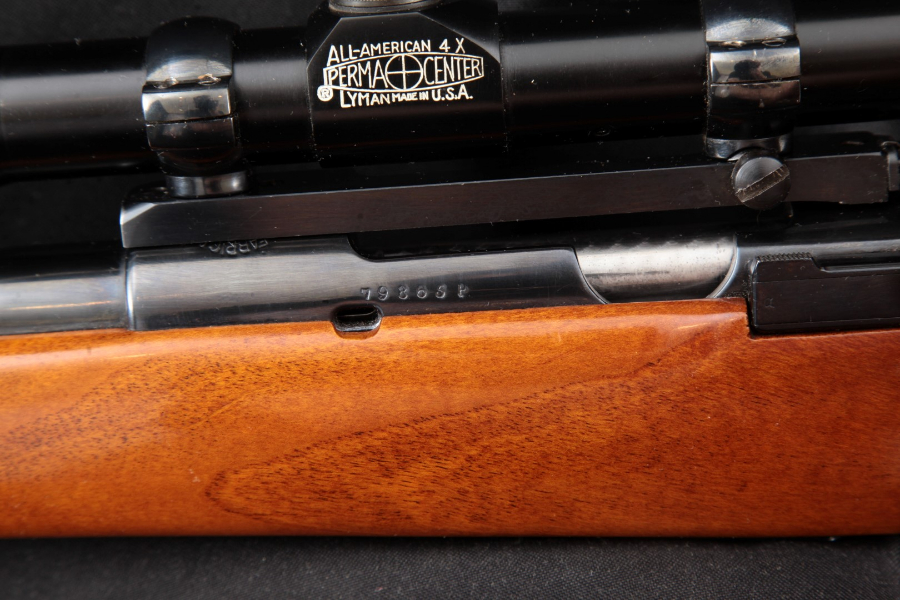
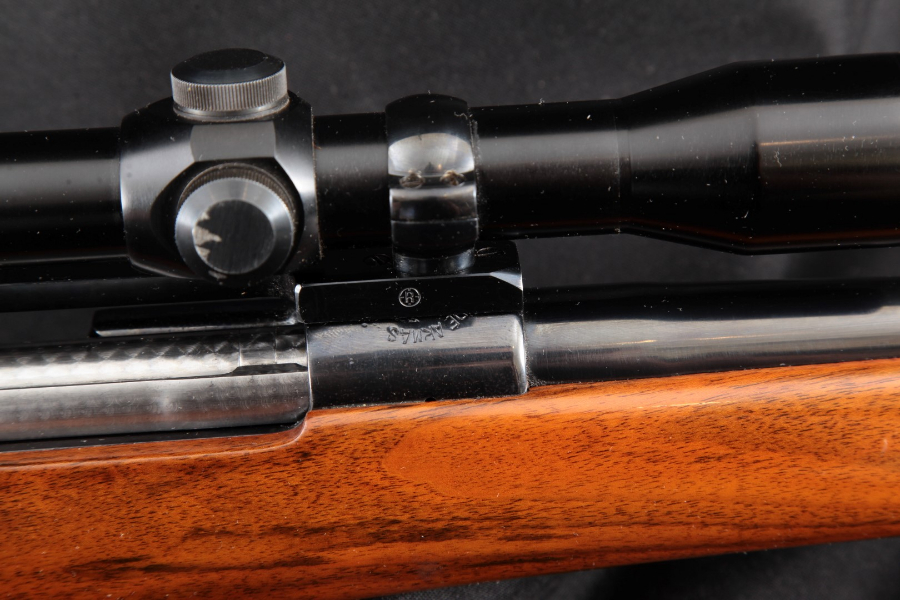
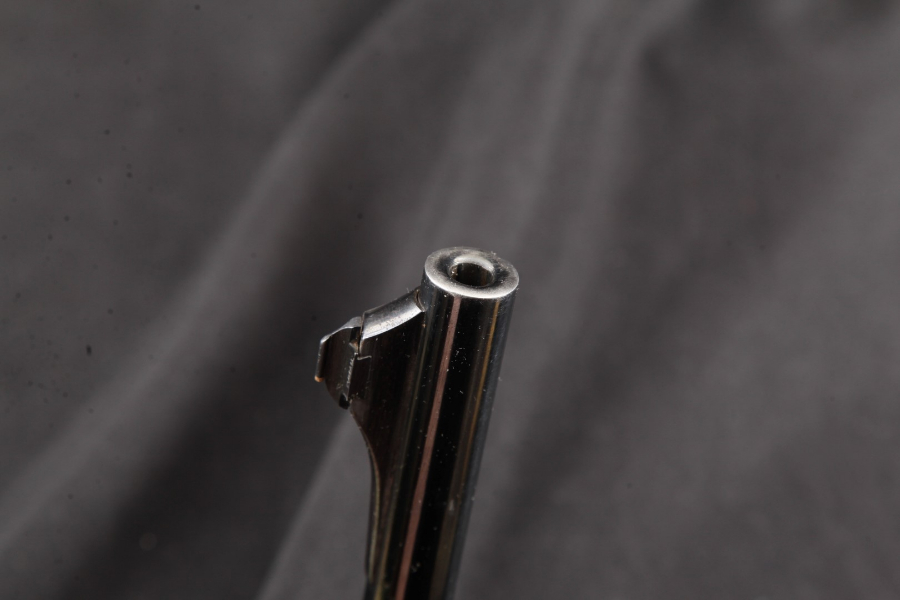
One hell of a Good looking Bolt Action Rifle in my not so humble opinion!
Standards matter. It’s not really about whatever your particular preference may be, or even what weapon is better for this or that, it’s about what the group can acquire, standardize upon, proficiently employ, and keep running long-term. In the US that favors the AR-15 the strongest. There are no guerrilla forces I can think of off-hand that simply picked what they wanted, either- it boils down to what the external support supplies them with or is expropriated (but this, of course, is another discussion for another day). So while that may or may not be your concern, creating a standard for your group, adhering to it, training around it’s strengths and limitations, and having a plan to keep those weapons running is critical to your success.


| Smith & Wesson .38/44 | |
|---|---|

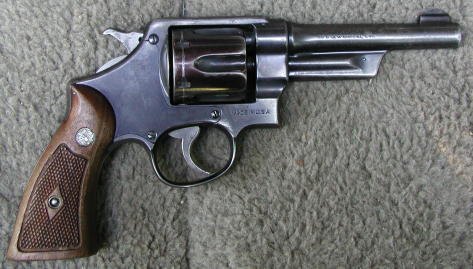
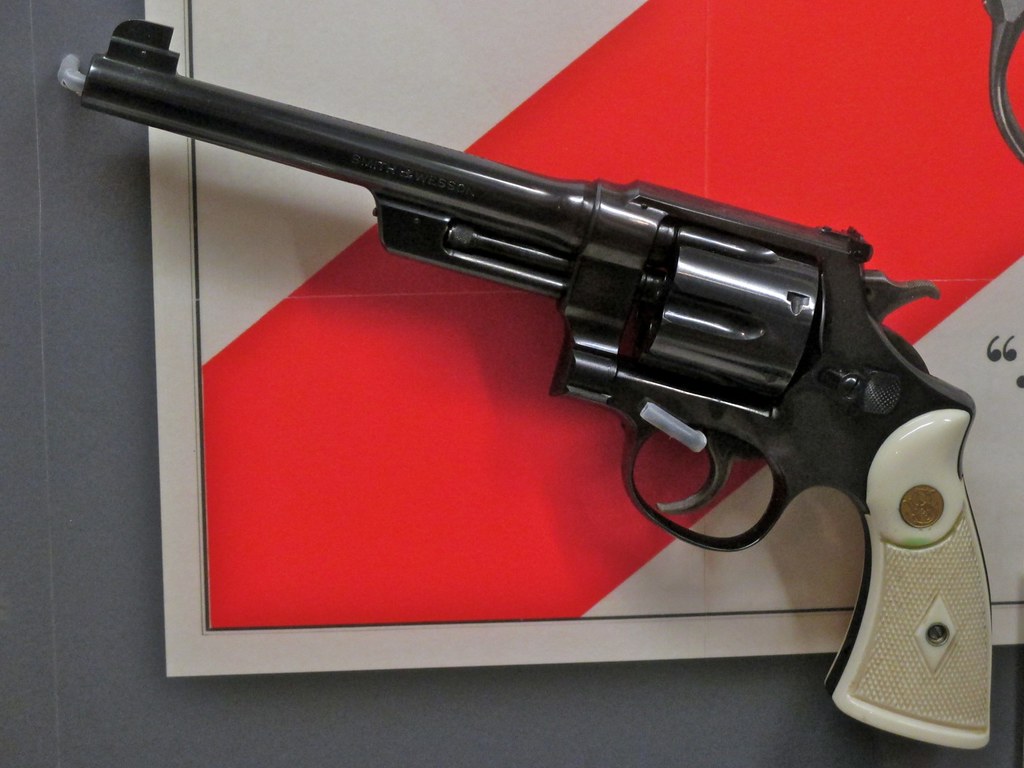
A post-war .38/44 Outdoorsman
|
|
| Type | Revolver |
| Place of origin | United States |
| Production history | |
| Manufacturer | Smith & Wesson |
| Produced | 1930–1966[1] |
| Variants | Heavy Duty Outdoorsman Model 20 Model 23 |
| Specifications | |
| Weight | 40 ounces (1.1 kg)[2] |
| Barrel length | |
|
|
|
| Cartridge | .38 Special[1] |
| Action | Double-action[1] |
| Feed system | Six-round cylinder[1] |
Smith & Wesson .38/44 identifies a series of Smith & Wesson N-frame revolvers chambered for the .38 Special cartridge loaded to higher pressures than were considered appropriate for earlier revolvers of that caliber. High-pressure .38/44 loadings represent a transition between conventional .38 Special ammunition and the .357 Magnum.
Revolvers were manufactured from 1930 to 1941, and after World War II until lower-priced .357 Magnum revolvers became widely available.
Inability of conventional police service revolver ammunition to reliably penetrate automobiles was perceived as a problem as United States law enforcement agencies encountered organized crime funded by Bootlegging in response to prohibition.[1]
In 1930, Smith & Wesson chambered their large framed .44 Special revolver for .38 Special with a 5-inch (13 cm) barrel and fixed sights intended for police use, the Smith & Wesson .38/44 Heavy Duty.[3][4]
The following year, Remington Arms produced high speed .38 Special loadings headstamped .38-44; and Smith & Wesson began production of the Smith & Wesson .38/44 Outdoorsman with a 6.5-inch (17 cm) barrel and adjustable sights in 1931.[1] Western Cartridge Companyintroduced .38 Special cartridges firing a 158-grain (10.2 g) metal-penetrating copper-tipped lead-alloy bullet at 1,125 feet (343 m) per second[5] in comparison to 755 feet (230 m) per second for conventional .38 Special ammunition.[1]
A 4-inch (10 cm) barrel was offered in 1935 for users willing to accept the reduced ballistic performance of a more compact firearm.[2]
The media attention gathered by the .38/44 and its ammunition encouraged Smith & Wesson to develop the longer .357 Magnum cartridge in 1935.
The .38/44 was an option for purchasers unwilling to pay the premium pricing of .357 Magnum revolvers. Revolvers were available with either blue or nickel finish.
Production was interrupted by the second world war. Postwar production serial numbers are prefixed with the letter S.[1]
After the war these N-frame revolvers were popular with veterans experimentally handloading the .38 Special at pressures up to fifty percent higher than the 15,000 pounds per square inch (1,000 atm) recommended for conventional revolvers.[6]
The Outdoorsman with adjustable sights became the Smith & Wesson Model 23 after 1957 and the fixed sight Heavy Duty version was marketed as the Smith & Wesson Model 20.[1]
Written by: Priscilla Cash Guns & Ammo 13 Comments  Print This Article

Image source: smithandedwards.com
When it comes to rifles, whether we use them for hunting, taking care of predators, target shooting, or home defense, we want to keep them in top-working condition.
While most hunting style rifles don’t require a significant amount of cleaning, they do get dirty and need an occasional cleaning from time to time. Taking a few moments with the proper cleaning agents and tools can get your rifle ready for storage or for the next time you need to chamber a round.
When you first get your rifle out to clean it, check and recheck that it is unloaded. Work in a safe place and keep the muzzle pointed in a safe direction at all times. Too many supposed “unloaded” guns have killed people.
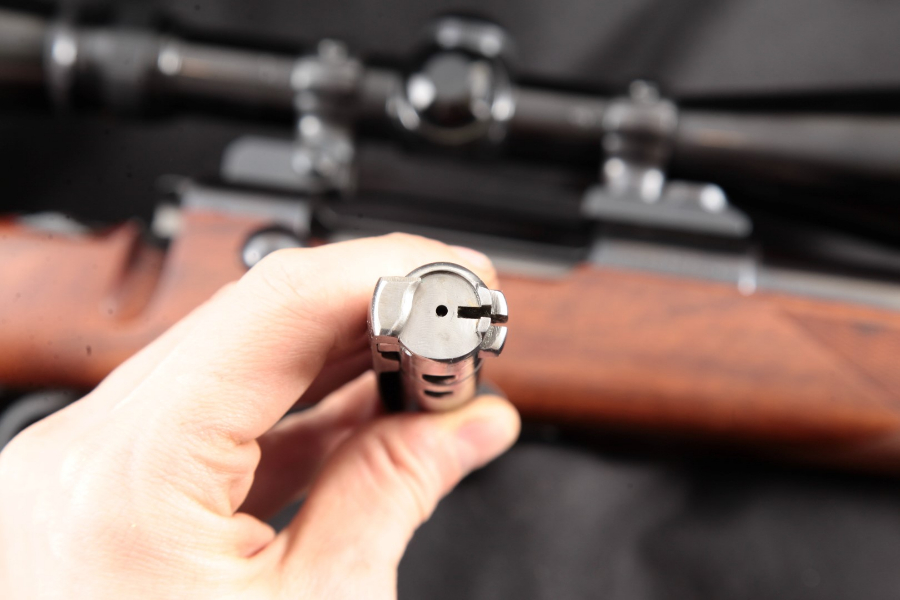
Lay your rifle down on a bench or table and open the action. Remove the bolt if your rifle is a bolt action and set it aside. Disassemble your rifle as much as you feel comfortable with. Most hunting-style rifles perform admirably with minimal cleaning and do not need to be completely dissembled. Semi-automatic rifles (except for the AR15) can be complicated to disassemble and should be left together unless they are failing to perform or you are advanced enough in your gunsmithing skills to attempt some fine-tuning (beyond the scope of this article).
1. Assemble Cleaning Supplies
Cleaning Rod or Snake
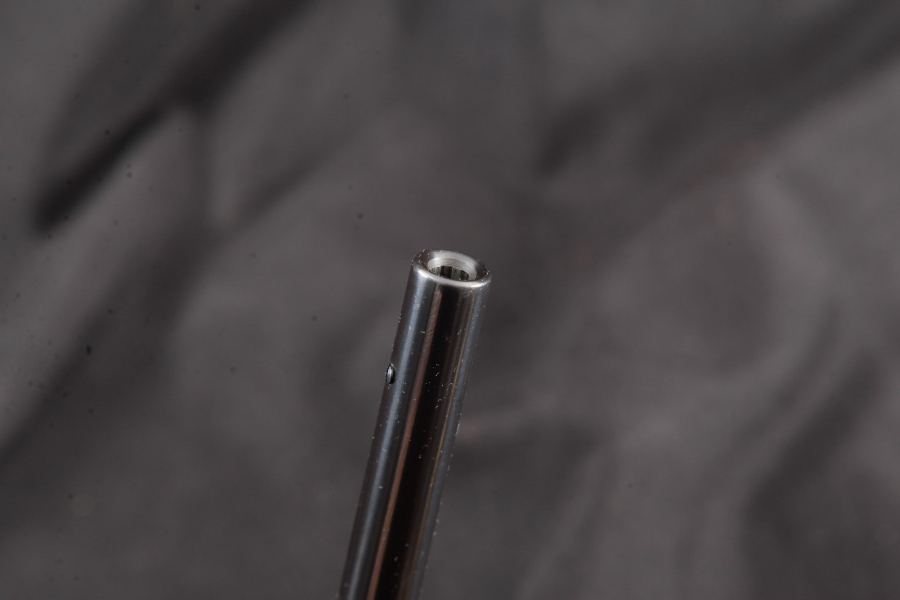
To clean the barrel you’ll want to use a single piece cleaning rod. The screw-together sectional cleaning rods are generally cheaper, but they can damage your bore and should be avoided. Usually the single piece rods are polymer coated, which is softer than the steel of your rifle bore, and won’t scratch it. I recommend purchasing a cleaning rod guide also to ensure you enter your gun’s chamber straight on. If your rod didn’t come with a bore brush, purchase one for your rifle’s caliber out of bronze or nylon.
Keep Your Handgun Locked and Loaded, Ready For Instant Use – Without Fear Of An Accident!
Bore snakes are an excellent option, as well. These soft cords are usually made from washable materials. They can’t damage your bore and for general, quick cleaning, they’re priceless! They also come with a built-in brush, or an additional pull-through brush.
Cleaning Patches
If you’re using a cleaning rod, you’ll also need cleaning patches. These can be made out of any absorbent cloth material (i.e. not paper towels). A cheap option is to cut patches from old T-shirts, but any number of different fabrics will work nicely. You can also purchase patches from sporting goods stores or from online retailers. They may come in larger sizes and need to be trimmed to fit smoothly down the barrel. You also want to grab a clean rag and a few cotton swabs for wiping grime and dust from your rifle’s chamber and action.
Solvent
Lastly you’ll need a solvent, something to cut away at the fouling inside your bore. A favorite solvent is Hoppe’s #9. Another excellent option is Sweet’s 7.62 Bore Cleaning Solvent. Both of these are available at sporting goods stores or online from numerous retailers.
2. Clean the Rifle Bore
First, you’ll clean the barrel. Colin Cash (marksman, military surplus rifle collector, and gun aficionado) shares, “The first and last inch of the barrel are the most important to avoid damaging. If damaged at all, accuracy will suffer.” Keep that in mind as you approach your rifle. While there’s nothing tricky about cleaning a rifle, they do need to be handled with some care.
If at all possible, you want to clean your rifle’s bore in the direction that the bullet travels. Some rifles don’t allow for straight access, but for those that do, this is the best option. If you have a lever action, a pump action or some semi-automatic rifles that don’t allow for straight rear entry, you’ll clean from the direction of the muzzle to the chamber. Or you can choose to use a bore snake. Whichever option you choose, soak a patch or a portion of your bore snake with cleaning solvent and run it down through the bore. If you encounter substantial resistance with your rod and patch, remove the rod and trim the patch before running it again. Allow the rifle to rest for five to 10 minutes to give the solvent time to dissolve the fouling.
Next run a bore brush through the bore to loosen any grime. If you can, once the brush pops out the other end, unscrew it and pull the cleaning rod back out. Be gentle during this step. The solvent should have done most of the work for you. Don’t “scrub” away at the bore as this can damage the lands and grooves of the bore. Run the brush through and then move onto the next step.
Push another patch wet with solvent through the bore and let your rifle rest for a few more minutes. One to three minutes is plenty. Next grab a dry patch and run it through the barrel. This one should pick up plenty of carbon residue (depending on how dirty the rifle is and how long it’s been since it was last cleaned). Continue to run dry patches through until they come out completely clean and dry. If you continue to see dirty patches, you can repeat the above process again with more solvent.
3. Clean the Chamber and Action
While there is not much work to be done on the chamber and action, wiping these areas down with a clean rag is a good idea. You can also use a cotton swab to gently pick up any dust and grime in difficult-to-reach places. Be careful that the cotton swab doesn’t leave any cotton wisps behind though as this can cause malfunctions and attract dirt. There are chamber brushes and mops that you can purchase to clean out your chamber, as well. While not absolutely necessary, they do come in handy. Dental picks can be especially useful as well for more fine-tuned cleaning. Add these to your gun-cleaning kit as you’re able.
4. Clean the Stock and Barrel
When you are finished cleaning your rifle and readying it for storage, take a clean rag and wipe down the rifle barrel with a very light coat of gun oil. This helps remove any water or fingerprint residue that may have gotten on your rifle during the cleaning process. Remington Gun Oil works well, but any kind of gun oil should do the trick. Stocks don’t generally need cleaning if they have a waterproof finish (all synthetics, and sealed wooden stocks). You can wipe them down with a clean rag and brush off any dirt that may have accumulated. Before you store your rifle, wipe off any excess gun oil from the barrel. Close the action and safely drop the firing pin to release any tension in the rifle before storage.
5. Store in a Dry and Safe Place
Perhaps even more important than proper gun gleaning is the safe and dry storage of your rifle. Rust can be an ever-present enemy to rifles, and proper storage is essential to keeping it at bay. Choose a gun safe that fits your rifle collection. It is also a good idea to place some sort of dehydrator within your safe and check it periodically.
You can make your own dehydrator by collecting silica gel packets (like the ones you find in shoes). Cut them open and dump the beads into a tin or aluminum can. To reactivate the beads, simply put them in a 250 degree Fahrenheit oven for three hours. After that, place the open can in your gun safe. Depending on your environment and the size of your safe, you can hope to get anywhere from two weeks to a month or more of protection before needing to remove the moisture from the beads again in the oven.
Keeping a rifle in tip-top working condition is not difficult. A thorough cleaning every once in a while should be more than enough to deal with moisture-attracting carbon buildup and keep rust at bay. Using the proper tools and supplies will ensure that you don’t damage your rifle and should make cleaning a quick and simple process. Storing your rifle in a dry and locked area ensures that your rifle will be ready for use for years to come.
Sign up for Off The Grid News’ weekly email and stay informed about the issues important to you
