
There are never any war movies about truck drivers. The movies are always about the door kickers, the submariners, or the fighter pilots. However, wars are generally not technically won by such as these. It was the Red Ball Express with its endless lines of 2 and ½-ton trucks that did more to win the Second World War for the Allies than most anything else.
 Artificial harbors constructed on the Normandy assault beaches at great expense and effort helped sustain the Allied drive until more permanent solutions could be found.
With the Normandy invasion beaches firmly in Allied hands American and Commonwealth forces fanned out across Western Europe seizing terrain, villages, and populations from the occupying Germans as they went. However, in short order, it became obvious that the logistical demands of these rampaging armies could not be met by the Mulberry ports in Normandy. The answer, among other things, was the Belgian port of Antwerp.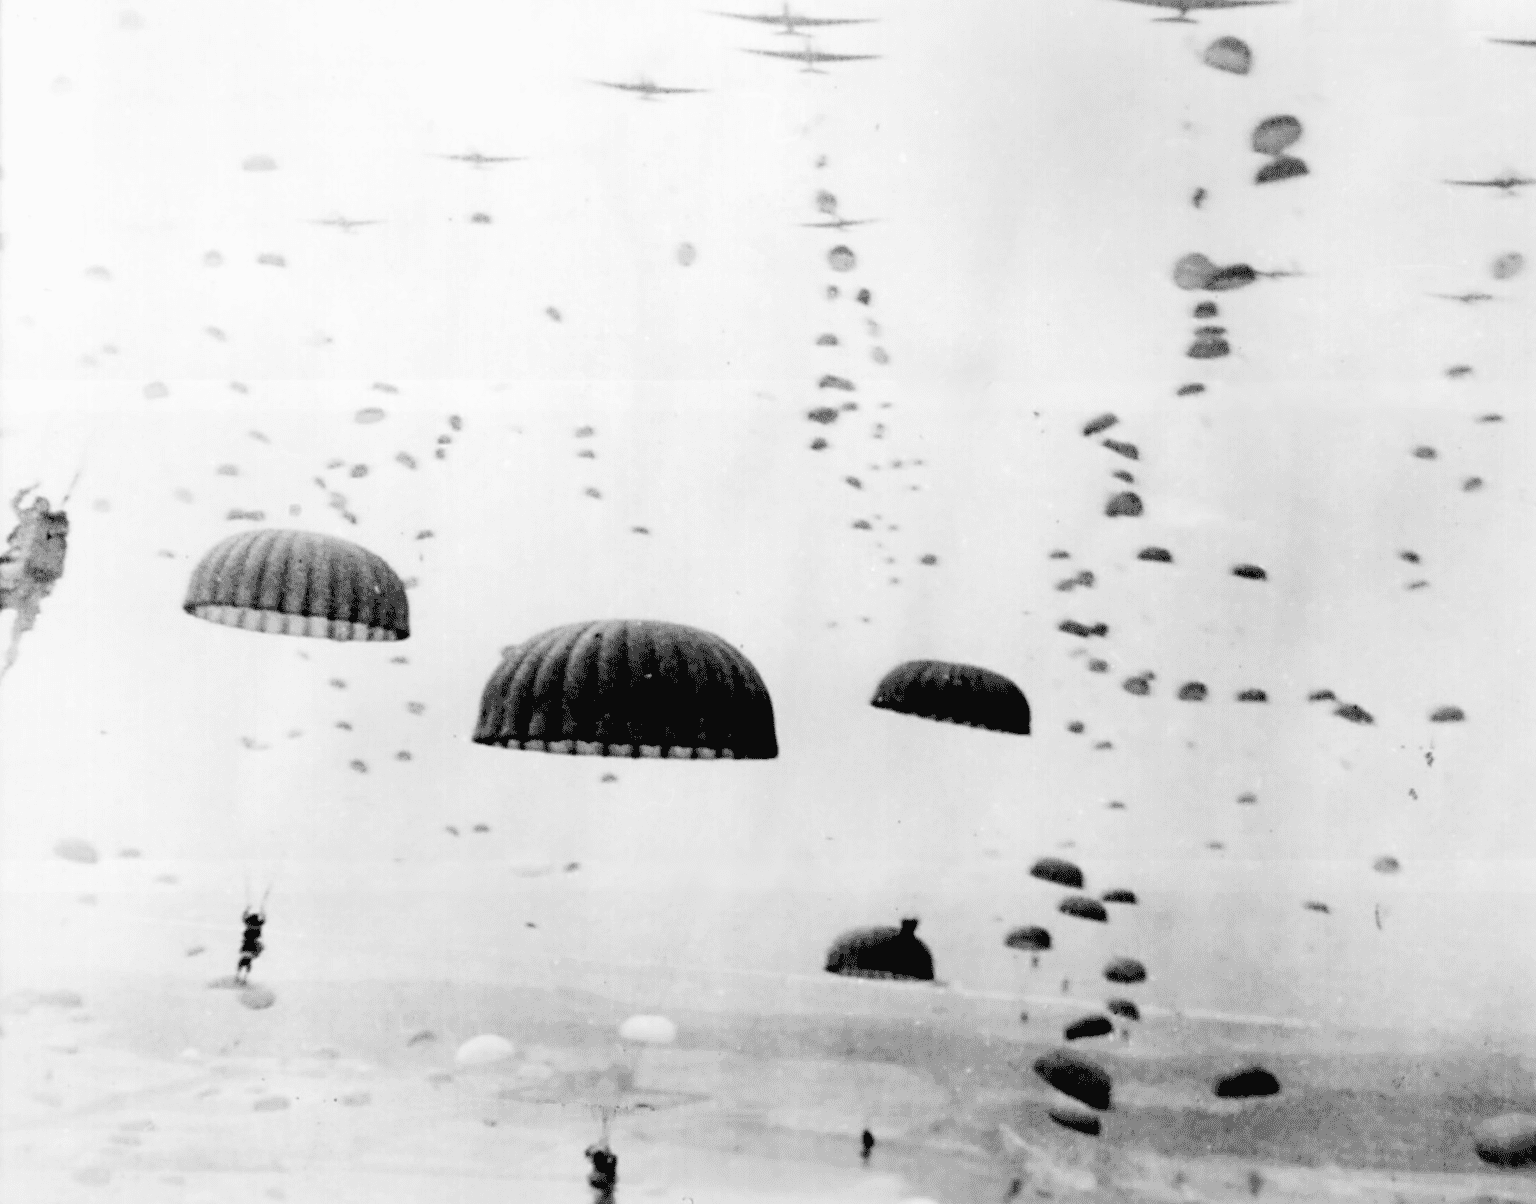
The city of Antwerp itself fell to the British 2d Army roughly one month after D-Day. By mid-September, however, the British 21st Army Group was consumed with Operation Market Garden, the ill-fated airborne brainchild of Field Marshal Montgomery. As a result, while British forces held Antwerp, they still did not have control of the seaside approaches, particularly Walcheren Island. This modest island overlooked the Scheldt Estuary and was heavily garrisoned by the German 15th Army. With the Germans entrenched on Walcheren Island and covering the approaches to Antwerp the Allies were unable to use the port to unload supplies for the advancing combat forces. The result was the Battle of the Scheldt.
The Captain of Chaos


The assault to seize Walcheren Island distilled down to a series of complex interrelated operations. RAF Bomber Command, in a profoundly controversial decision, bombed the dikes at Westkapelle, Flushing, and Veere, flooding the island. This move barely inconvenienced the defending Germans who held the high ground but was utterly catastrophic for the civilians who lived there.
At 0545 hours on November 1, 1944, elements of No 4 Commando churned ashore. They landed in the scant light of dawn just east of the Oranjemolen, a prominent windmill on the sea dike at a spot called Flushing. The main force of this combined French and English unit landed around 0630. At that point things got real.
 By 1944 LTC Robert Dawson was a seasoned and respected Commando officer.
The commander of No 4 Commando was one LTC Robert W.P. Dawson. LTC Dawson, like so many other combat commanders, was faced with the unfettered chaos of pitiless close quarters combat. The Commandos had the resources and they had a plan. However, the Germans had other ideas.
Dawson’s small reconnaissance element landed via a pair of LCP (Landing Craft Personnel) boats. The American version of this versatile craft was the legendary Higgins boat. These shallow-draft workhorses featured bow ramps that could drop to disgorge troops on a hostile beach. The experience of riding a Higgins boat into battle against an entrenched enemy would have been unimaginably horrible, but they were tried and proven.
By the time the main body landed at 0630, the Germans were fully activated, raking the landing areas with fire from small arms as well as a fast-firing 20mm antiaircraft cannon. The No 4 Commando LCA (Landing Craft Assault) boats carrying their heavy weapons foundered on stakes placed in the surf and sank some 20 yards from the beach. The Commandos nonetheless salvaged their three-inch mortars and used them to good effect as they rolled up the German defenses.
The Commandos reduced each German strongpoint sequentially. Early in the morning the battle seemed about evenly matched. However, with the arrival of the lead battalion of the British 155thInfantry Brigade, the tide began to turn. As the Commandos seized German prisoners they were sent to the beaches to help unload supplies. Once the Commandos cleared these emplacements they found them to be well-supplied with food and ammunition. However, the German troops were second-rate, many of them suffering from medical maladies after being so long away from proper support.
Throughout it all, LTC Dawson deftly led his men from the front. Dawson peeled off rearguard elements as needed to secure the German defensive positions against subsequent infiltration. By 1600 that day No 4 Commando’s primary objectives had been seized.
The Man

LTC Robert William Palliser Dawson spent the entire war with No 4 Commando. He joined the unit in 1940 as one of its first subalterns. In August of 1942, Captain Dawson commanded C Troop during the ill-fated raid on Dieppe.
By 1943, Dawson was promoted to Major and was serving as XO of No 4 Commando. In April of that year, Lord Lovat relinquished command of the unit to Dawson, and they began training in earnest for D-Day. On June 6, 1944, Dawson found himself at Ouistreham as part of Operation Overlord.
Dawson was wounded twice during this assault but refused medical evacuation. Despite his injuries, he continued to lead his men in combat. The citation for his subsequent decoration states, “It was due to his leadership and direction that the attack was successfully pressed home.”

When LTC Dawson landed at Flushing as part of Operation Infatuate, he carried a unique prototype weapon. After the miraculous evacuation at Dunkirk, the British found themselves with an Army but few firearms. The inexpensive Sten submachine gun helped carry them through the dark days as they desperately rebuilt their military into a viable fighting force. By 1944, however, British industry had crafted an improved replacement.
The Sterling Patchett
Using the Sten as a starting point, the British General Staff issued the specifications for its replacement in early 1944. The new gun should weigh no more than six pounds and fire 9mm Para ammunition. The rate of fire should be less than 500 rpm, and the gun should be adequately accurate to place five consecutive semiautomatic shots within a one-foot-square block at 100 yards.
George William Patchett was the chief designer at the Sterling Armaments Company, and he had his first operational prototype ready for testing in early 1944. Officially known as the Patchett Machine Carbine Mk 1, the Patchett gun fired from the open bolt and fed from the left in the manner of the Sten. Unlike the Sten, however, the Patchett gun had the feed mechanism located over the pistol grip for improved balance.
The Patchett incorporated some novel design features. The bolt featured helical cuts to move debris and fouling clear of the action as it cycled. The underfolding stock, though complicated, collapsed to about nothing yet offered a steady platform for accurate fire when extended. Most importantly, however, the Patchett did away with the Sten’s ghastly double column, single-feed magazine.
The curved double column, double-feed magazine of the Patchett gun featured a novel follower made of roller bearings and was likely the best submachine gun magazine ever devised. These boxes carried 34 rounds and were easy to orient in the dark. As magazine supply could have been an iffy thing in the latter parts of WW2, the Patchett was designed to accept either Sten or Patchett mags seamlessly.
The British were impressed with the Patchett and ordered 120 copies for combat trials. A few of these weapons saw limited service with the Paras at Arnhem during Operation Market Garden. LTC Dawson carried one of these first 120 guns during Operation Infatuate. The weapon he wielded during this critical operation, serial number 78, is currently on display with the Imperial War Museum.
The exigencies of total war hampered the adoption of the Patchett gun, and it was not until 1951 that the decision was made to replace the Sten. The Patchett was rechristened the L2A1 Sterling and issued throughout the British military. The Sterling soldiered on until 1994 when it was replaced by the L85A1 assault rifle. The Sterling saw some of its most widespread exposure as the basis for the BlasTech E-11 Blasters wielded by the Imperial Stormtroopers during the timeless sci-fi epic Star Wars.
The Rest of the Story
Several other Commando units landed around Westkapelle as part of Operation Infatuate, seizing intermediate objectives and reducing enemy strongpoints. One of these, 47 Commando under the command of LTC C.F. Phillips, eventually fought their way around the periphery of the island to link up with Dawson and his Commandos in their consolidated positions.

With the support of HMS Warspite, Roberts, and Erebus as well as rocket-firing landing craft and a squadron of Typhoon fighter-bombers the Commandos were ultimately successful. Along the way, they captured some 40,000 Germans. After extensive minesweeping operations to clear the estuary the first Allied cargo vessels unloaded in November of 1944. This efficient port along with its associated transportation arteries served as a critical source of supply for the bloody fighting that was to come.

LTC Dawson was President of the Commando Association after the war and was described as, “Charming, kind, and understanding” by those with whom he served. Dawson was honored as a Commander of the Order of the British Empire (CBE) and was awarded the Distinguished Service Order (DSO). He died in 1988 at the age of 74, a hero from a generation of heroes, and one of the first men to carry the Sterling submachine gun in combat.