Editor’s note: This is a guest post from Josh Cantrell and Kevin King.
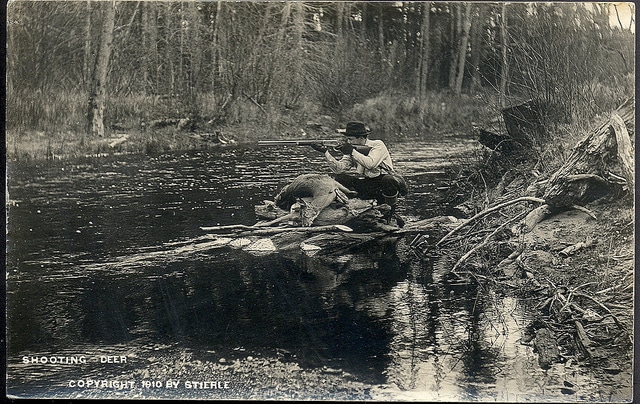
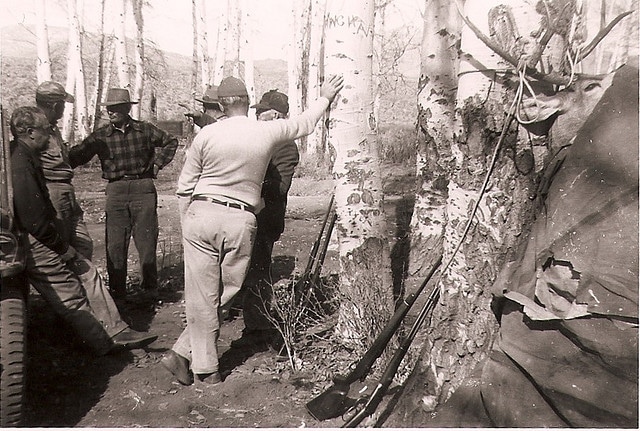
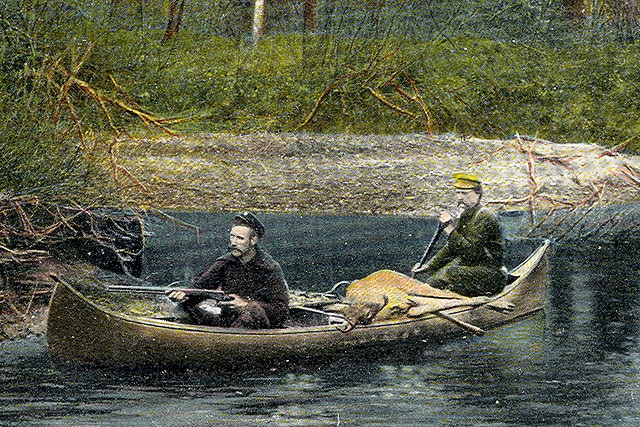
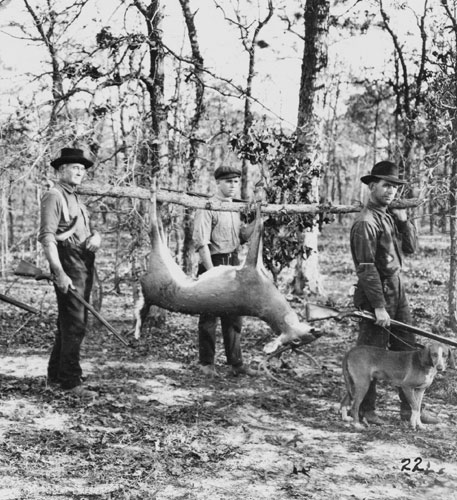
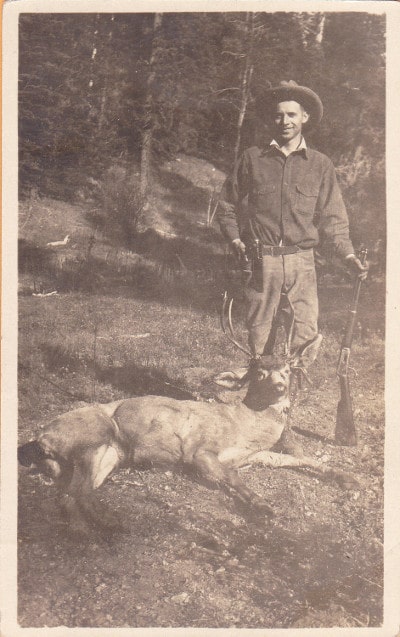
The hunting of various species of wild deer has been a national passion and tradition for countless generations. Many Native American stories and accounts are riddled with the hunting and harvesting of whitetails. The Pilgrims of Plymouth Plantation, in addition to numerous waterfowl and turkeys, harvested deer or “venison,” as was documented by William Bradford in his journals. Many early explorers of the West found whitetail and mule deer to be a bountiful, necessary food source for themselves and their families. Unfortunately, the 20th century saw a sharp decline in the harvesting of deer due to overhunting and a decreasing population of whitetail throughout the United States. However, due to the diligent efforts of state conservation departments and responsible hunters, many states now boast close to 200,000 or more harvested deer each year. In fact, in many states deer are overpopulated and are threatening forest growth and farms and may also increase the risk of lyme disease in humans in areas where their numbers are particularly high. Responsible hunters play an important role in managing deer populations so the herds don’t stress ecosystems.
Your may have found yourself considering deer hunting at one time or another but never really knew where to start. The advantages of deer hunting are numerous:
With this primer on deer hunting, and some practice and mentoring from experienced hunters, you should be able to take to the woods with confidence in pursuit of your first in a long and happy series of deer.
Choose Your Weapon
The first place to start with deer hunting is to decide your method. Do you want to be a rifle hunter or do you want to be an alternative methods hunter (bow, atlatl, pistol, etc.)? Many of us began as rifle hunters because it is the most accessible place to start. Since this is a beginner’s primer on deer hunting, we would recommend starting with a rifle and then branching out as your interests dictate.
When choosing a deer rifle, one must take budget and fit into account. When I recently spoke to Ken Jorgensen at Ruger Firearms he recommended that a hunter finds a rifle that:
- Completes the task effectively (in this case, kill a deer quickly)
- Fits the shooter
- Can be shot well
It is worth your time and efforts to go to a gun store and “try out” potential rifles. Pick up the guns, shoulder them, manipulate the actions, sight-in an object on the floor or ceiling, and just see how you like them. A few models of guns to look into as a budget-friendly starting point are:
- Winchester Model 70
- Savage Trophy Hunter XP
- Weatherby Vanguard
- Remington Model 700
- Ruger American Rifle
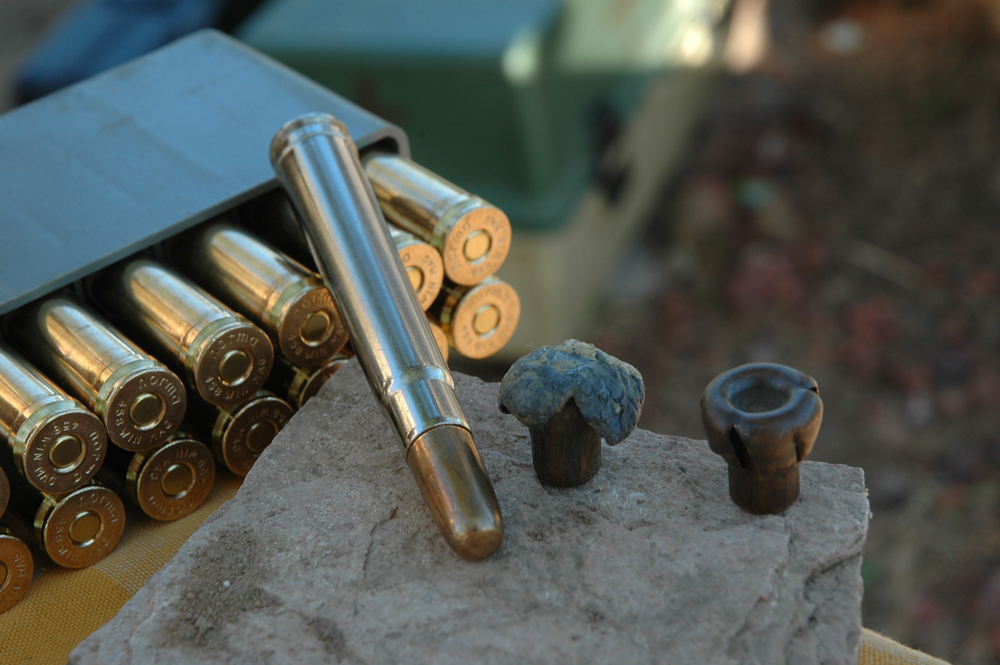
To complete the task effectively in deer hunting requires a cartridge with a little punch. However, if you are unfamiliar with gun calibers, choosing the best caliber for yourself is like choosing some random battery off the shelf and hoping that it will work in your TV remote. You need the proper amount of power combined with your ability to manage recoil. A few common calibers for deer hunting are as follows:
- .270 Winchester
- .308 Winchester
- .30-30 Winchester
- .30-06 Springfield
- 7mm Remington Magnum
All of these calibers are favorites amongst deer hunters and outdoorsmen. If you can, try to shoot these calibers before you buy one to see which you like; each cartridge almost seems to have its own personality. If you cannot shoot before committing to a rifle, read and watch as many reviews as possible to educate yourself on their uses. If you choose an adequate caliber and the gun fits you well, you have won 2/3 of the battle. All you have to do now is practice.
A great place to start when practicing is to shoot from a bench towards a stationary target, placed at 25 yards. You want to work on placing groups on the target that are all striking near the same position. Then, as you get more familiar with the gun, move your target out to 100 yards and work on the same thing. A 100-yard shot is a good place to begin as a first-time hunter. As you get more familiar with the gun, you will be able to work out to farther shot placements. However, for your first, 100 yards is a respectable distance.
Hunter’s Safety Course
Once you have acquired the gun and skills required to hunt efficiently, there is one final step of the process: becoming certified and licensed by your state conservation department. Regulations on becoming licensed vary from state to state. Most states require anyone who wishes to legally hunt with a firearm to take a hunter’s safety course. The requirements of the course, including the age at which one must be licensed, varies from state to state. The best source for this information would be your state conservation department website or a nearby conservation office.
Most hunter safety courses include a 4-hour course and a written exam. You can study for the exam online or with an instruction booklet provided by your conservation department. Then, once you have prepared for the class, simply register for your 4-hour certification course online or in person. Most of these classes are free of charge. Once you have passed your test and received certification, you are now able to purchase your permits for your hunt.
If you are not sure yet if deer hunting is for you, you might look into a short-term alternative to acquire your hunter permits. In many states, there are hunter apprentice programs that allow you to take to the field alongside another certified hunter that has completed their hunter’s safety course. This allows you to buy permits and hunt in this manner for a brief time before you take a hunter’s safety course for yourself. That way, you can decide if it is a good fit for you.
Before taking to the field, it is important to read your state’s hunting regulations thoroughly each and every year that you hunt. These regulations, due to management needs, can change annually.
Dressing for the Field
The next step is to outfit yourself with hunting gear. This is where a hunter can really lose themselves in the influx of scents, camos, and various other products that supposedly offer unlimited success. Here are the bare-bones necessities when you head into the woods on your hunt:
- Your gun
- Blaze orange hat and vest (wear this 100% of the time – it can save your life)
- A box of ammunition (unless you shoot and miss a lot, this should suffice)
- A good, sharp knife (for field dressing your deer)
- Tall rubber gloves (for field dressing your deer)
- A flashlight (for tracking your deer)
- Warm gloves, hat, and jacket (for those cold November hunts)
- Your permits (the most essential item)
- A ziplock bag, zip tie, and a pen (depending on your state laws for tagging your game)
Finding a Place to Hunt
Once you have procured all of your essentials and are now a proficient marksman, the next step is finding a place to hunt. If you are a landowner with enough land to hunt, you are in luck. If not, you need to either find some public hunting land in your area or become friends with some of your local farmers and landowners. Never hunt somewhere that you have not obtained permission to hunt. Build a good relationship with those kind enough to let you hunt and, if you are blessed with a harvest, share a portion of it with your host.
When you find land, either choose a location in a wooded area that allows for deer and other animals to pass by, or choose to hunt the edge of an open field. This is where pre-season scouting becomes very important. When hunting for the first time, we recommend hunting from ground level, but if you prefer a stand, make sure you choose one that is stable and easy to climb into with a rifle and your gear. These types of stands are called tripod stands and can be found at your local outdoor stores. These stands increase the cost of your hunt dramatically, so decide whether a stand is necessary before making the investment. The advantage to hunting out of a stand is that you are not eye level with the deer so it is harder for them to see you.
You want to make sure that your stand or ground location is along a path that deer travel frequently. Another thing that you should consider when picking your stand or hunting spot is your comfort level. If you are not able to consistently make long shots, an open field is not the place for you. You should try setting up in some hardwoods where the only shot that you can take is a close one. Make sure you arrive to your hunting location before sunrise or a few hours before sunset, so as to minimize your presence. Then, patiently wait for your game to arrive.
One way to increase the odds in your favor is to put out a salt lick, a food plot, or other attractants near your hunting spot before the season opens. These attract deer, as well as other wildlife, and make your hunting location part of their regular routine. One thing to consider when doing this, however, is the potential requirement to discontinue your attractants before the season (normally 10 days prior). Otherwise, you may be dealing with a baiting violation and a huge fine. If you take this step, be aware of all of the responsibilities involved and take the necessary precautions to ensure an ethical, legal hunt. Every state is different, so check your state’s laws about food plots and baiting. When trying to decide what would work best for you, think through your hunting situation and commitment level. It takes time, land, and discipline to plant and maintain a plot. Make sure that you are ready to make that commitment of both time and resources.
Taking the Shot
When taking a shot, you always need to wait for a deer to stand broadside, which means that they are standing perpendicular to your rifle barrel. When you can see from nose to tail, bring your sights onto the deer just behind the front shoulder, as you want to hit the lungs and/or heart. Quietly take the gun off safety, take a big breath and let it out, and evenly squeeze the trigger until the gun fires. Immediately, rack the bolt and chamber a live shell.
If you have hit your mark, watch where the deer takes off. Wait anywhere between 15 and 30 minutes before tracking and pursuing. This will give the deer plenty of time to lie down and expire. If you try to chase the deer as soon as it is shot, you are going to place unneeded stress on the animal. This will also cause more adrenaline to be produced by the deer, which will make it travel farther. The additional surge of hormones and chemicals can potentially result in your venison developing a strong “gamey” or undesirable flavor. If the deer has crossed a property line, make sure that you have permission to be on that property before pursuing. It is still considered trespassing if you are chasing a wounded animal. Make sure you know who owns all of the land around you and how to get in touch with them. It’s your responsibility to make every effort to recover any deer you shoot.
Following the Trail
To track your deer, go to the location where you think your shot connected with the animal. When you reach that location, look for the tell-tale signs of a wounded animal: ground severely torn by hooves, tufts of hair, bone fragments, and most of all, blood. At this point, many hunters put down an object, such as a hat, next to the first hint of a trail. Do your best to look for a trail of any of these materials on the ground and follow it to find your deer. If the blood becomes more plentiful, you are on the right track. If, at any time, you lose the trail, go back to the last point where you had a clear trail and track it again. Taking a buddy or a group of other hunters to help track a difficult trail can be the difference between an animal harvested and an animal wasted. (You might also consider hunting with a canine companion.)
When you come upon your deer, do so with a loaded gun, ready to put your game down if it is not yet expired. Once you have determined that your animal is down, take a moment to pat yourself on the back and breathe a sigh of successful relief. After that, it’s time to get to work.
After the Shot
Before dressing your game, make sure you first tag your deer. Follow the methods of tagging your game that are required by your conservation department, to the letter. Some states have you attach the permit to an antler, others have you place it in a plastic bag around the leg, and others have you tag the animal via smartphone. Make sure you are familiar with and prepared for the tagging procedures before you are out in the field.
Methods for field dressing a whitetail are varied and everyone thinks that their way is the right way. Therefore, while there are a few “essentials” when dressing a deer, to get a more specific how-to, I recommend looking at videos online or reading the literature given out by state conservation organizations.
The standard way to field dress a whitetail begins with a long incision (blade facing up) between the pelvis and the sternum, making sure not to nick the internal organs. Remove exterior genitalia and discard before cutting in a circular motion around the anus. With a short length of string, tie off the lower intestines and bladder inside the body cavity before rolling the deer over on its side to empty the contents. Some cutting will be needed to free the organs from the back. Then, cut through the diaphragm (some people split the rib cage here, as well), remove the lungs, heart, and the windpipe as high as you can reach. Then, turn your deer over one more time to drain any remaining blood left in the cavity.
At this point, you can take your deer to a meat processor and they will work up the deer for a fee. However, if you want to work it up yourself, get the deer someplace where it can be hung upside down and drained out for a few hours before quartering and butchering it, much like you would a cow. If you are doing the self-butchering method, we also recommend getting a grinder, a group of people to help, and a lot of food-saver vacuum bags. Lastly, make sure you clear out a nice big spot in the freezer for all of the great meat you are going to enjoy for months to come.
Ethics in the Woods
When going out in the woods in search of deer it is important that you maintain a high ethical standard of behavior. One of the best ways to do this is to practice with your weapon of choice. The more confident you are with your weapon, the more humane you will be to the deer.
Treat all the land with respect. Anything you pack in, make sure you pack it out. Unfortunately, there are hunters out there that are not interested in cleaning up after themselves. If you come upon trash (shell casings, food wrappers, discarded scents, etc.), pack out that trash as well, even though it is not your own. The more we all work to take care of our natural resources, the longer it will be there to enjoy. Make sure that safety is always at the forefront of your thinking when hunting, even if you are hunting alone. Accidents can happen when you are by yourself, so always be overly cautious and ensure that safety rules are being followed.
Lastly, don’t allow yourself to get too caught up in the technical aspects of the hunt that you forget to enjoy the experience. Deer hunting is a fun, challenging, exciting, and character-building way for you to feed your family while maintaining a tradition that spans far beyond the history of this nation and its inhabitants.
___________________________
Josh Cantrell and Kevin King are avid outdoorsmen, fishermen, hunters, and teachers in southwest Missouri.