Ginny is a lovely, hardworking senior citizen who of late has found herself having to leave work, late at night, and return to her home in a part of town that has seen a big uptick in crime recently. She knows as well as the rest of us that, as a senior citizen, she’s part of a growing population that’s also facing a growing threat. Older folks are among the most vulnerable demographics for unlawful attacks and assault, unfortunately. So when Ginny took a realistic look at her situation, she decided to ask a friend from church if he could help her learn how to shoot. That person, as I’m sure you can guess, was me.
Let me say up front that I make no claims as a professional trainer in firearms. The very best way to learn is to seek out professional training. That said, I have introduced more than two dozen people to shooting during the last 40-plus years, including such diverse backgrounds as my mother—who once was vehemently anti-gun—to youngsters and fellas in my own age group. Once that interest is stimulated, the motivated student would be wise to seek professional training.
Ginny knew that I was a “gun guy” from having read some of my articles, but she also worried that maybe I wouldn’t want to help her. She knew that I’ve made no secret that I prefer large, heavy bullets—specifically the .44 Special and .45 ACP—as the preferred rounds for self-defense. “All I have is a .22,” she said. ““I’m not sure you would want to teach me.”
I was pleased to let her know that wasn’t the case at all. For starters, a .22 is a great place to begin for someone interested in learning self-defense shooting and gun handling. What’s more, the fact of the matter is simple: The best gun to have when a gunfight or violent confrontation breaks out is the one you have on you at the time of the incident. A pair of .22 LR bullets delivered to the proper place at the right time beats a slew of other rounds sprayed in the general vicinity of the bad guy.
When I first started working with Ginny, I did so with two base assumptions. First, that shooting should be fun, or at least enjoyable. Second, that I didn’t want to turn a shooting lesson or session into an endurance event. Let the student determine his or her limitations. A lesson that is fun and enjoyable whets the student’s appetite to learn more and makes it easier to teach them. And while I remain steadfast in my own preference for large, heavy bullets to defend one’s self, if such rounds are painful for the student to employ, they are far more likely to give it up. Just because a person cannot physically handle a major caliber doesn’t mean they have no right to be able to defend themselves to the best of their ability.
My senior student started slow, and that was by my design. Her first shots from her SIG Mosquito were at 3 yards at a regular bullseye. The purpose here is to gain familiarity with the gun and get grounded in the basics of sight alignment and trigger control. Not surprisingly, her groups were very good from the get-go. Getting good groups early on instills confidence and makes the student eager to go to the next level. That session lasted about an hour.
A couple of weeks later we had another lesson. I started her again at 3 yards—this time on a “Bad Guy” target from Birchwood Casey—to make sure she hadn’t forgot anything. She hadn’t. I moved the target back to 5 yards and started working on presentation from the low ready position. Too, I started her to shoot the target’s eyes as a point of aim. She progressed splendidly, and then I made a mistake.
An eager student and not afraid to try anything new, I started showing her and then letting her shoot some close-up drills—arm’s length, one-handed shots at the eyes and speed rocks to the groin. The session ran a bit more than an hour and a half. The next day she messaged me that her hands were cramping up and she was a bit sore. My bad. As we get older—and I know this first hand—we don’t have the endurance we had when we were younger. I was so eager to show her some of the stuff we would spend more time learning that I over-extended the session. Each shooting session should be long enough to get one or two points across and no more.
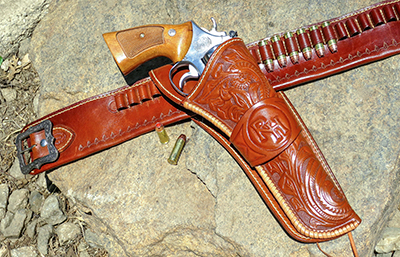
By her third lesson my student started learning drawing and presentation from the holster. A good friend of mine, Rob Leahy of Simply Rugged Holsters out of Prescott, Arizona, provided her with one of his Cattleman holsters and a magazine pouch. Like anyone new to shooting, my student started slow and developed speed as her familiarity with the pistol and holster became greater.
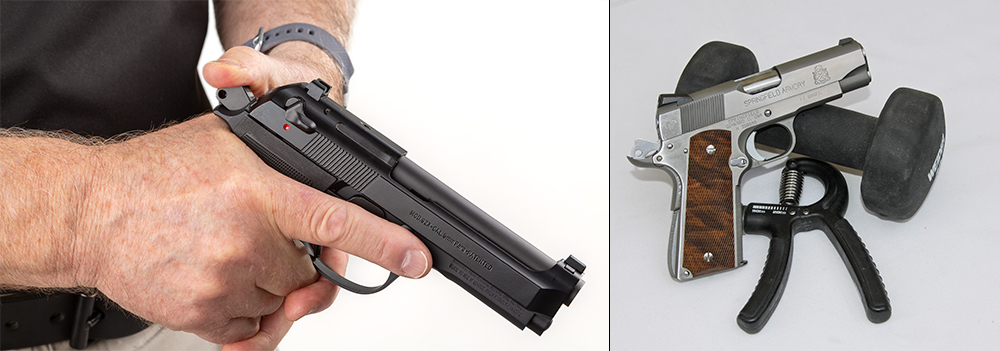
Eventually her comfort with the pistol and shooting increased to the point where she began to look at other, more powerful alternatives to her .22 LR Mosquito. She asked me about all the hoopla over a 1911 pistol—what was it; why do some like and others not, etc. I let her try my Kimber Custom Shop Rimfire—a 1911-style pistol chambered in .22 LR—and her reaction after the first shot was, “Oh, this is very nice!” She also tried out an S&W Model 60 I have with target wadcutters and found it pleasant to shoot as well. I believe that in the not-to-distant future there will be a centerfire in her holster. Too, I pity anyone stupid enough to attack this quiet grandmotherly lady. She may not be a candidate for a law enforcement SWAT team, but anyone who messes with her is likely to find himself in a world of hurt.
The secret to successfully starting anyone to shooting is to make it an enjoyable experience. Start them slowly, and only progress to a new skill level once the previous one is mastered. Keep in mind that seniors—like most very young shooters—may have strength issues that prevent them from operating some handguns. It may be too much for some of them to rack a centerfire pistol’s slide, or to pull through a double-action revolver’s trigger. Let them determine the level they can comfortably achieve success. Like I said, a pair of .22 LR hollowpoints with proper shot placement beats a magazine full of 9mm or .45-caliber bullets around the periphery.
10 Rules for Teaching New Senior Shooters
- Do not start with a powerful centerfire.
- Keep the shooting sessions short, no more than an hour.
- Keep the ranges short so that it is easier to shoot good groups.
- Be aware of and accommodate physical limitations.
- Take frequent breaks; sit down off the range and discuss tactics and scenarios.
- Make shooting fun.
- Do not get too wrapped up in tactical dogma.
- Give the shooter an opportunity to find the best way to solve a problem.
- Celebrate successes; do not come down hard on corrections.
- Let the shooter progress at their own rate; don’t try to force them too quickly.