Categories
.jpg)


From my limited experience with this caliber.
(Note – I BRIEFLY had a Ruger # 1 in 338 Win Mag)
Is that this monster round falls squarely into the “I ain’t fucking around Asshole!!” category. So don’t say that I did not warn you about this hard hitting on both ends round! Grumpy
The phone rang and I answered with trepidation. You know the feeling. Something just doesn’t sound right with the ring, and you know it’s either bad news or someone you don’t particularly want to hear from. In this case, it was the latter. As soon as I heard the bumbling, “Hey, Skeet, ol’ buddy,” I knew exactly who it was.
You guys may recall Jug Johnson. Jug aspired to be a gun writer but struck it rich with mineral rights on a sliver of land he bought, complete with a run down, tar paper shack cabin.
Seems this sliver of land accessed a huge natural gas field, a super-giant of a reserve, which resulted in monthly royalty checks exceeding $200,000. Talk about dumb luck. And more proof that dimwits can get lucky while the rest of us continue working daily just to get by.
With the money, Jug bought a huge, articulated RV that was bigger than a Greyhound bus and leased 50,000 acres of prime hunting ground.
“Wanna’ go huntin’, Skeet?” he said. “Season opens in a coupla’ days?”
I had to admit, the offer, along with the opportunity of busting a deer with my 7.5” Ruger flattop was tempting.
“We can take the RV and set up camp with it. I’ll pick you up at your place in Horsethief, if you want?” he said.
Door-to-door service to one of the top mule deer spots in the state was enticing. I guess I could put up with Jug’s stupid questions and remarks for a few days.

Jug’s RV was a little on the large size to say the least.
At quarter to five, I was dreaming of Pancho Villa and his crew of henchmen charging me in Columbus, New Mexico. I dreamt I was stationed there and heard bugles, signaling the charge.
I was manning the Hotchkiss M1909 Benet-Mercie machine gun and had just pulled the bolt back. The dream seemed so real, I could still hear the bugles after I woke up; only they were playing “La Cucaracha” now.
Then, I heard the sound of air brakes hissing as they lost pressure. Peering through my bedroom shades, I saw the biggest RV ever made and Jug Johnson behind the wheel. He ordered the RV with an air horn that blasted “La Cucaracha” when hitting the horn.
Walking down the three steps of the RV, the dimwitted Jug grinned through his prominent overbite, adjusting his too small cowboy hat and hitching his britches as he headed for the house. I greeted him at the front door after turning on my preloaded coffee percolator.
“Grab yourself a cup of coffee while I clean up, Jug.”
After I brushed my teeth, washed my face and ran a comb through my thinning hair, I met Jug in the kitchen. He was holding an ice cube on his tongue, sputtering more unintelligibly than usual, “Thang, that cothees HOT!”
Shaking my head, I grabbed a cup, laughing to myself, thinking maybe he wouldn’t ask me so many questions during the three-hour drive with a scalded tongue. I could only hope.
As Jug drove, I napped. Before you knew it, we were pulling up to the lease. While Jug leveled the RV and set up camp, I gathered firewood for the pit, along with water from the stream. We cooked beef steak, cut into cubes and strung on whittled sticks, while sipping some good sour mash whiskey. We turned in early, knowing we’d be up well before the sun.

Skeeter’s 7.5” flattop with shed antler.
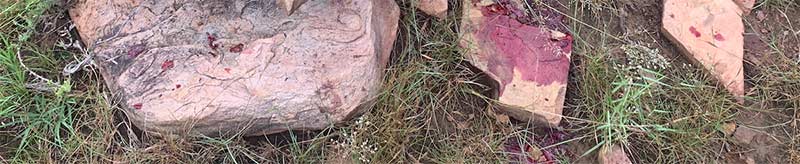
The “infamous” blood trail.
We were up by 0400. drinking coffee and planning the hunt. Jug towed his new ATV on a trailer so we wouldn’t have to walk much getting to our vantage points. I was going to be nestled in a pinyon thicket where the bucks liked to bed down after eating soybean all night. On my way to my stand, I found a nice Muley shed antler. Maybe I’ll be lucky today, I thought to myself.
Jug was going to high ground, up in the cliffs, where he usually hunted, taking advantage of some new wildcat he designed with lots of reach. I forget the particulars, only that he had to replace his barrel after every 150 rounds, or so, on account of it burning the throat out.
We were in our spots 45 minutes before daybreak. Around 0815, I heard a far-off shot sounding like a NASA rocket launching into space followed by a huge sonic boom.
It had to be Jug. In all honesty, it woke me from a light doze. I was looking around, gathering my senses, when I noticed a nice, chunky 4×4 muley sneaking through the pinyon. I patiently waited for him to close the distance, as he headed right for me.
He was totally unaware of my presence. Before sitting down, I had drawn my flattop and placed it next to me on my backpack for faster access and less movement.
I picked up the flattop and cocked the hammer, placing my left thumb in front of the hammer to prevent any negligent discharge. When the buck was 35 yards from me, I removed my thumb and lined up my sights.
When all seemed perfect, I started my trigger press. The exploding cartridge startled me, and the buck did a perfect “mule kick” indicating a heart shot and ran back downhill.
After a relaxing smoke, I holstered my gun and headed toward the buck. Before getting to him, I heard Jug coming in on his ATV. I guess he was good for something after all.
“Did ya get him, Skeet? I heard your shot,” he said.
“I think so. My sight picture felt good as the hammer broke and that 429421 HP should have taken care of him,” I replied.
We found my buck 45 yards from where I shot him.
“What about you, Jug? I heard you shoot. Did you get one too?” I said.
Jug looked dejected.
“I think I crippled one. That’s why I was coming over here. To see if you could help me find him?”
We loaded up my deer and headed over to where Jug shot his deer.
“I was sitting up there, by that big boulder and he was standing right around here,” he said.
We saw some hair, but no blood trail.
“Where’d you see him run off to? We’ll see if we can pick up any sign as we go,” I asked.
It reminded me of my border patrol days, tracking down illegals.
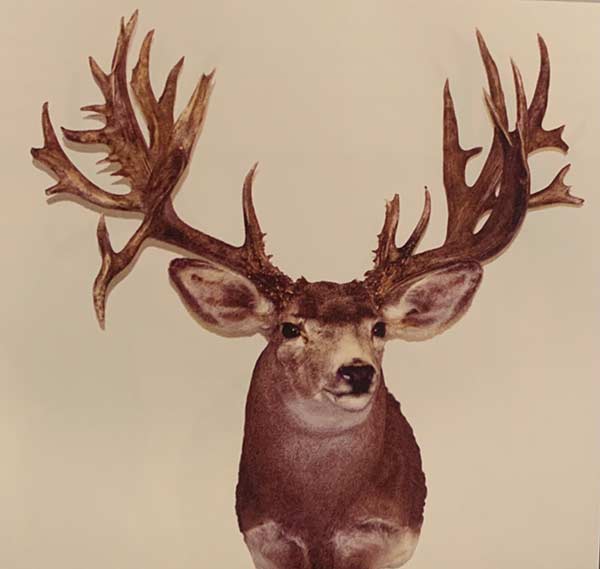
Jug’s Muley. Some guys are just lucky.
Jug said he saw the buck disappear into a dry creek bed. We followed the creek bed, but didn’t see anything for a half mile. Every hundred yards or so, we’d stop, stand up and glass, looking for any sign.
We turned around and headed in the other direction and went for about another half mile past where we started. We still didn’t see anything, so we turned around and headed back to camp.
We only went a few feet when Jug said, “I see blood, Skeet!” He was getting excited now. So, we followed the sign.
“Look here, Skeet. He must have stopped; there’s a lot of blood here.” Looking down, I saw several drops of blood and wondered how we ever missed it? We follow the trail for about ½ of a mile and it stops. We looked around to see if the buck jumped out of the creek bed, but didn’t see anything.
I told him, “Let’s turn around and see if we can’t figure something out, Jug.”
“Look Skeet, another blood trail, he must have doubled back on us!” he said.
We followed the two blood trails, one going east and the other going west, when it occurred to me what was happening. I started chuckling and Jug asked me what was so funny.
With tears in my eyes, I asked,” What’s in back of your ATV?”
“Huh? Why it’s your deer, Skeet.”
“Exactly, and what do you notice about the deer, Jug?”
Jug studied the deer like he was trying to order for an all-you-can-eat buffet.
“Why, he’s bled out a lot, Skeet.”
“Exactly! Now get out and look at the back of your ATV.”
Jug started laughing too, now.
“Skeet, we’ve been tracking your deer leaking blood out of the ATV.”
Ironically, as we headed back to camp, we recovered Jug’s deer. He was a real whopper too, but with no visible sign of a hit.
As far as I could tell that huge bullet of Jug’s was going so fast that it created a vacuum of sorts and sucked all the air out of its lungs, killing it instantly. I’d have never believed it, if I hadn’t seen it myself. I guess some guys really are just lucky.