Category: All About Guns
Categories
A good start!


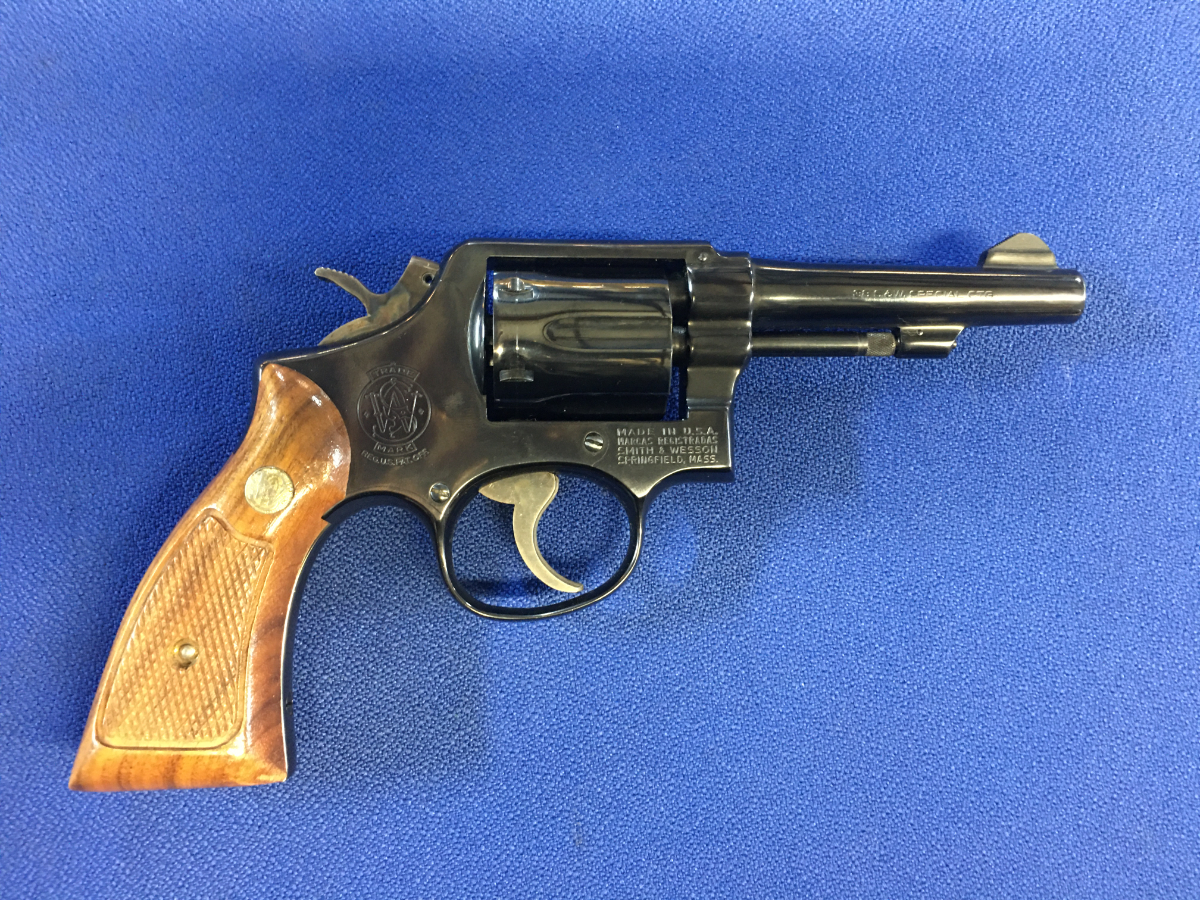
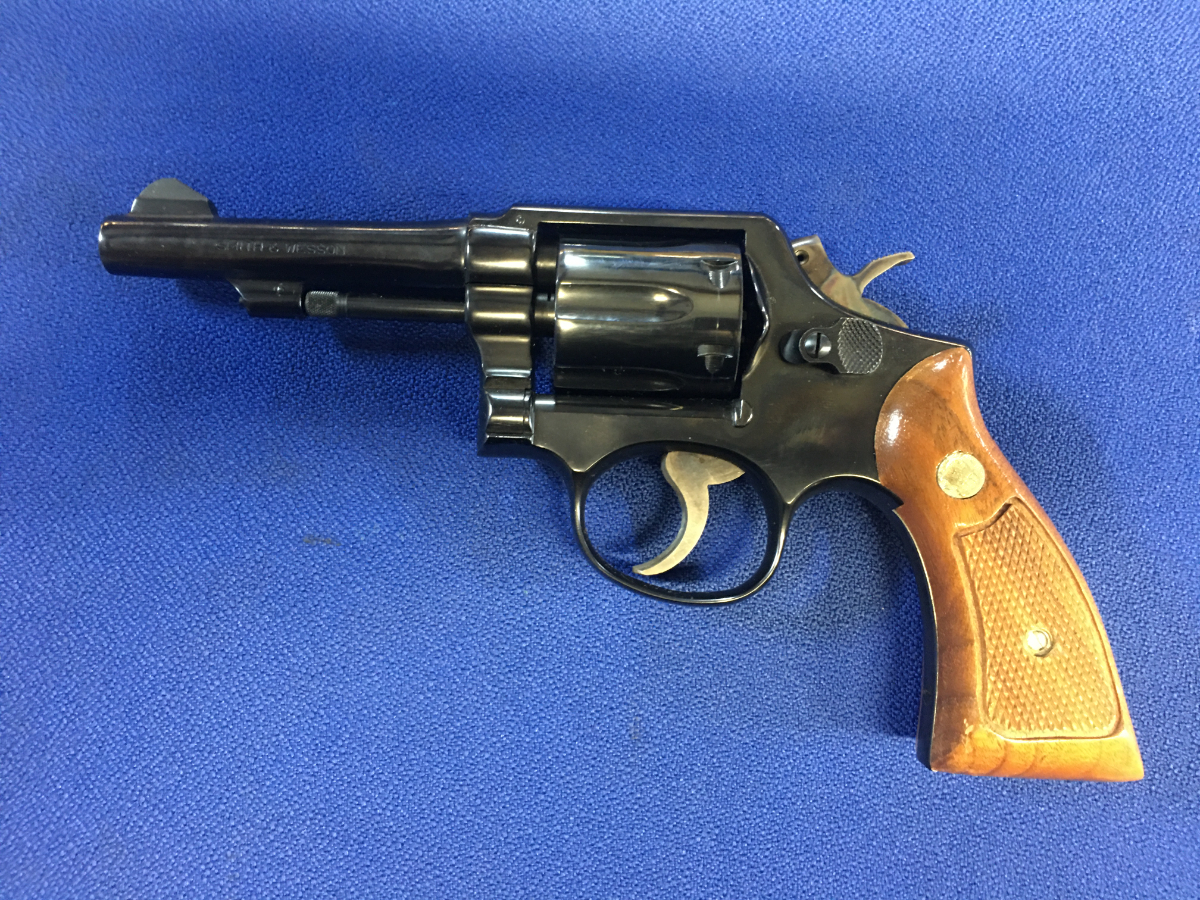
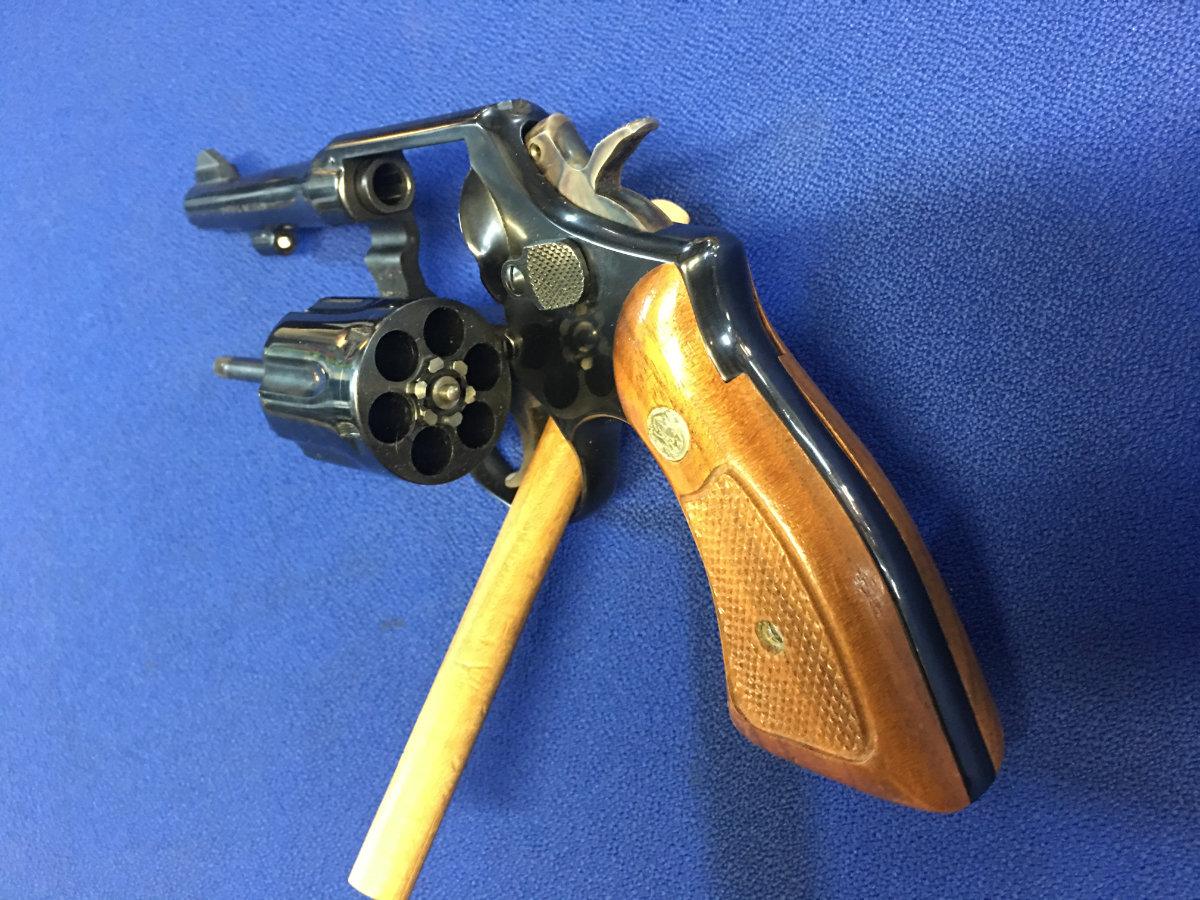
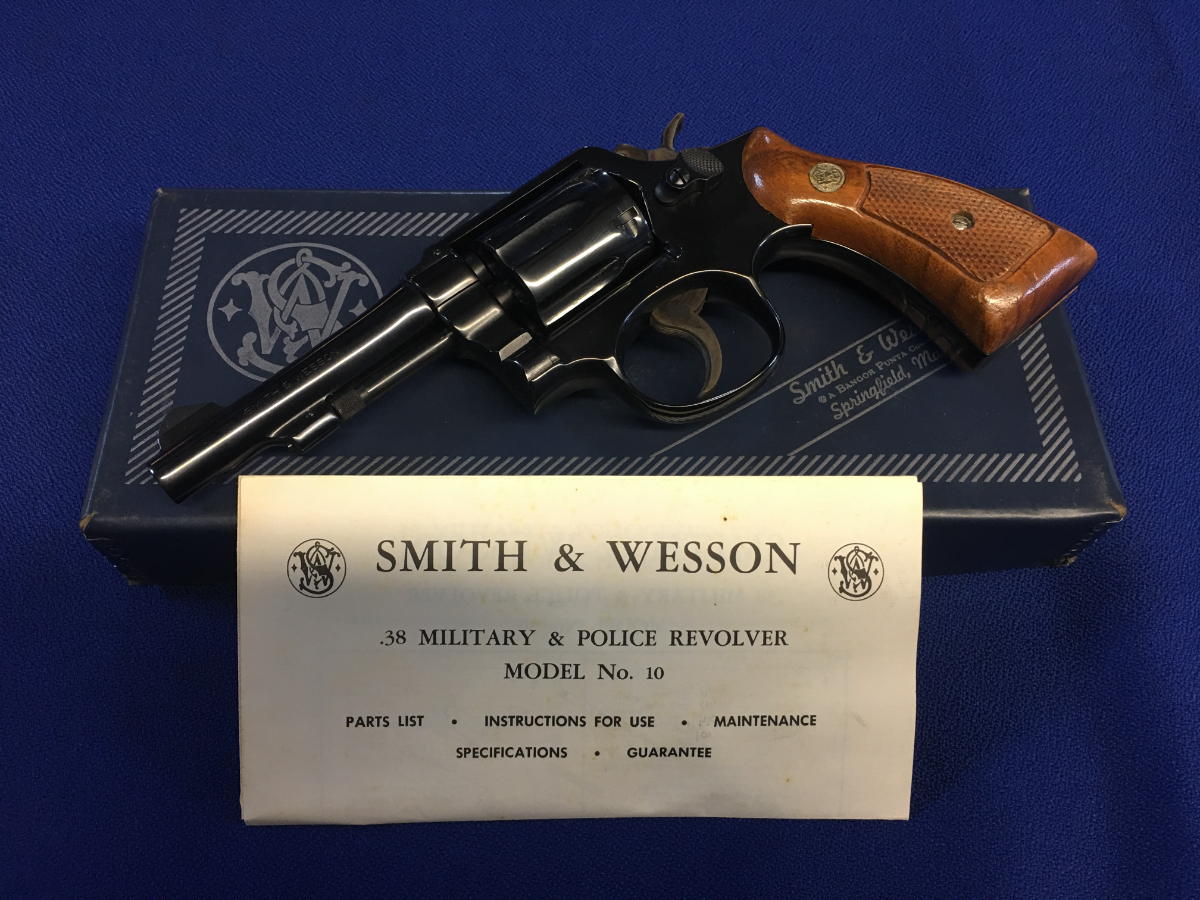
These pistols are what I call a good honest gun. Now they are not as glamorous say a Colt SAA 1st generation or a 1960’s Colt Boa. But they are reasonable priced, tough as nails and will get the job done right. If the person behind them knows what they are doing that is. So really this is what most folks need when it comes to time to buy a gun. In my humble opinion that is. Grumpy
Categories
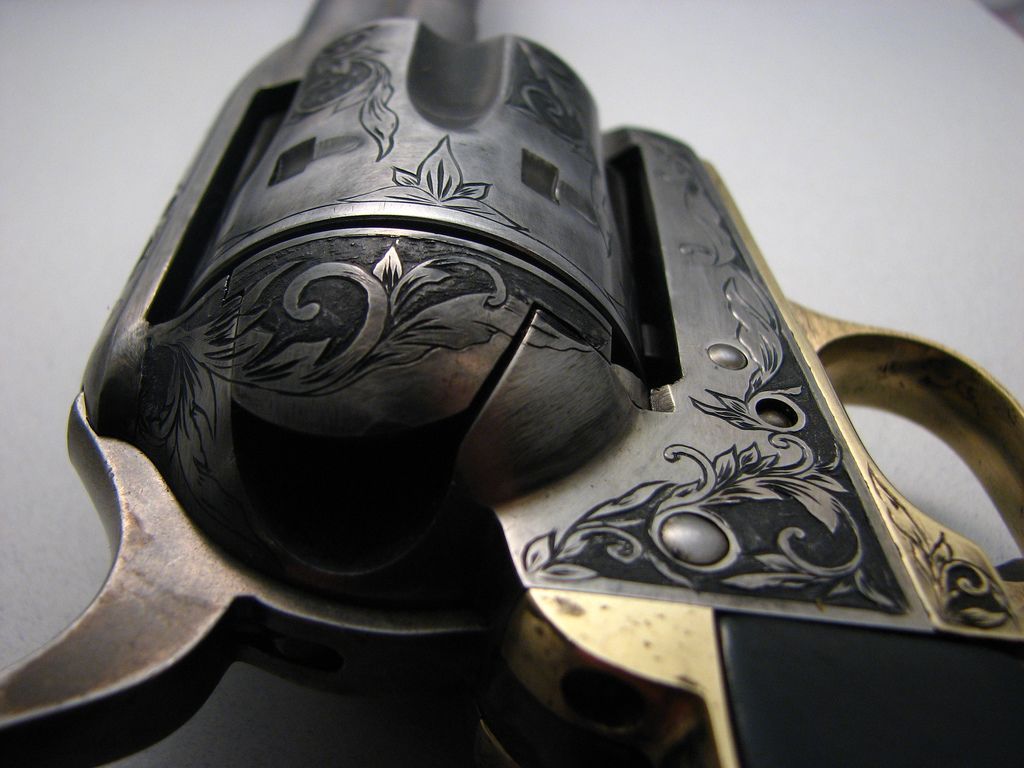
Somebody has a neat toy!