Category: All About Guns
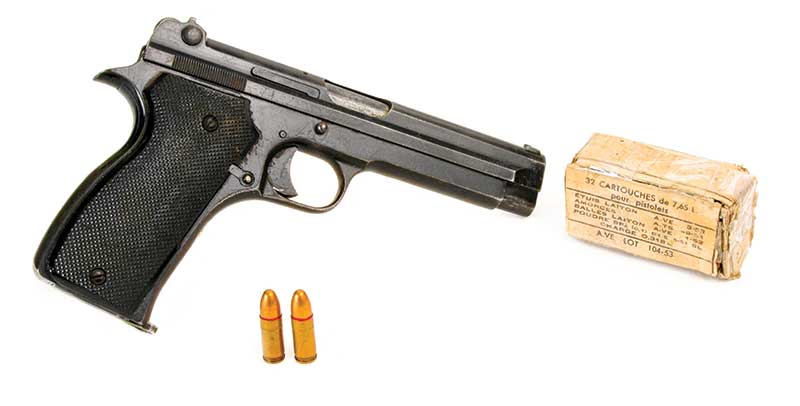
Strangely enough Duke’s first handgun was a French Model 1935A 7.65
Long given to him by his father circa 1961.
Recently a fellow asked me when I became interested in guns. My reply was … I was born with it. My older sister chimed in and said by age three the first thing I did every morning was buckle on my gun belt with its toy cap gun. This wasn’t TV influence; we didn’t have one.
From the beginning, I’ve hand jotted a list of every firearm I’ve owned. So, I have a timeline of handguns purchased, traded for or otherwise acquired.
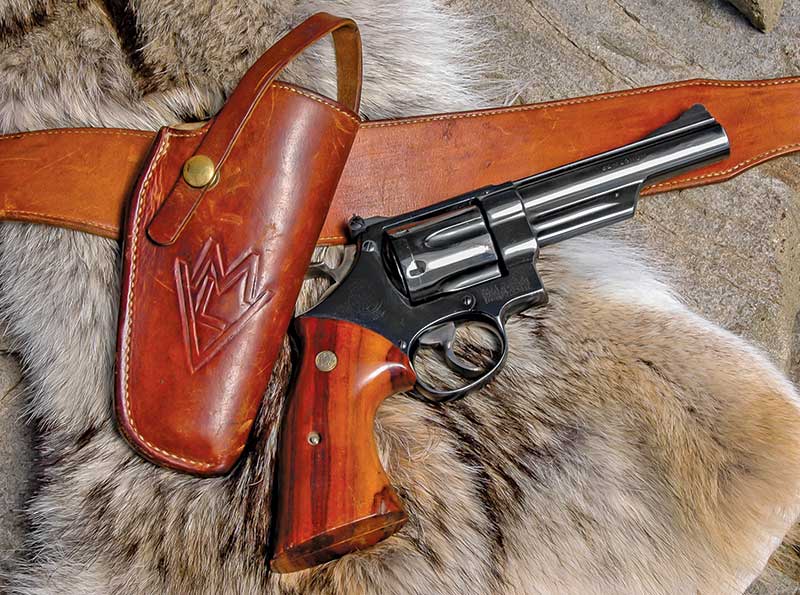
The year 1968 was a banner one for Duke for acquiring handguns. The first one
was a Smith & Wesson .44 Magnum pre-Model 29 which he kept until 2010.
My First … What?
About 1961 Dad came home with my first real handgun. Neither of us had any idea what it actually was. I was allowed to keep it in my room but not show it off to other kids or take it out of the house. Dad felt safe because he somehow knew ammunition for it wasn’t readily available.
I eventually learned the pistol was a French Model 1935A chambered for an odd 7.65mm Long round. Dad and the local police chief were both born of Italian immigrant parents and the police chief “gave” the pistol to my father. As my father was a bill collector, I have an idea why he was given it. Some French military surplus 7.65mm Long ammo did become available, so I finally did shoot the Model 1935A. In an ironic twist, I later sold the pistol to the police chief’s son.
Following my inborn interest in cowboy handguns I received for my 17th birthday in 1966 a Colt Frontier Scout .22 LR. It was a short-lived treasure. The little single action was enjoyable to shoot, but hitting anything with it past about 10 yards was a matter of chance. In frustration I traded it back to the store with a few bucks extra for a Ruger Mark I .22LR. With its 67/8″ barrel and target sights, I could at last direct bullets to a target. I became enamored with bullseye shooting, which led to my next handgun milestone.
That same summer and by shenanigans too lengthy to detail here, I raised enough cash to buy a slightly used Smith & Wesson K38 with a 6″ barrel. Cost: $50. However, factory ammo cost was a shock to my system. This led to me soon becoming a handloader.
A Banner Year
The next year passed with no milestones, but 1968 was a banner year. During the winter a retiring West Virginia’s Mingo County deputy sheriff had his S&W pre-Model 29 .44 Magnum for sale. He was asking $100. My soon-to-come income tax refund was nearly this much, so Dad floated me a loan to nab the big .44. I kept it 42 years; packing it up and down Montana mountains until deciding to let it go when I got too old for such pursuits.
By June 1968, my first year of college was finished. I was making $1.60 an hour hustling freight on the docks of a trucking company. A friend, the aforementioned chief of police’s son, also worked there. One day he pointed out a truck driver and said, “He owns one of those SA Colt .45s you’re always talking about.” Long story made short: I aggravated the truck driver till he sold me the Colt. Cost again was $100. The .45 was of the second generation made in 1964.
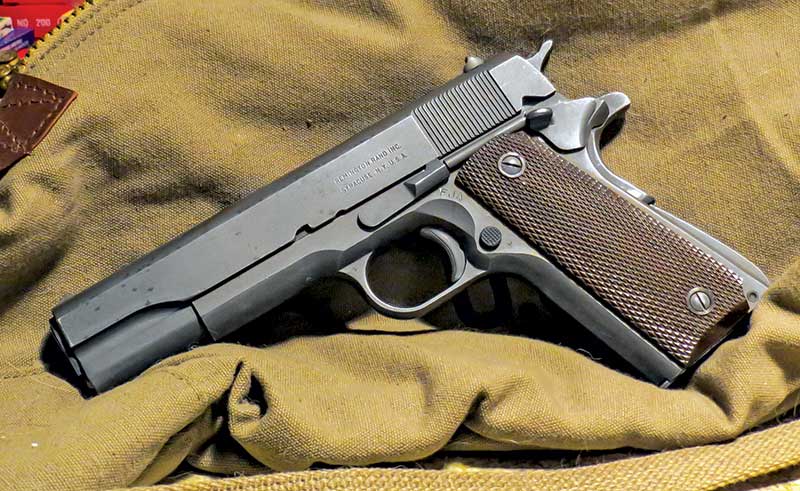
A few evenings later Dad came home from work, reached into his hip pocket and handed me a WWII Remington Rand 1911A1 .45 Auto. He said, “I took this for a bill today. Do you want it?” I did! In just a few days, two .45s had been added to my growing assortment of handguns.
By the start of West Virginia’s Marshall University’s 1968 fall semester, I had saved enough money to buy reloading dies and bullet molds for my new handguns. After some shooting, I was happy with them except for the Remington Rand. I couldn’t have hit one of John Taffin’s hats with it at 25 yards. I sold it for $35, redirecting the cash to powder and primers.
Before classes started in September 1968, I conned a friend to share expenses for a camping trip to Montana. My idea was to visit the then-named Custer Battlefield. I fell in love with Montana and have been a full time Montana resident for nearly 50 years. In that half century I’ve owned hundreds of handguns including about 100 Colt SAAs, a passel of U.S. Model 1911A1s and even another French Model 1935A.
Still, the excitement of those first handgun milestones remains most vivid in my mind.
Categories
I bet it never leaves the Gu Safe

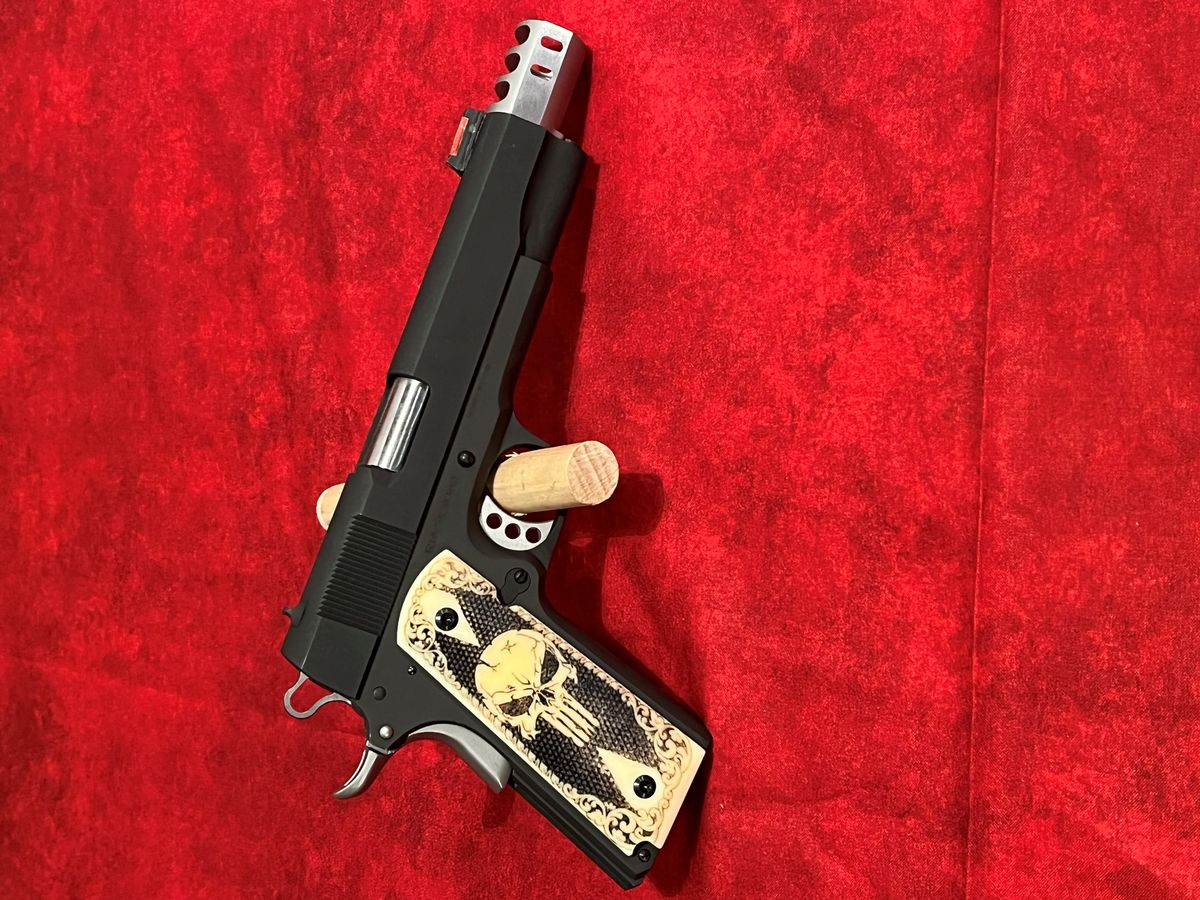

A nice gift for the man child in your life Grumpy
Categories
Brown Bess Reproduction


Categories