Author: Grumpy
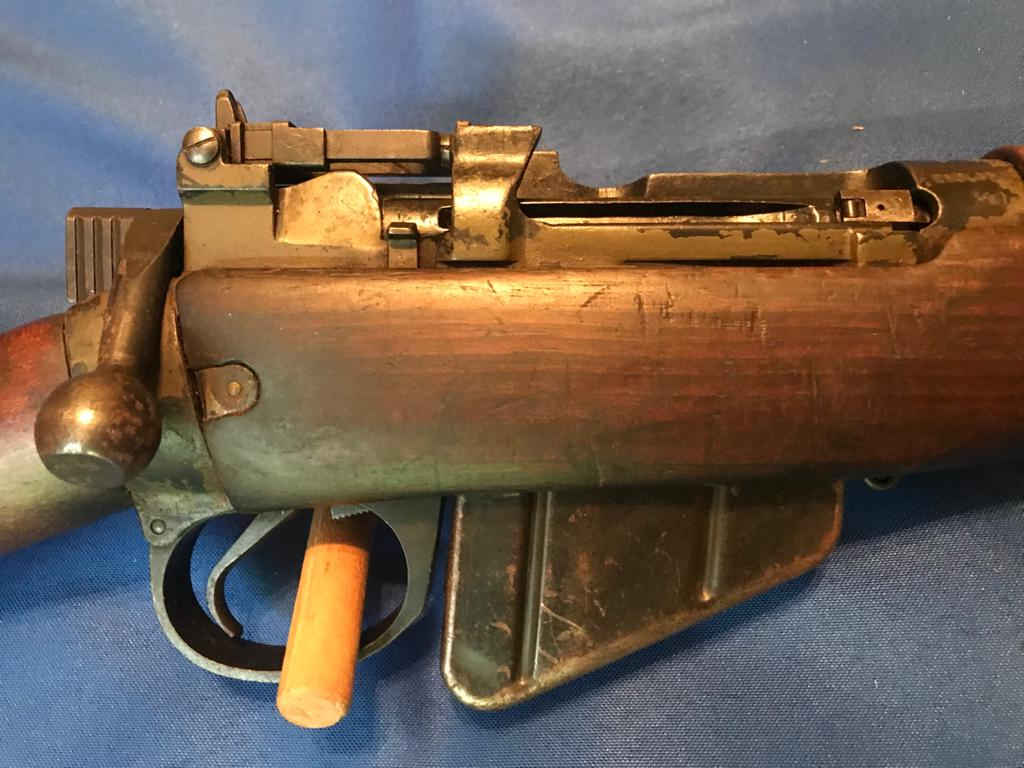
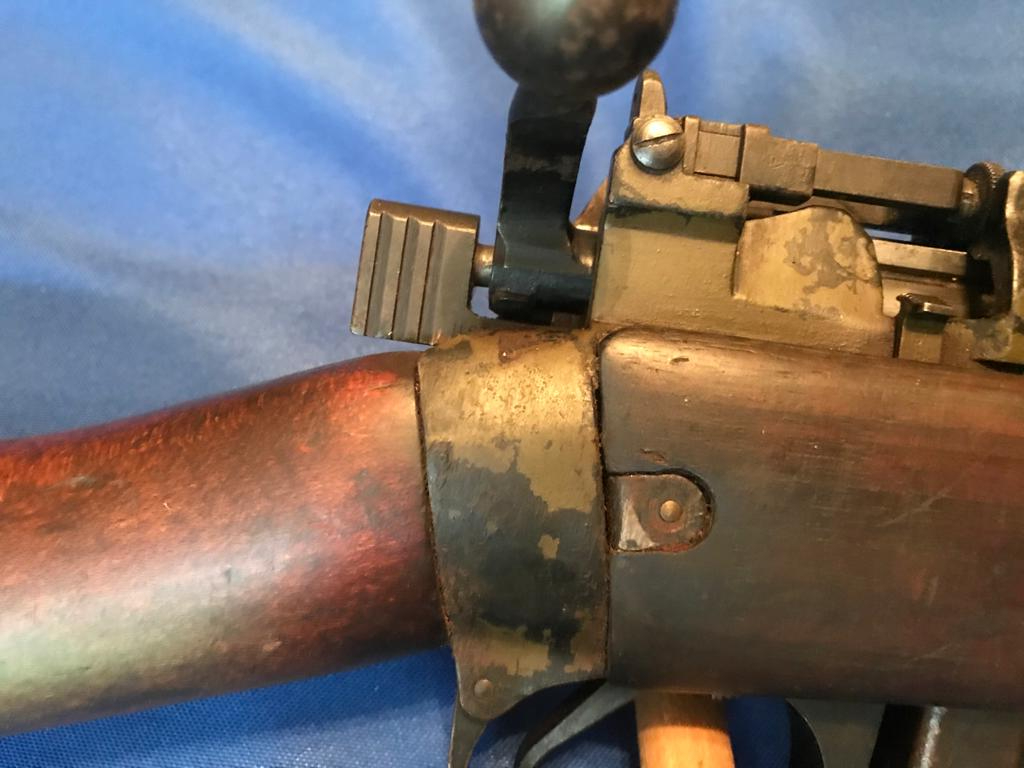
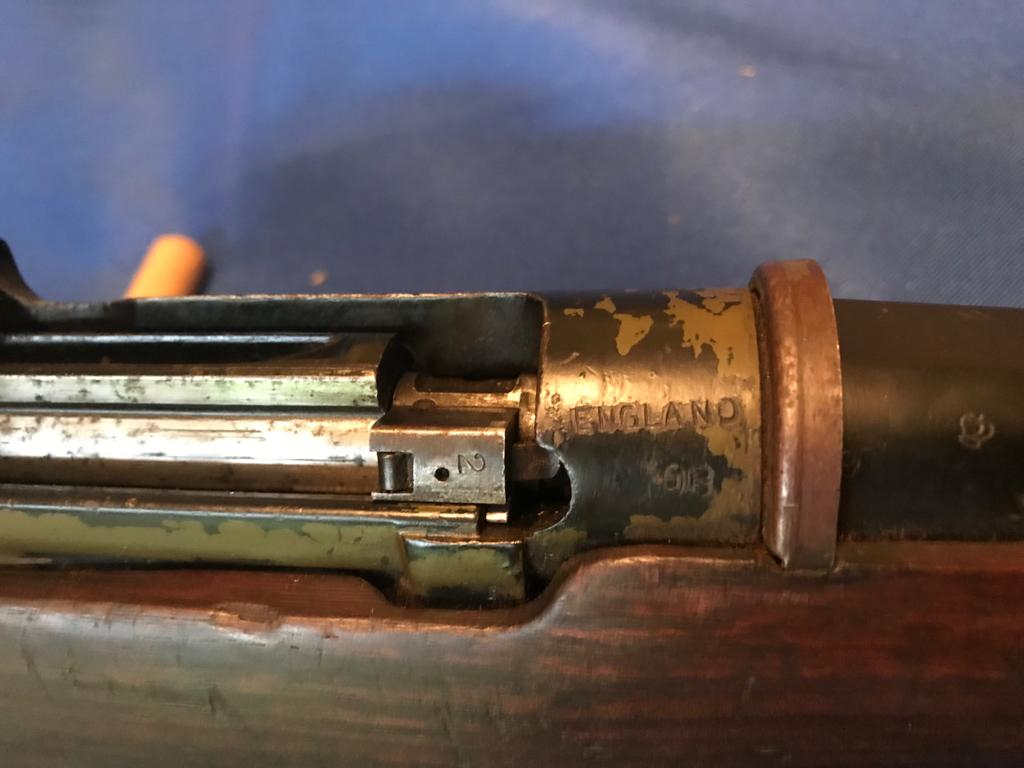
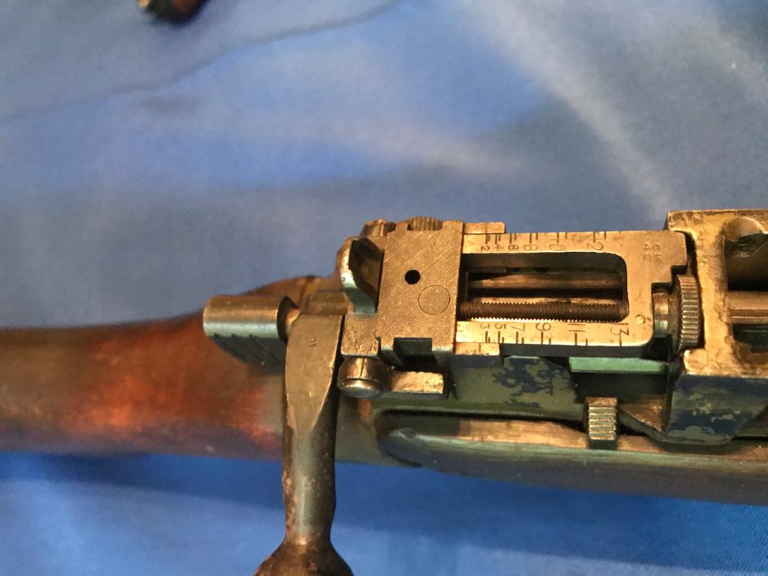
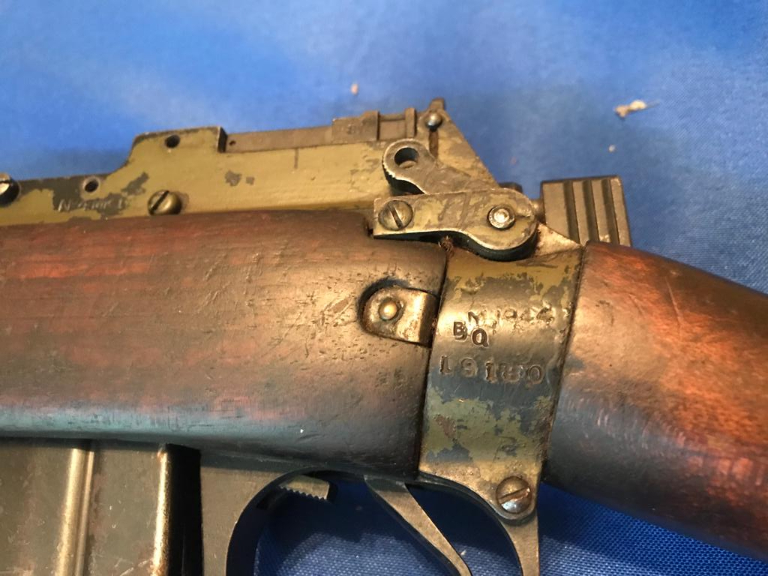
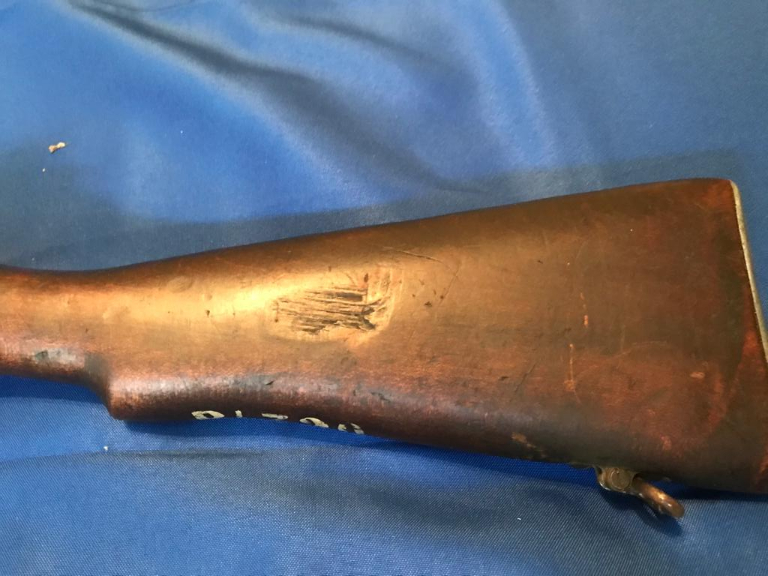
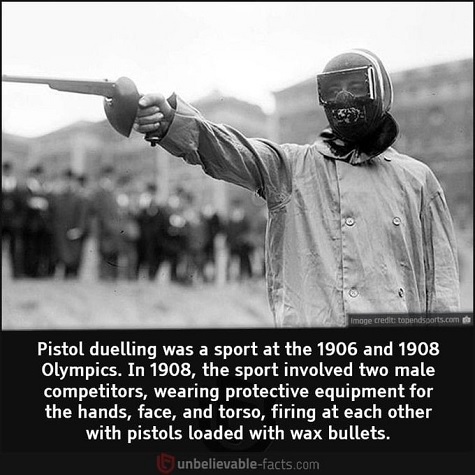
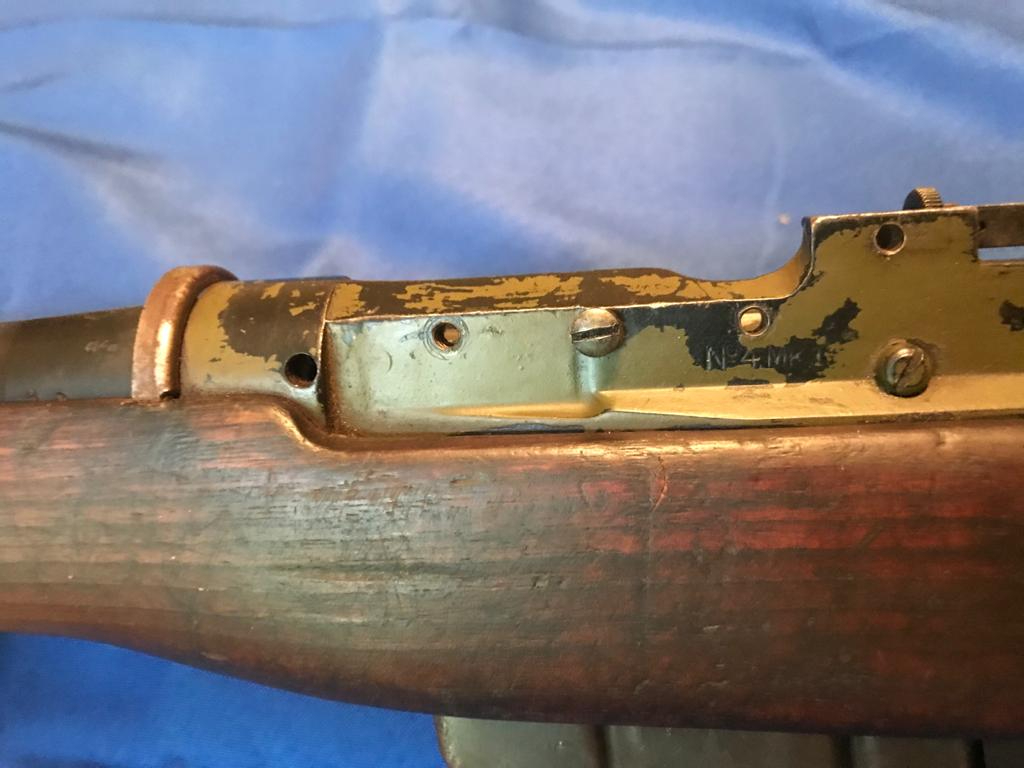
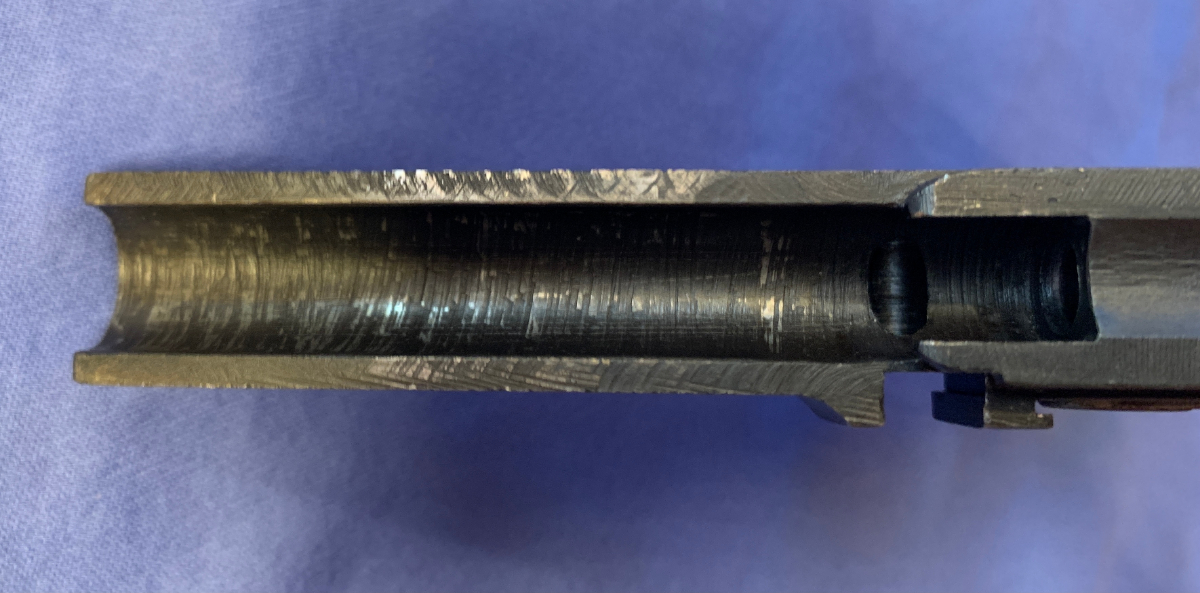
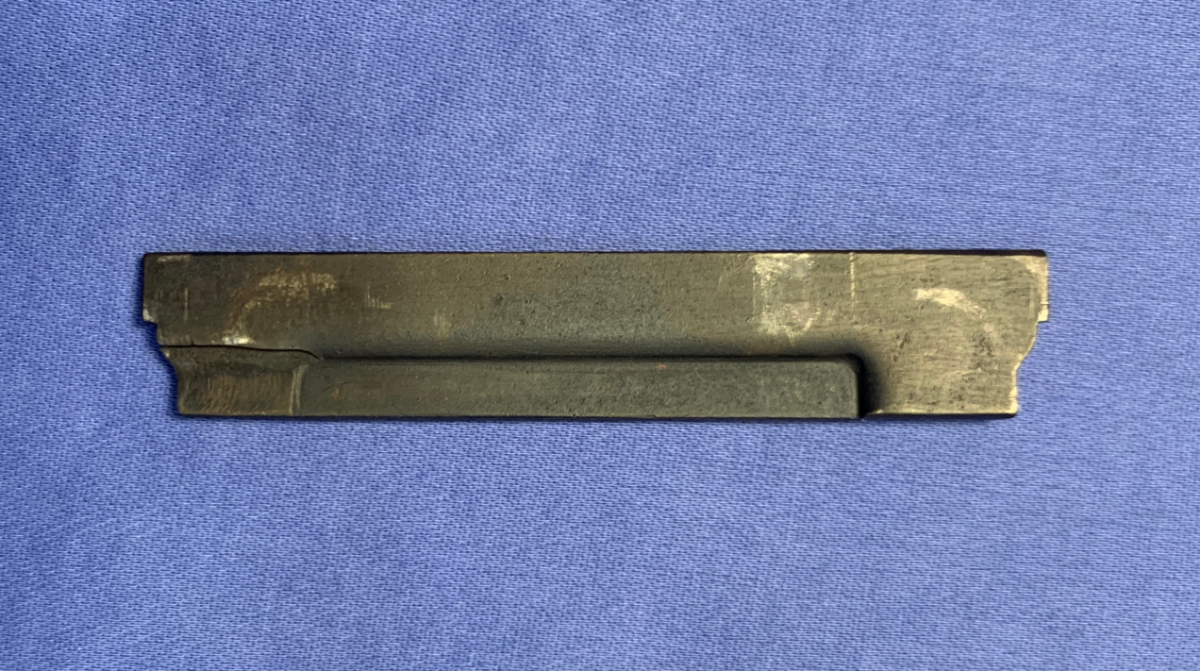
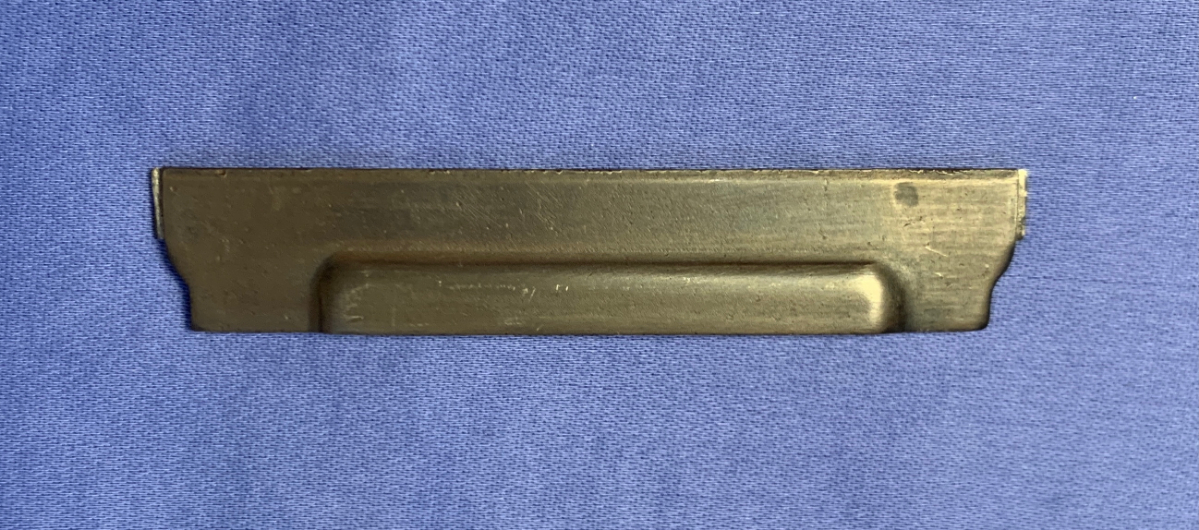
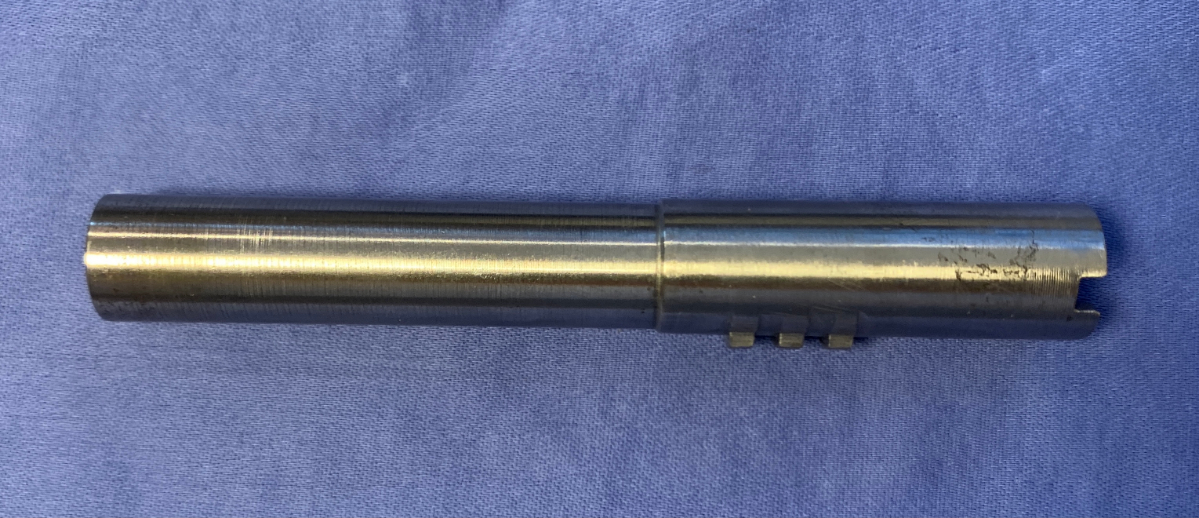
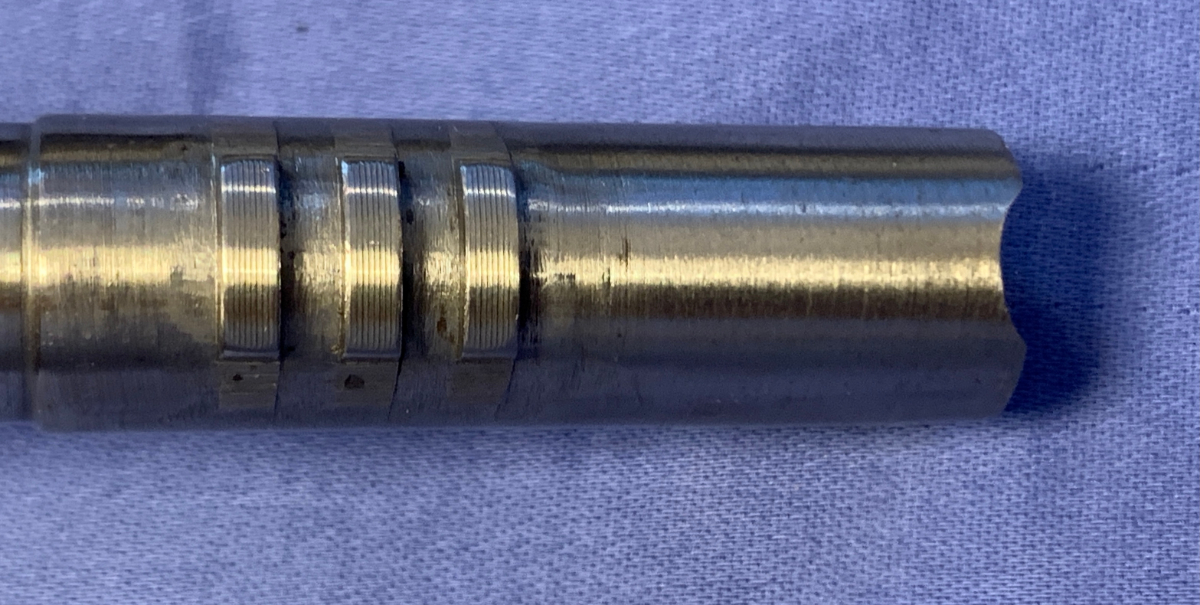
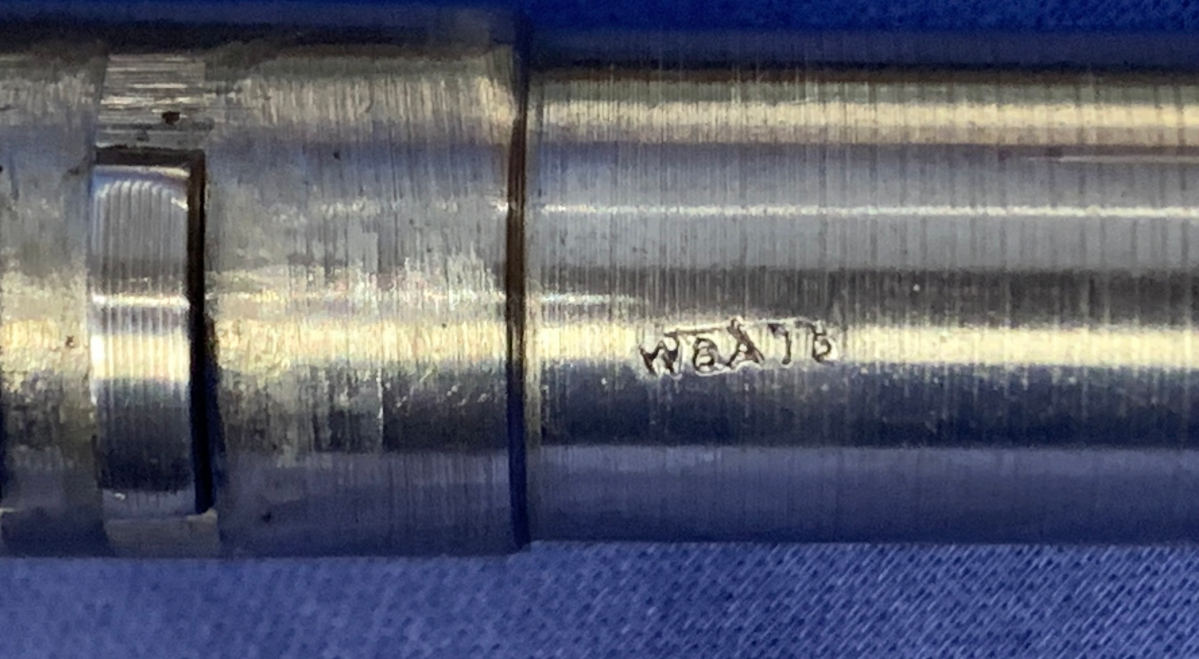
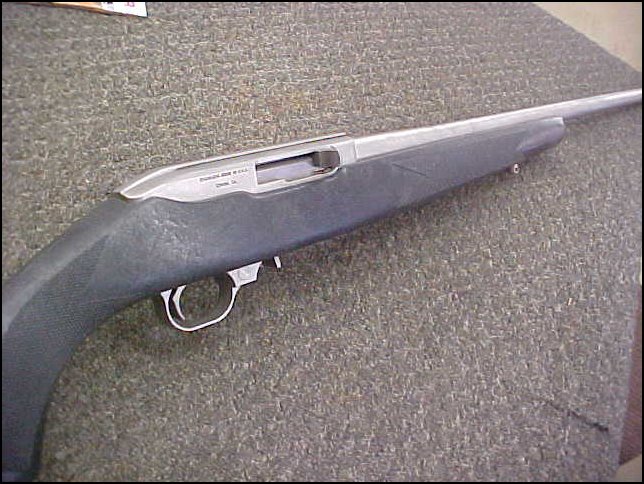
Pity that somebody chopped up such a Classic Rifle! Grumpy


Categories
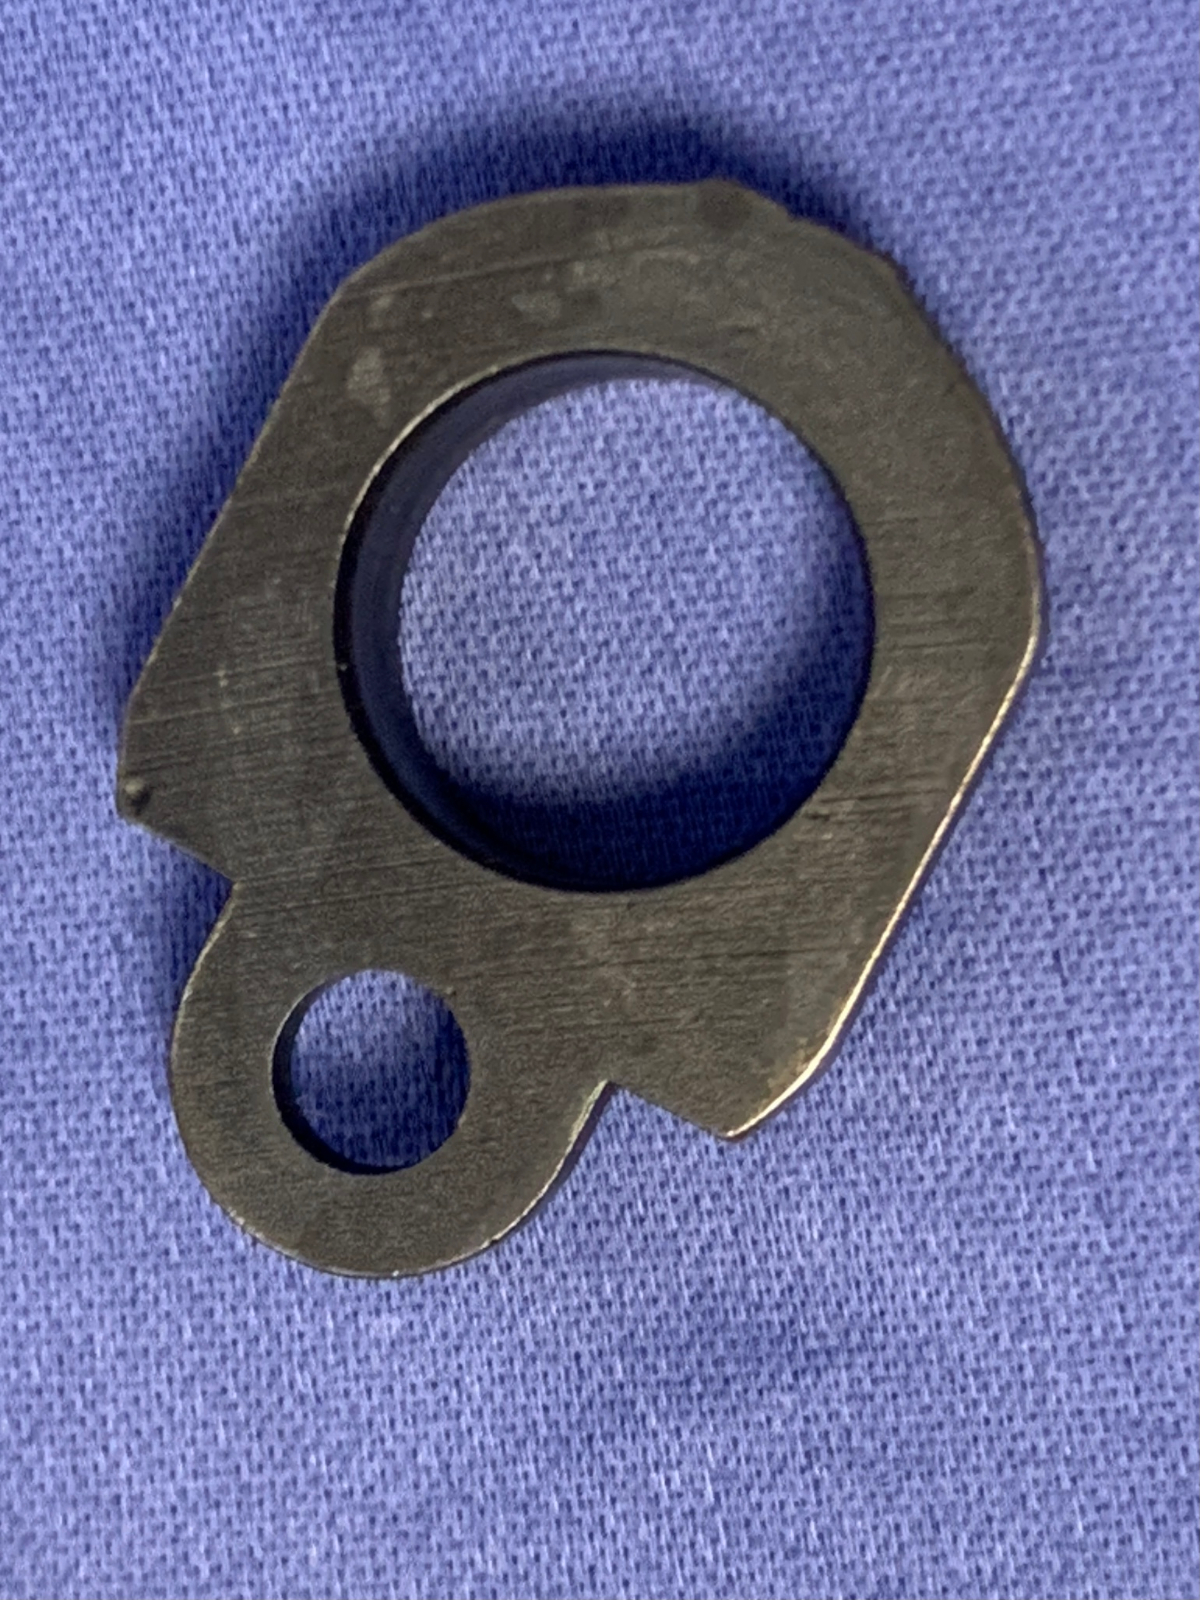
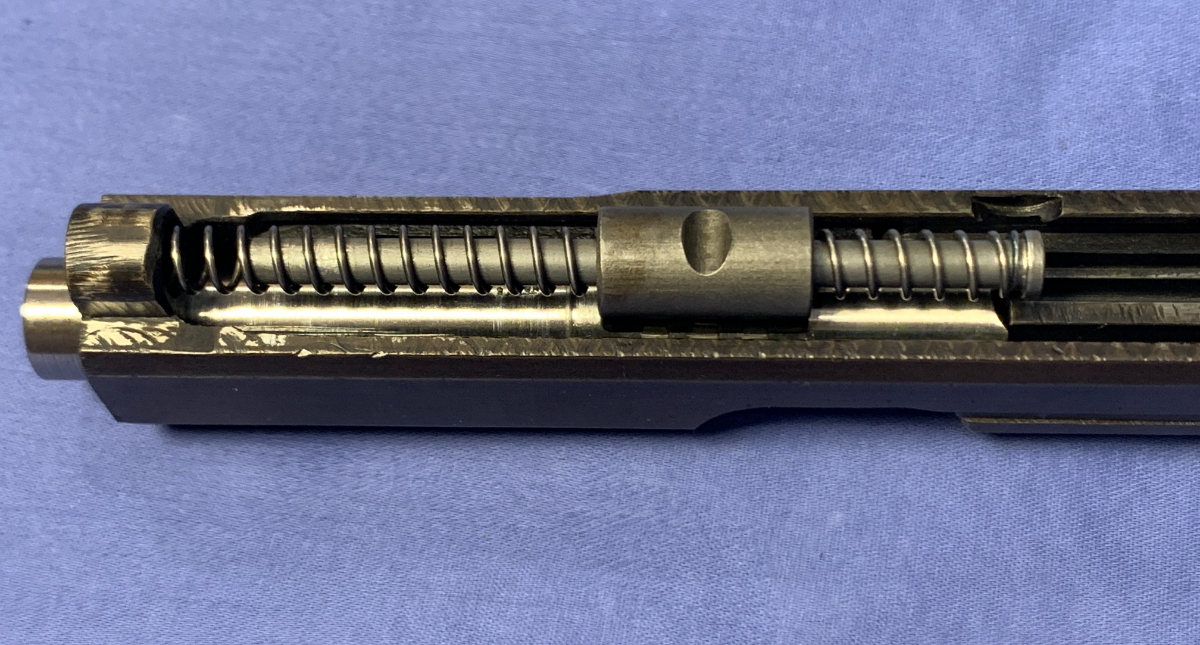
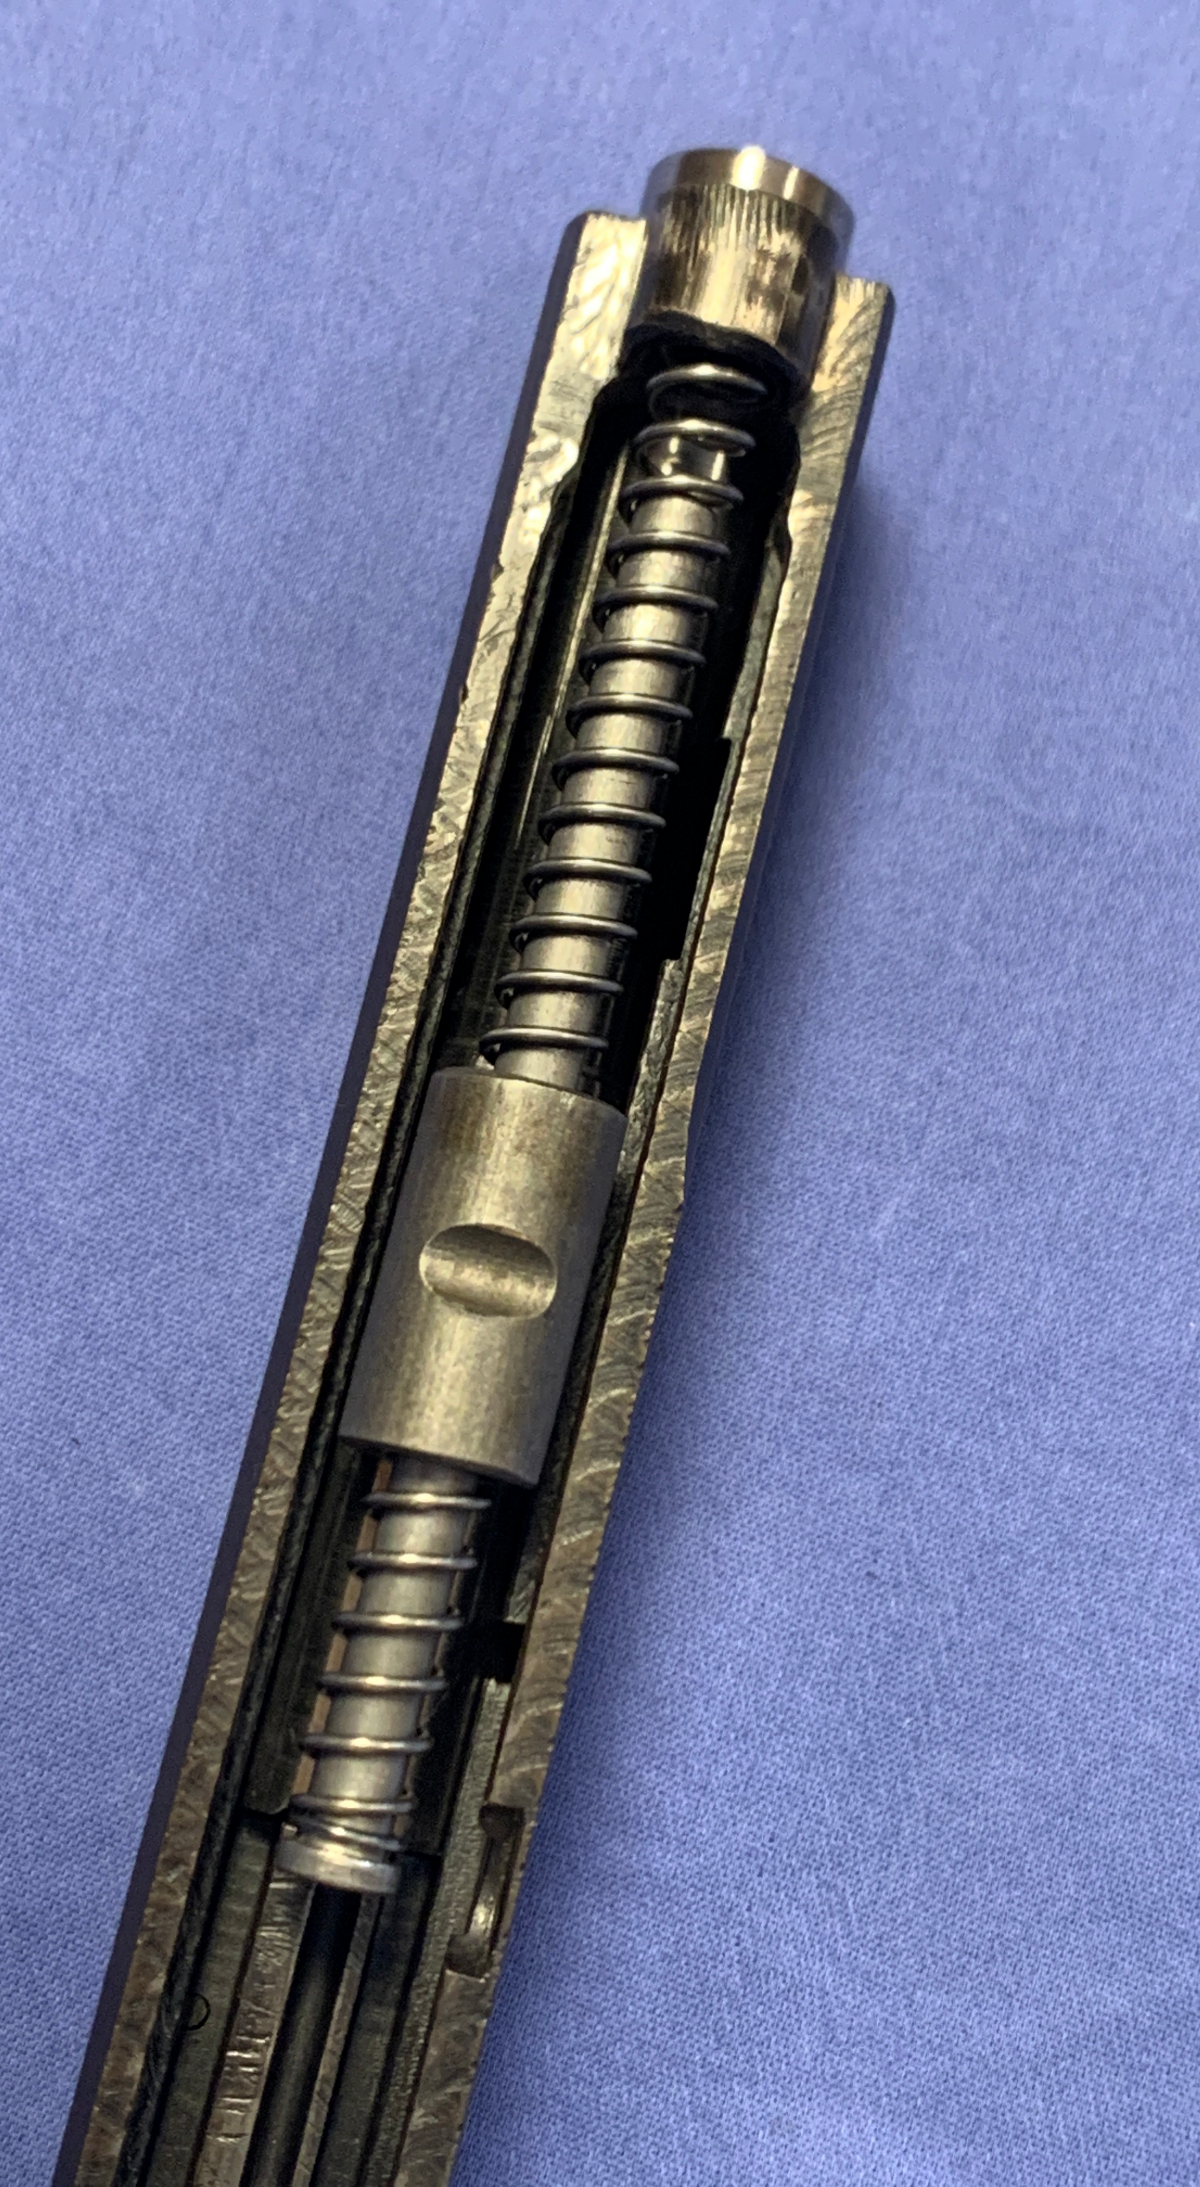
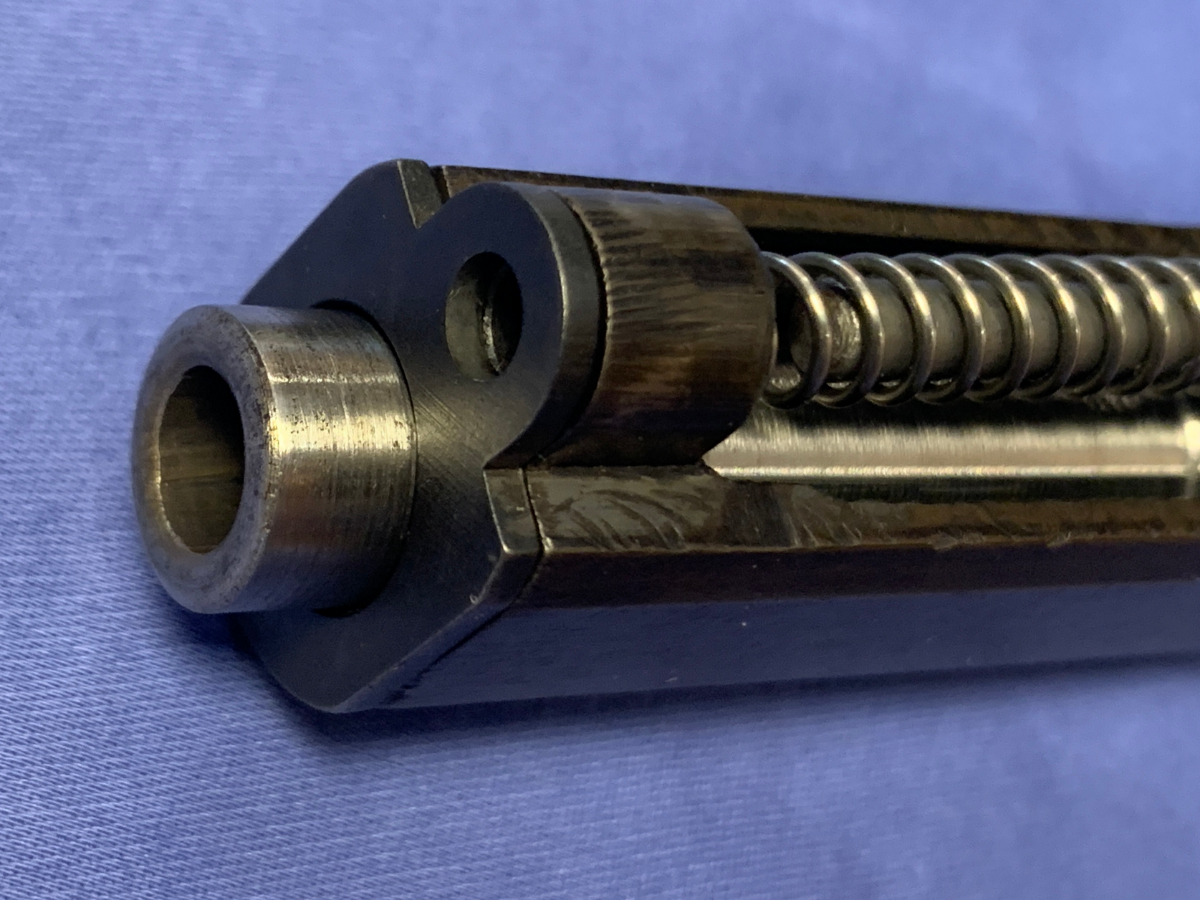
How Does It Work: Roller Locking
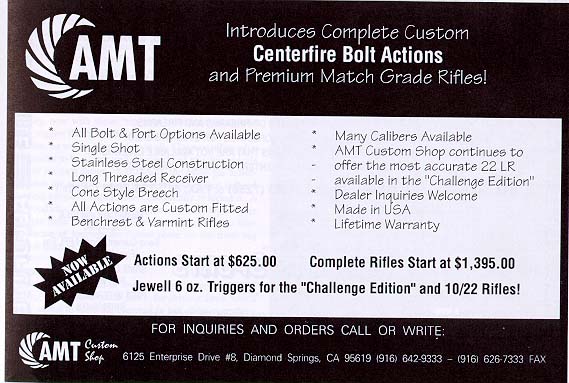
Firearm Factory of the Month: AMT & Auto Mag Corp.
According to this website there are (or were) 12,977 companies in America with the name or acronym of AMT. One can understand the proliferation of the AMT moniker as the “A” often stands for “American”, “Atlantic”, “Automated”, “Advanced” or “Academy” which a LOT of companies have in their name.
In this case AMT stands for Arcadia Machine and Tool. This AMT made firearms in California from 1980 to the late 90’s before being bought out and moved a few times.

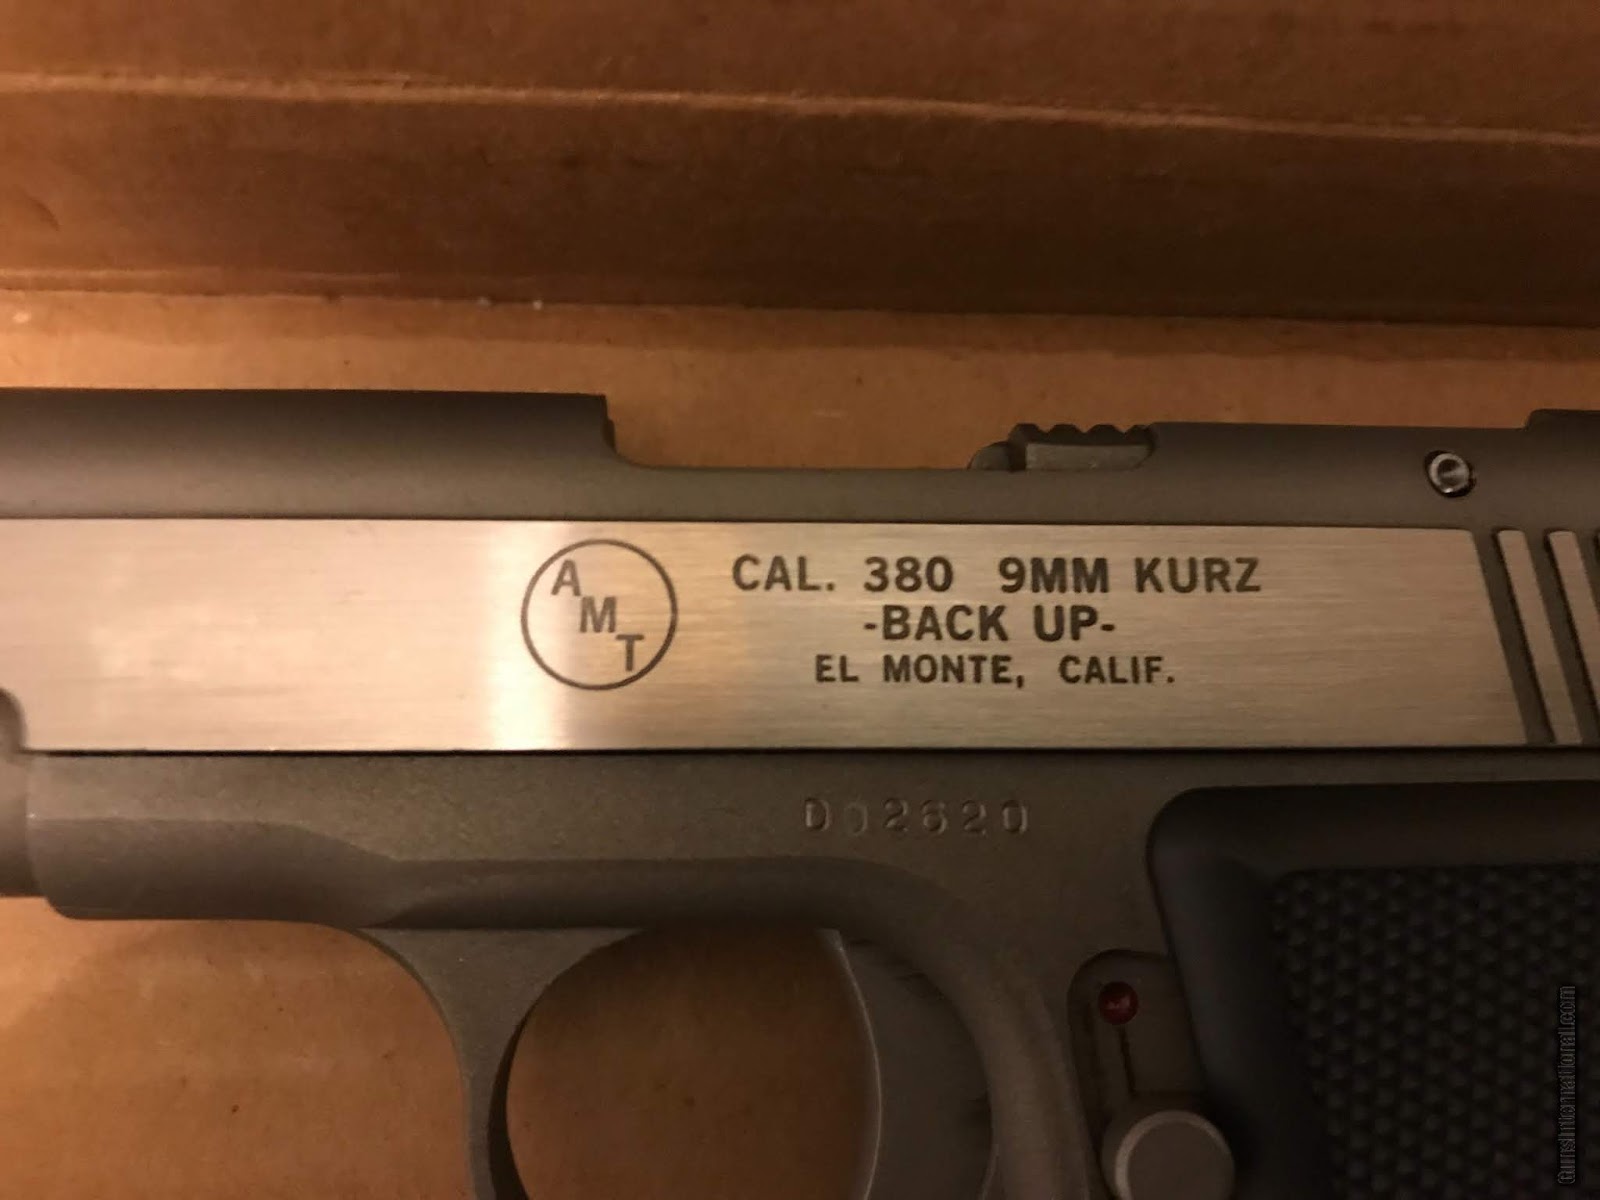
The first time I heard the name AMT was when I was in college (getting my Criminal Justice Degree), must have been around 1989. Some of my schoolmates were discussing back up pistols and the AMT Back-Up was mentioned as a good alternative to a snub nose revolver.
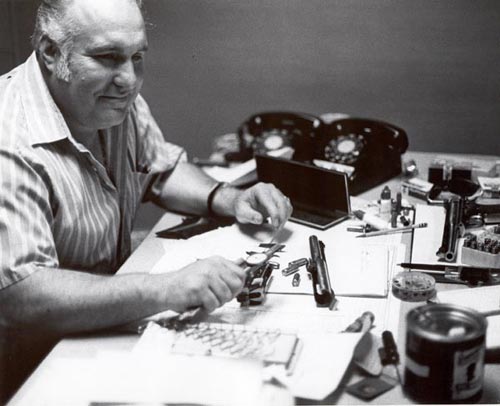
To tell the story of AMT & Auto Mag we need to start with the man who started the company: Harry Sanford.

When investigating the history of Harry Sanford, his guns and gun making facilities it was a little “Forrest Gumpish”….meaning that there are a lot of connections to other famous stories…there are ties to Harley Davidson, Route 66, the Vietnam War, Jan & Dean, Dirty Harry, Hot Rods, video games, Eddie Murphy & the North Hollywood Shootout.
Harry William Sanford was born on September 11th, 1930.
During the mid 1950s Harry worked as the manager of Golden State Arms in Pasadena, CA.
Golden State Arms was a dealer of surplus and imported guns and was somewhat of a “mecca” for gun collectors in Southern California. GSA also sold sporterized Springfields, Mausers and other military arms modified by them in their facilities in Pasadena.
In 1957 Harry left GSA to open his own gun shop named East Pasadena Firearms & Tackle Company. This shop was located on the corner of East Colorado Blvd and South Vindeo Ave.
In 1968 he renamed the shop Harry W. Sanford Firearms and moved a few blocks down to East Colorado Boulevard in Pasadena (the same street named in the Jan & Dean song: The Little Old Lady from Pasadena). Incidentally Colorado Blvd was also once part of Route 66.
The world of firearms had some dramatic changes in the 50’s and 60’s. A few of those changes led to the development of the Automag pistol.
One was the introduction of the 44 Magnum cartridge in 1955 then there was the development of the Armalite Rifle in the late 50’s. Then in 1961 Ruger introduced a semi-auto carbine chambered in 44 Magnum. Lastly in 1965 Smith & Wesson introduced the first handgun in stainless steel. These events helped launch the .44 Auto Mag, stay tuned and you’ll see why.
Anyway it was during the 1960’s at the Pasadena gun shop that Harry and his gunsmith(s) conceived the idea for a 44 Magnum auto pistol.
In July of 1969 Automag Corporation is created, the company operates out of Harry W. Sanford Arms in Pasadena.

Knowing the difficulties in using a rimmed cartridge in a box magazine, the team designed a rimless cartridge using cut down 308 Winchester or 30-06 Springfield Brass.
The new cartridge could propel a 240 grain slug to supersonic velocities producing in excess of 1100 ft/lbs of energy.
His pistol design used a rotating lugged bolt very similar to the AR-15 rifle, along with a fixed barrel and separate slide assembly that traveled within a tubular frame similar to the Ruger Mark series pistols. The pistol would be constructed of 100% stainless steel, a first for a firearm. The S&W model 60 was not 100% stainless, it used carbon steel for some the moving parts (hammer, trigger etc).
It would also be the first “Magnum” semi-automatic pistol.
The use of stainless was something that was debated heavily at the gun shop. Stainless at that time had not been perfected for parts that moved against one another.
The prototype had been made in chrome-moly steel and the men working for Harry wanted the production ones to be chrome-moly, but Sanford wanted 17-4 stainless and that was that.
Stainless was a trademark of Harry Sanford, virtually all his guns were crafted in stainless steel.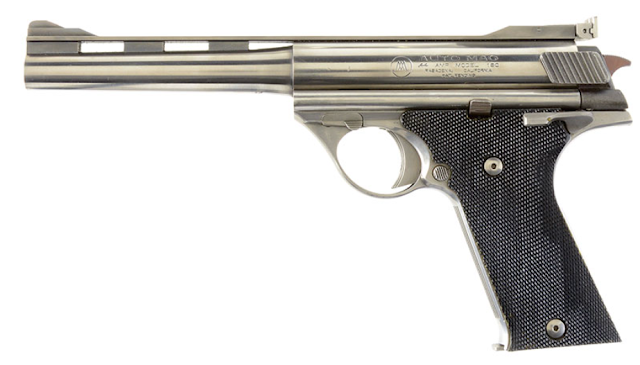

Stainless was a trademark of Harry Sanford, virtually all his guns were crafted in stainless steel.
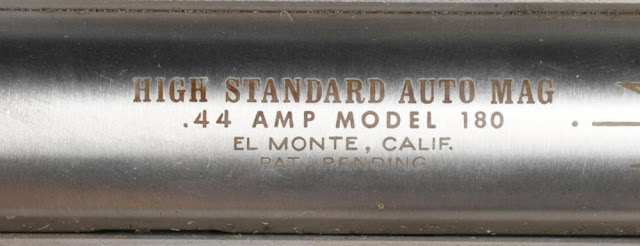
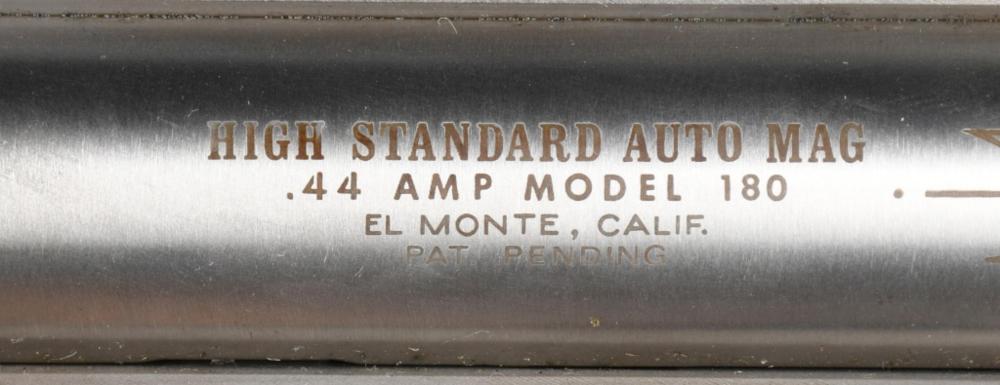
Here is one of the first 44 Auto Mags to be shipped on April 8th, 1971


The guns were well built, but the cost of manufacturing them was $1000 or more than the selling price of $247.50 (over $1,600 in today’s money).
After a few years of losing huge amounts of money, Automag Corporation was going under.
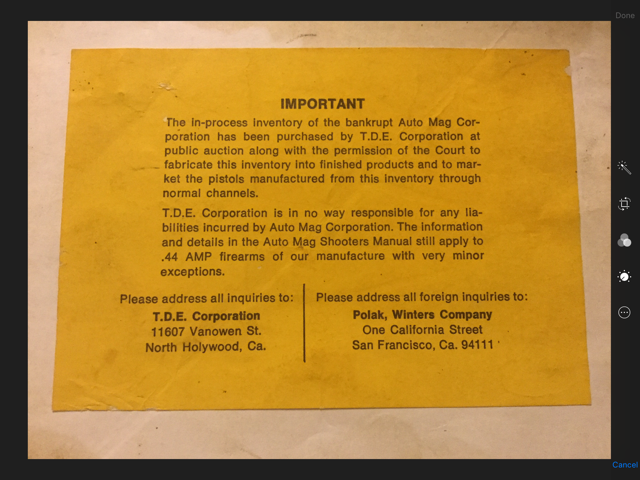
In May of 1975 Sanford along with help and encouragement of Lee Jurras (of Super-Vel Ammunition) incorporated a new company to take over the assets of Automag Corp. The new company is called T.D.E. (for Trust Deed Estates). Sanford would handle the manufacturing end, while Jurras was in charge of sales, marketing and distribution.
The new company’s offices were located in North Hollywood, just a dozen blocks or so from where the North Hollywood shootout would take place years later.


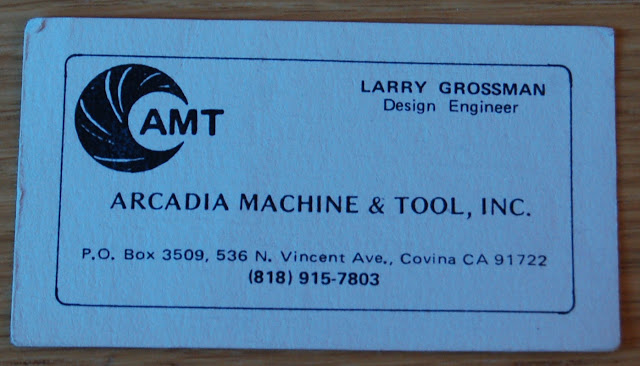
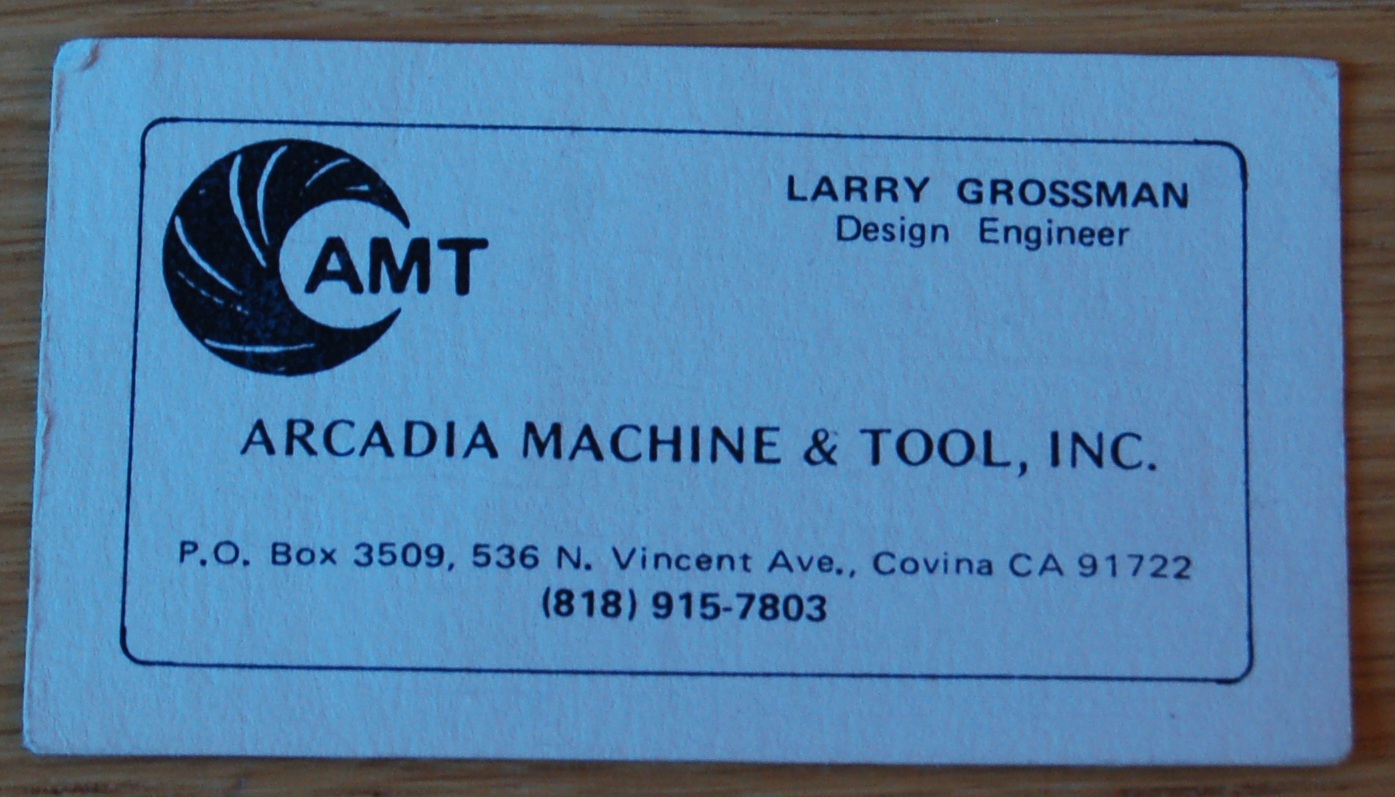
At the same time Sanford creates a couple of DBAs, one called A.M.T. (Arcadia Machine and Tool) the other O.M.C. (Ontario Machine Company).
TDE would handle the Automag business while the others were for designing and making other firearms.
While AMT was listed as existing in Arcadia, the address I found didn’t exist (or no longer exists), as far as I can tell the guns were made in the same facility as the TDE Automags in El Monte, CA.
With the reality that the 44 Auto Mag may never be successful, Sanford incorporates AMT as a stand alone corporation in July of 1980.
AMT did produce a series of pistols using the “Automag” moniker, although none of them were the 44 Auto Mag. The rights to that gun belonged to TDE. Also note the .44 Auto Mag corp used two words while the AMT guns used one word “automag”.
The AMT Automags included:
Automag II – .22 Winchester Magnum Rimfire
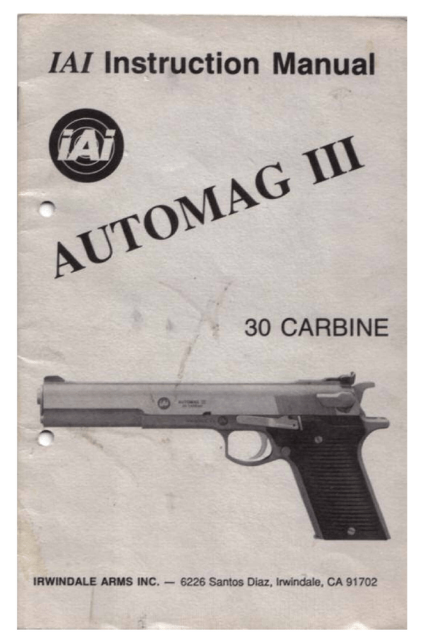
Automag III – .30 Carbine
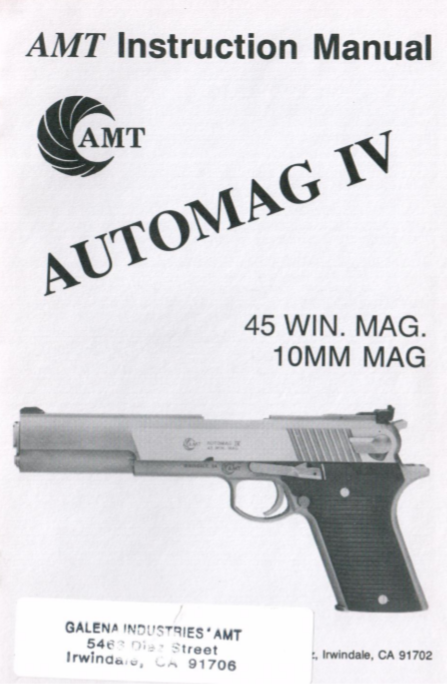
Automag IV – .45 Winchester Magnum & 10 mm Magnum
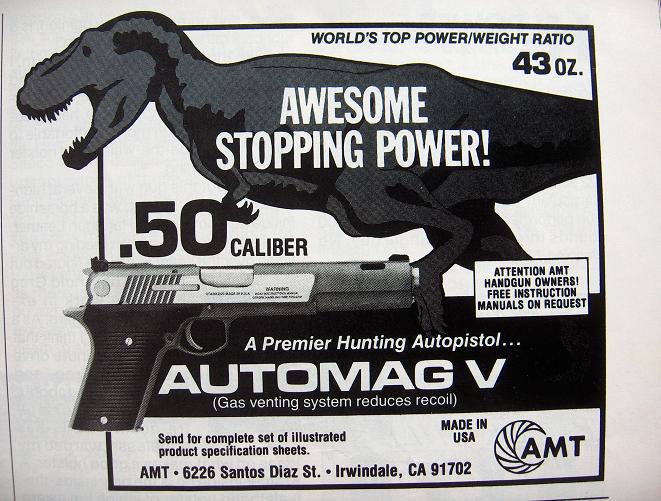
Automag V – .50 Action Express
Note that the model # was also the first number of the caliber they were chambered in.
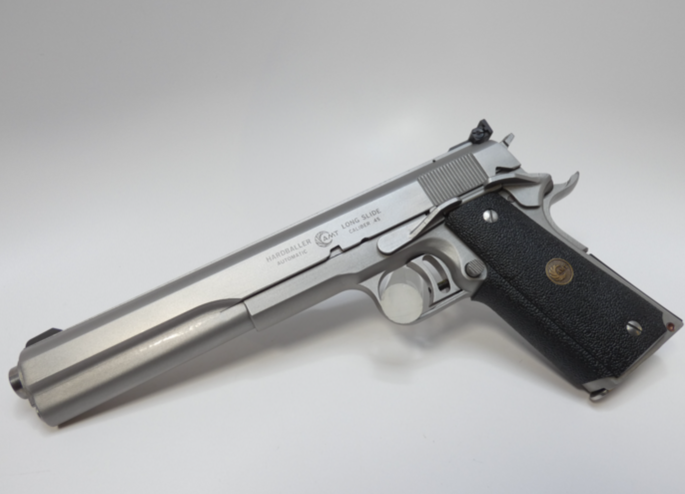
They also produced the Back-Up series of pistols (pictured above) as well as some 1911 variants known as the “Harballer”, “Commando” and the “Javalina”
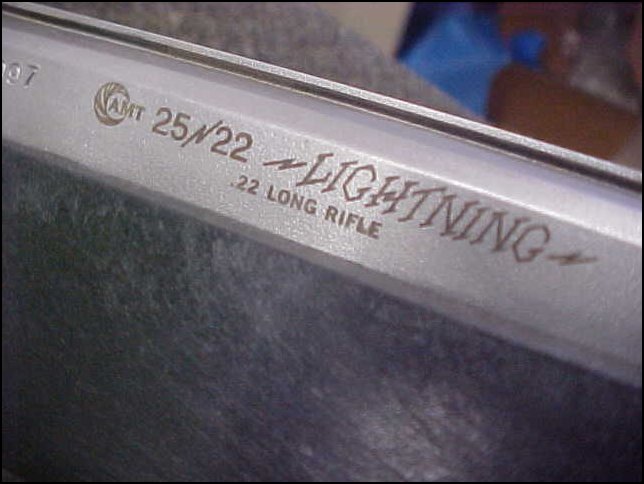
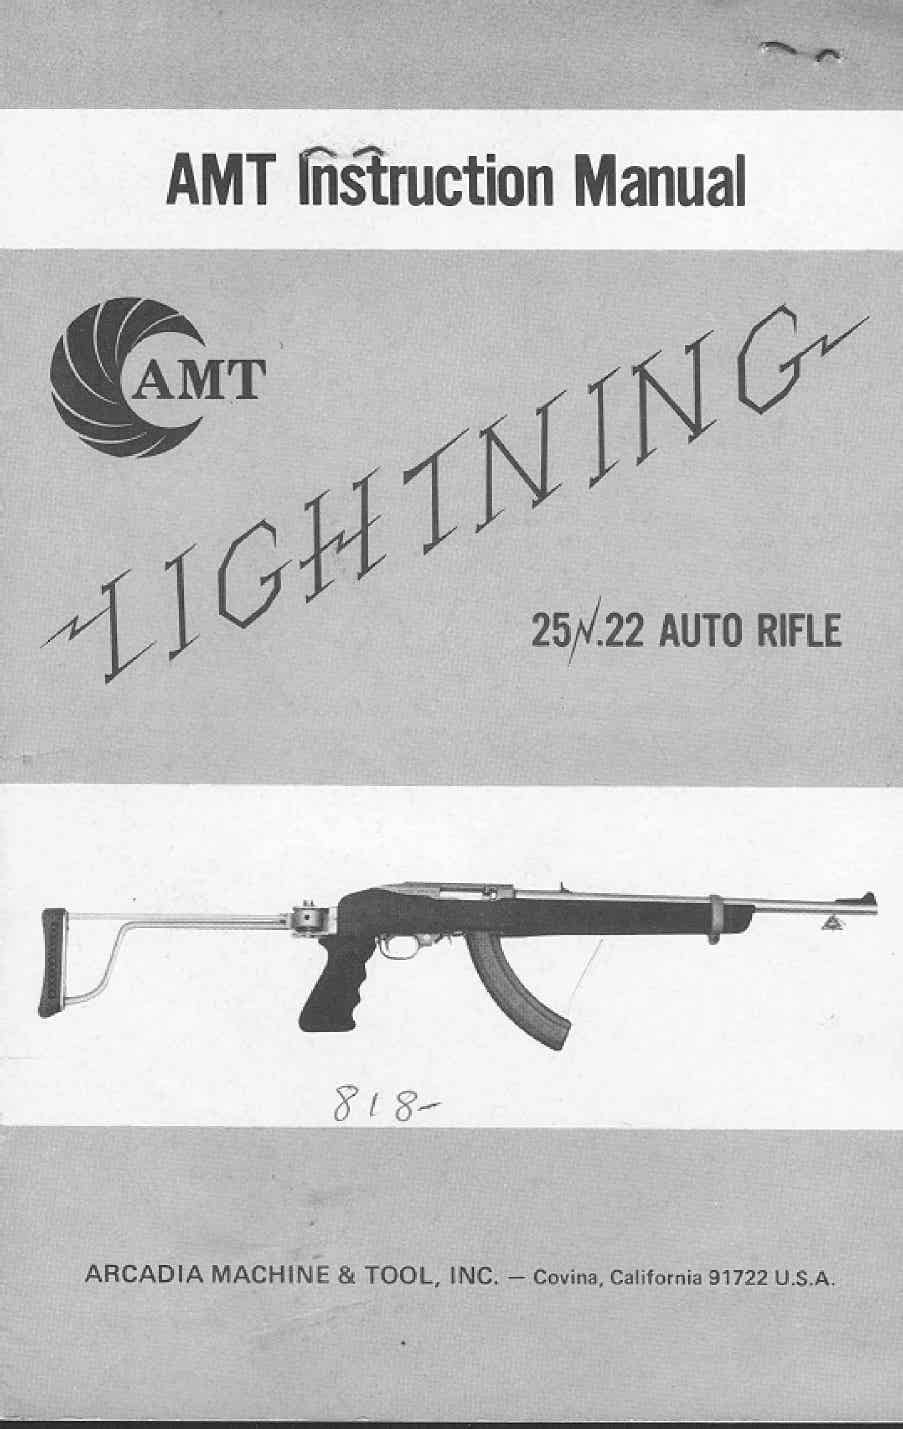
Sometime around 1984 the folks at AMT decided to start making copies of the Ruger Mark II pistol and the Ruger 10/22 rifle.
The pistol carried the name “Lightning” and the rifle was the “Lighting 25/22” as it was shipped with an aftermarket 25 round magazine.
Ruger was none to happy about it and a lawsuit eventual brought production to end. Whether that was through a cease and desist order or a licensing agreement that AMT could not afford, I do not know which.

In 1985 AMT was moved to Covina, CA.
In 1987 or 1988 AMT production moved again, this time to Irwindale, CA.
Then in October of 1988 the company was reincorporated Irwindale Arms Incorporated (IAI).
Sometime in the mid 80’s an employee of AMT/IAI decided to branch out and produce high precision rifles including some in .22 LR, based on the AMT copy of the 10/22.
The company name was later changed to Diamond Precision Industries and when AMT no longer produced the the Lightning, they began getting their stainless receivers from Olympic Arms (Olympia, WA).
Diamond Precision Arms closed down in 1988 due to California manufacturing restrictions regarding firearms. Meanwhile the folks at Olympic Arms got letters from Ruger’s lawyers as well.


On April 28th, 1996 Harry William Sanford passes away, two years later the company is purchased by Galena Industries, production is relocated once more to a different facility down the street in Irwindale. The AMT name re-emerges.
In 1999 Galena moved all production to Sturgis, South Dakota, home of the famous Harley Davidson Motorcycle Rally.
By November 2001 Galena was bankrupt.
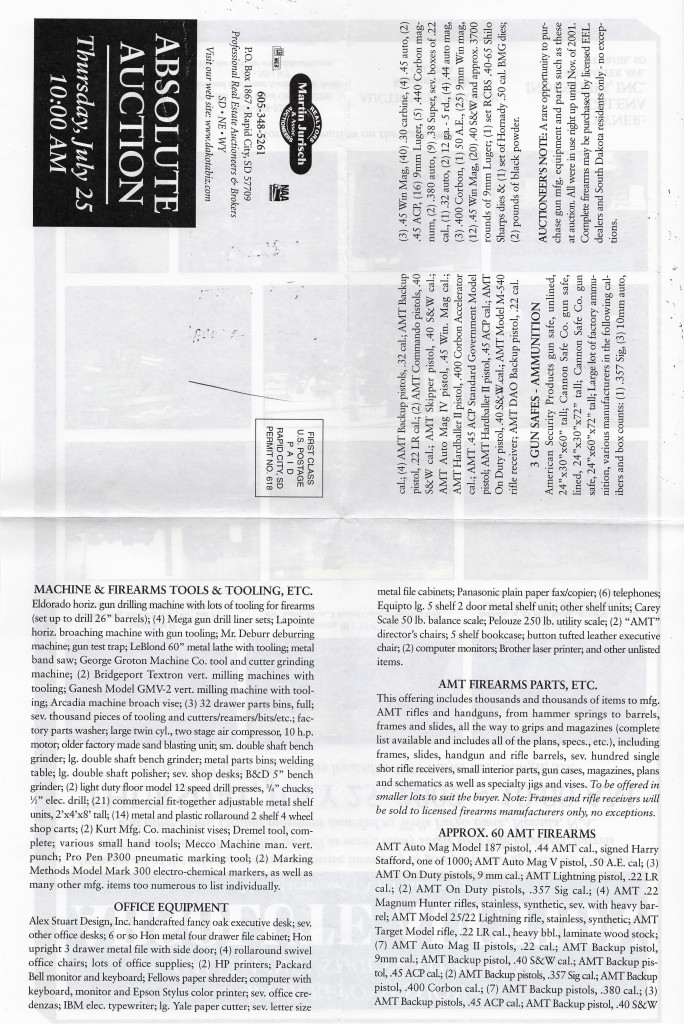
On Thursday July 25th, 2002 an auction was held to sell the remaining inventory, tooling, and rights to the AMT line.
In a strange twist of fate, the successful bidder was High Standard Firearms of Houston, Texas. High Standard (the original New Haven/Hamden company) once had Auto Mag manufacture and brand label pistols for them.
This new High Standard company began producing some of the AMT models in their Houston Texas plant.

In 2015 Harry’s son Walter sells the rights to the 44 Aut Mag to a group of investors.
In 2018 High Standard goes bankrupt. That same year Auto Mag Ltd announces the re-introduction of the .44 Auto Mag pistol.


Time Line of Events
1954 – Harry Sanford manages Golden State Arms
1957 – Sanford opens East Pasadena Firearms and Tackle Co.
1968 – Sanford’s gun shop moves down the street and gets new name Harry W. Sanford Firearms
1969 – Auto Mag Corporation incorporated
1971 – The first 44 Auto Mag model 180 pistols ship to customers
1974 – Auto Mag Corp goes bankrupt
1975 – The AMT names appears for first time as a DBA
1980 – AMT is incorporated as a stand alone entity
1982 – The last 44 Auto Mag is produced
1983 – Sudden Impact is released in theaters
1984 – AMT begins producing Ruger 22 rimfire copies
1985 – AMT production moves to Covina, CA
1987 – AMT production moves to Irwindale, CA
1987 – Beverly Hills Cop II is released in theaters
1988 – AMT is reorganized and incorporated as Irwindale Arms Inc
1994 – A lawsuit brought by Ruger ends production of the Ruger copies.
1996 – Harry Sanford passes away
1998 – Galena Industries buys Irwindale Arms Inc. & moves production down the street
1999 – Galena Industries moves to Sturgis, SD
2000 – I/O interactive releases “Hitman” video game
2001 – Galena goes bankrupt
2002 – Galena and AMT name sold to High Standard of Texas
2018 – High Standard goes bankrupt
2018 – Automag Ltd and Excel Industries announce the return of the 44 Automag.
Legacy
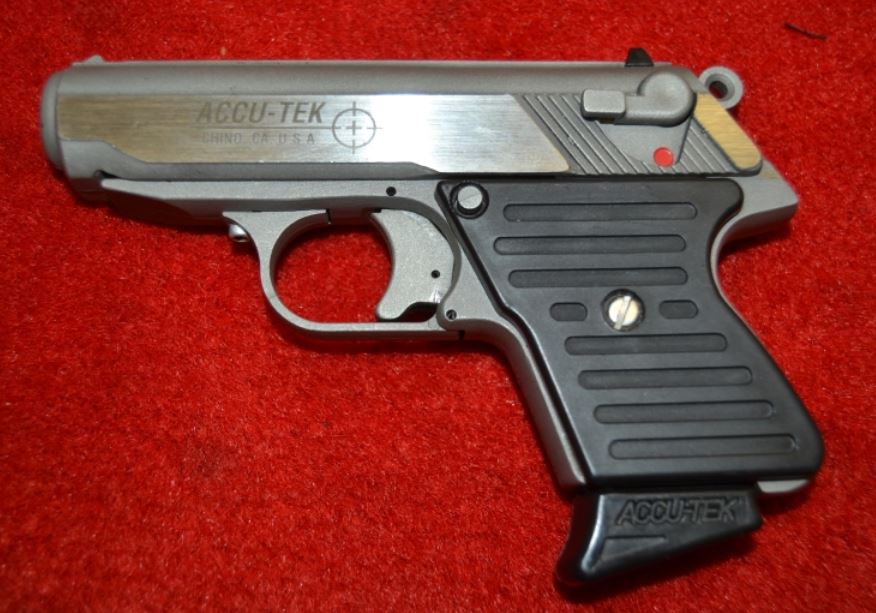
Larry Grossman (not to be confused with the hot rod artist), the one-time head designer/engineer at AMT went on to create the Accu-Tek 380, which resembles the AMT made pistols.
In 1983 Sudden Impact is released in theaters, the fourth film of the Dirty Harry franchise, featuring a few scenes with a 44 Automag…..of its prowess Dirty Harry states: “…this is the 44 mag Automag and holds a 300 grain cartridge and if properly used it can remove the fingerprints…”
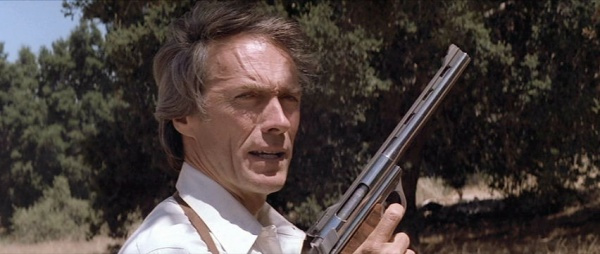
The silver screen exposure did for the 44 Automag, what the original Dirty Harry movie did for the S&W model 29 a decade earlier. Unfortunately the last 44 Automag was produced a year before the film hit theaters.
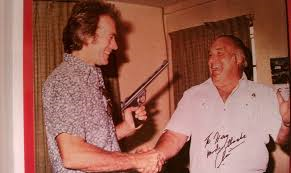
Clint Eastwood, the 44 Automag and Harry Sanford
In 1987 Beverly Hills Cop II is released, part of the plot twist includes custom 44 AMP cases cut down from .308 Winchester cases. Something Axle Foley recognized as a custom 44 AMP case.
The search for local “gunsmith” that knows how to cut down and load these cartridges leads them to the Beverly Hills Gun Club.


see the clip here
In the year 2000 a new “first person shooter” or “FPS” game emerged. Named Hitman, the main character, Agent 47, was given a pair of AMT Hardballers (called Silver Ballers in the game) as his weapons of choice by his Danish developers. This of course brought the AMT guns to the attention of a new generation of gun owners/collectors. There has been a lot of “tribute” 1911s built to mimic the Silverballers.

What Remains:
While the AMT guns are no longer being produced, the 44 Auto Mag may be going back into production.
In August of 2015 Walter Sanford (son of Harry) sold the rights and what material/parts/tooling was left of the 44 AutoMag to a company in South Carolina.
The new company, named AutoMag Ltd Corp., is attempting to produce the guns. There will be some updates that may make the gun cheaper to manufacture and more reliable.
Excel Industries is doing at least some (if not all) of the work and Larry Grossman is deeply involved.
from the 2018 SHOT Show.
I have read that Max Gera is also assisting with the project.
See their website here
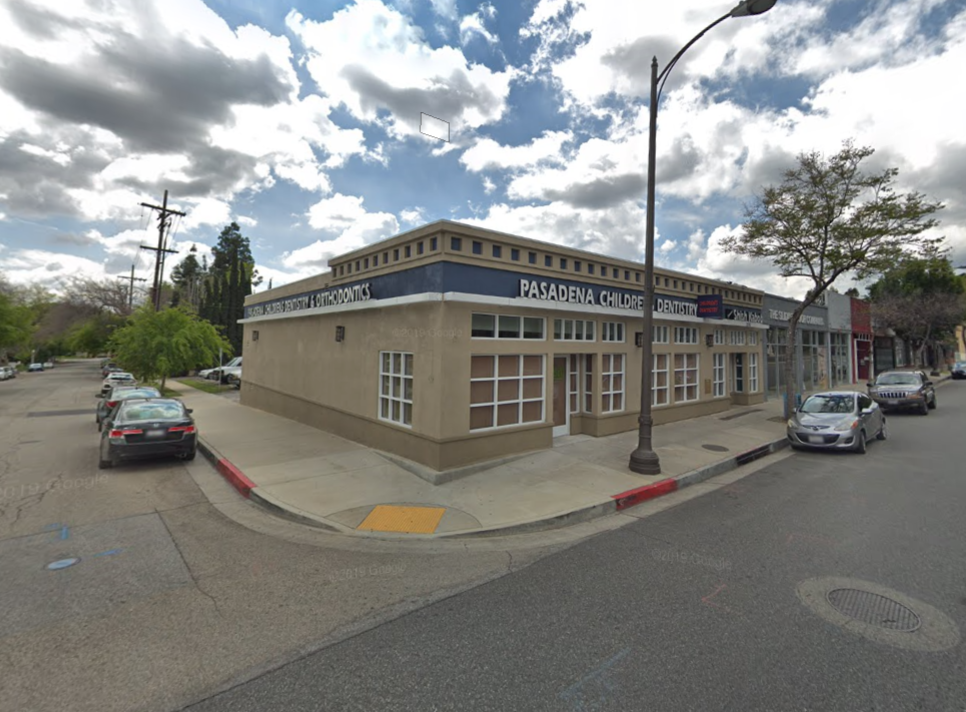
The original gun shop (East Pasadena Firearms and Tackle) at 2620 East Colorado Blvd is long gone, in it’s place sits a dentist office
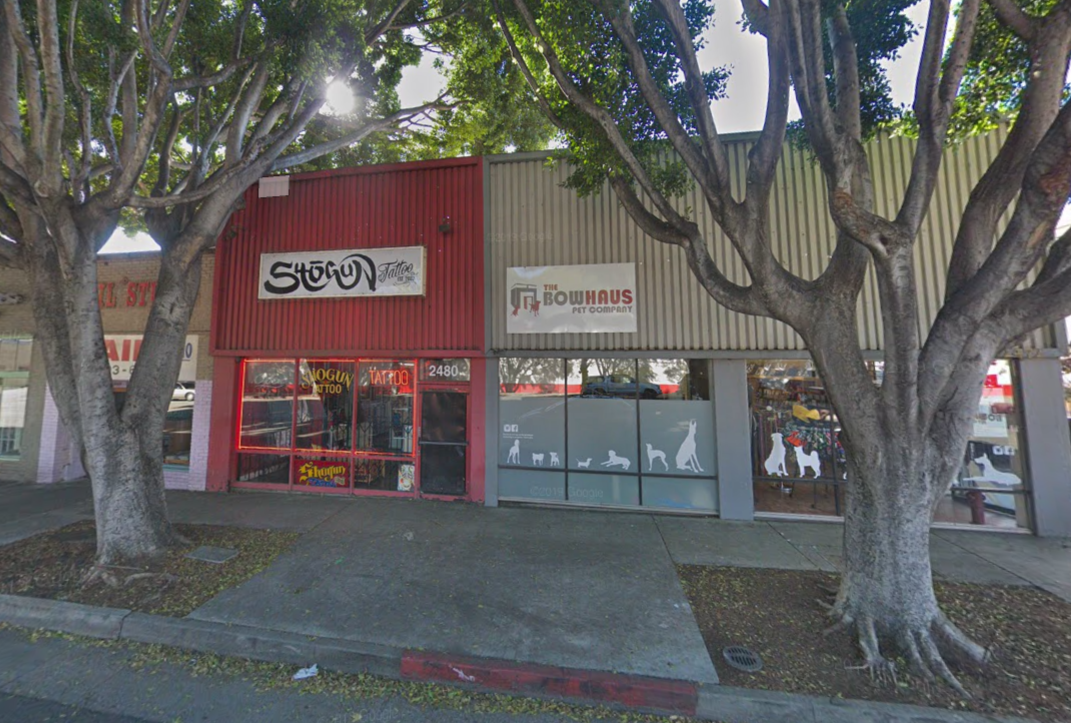
The location of Harry W. Sanford Firearms at 2480 East Colorado Blvd in Pasadena is now a tattoo parlor and a pet store
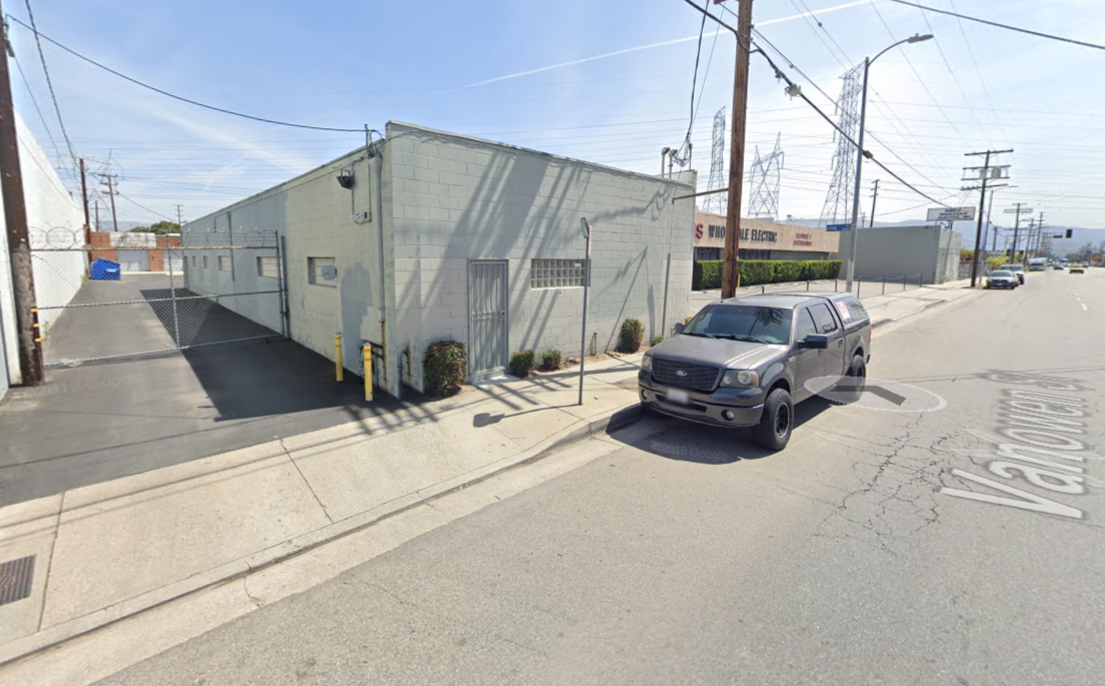
The North Hollywood location at 11607 Vanowen Street is still standing, this is where the Automags were produced after Automag Corp went under.
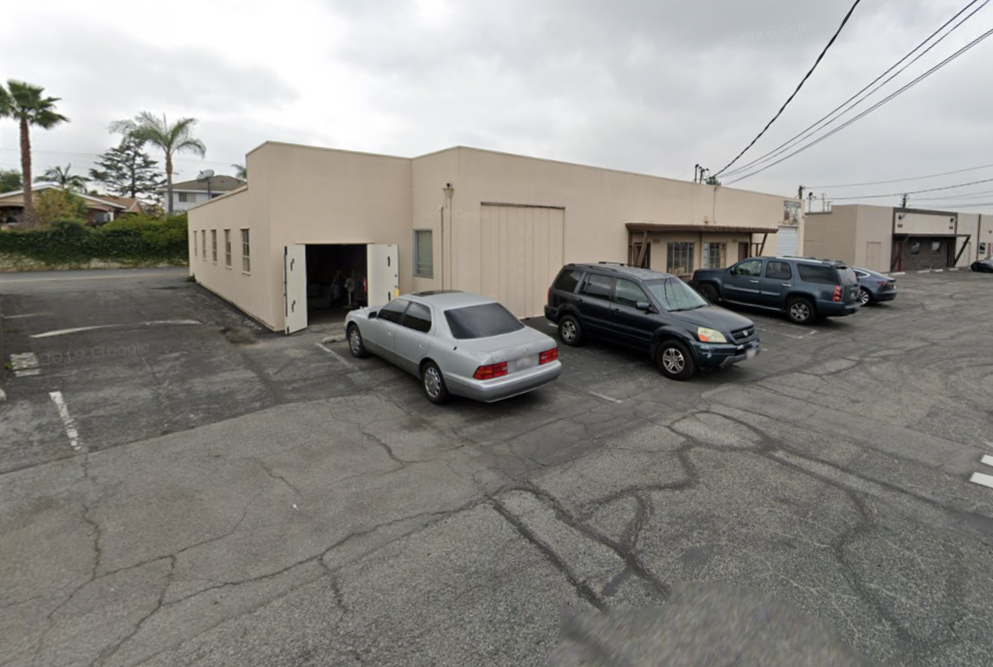
The first AMT factory building still stands at 11658 McBean Drive in El Monte.
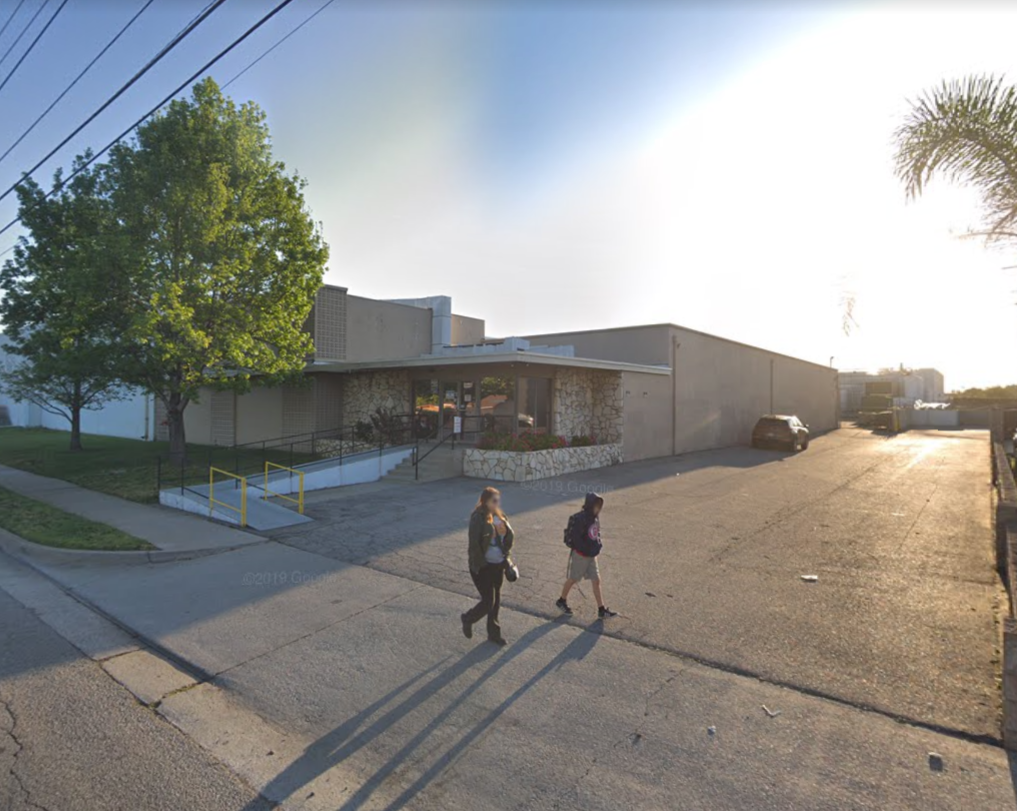
The Covina factory at 536 N. Vincent Ave is still standing as well
The two factory locations in Irwindale are also still standing and in use:
6226 Santo Diaz Street
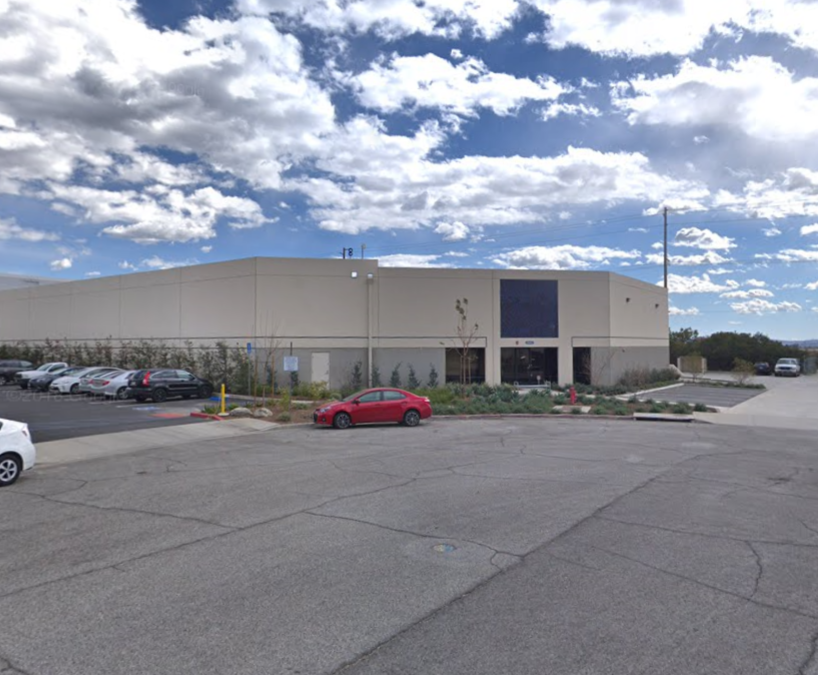
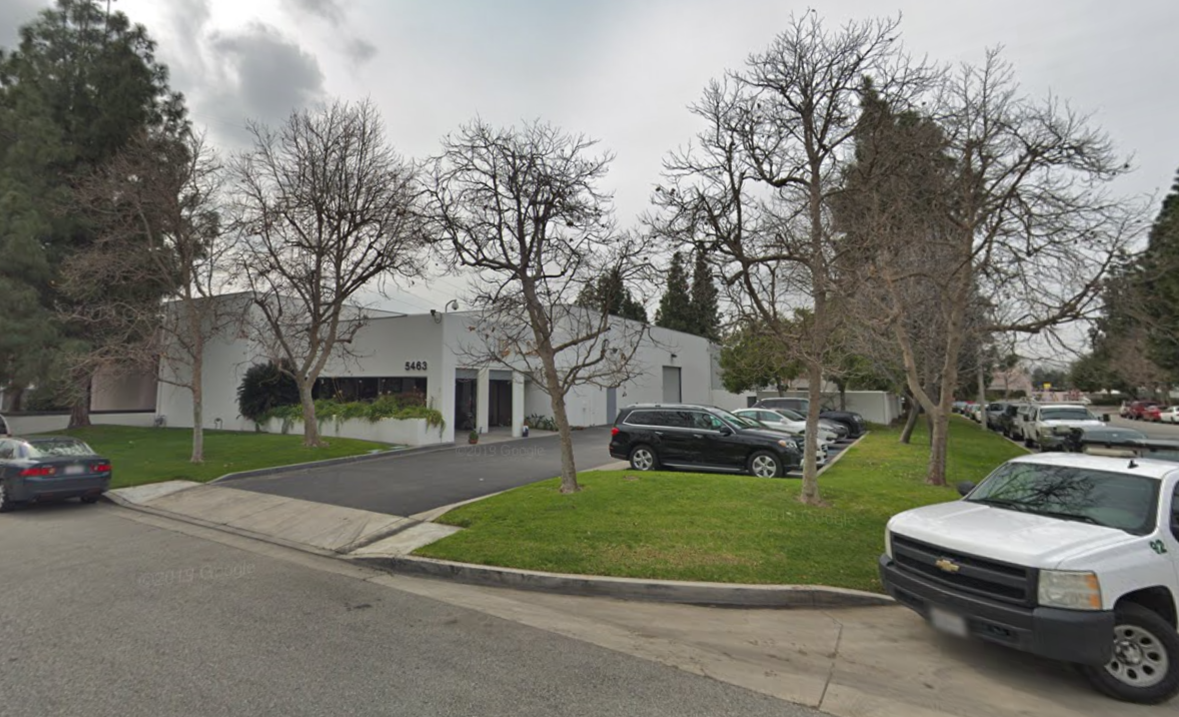
5463 Diaz Street
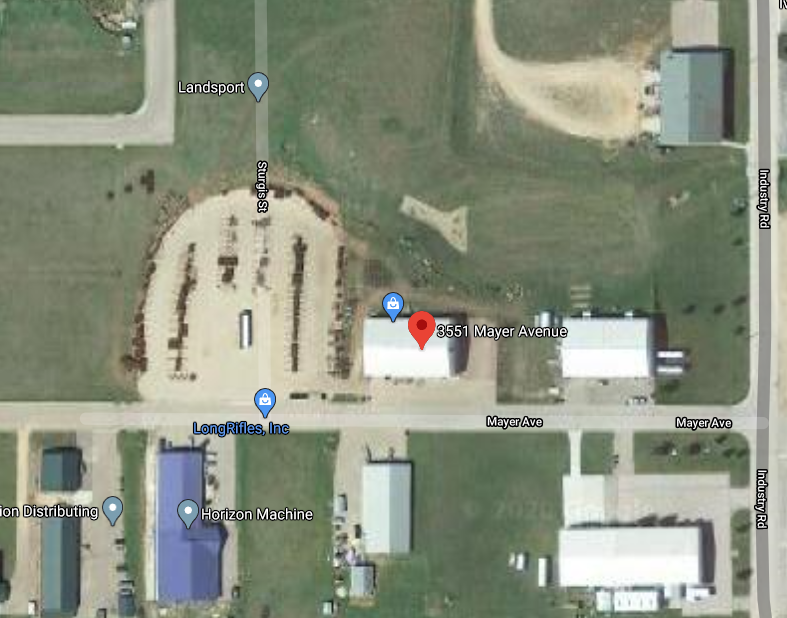
The location of Galena Industries in Sturgis (3551 Mayer Ave.) still exists and is still being used in the gun business. It is now the home of Bowen Arms…in fact the neighborhood is also home to Bar-Sto, Nesika Bay Precision and Long Rifles Inc.
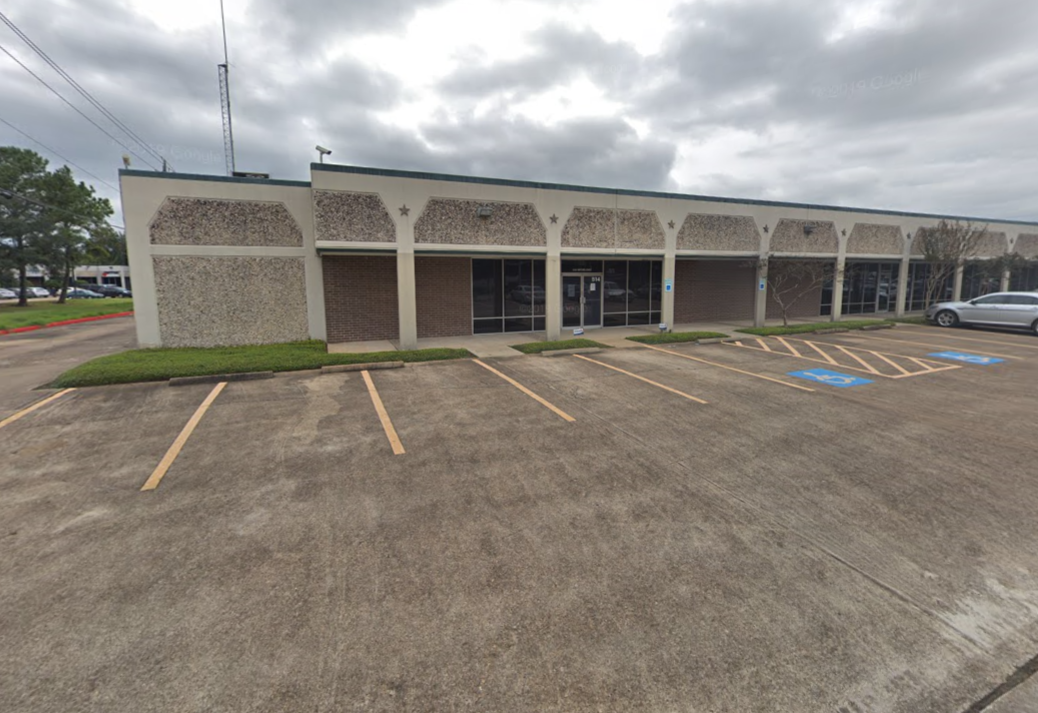
The final building in which AMT guns were produced in Houston at 5151 Mitchelldale:
Sources
https://en.wikipedia.org/wiki/Auto_Mag_Pistol
http://www.amtguns.net/pistols/automag/
https://en.wikipedia.org/wiki/Arcadia_Machine_%26_Tool
http://www.amtguns.info/auto-mag-collectables-guide_topic1642.html
https://automag.com/
https://www.americanrifleman.org/articles/2018/1/31/shot-show-2018-auto-mag-44-amp-pistol/
http://www.amtguns.net/articles/bruce-stark/auto-mag-cartridges/
https://www.guns.com/news/2013/03/13/the-44-automag-pistol-the-forgotten-handcannon
http://www.normankeith.com/AMT.html
https://www.m14br.com/showthread.php?13558-The-California-Connection-Part-2
http://www.imfdb.org/wiki/Beverly_Hills_Cop_II#AMC_.44_AutoMag
Categories
Pity that they did away with it!