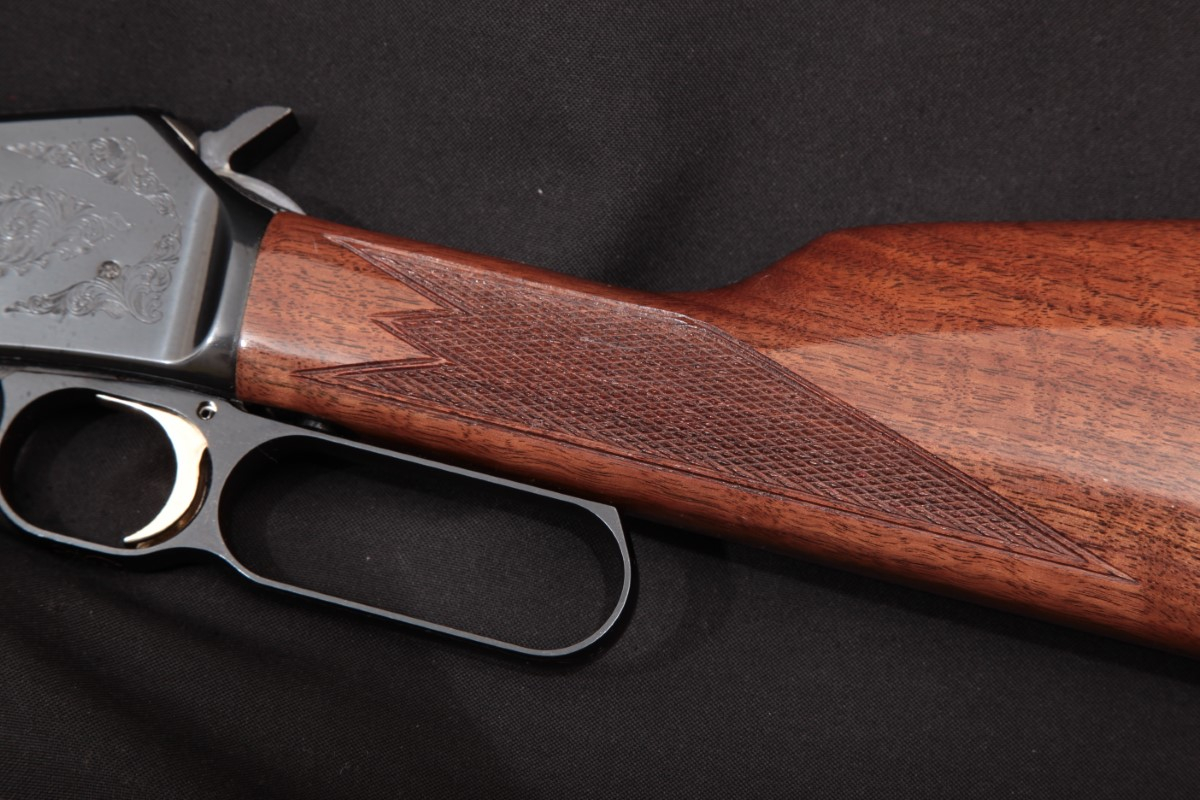
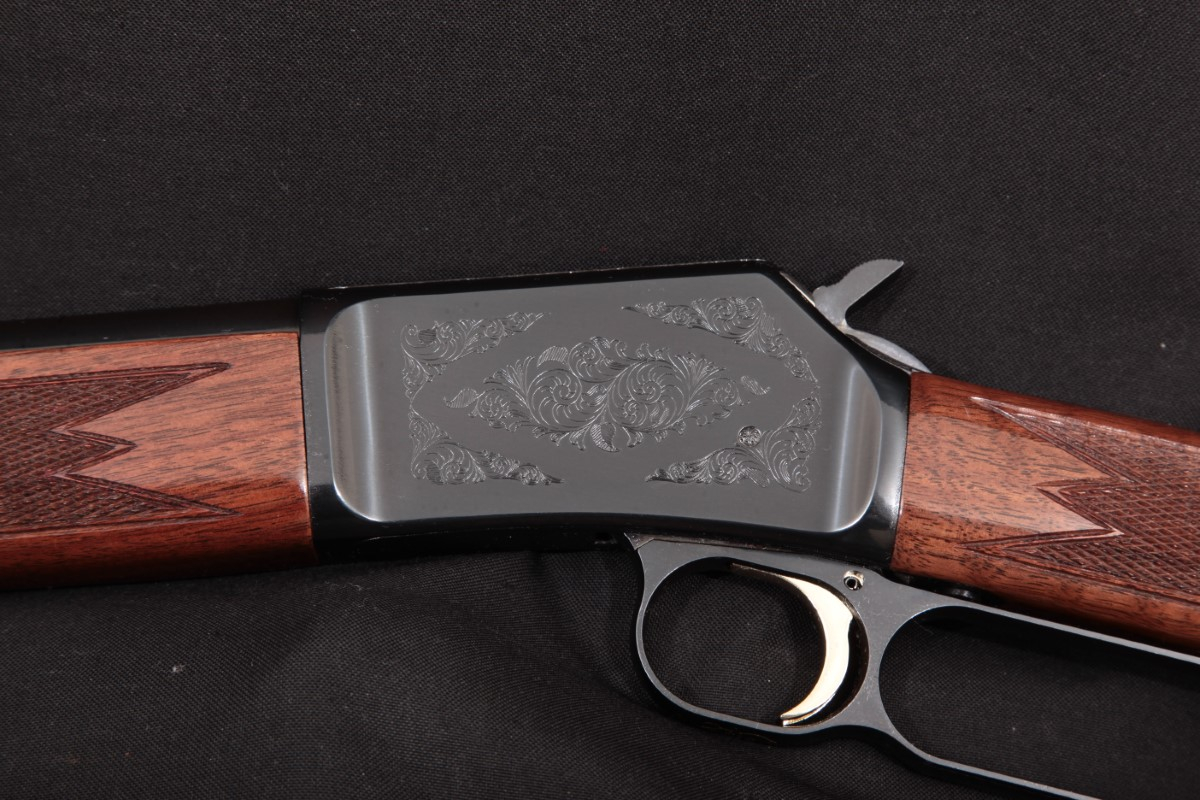
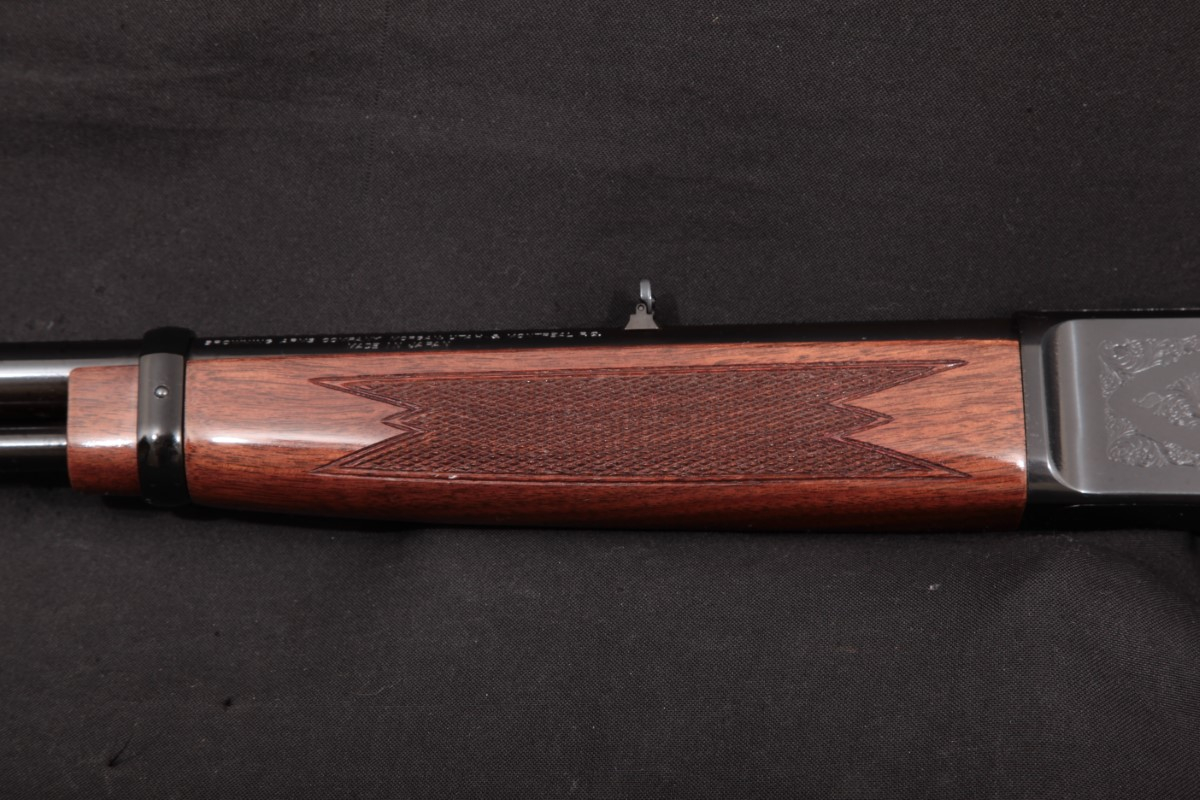
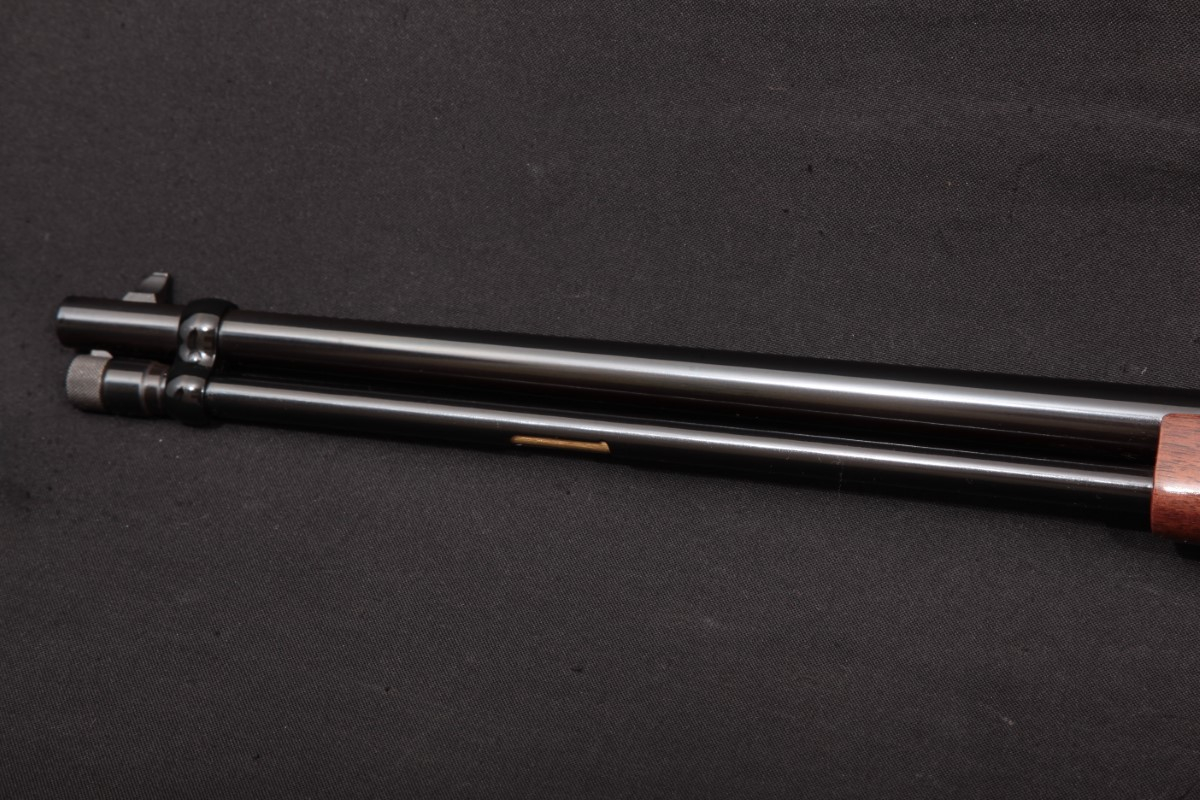
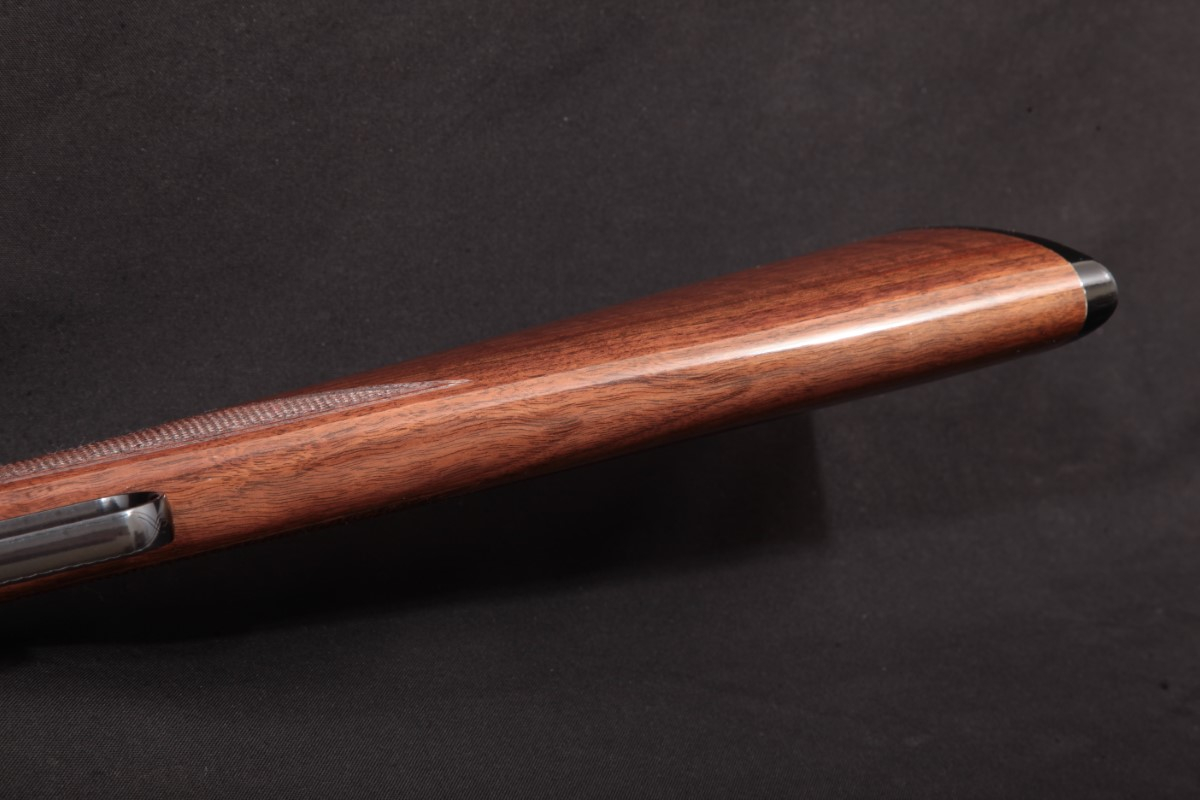
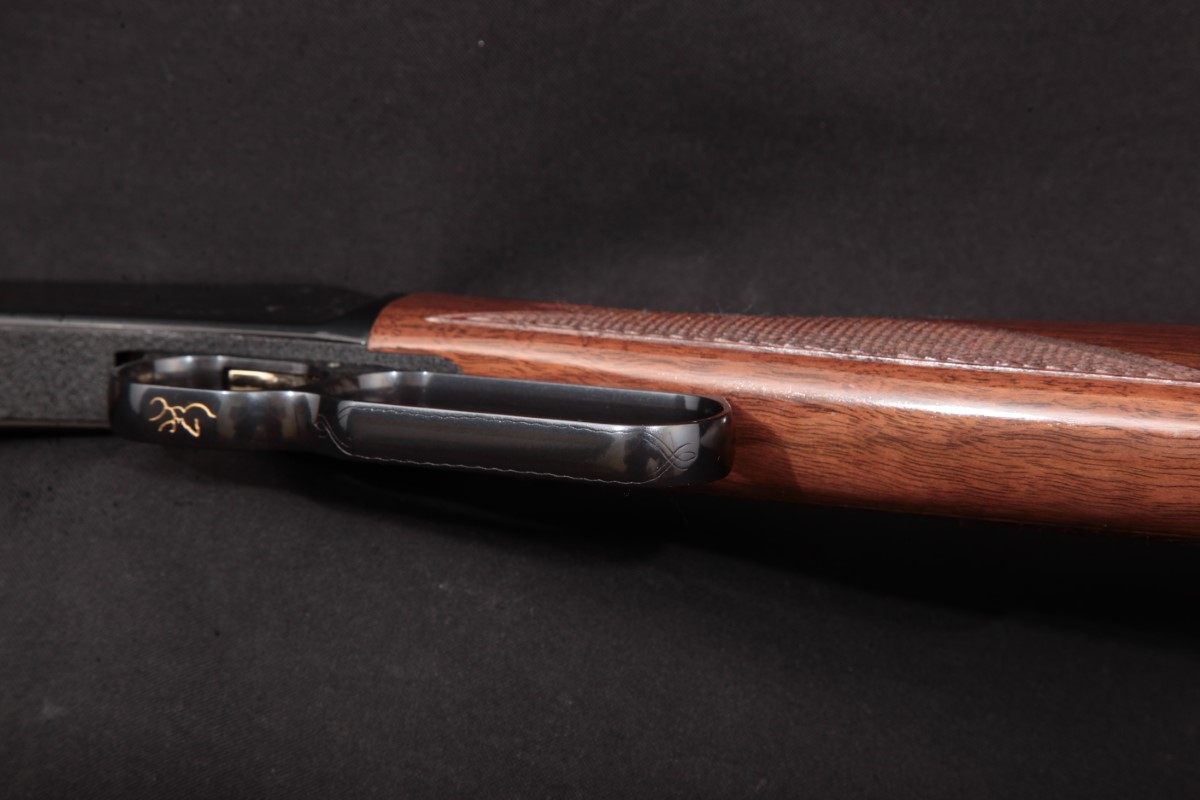
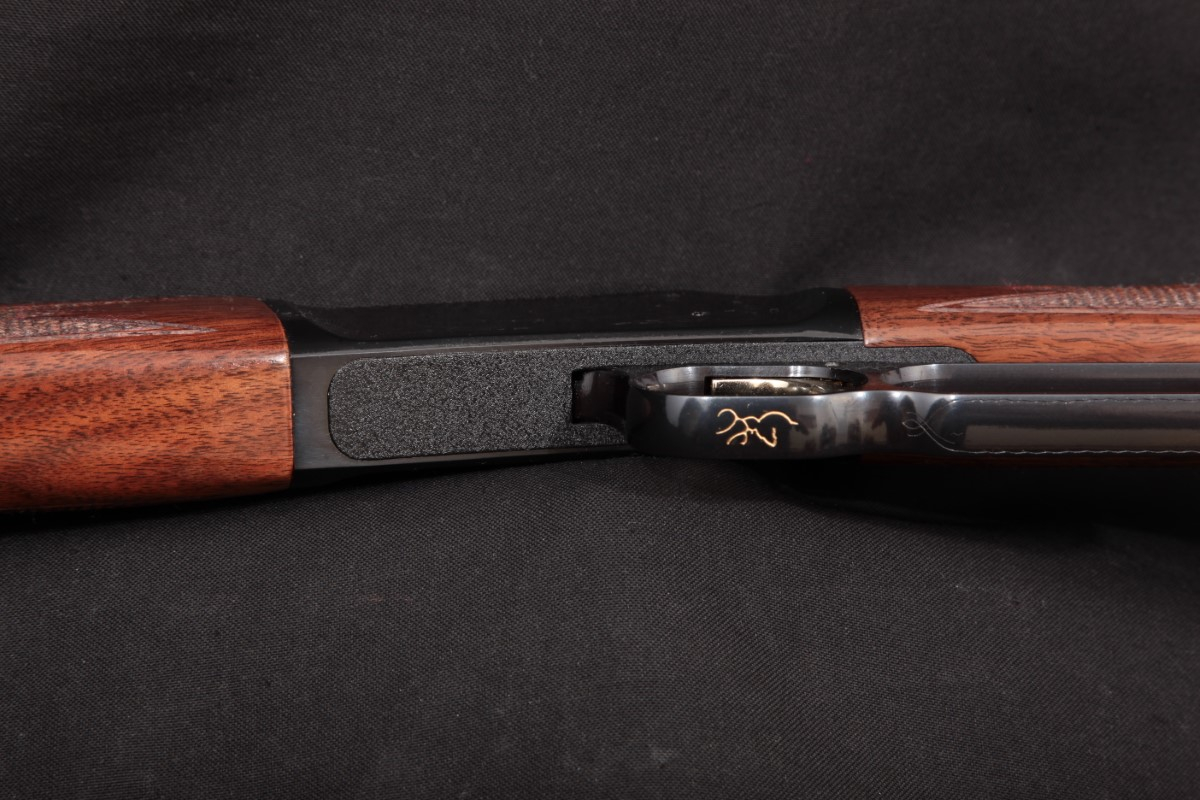
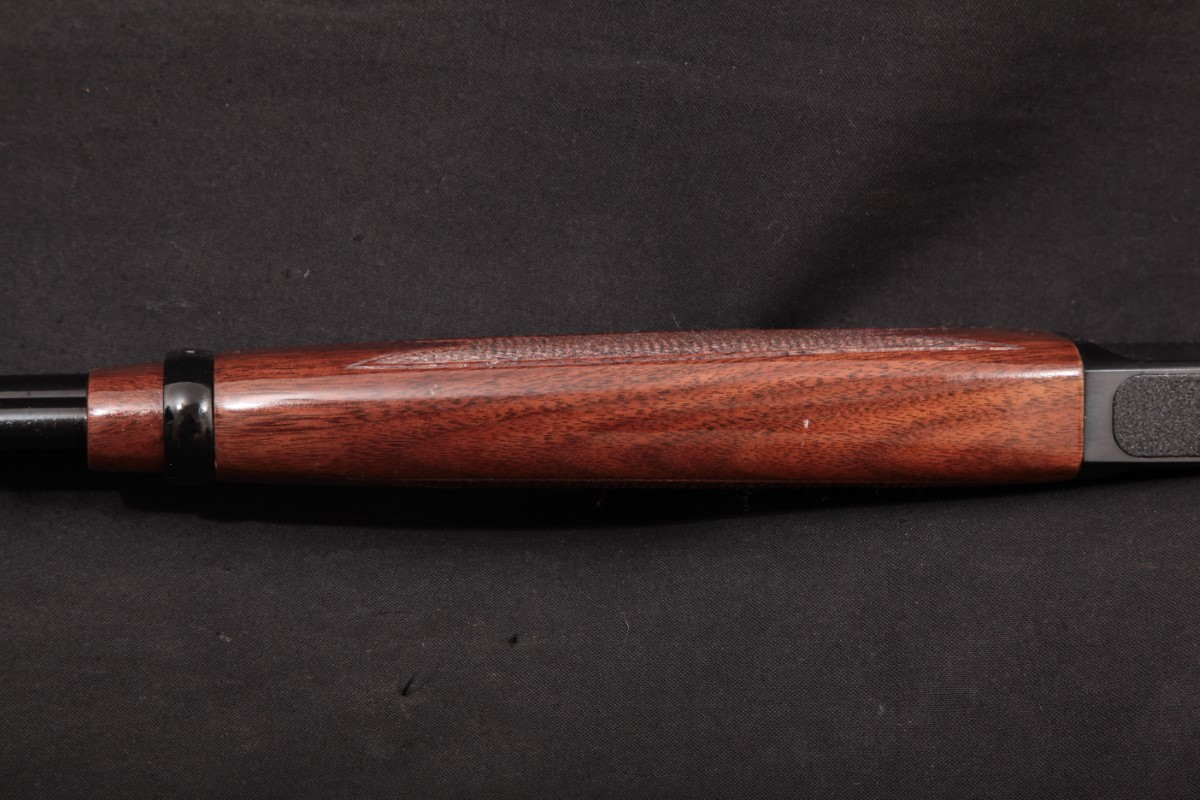
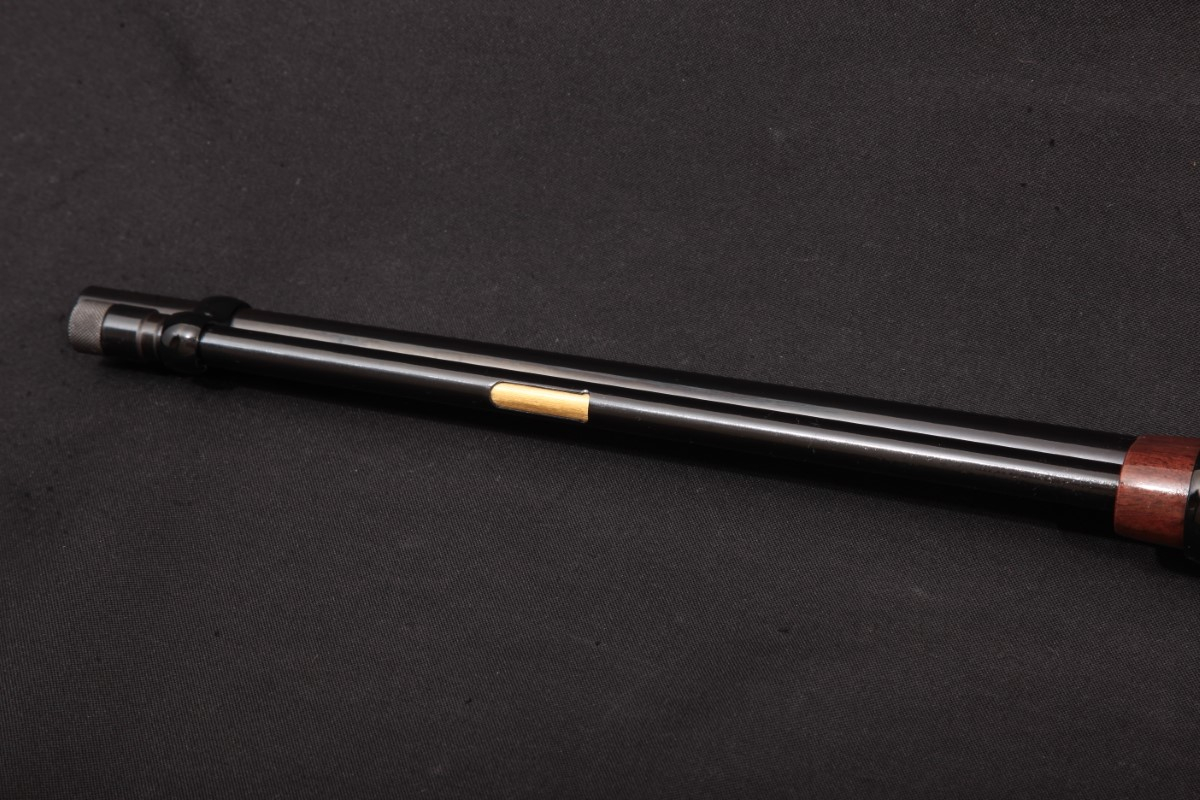
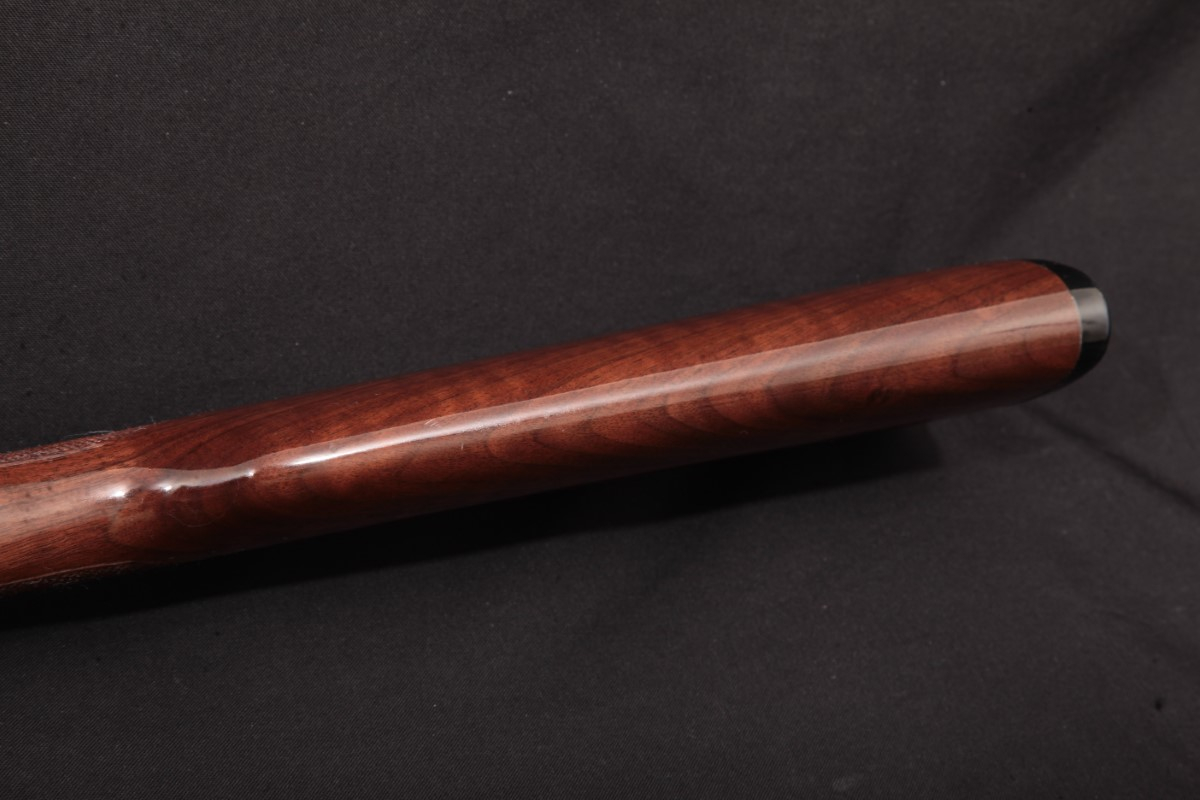
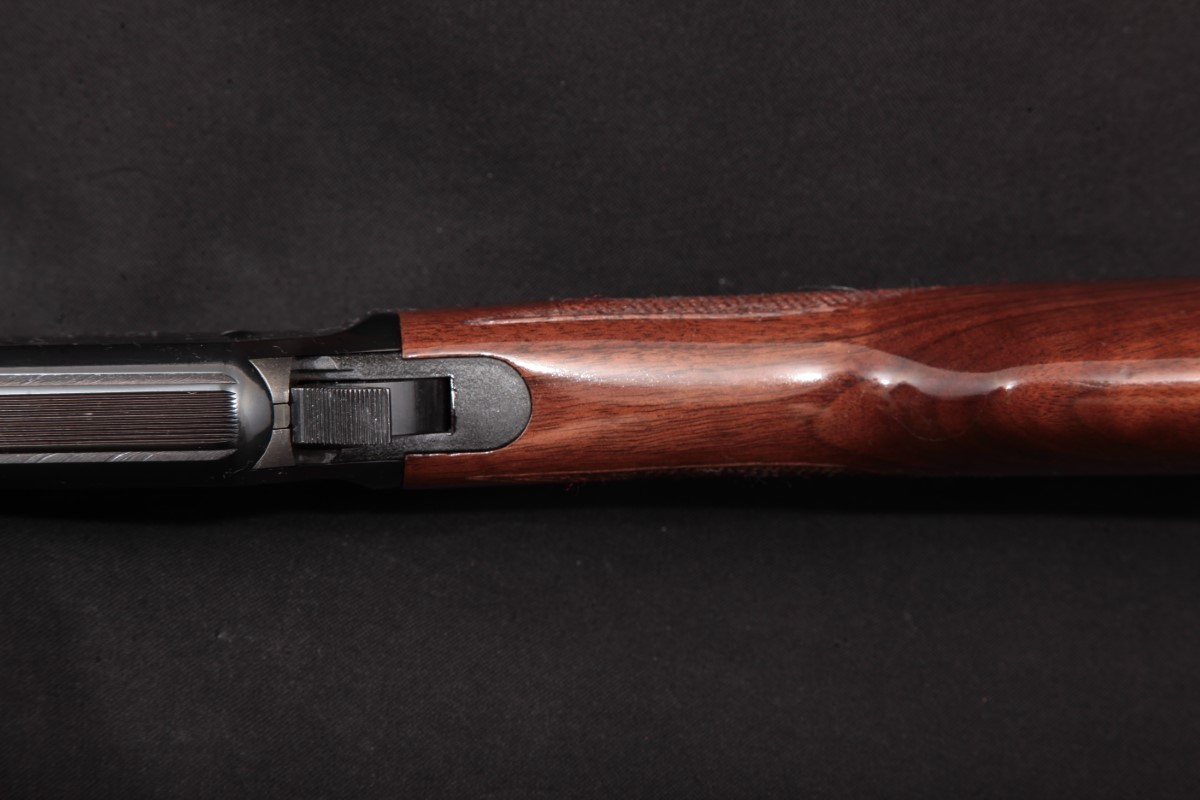
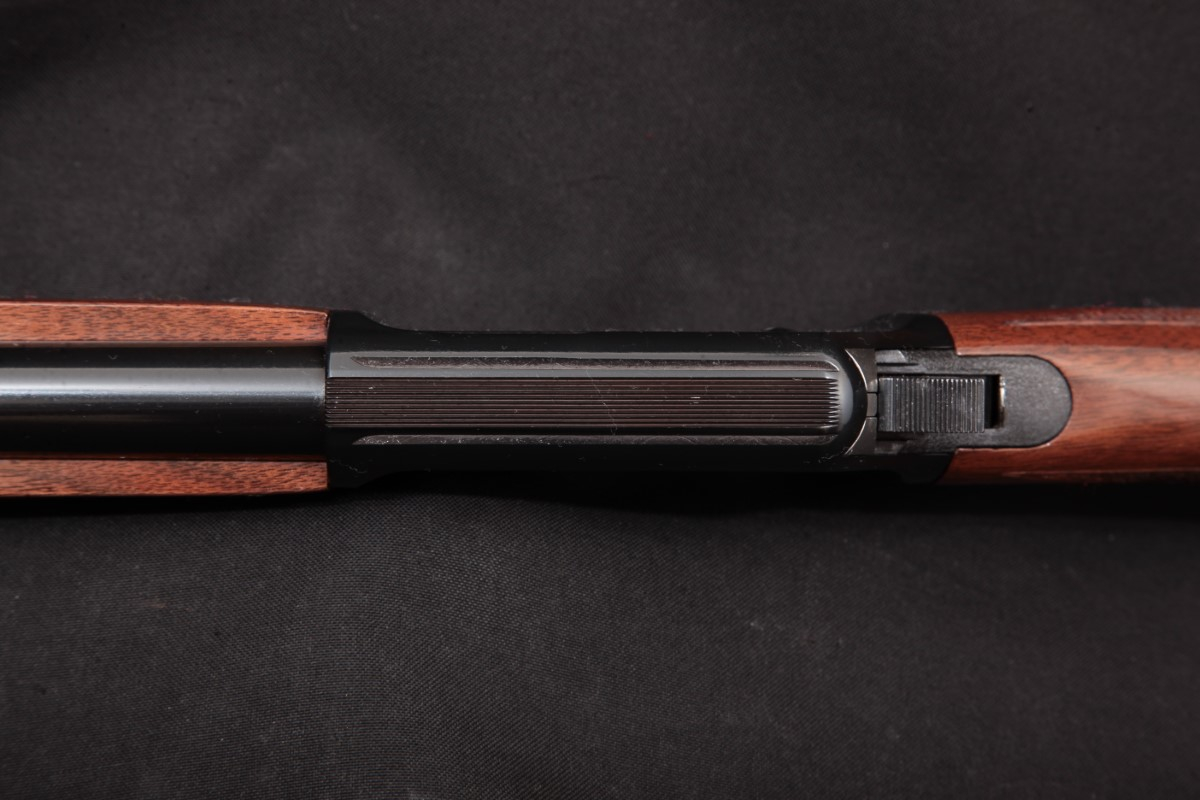
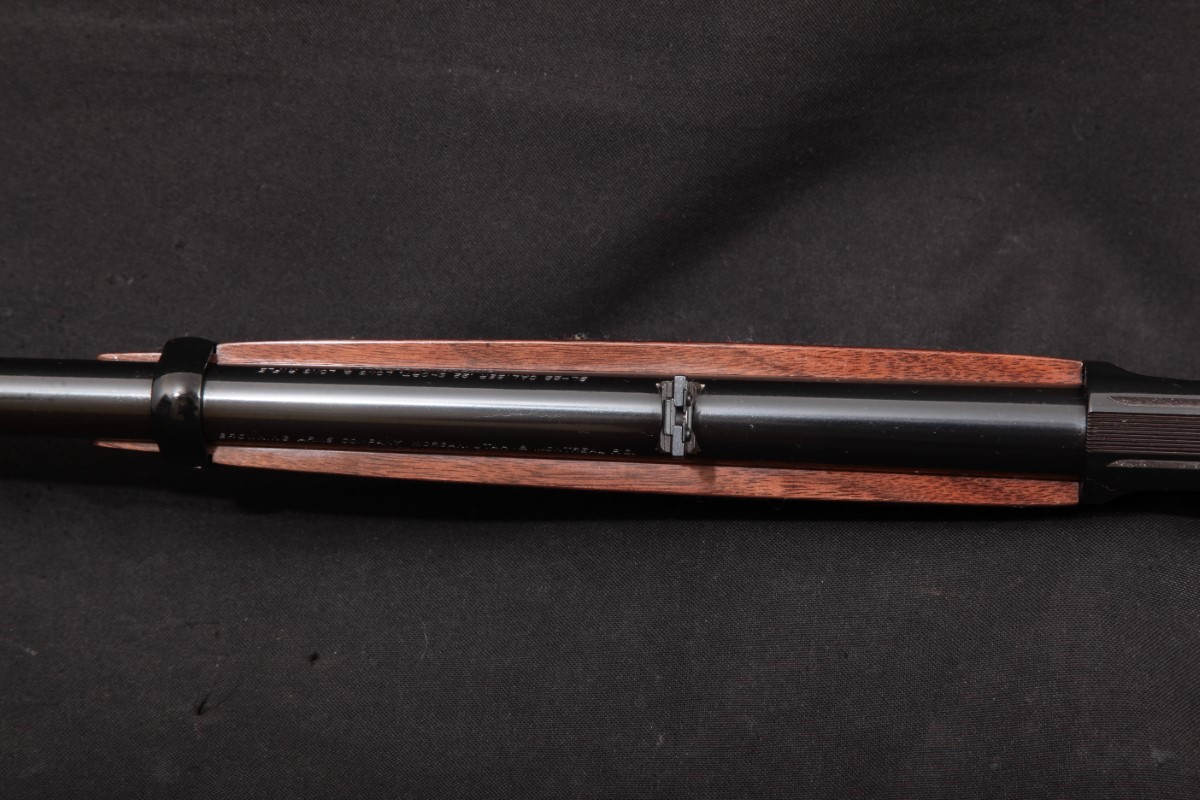
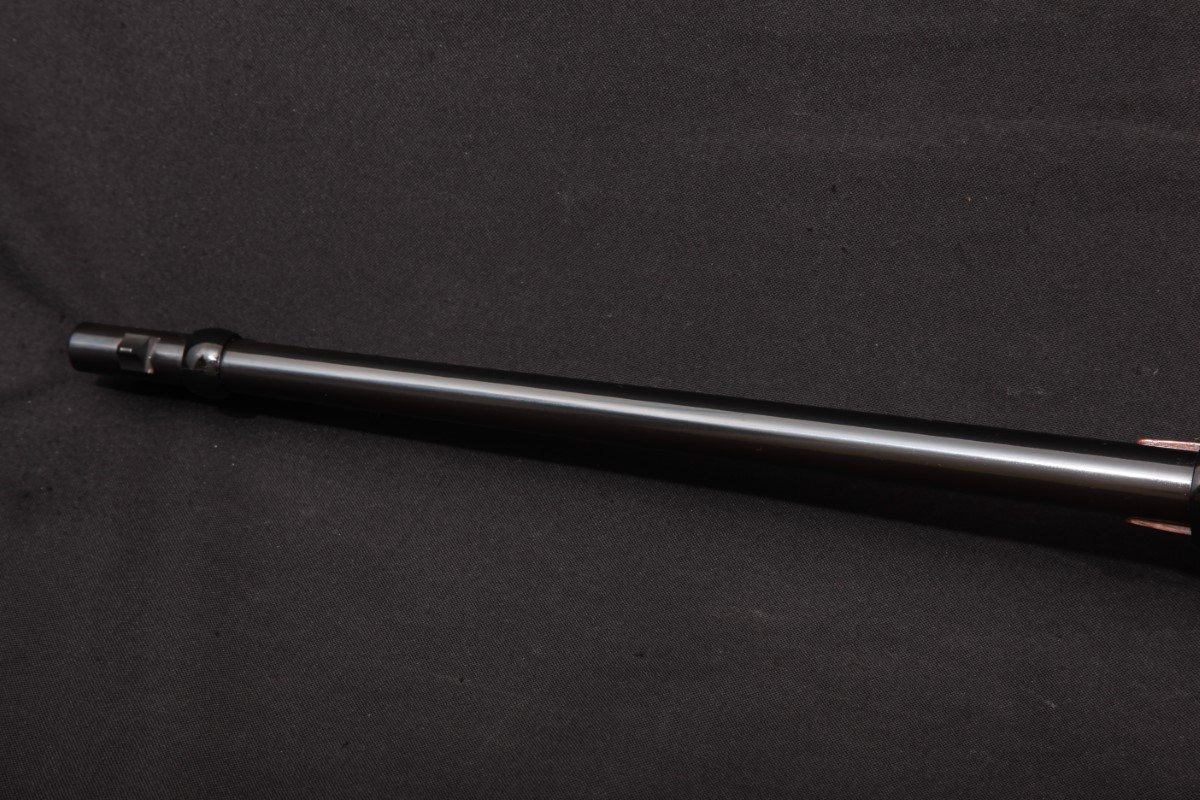
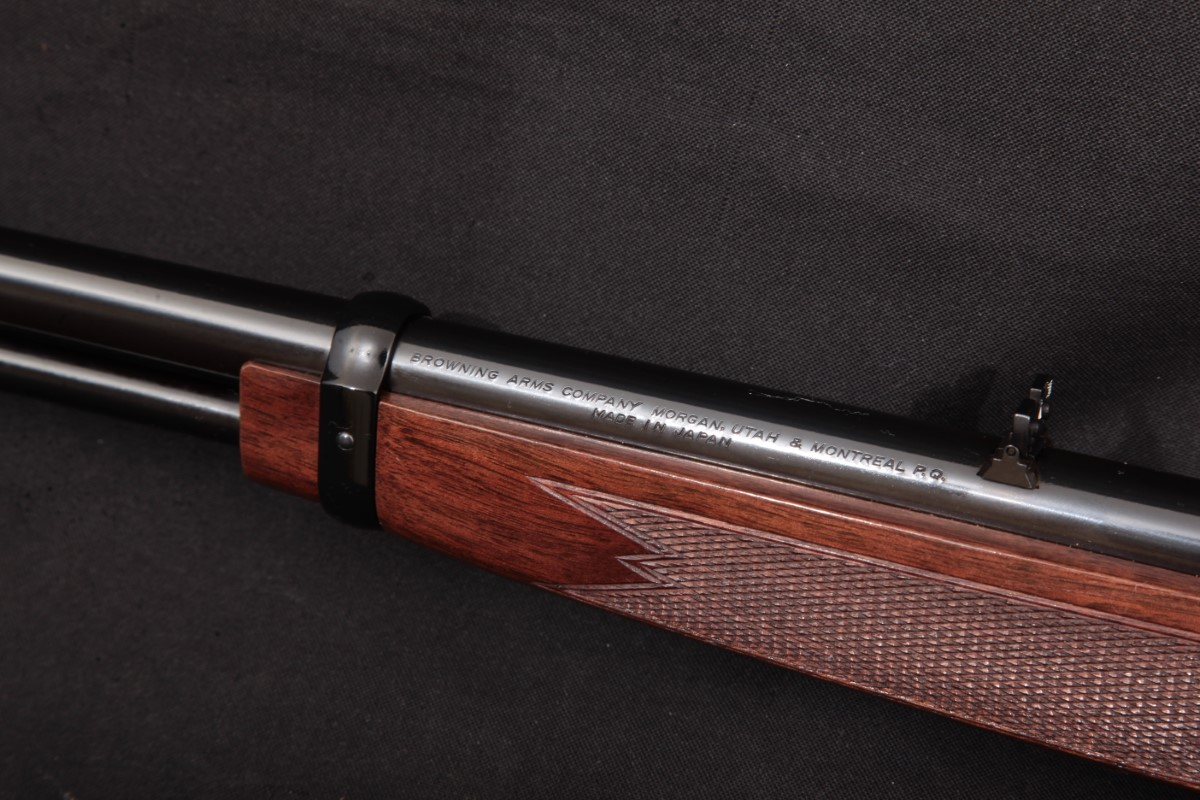
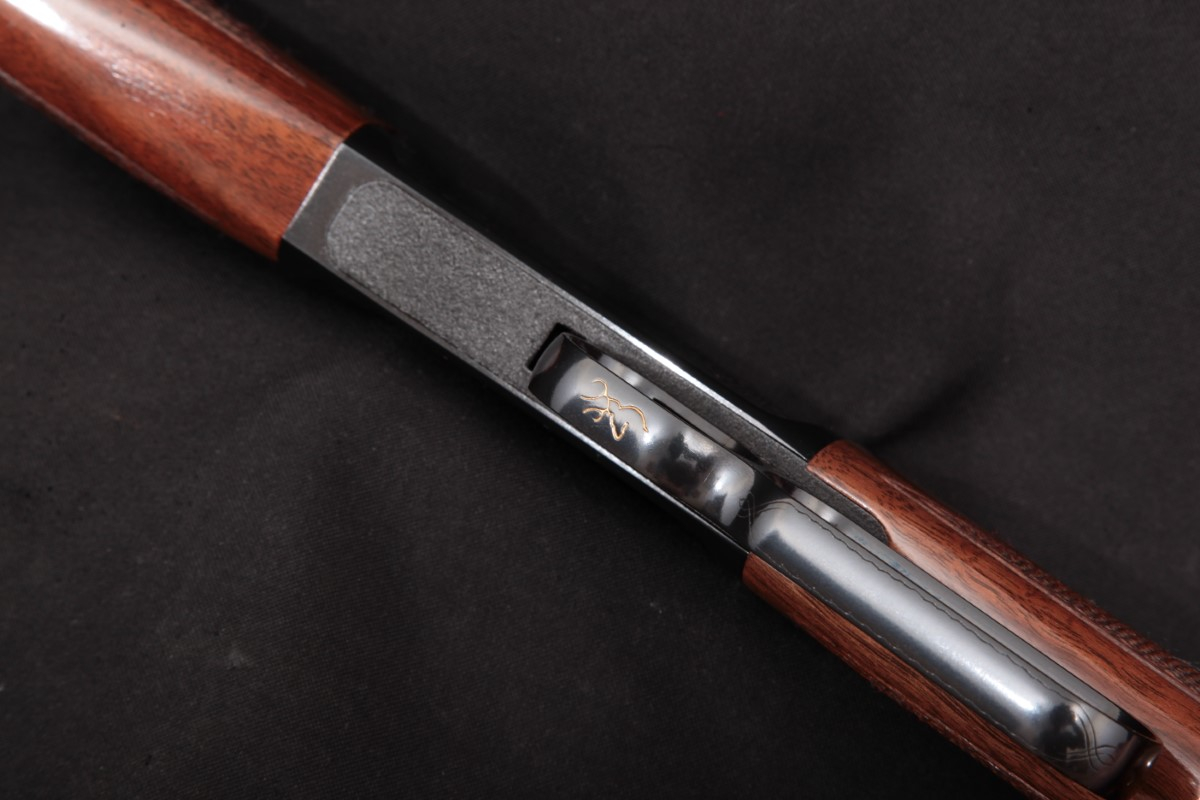
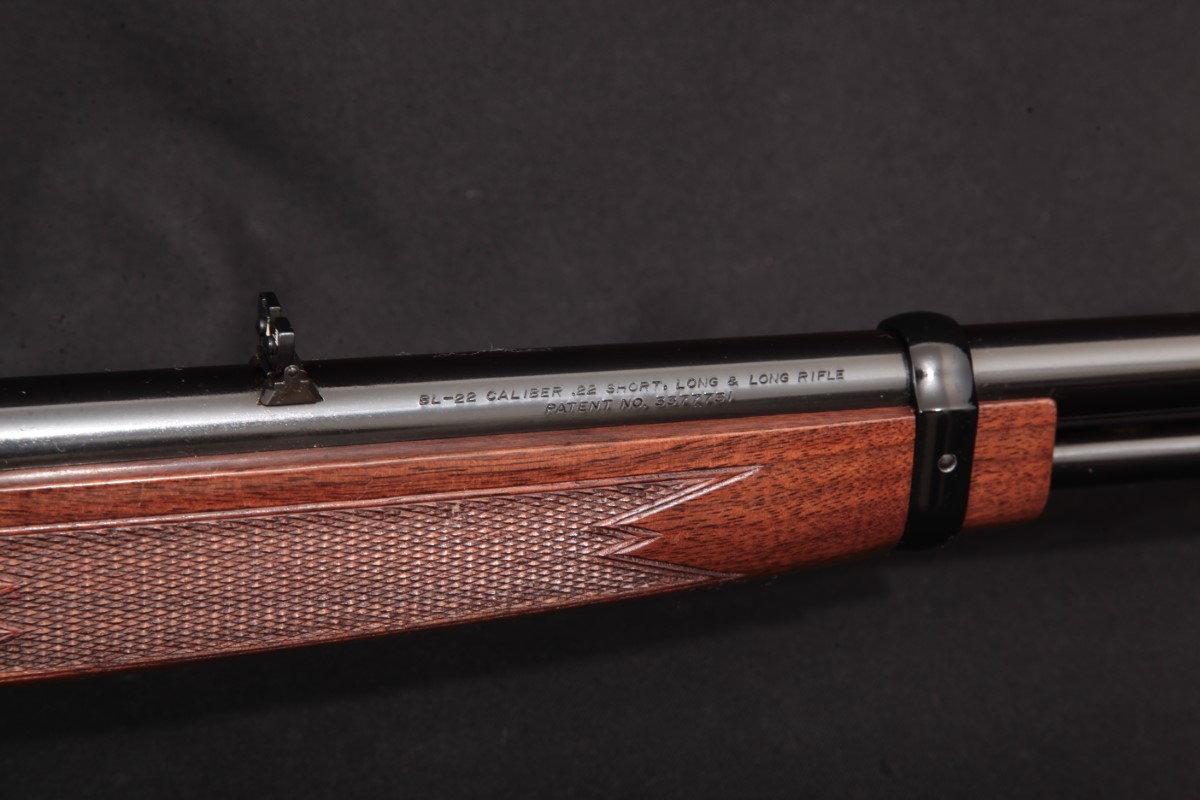
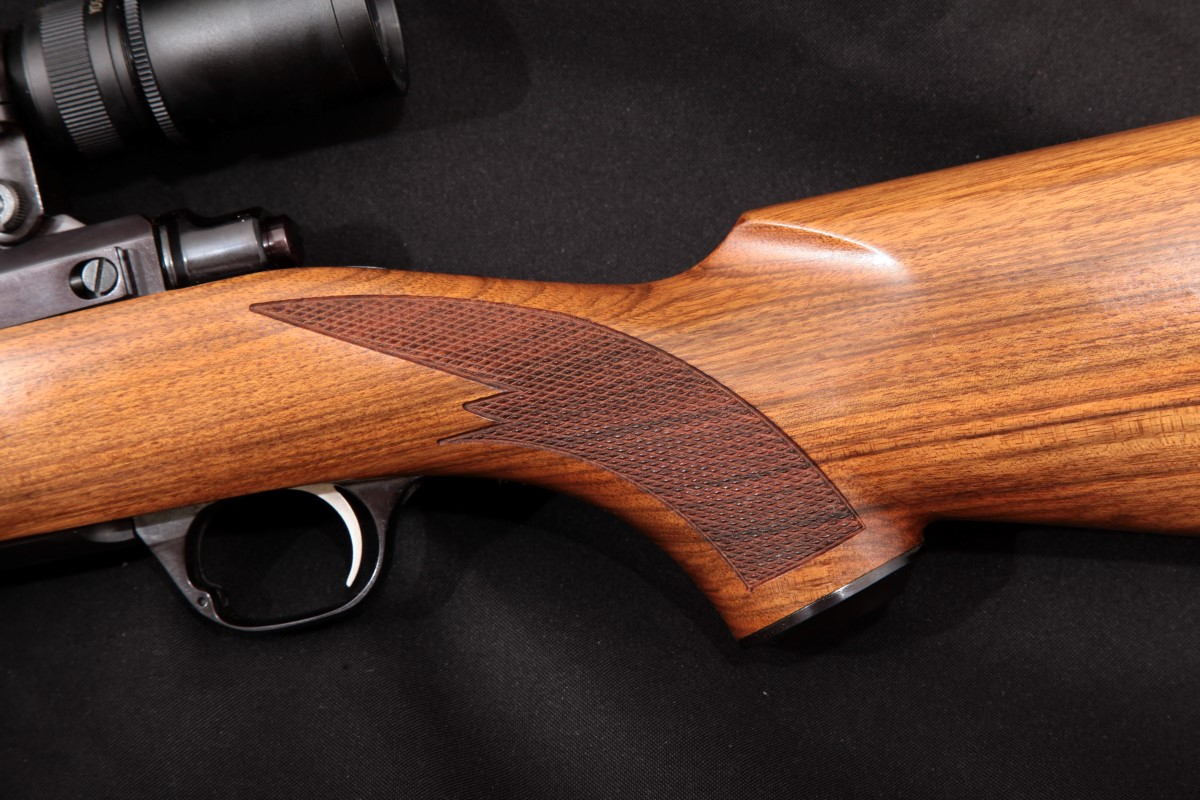
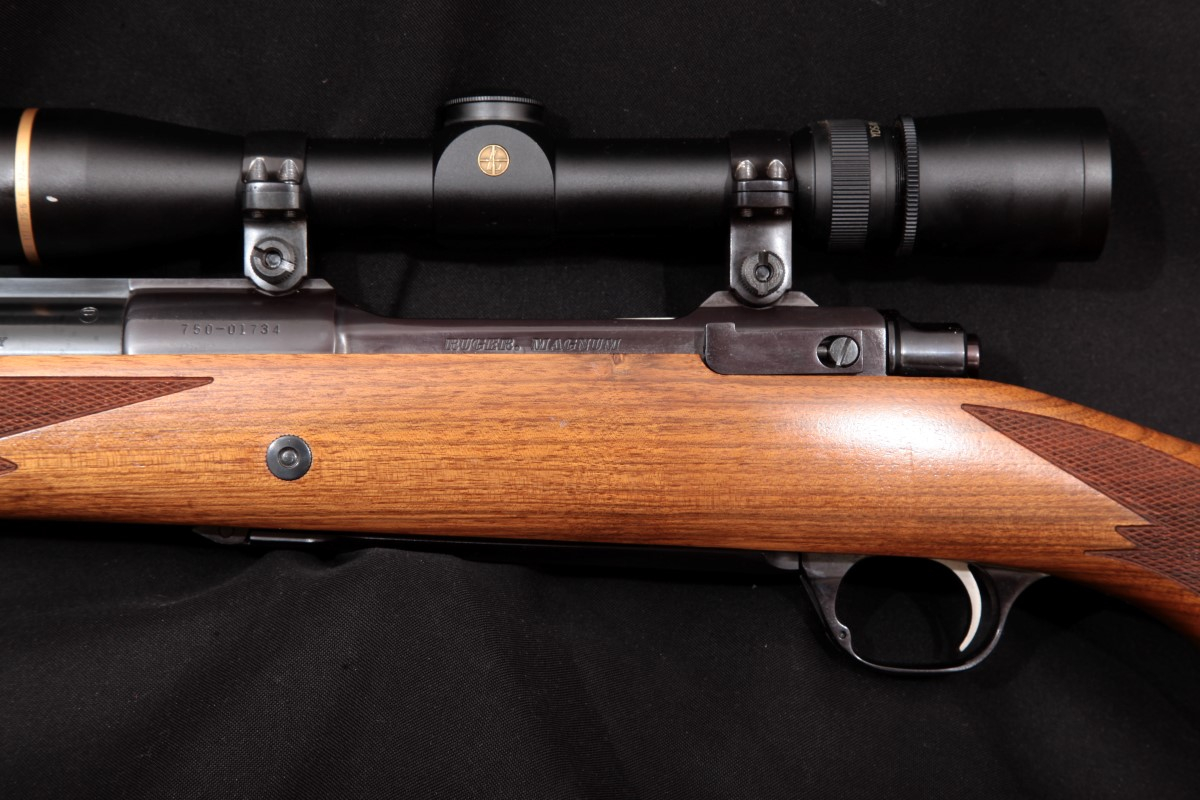
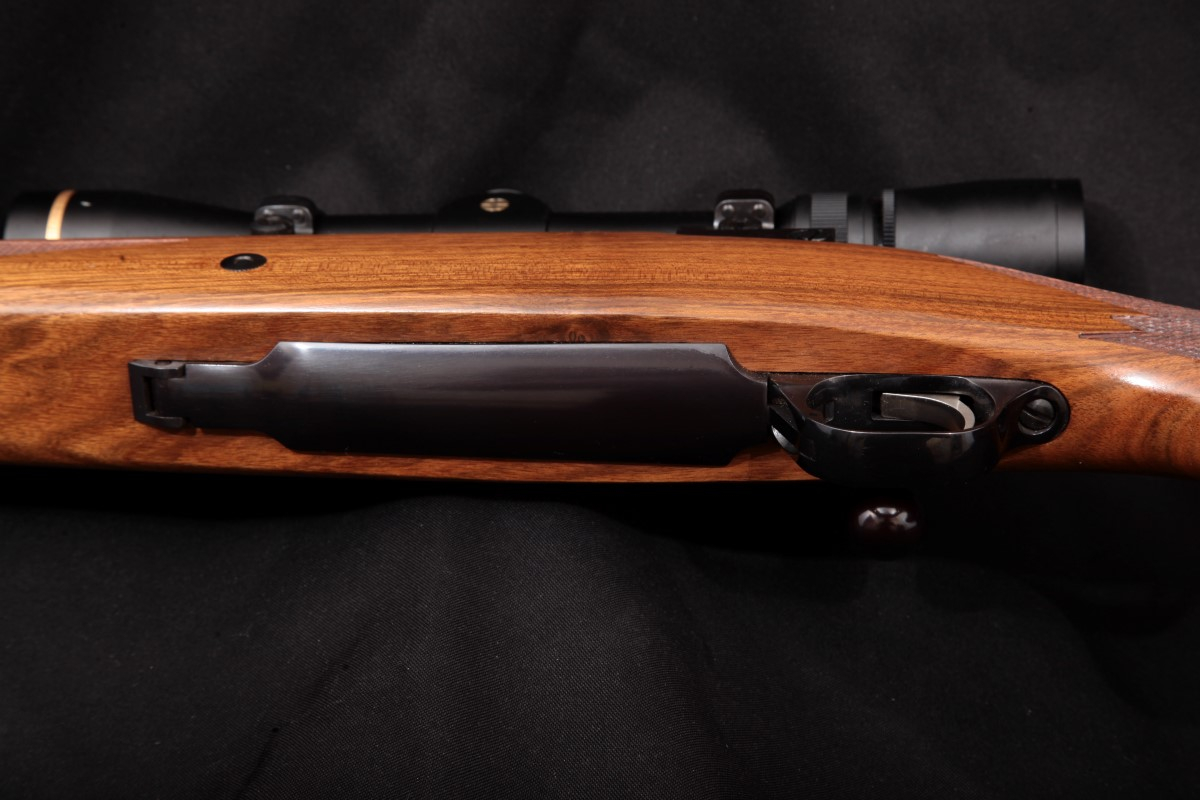
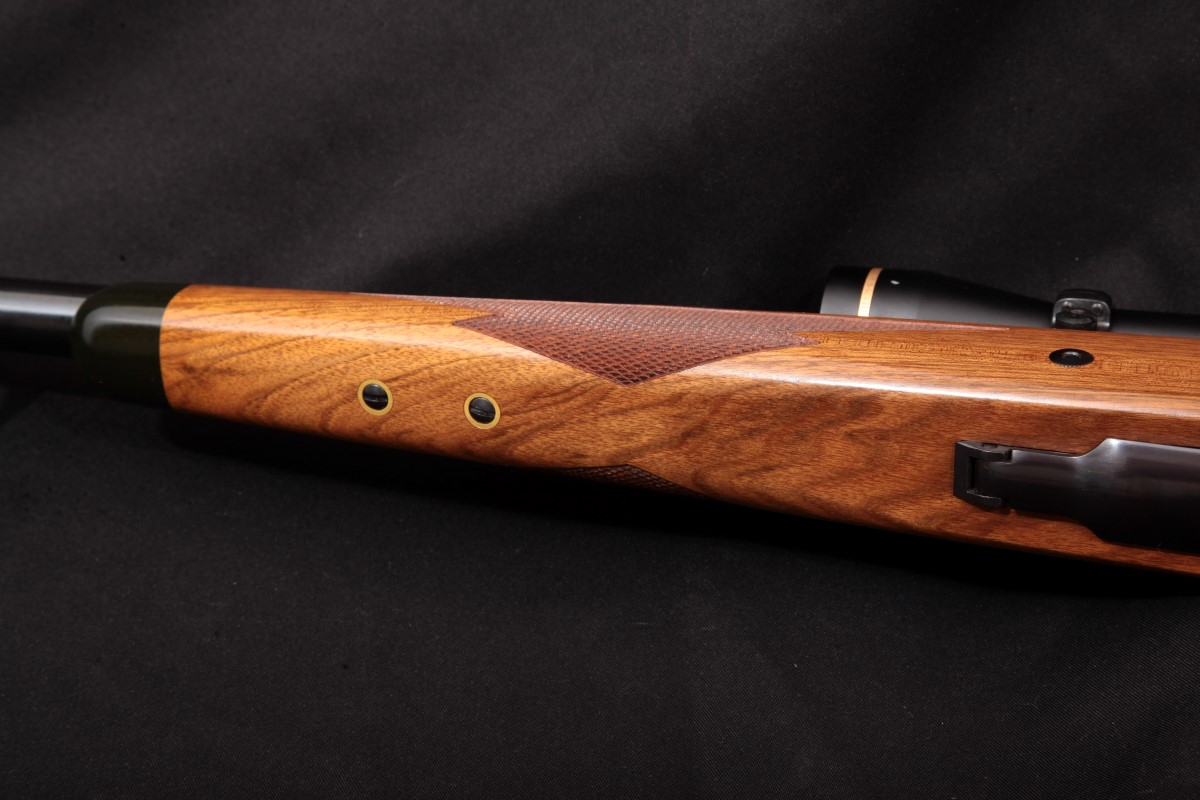
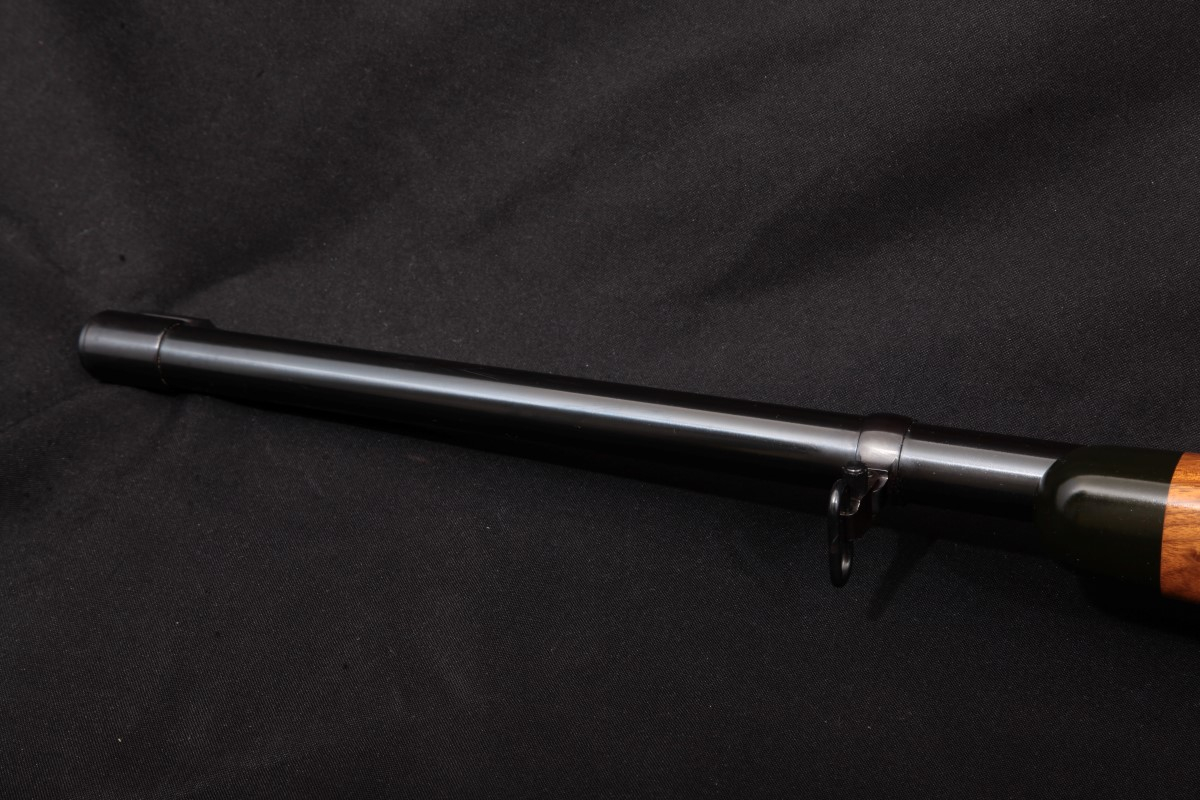
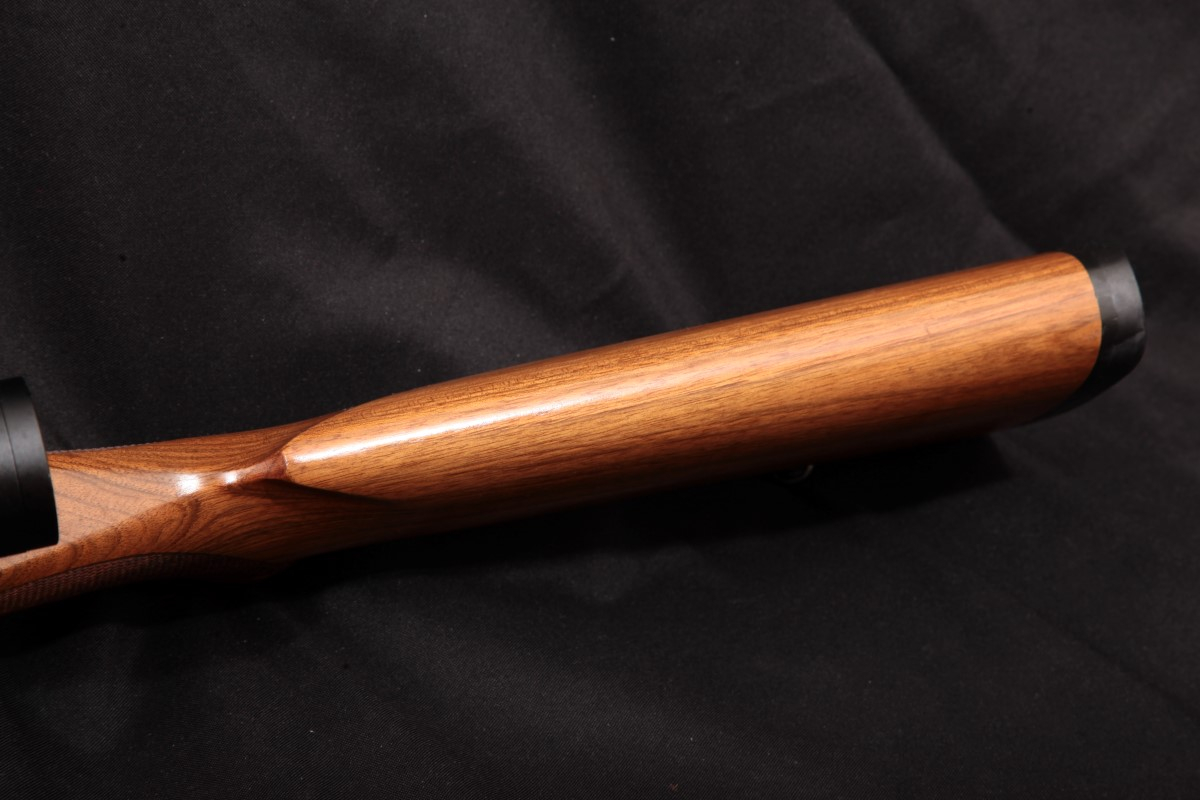
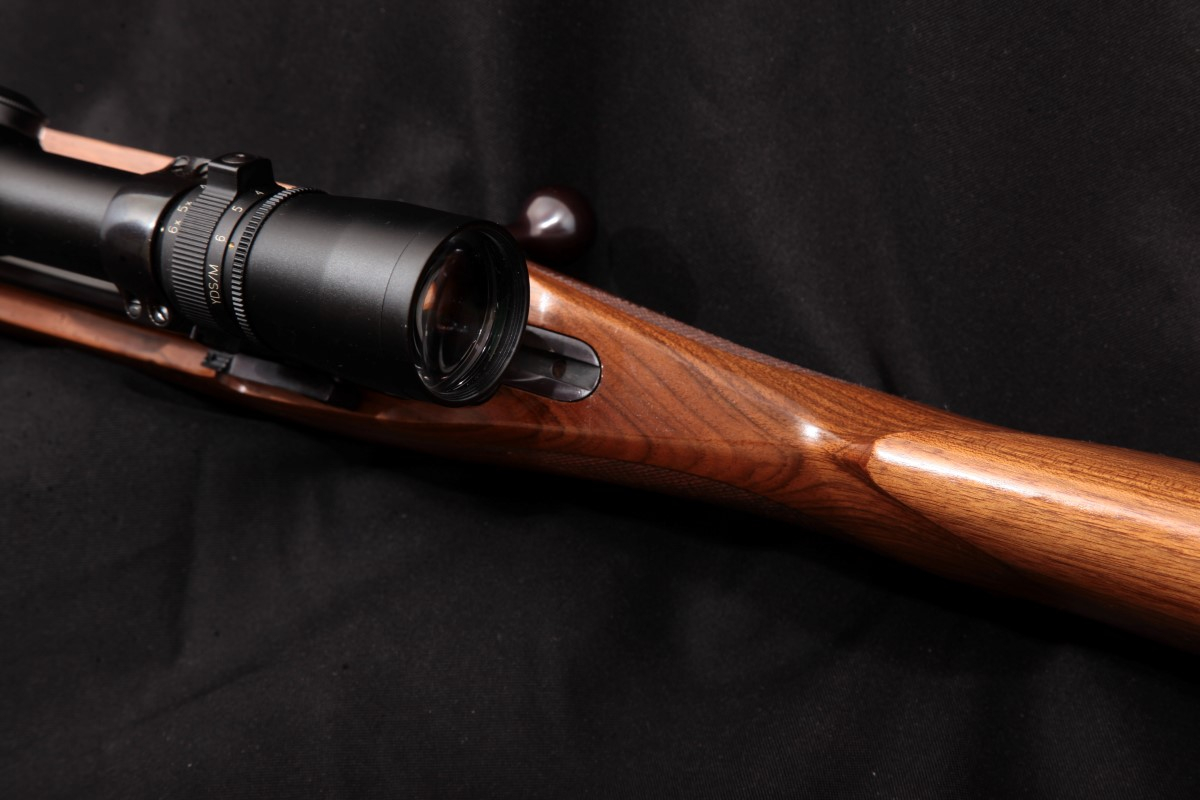
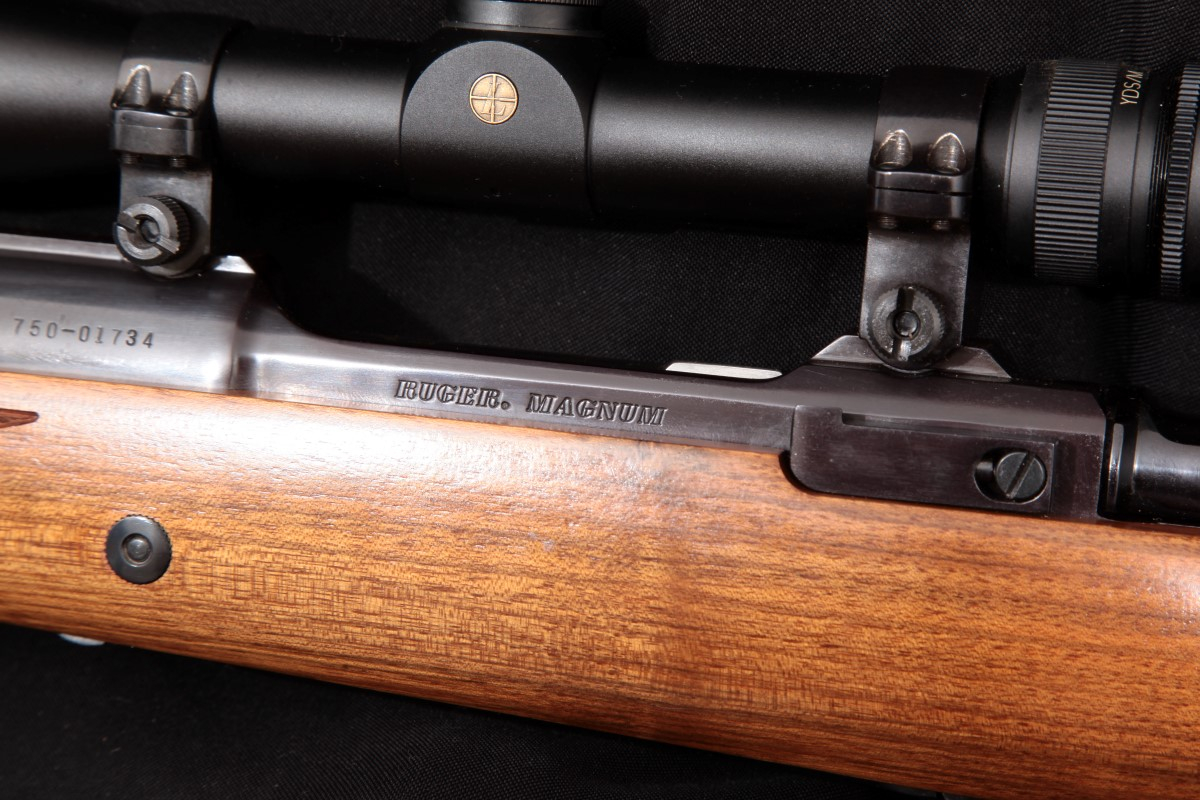
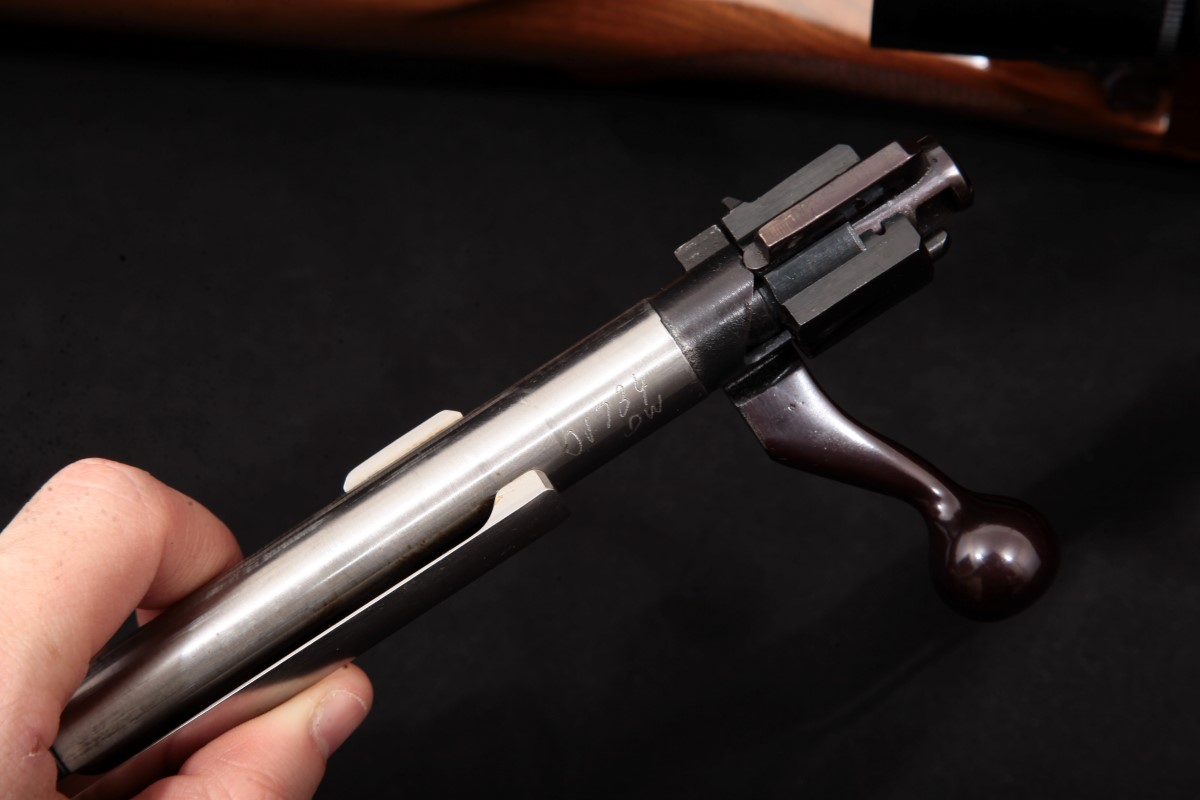
If you had one of these as a Kid. Then you were the coolest kid at the Rifle Range! Grumpy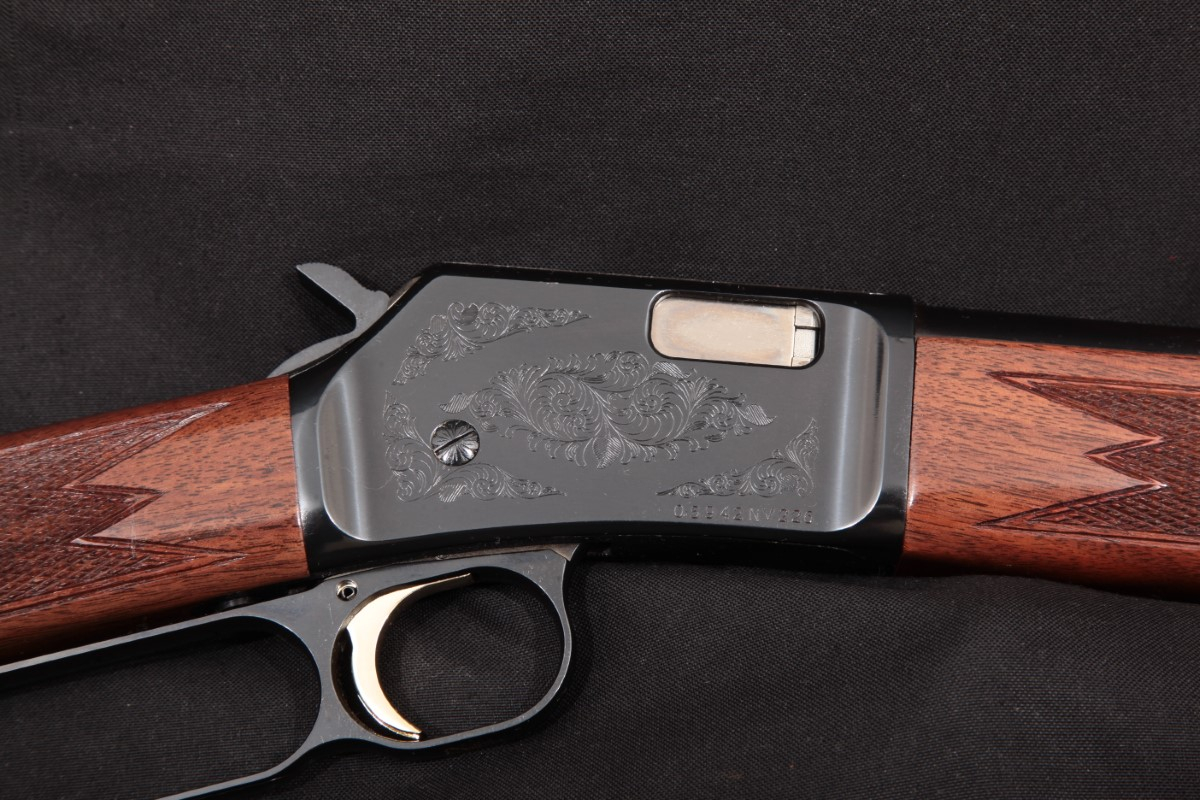


If you had one of these as a Kid. Then you were the coolest kid at the Rifle Range! Grumpy


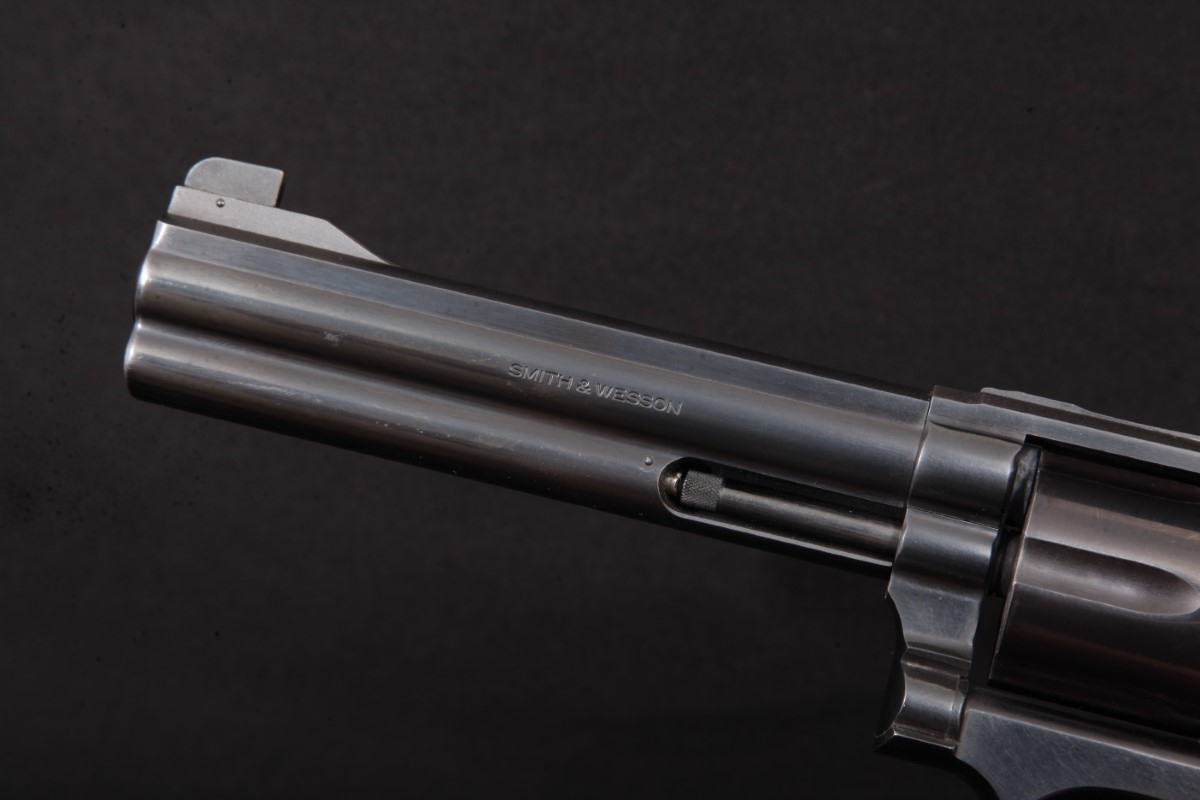
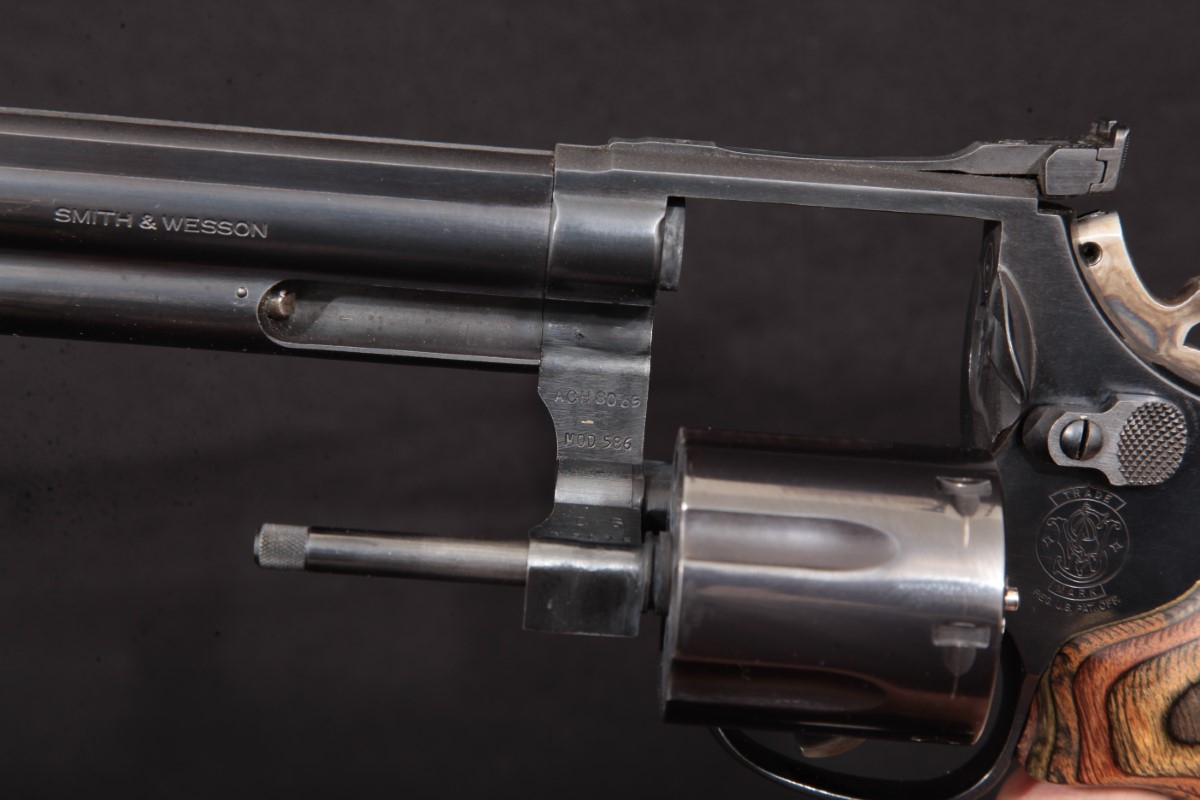
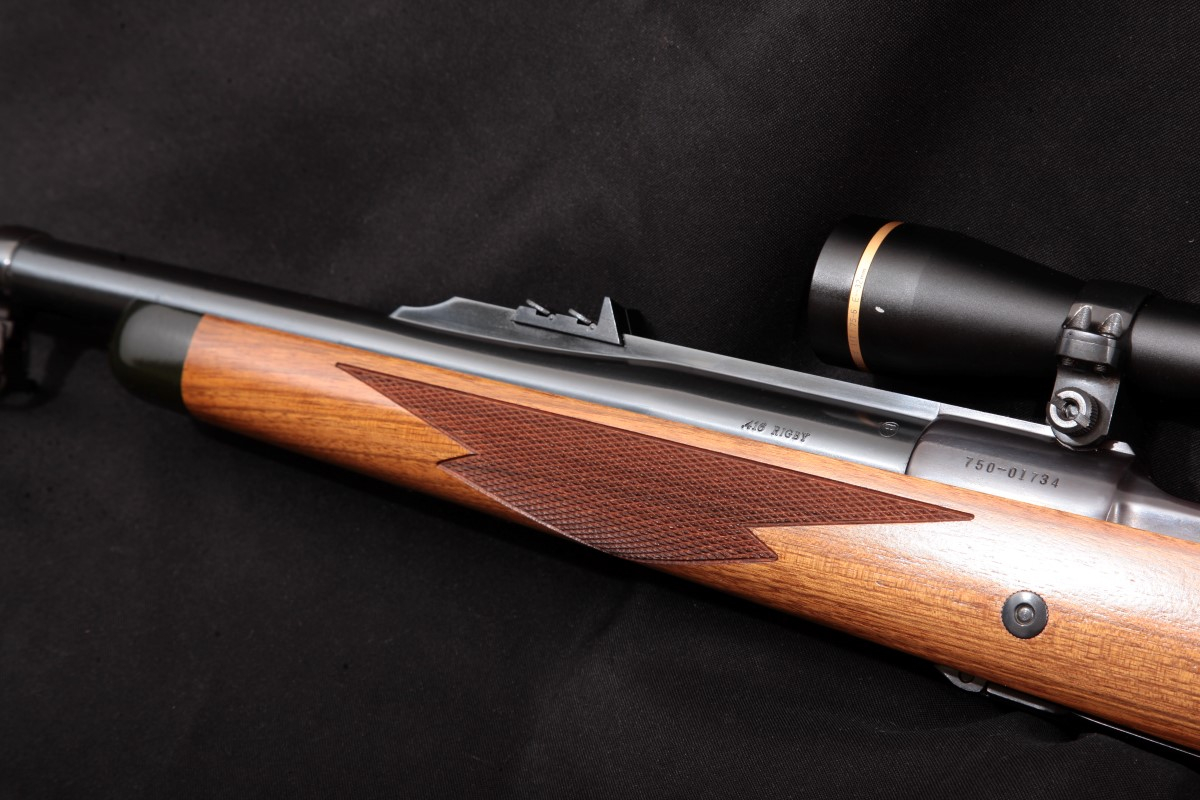
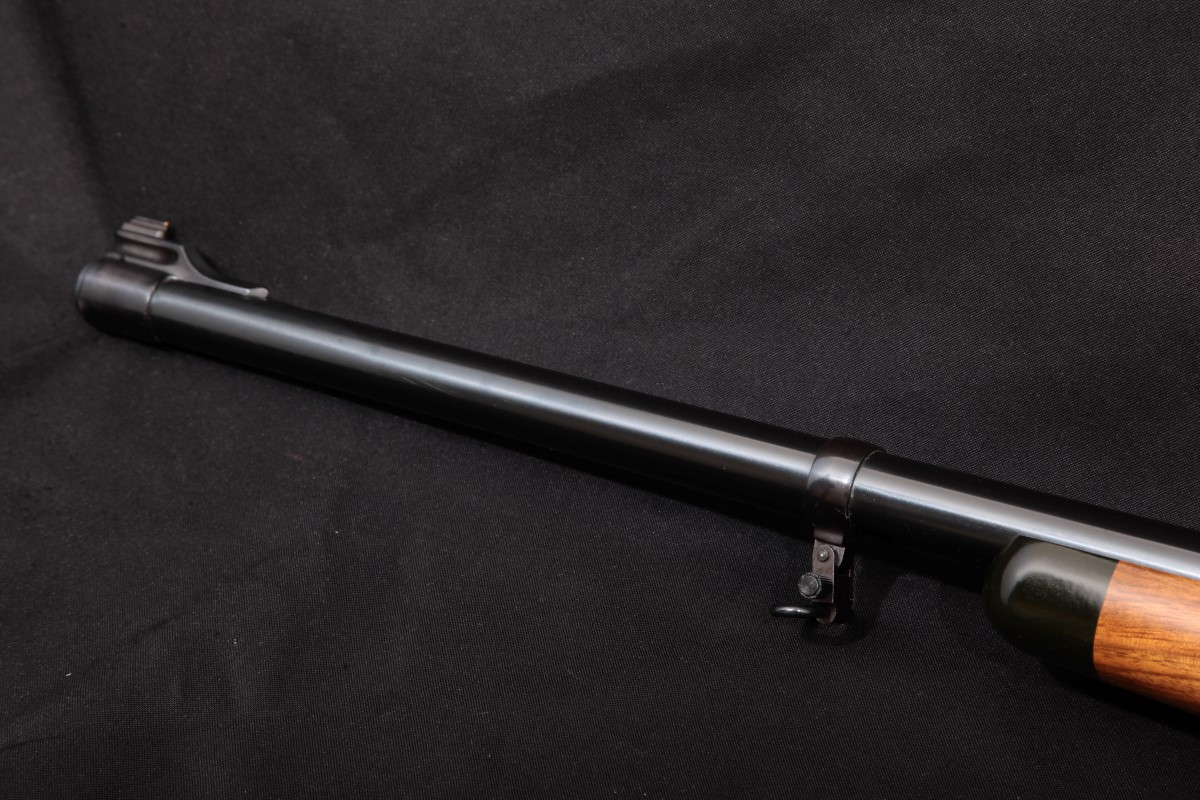
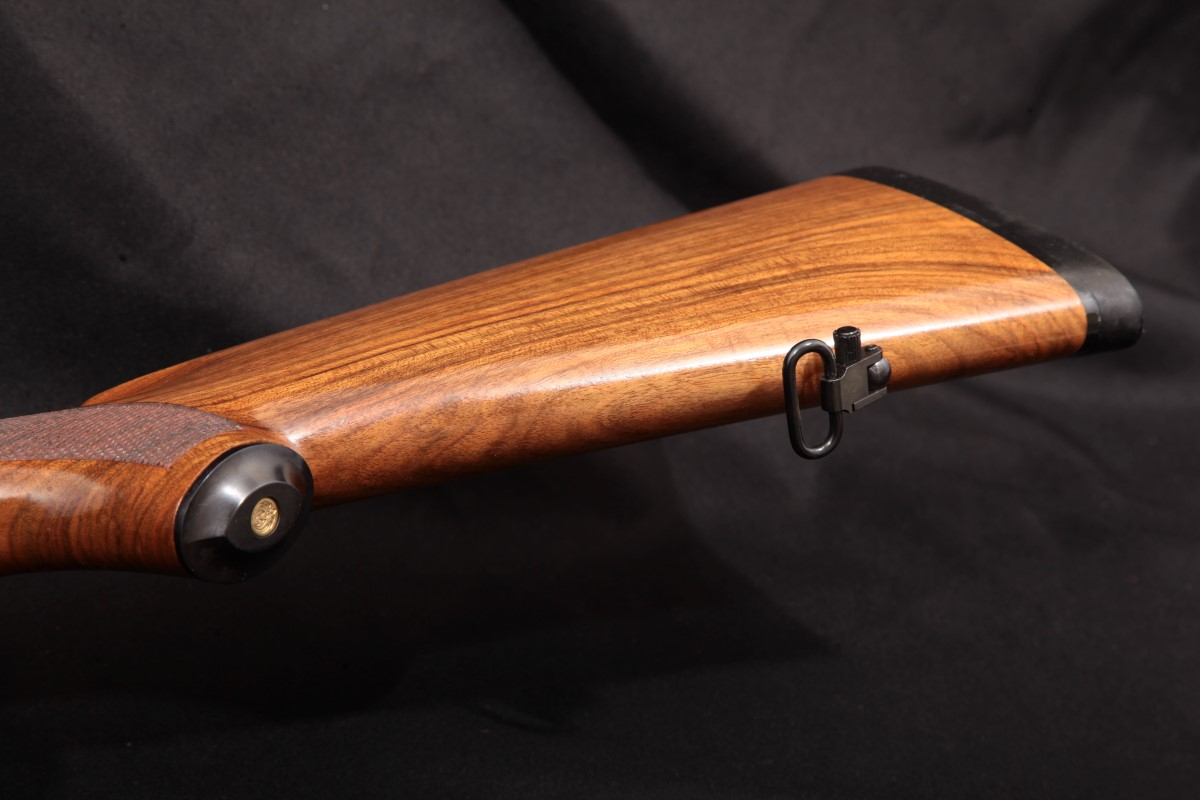
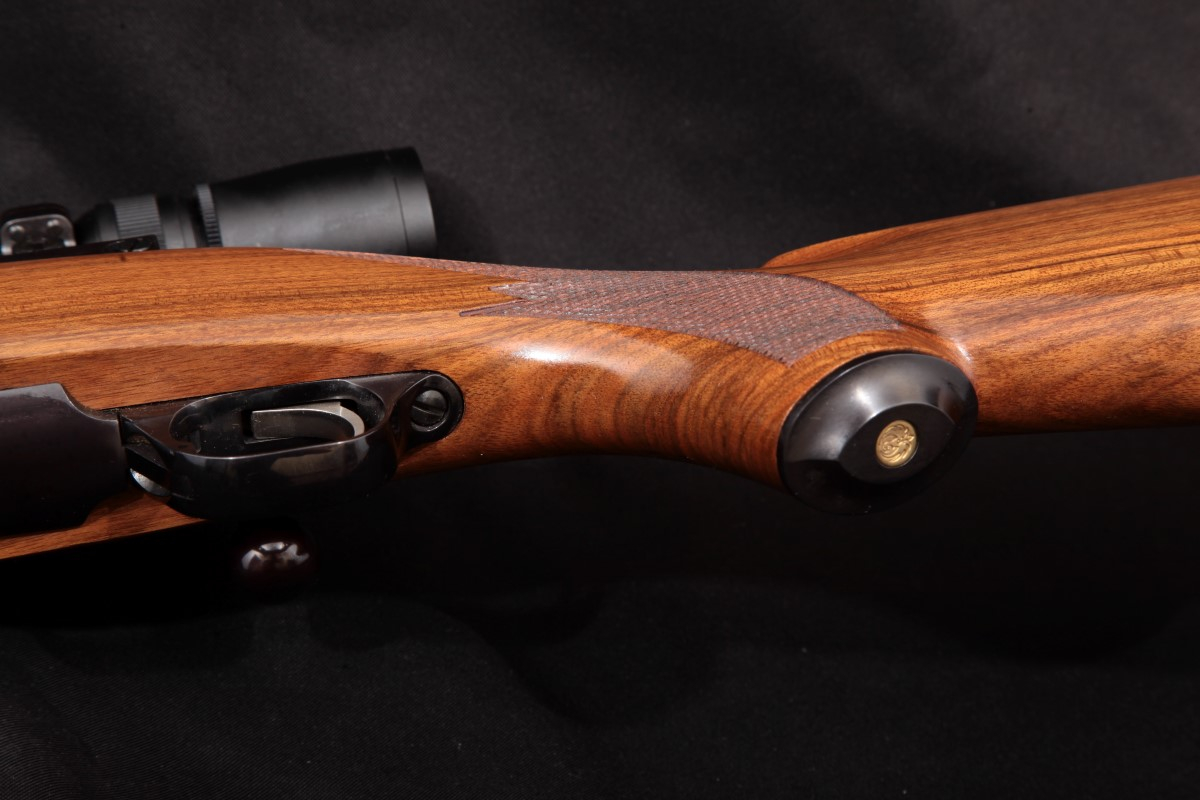
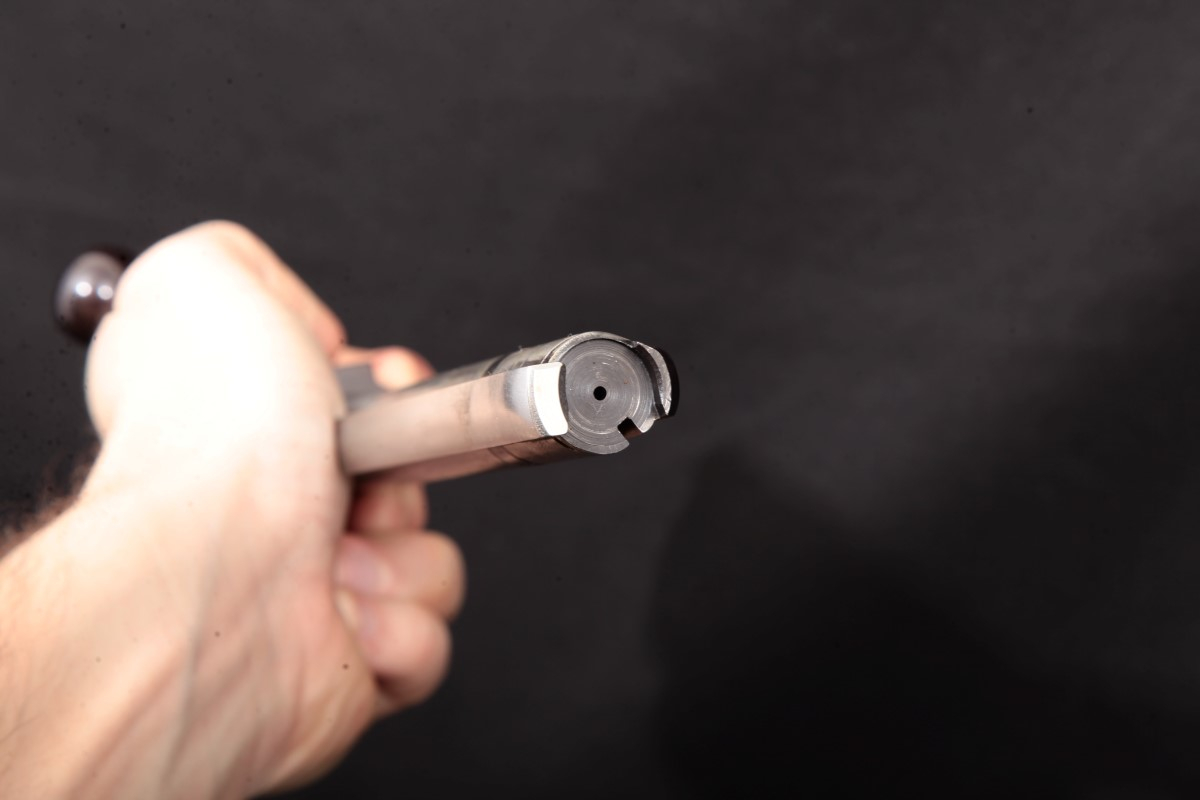
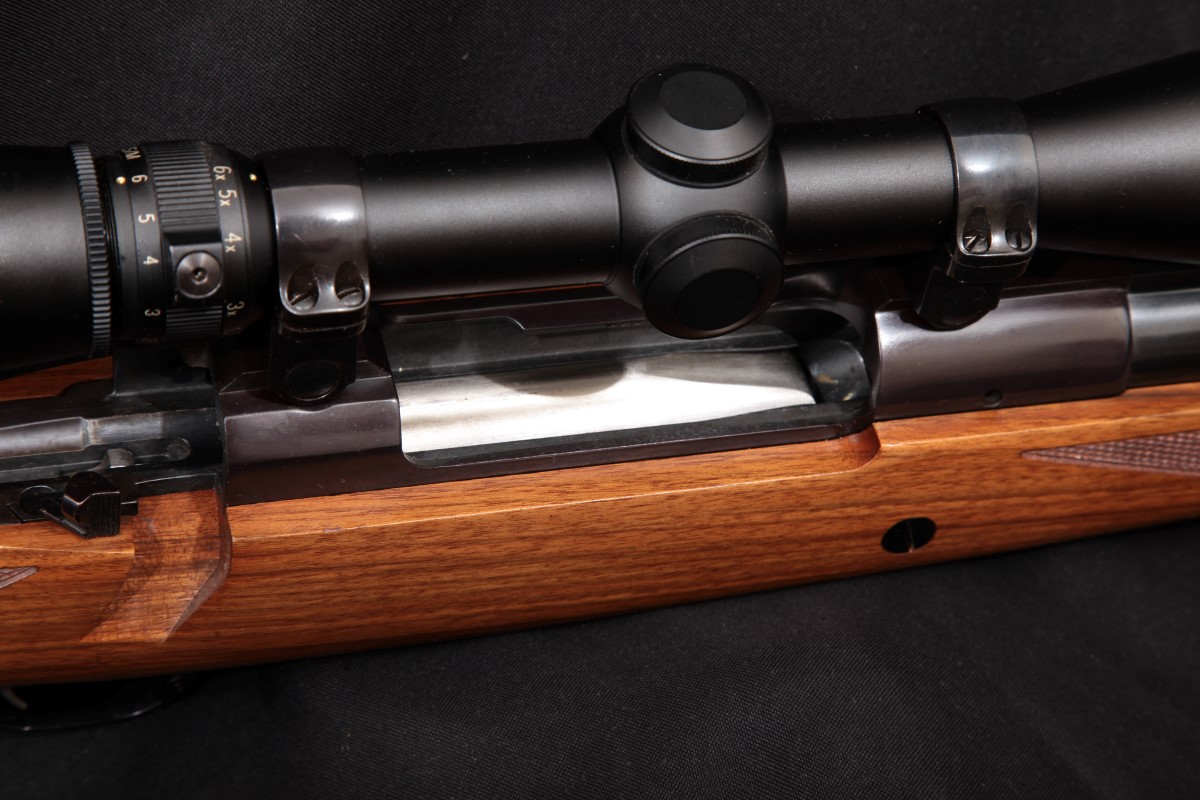
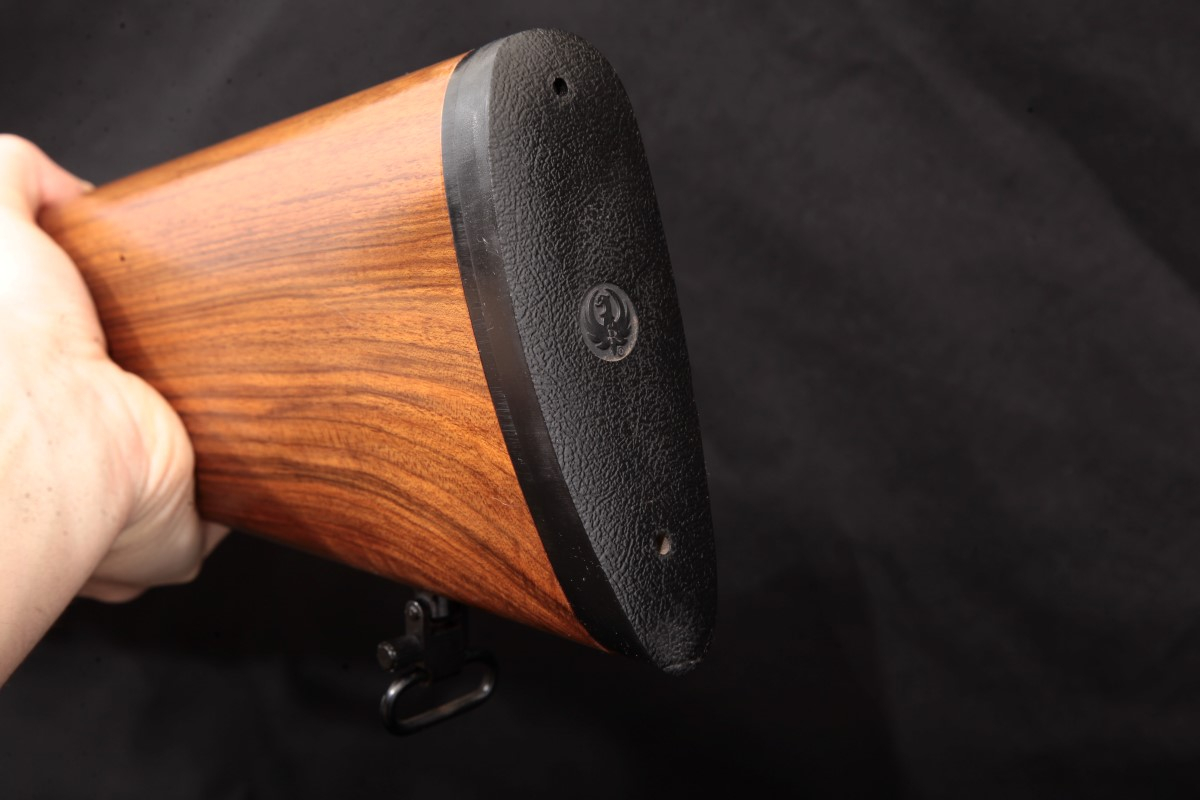
Frankly Will a little TLC . This rifle is just as good as a lot of other commercial Bolt Actions out there. But at a much better price!


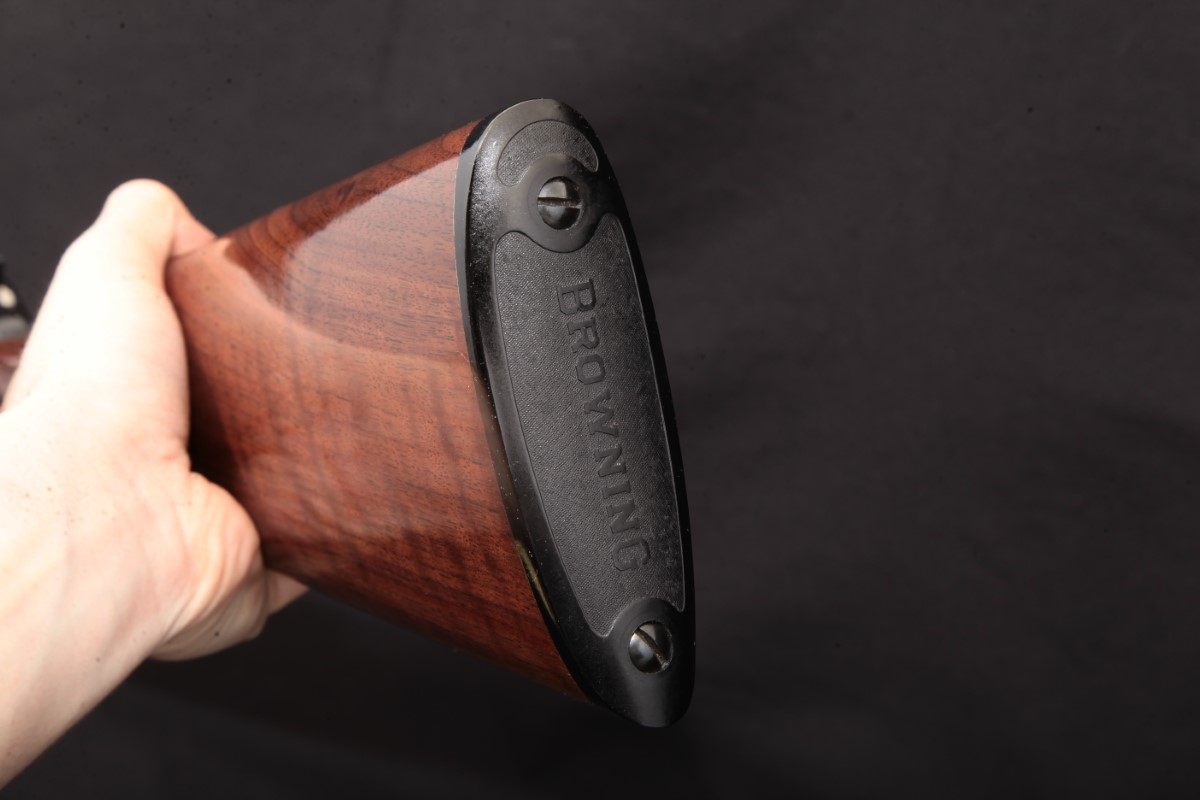
I myself am just too old to fire off a round or two. But it is a mighty nice looking piece! Grumpy


| July 26, 2016

If you’ve read the first parts of this land navigation manual, you should now know how to read a topographic map, find your bearings, and orient yourself with a map and compass.
You’re ready to start doing some serious land navigation. With the aid of modern technology at the outset, you can get a whole lot more specific with your land nav; rather than just finding your way to a major landmark, you can locate a little stake in the ground.
To do that, you plot MGRS (military grid reference system) coordinates on your map before you head out. Why would you want to employ this old/new method of land nav?
So you can be antifragile.
Two is one, and one is none; which is to say, technology fails, and you need to have a contingency plan for when it does. Soldiers are required to know how to plot MGRS coordinates on a map with nothing but a military protractor, and how to find those coordinates in the field with a map and compass. That way, if GPS fails on a mission, they can still make it to their intended waypoints – even if they’re small and specific; with MGRS coordinates and a military protractor, you can plot a point on a map within 10 meters of accuracy.
For civilians, knowing how to plot MGRS coordinates by hand and navigate to them can be useful for active outdoorsmen. Let’s say you’re planning a weeklong hunting trip out in the wild. Part of your prep work should be knowing the MGRS coordinates for your start point and your secluded hunting cabin out in the woods. You can plot those points on your map and you’ll have a backup navigation tool in case you lose your GPS device or if it fails.
Besides the practical uses of knowing how to plot coordinate points and navigate to them, it’s just plain fun to do.
Before we learn how to use MGRS coordinates and get out into the field, we’re going to do some prep work to make sure that we have all the information we need to navigate.
Using a GPS or an online tool, you can acquire 8-digit MGRS coordinates for the various spots you’re targeting during your trek in the wilderness. You’ll then need to plot those points on your map, using a military coordinate protractor.
I’ll walk you through how to do that, using for an example the eight-digit coordinate number: 30469530
We’re going to split that up for easier reading:
When reading and plotting MGRS coordinates, follow the rule of “right and up.” I’ll show you what is meant by this by continuing our example.
First, we need to find what square in our map we’re working with. To find that, we’re going to look at the first two digits in both the easting and northing coordinates. So our easting number is 30; our northing coordinate is 95.
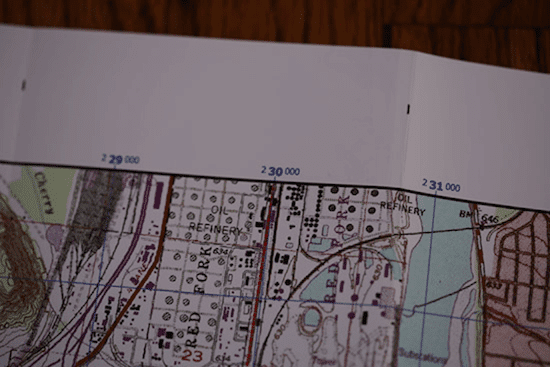
Look at the top of your map at the easting numbers, and move right until you find the 30 grid line.

Look at the side of your map at the northing number and move up until you find the 95 grid line.
Follow the lines to where they intersect. That is the bottom left corner of the grid square that we’ll be working with.
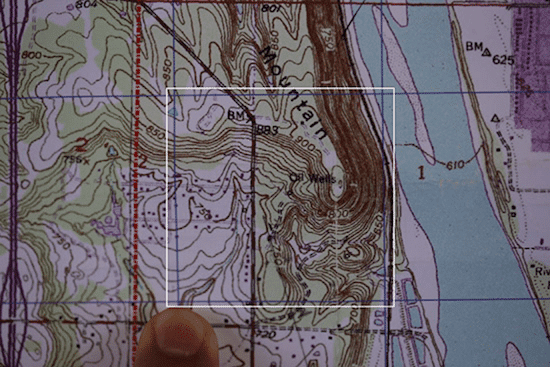
So we’re in this general area. Time to get more specific. With the next two digits in both our easting and northing coordinates, we’ll be able to get within 10 meters of our spot. To do this, we need to bust out our military protractor.
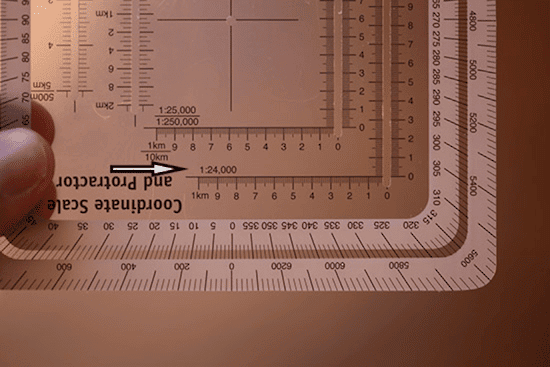
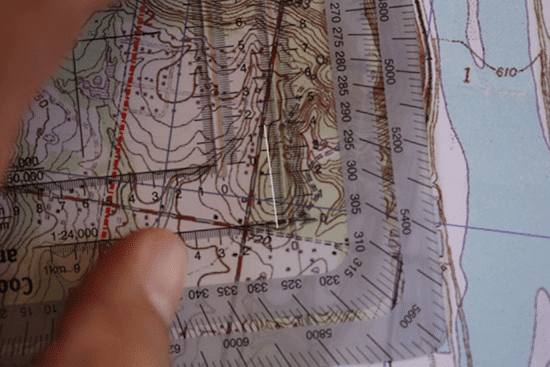
Your protractor will likely have different scale grids. Make sure you use the one that matches your map’s scale, or else you’re going to be way off on your plotting. The map I’m using is a 1:24,000 scale so I’m going to use the 1:24,000 scale grid on my protractor. The horizontal numbers on your grid are for measuring your easting co-ordinates; the vertical numbers are for measuring your northing coordinates.
1. Line up 0/0 on the bottom left corner of your grid.

The first step is to line up 0/0 on your protractor with the bottom left corner of the grid you’re working with.
2. Move protractor right until easting grid line is lined up with second two digits of your easting coordinate.

Let’s take a look at our easting coordinate again: 3046. We’re focusing on those last two digits right now — 46. That tells us our easting coordinate is 460 meters east from the 30 grid line. We want to move our protractor right until our vertical easting line is lined up with 4.6 on our protractor (4.6 represents kilometers=460 meters).
3. Move up on the slot on your protractor using the second two digits of your northing coordinate.

Take a look at our northing coordinate: 9530. We’re going to focus on the last two digits. The 30 tells us that our northing coordinate is 300 meters north of the 95 grid line. We want to move our pencil up until it lines up with 3.0. Place a dot there with your pencil.
Congratulations! You just plotted your first point using an 8-digit MGRS coordinate.

Continue the same process for any other points that you may have. I recommend putting a small number next to each dot to remind yourself of the order of your plots. You can see in the pic above, I wrote a “1” next to my plot.
Now that we have our coordinates plotted on the map, we need to determine the bearings from each coordinate to the next. We could use our compass as a protractor, but we’ll just use our military protractor because, well, it’s a protractor.
An easy way to do it is to simply draw a line from your first plot through the plot that you’re measuring a bearing on, like so:

Draw it lightly with your pencil (we’re going to erase it), and make sure it extends pretty far past your second plot.

Place your protractor on your map. In the middle of the protractor, you’ll see a little hole. Place that directly over your first plot.

Make sure 0° is in line with north on your map.

Look where the line you just drew on your map lines up on your protractor hashmarks. In this case, it hits the 165° mark.
So from point 1 to point 2, there’s a bearing of 165°.
In a notebook, write your bearing next to the coordinate for your first plot to remind yourself that when you’re at point 1, you’ll shoot a bearing of 165° on your compass to get to point 2.
So it would look like this:
Now move to point 2 and repeat the same process to get the bearing for point 3. Write that bearing down in your notebook next to your coordinate for point 2 to remind yourself when you get to point 2, you’ll need to shoot that bearing on your compass to get to point 3.
Repeat the process until you’ve gotten bearings for all of your known MGRS coordinate points.
With our bearings, we know what direction we’ll need to walk to get to our various points, but how do we know how far we have to travel?
If your protractor has a distance scale, use it. Just make sure you’re using the scale that matches your map. In this case, our map has a scale of 1:24,000, so I’ll use that scale. Keep in mind that each number on it represents 100 meters.
Measure from point 1 to point 2. In the example above, the distance is 400 meters. Write down the distance next to your first coordinate. That helps me remember that when I’m at point 1, I’ll need to travel that distance to get to point 2.
So it would look like this in my notebook:
Measure distance from point 2 to point 3. Write it down next to point 2.
Repeat until you’ve gotten your measurements all the way to the end point.
We’ve got our points plotted on our map and our bearings and distances written down. It’s time to start trekking.
We look down at our notes and see that next to our starting coordinate, we have a bearing of 165° to get to point 2. The distance to point 2 is 400 meters.
Get out your compass, and index your bearing to 165° and move your body until the needle is inside the box. Congratulations, you now know which direction you have to walk to get to point 2.
Because of the map work we did earlier, we know how far we need to go to get from point 1 to point 2. But how do we track how far we’ve gone when we’re out there walking?
Enter pace counting.
First, we need to figure out how many paces it takes for us to cover 100 meters. You can go to a high school track or use a measuring wheel to stake out your own 100-meter line.
Start with both feet at the start line and step off with your left foot and walk the 100 meters using your normal stride. Every time your left foot touches the ground, count it. When you get to the end, remember what your pace count was.
To make sure we have it keyed in, we’re going to walk back and count again to see if the second time is about the same as the first go round. For a man who’s about 6 feet tall, your pace count for 100 meters will be around 65-70.
So if you need to travel 400 meters and your pace count for 100 meters is 65, you’ll know that it will take about 260 paces to traverse that distance (400/100 = 4; 4X65 = 260). If you need to go 50 meters, you’ll know you need to go about 32 paces (65/2 = 32.5).
Keep in mind that uneven terrain and other environmental factors will effect your pace count. For example, if you’re going up or down a hill, you’ll likely take more steps to traverse 100 meters. Pace count won’t give you an exact measurement of distance, just a rough one.
If you don’t want to lose track of your pace count in your head, consider utilizing “ranger beads” or “pace count beads.” It’s a way for you to offload remembering your pace count to an external device. The folks at ITS Tactical have a great article and video on how to make your own pace count beads for this purpose.
The way we’re doing land navigation requires us to walk in straight lines from one point to the next. What do we do if we come across an obstacle in our path, like a dense patch of scraggly mesquite trees or a pond? We’ll need to walk around it, but how do we do that without losing track of our distance and our bearing?
We’re going to do what’s called “boxing” the obstacle.

Let’s say we’re walking a line on a bearing of 165° and we’ve got 100 meters to go until our destination point. Problem is, there’s a small pond in our direction of travel.
To get around it and back on our original bearing while not losing track of our pace count, we’re going to box it.
Stop walking, but remember the pace count that you stopped at. Set a bearing 90° from your original bearing of 165°. That would be 255°. Walk at that 90° angle of your original bearing until you’ve cleared the pond and can move forward again. Remember that pace count — let’s say it’s 40.
Set your compass back to its original bearing of 165° and start walking again until you pass the obstacle. Let’s say it takes you 40 meters to pass the object. You’ve got 60 meters to go until your destination. Problem is, you’re 90° off of your bearing.
To get back to our bearing, we’re going to subtract 90° from 165 and set our compass to 75°. Walk until you’ve gone 40 paces. Stop.
Now add back 90° to get your original bearing of 165°. Walk forward 60 more meters. Congratulations, you’ve boxed an obstacle.
By following the guides we’ve given in this manual, you should be able to get started with learning the skill of land navigation. Of course, you’ll never get the hang of it just by reading — you need to get out there and practice! So get yourself a compass, map, and protractor and start toying around with them on the weekend. Yes, you’ll make mistakes, but that’s all part of the learning process. And if you’ve already learned the basics of land nav, I highly recommend getting out and practicing regularly. It’s a skill that degrades without use.
Until next time, shoot your bearings straight and stay manly!
Dear IRS & the California Tax Board, You guys of course know that I always pay exactly the amount of my hard earned money. That I owe, To you under appreciated and vital part of the Government! Grumpy
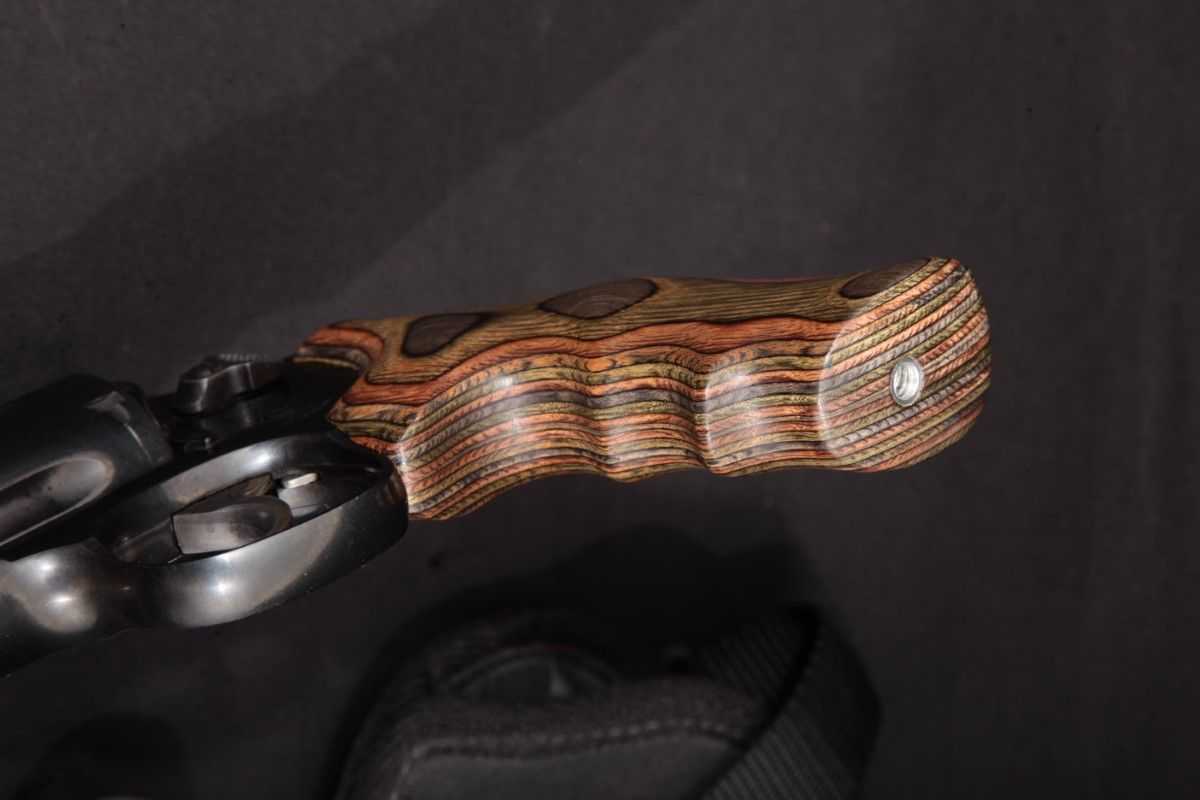
Maybe it is a good thing that they only made a 100 of these!


Alligator hunting is one of Mississippi’s most challenging pursuits, and among some hunters it’s the most exciting. But those challenges can lead to a frustrating season for some. Ricky Flynt, Mississippi Department of Wildlife, Fisheries, and Parks Alligator Program coordinator, explained some of the most common mistakes he sees.
“I’d have to say that the single most common mistake I see occurring among gator hunters is their failure to be prepared for the ‘Big One,'” Flynt said. “I’m not sure if it’s because they have low expectations of success, or if they simply are not experienced in what it takes to follow up after the harvest of a large alligator.
“For the most part, many hunters have never had their hands on a large alligator at all. It can be a little overwhelming for a first-timer once they are up close with a 10-foot or larger alligator and see just how cumbersome the carcass is to handle, much less to get it placed into cold storage.”

Because alligator season occurs in the hottest part of the year, Flynt said hunters need to have a plan in advance to cool their gator.
“An alligator carcass can ruin in quick order once the sun rises if there is not already a contingency plan in place,” Flynt said. “Access to walk-in coolers are the best option, but there are alternatives that work well if a person is creative.”
“The second most likely mistake has to do with being organized,” Flynt said. “Alligator hunting requires a lot of different equipment, gear, and supplies.
“Just finding a place to store all of the necessary and potential items to be used in a boat and still have enough room to walk around in the boat can be quite a task, much less have it organized. Things can get very exciting very quickly. It can be all hands on deck at the drop of a hat.”
Because of that, Flynt said success can greatly depend on a group’s ability to adapt quickly and have the necessary items needed for the situation at hand.
“That means that everyone in the hunting party knows where everything is located and can get to it quickly,” Flynt said. “So, being disorganized can be the difference in success and heartbreak.
“Prepare well ahead of the hunt. Use a check list and check items off as you prepare your vessel for the hunt.”
According to Flynt, patience is a virtue when it comes to alligator hunting. Not only can it improve your success, it can improve the quality of hunts for others.
“Alligators, compared to humans, are very patient,” Flynt said. “It is nothing for an alligator to submerge upon the approach of a boat and just go lay on the bottom of the river for 10 to 20 minutes, maybe over an hour, then slowly and stealthily resurface a short distance away with nothing but their eyes and nostrils above the water surface.
“People who are not familiar with alligator habits can run themselves ragged up and down the river approaching alligators only to see them submerge, then aborting to move on down the river looking for another alligator. This type of hunting is less productive and creates more disturbance of alligators and other alligator hunters.”
Flynt recommends that if you see a gator you want to harvest and it submerges, stick with it, be quiet, keep your lights on and watch for bubbles, ripples or moving vegetation.
“If a hunter watches for these clues, there is no need to keep moving when the alligator you are wanting to hunt is right under your nose, so to speak,” Flynt said.
Although Flynt said all of his points are keys to a successful hunt, returning home alive and unharmed is the most important aspect of alligator hunting.
“Never take chances that could result in accidents that can result in serious mistakes, injuries or even death for yourself and others around you,” Flynt said. “Things can be very dangerous navigating the waterways at night. In fact, navigating the waters with multiple people and all of the equipment in the payload on a vessel is the most dangerous aspect of alligator hunting.”
Safety precautions:
• Wear personal floatation devices at all times.
• Follow boating regulations and have all safety gear on hand.
• Have first aid kits readily available.
• Keep cell phones in dry storage.
• Always make sure someone outside your hunting party knows the general location of where you will be hunting and where you are launching your boat.
• Keep plenty of water and sustainable food on board.
• Never consume alcohol while hunting.
And last, but not least, “Get plenty of rest,” Flynt said. “Alligator hunting can be extremely exhausting and an exhausted boat operator is a recipe for disaster.”
More Outdoors: This monster of an alligator once roamed Mississippi
More Outdoors: Schooling redfish mean fast, furious action
More Outdoors: Misinformation about chronic wasting disease circulating
More Outdoors: State acquires nearly 18,000 acres in south Delta
Editor’s Note: This guest post by Creek Stewart first appeared at willowhavenoutdoor.com.
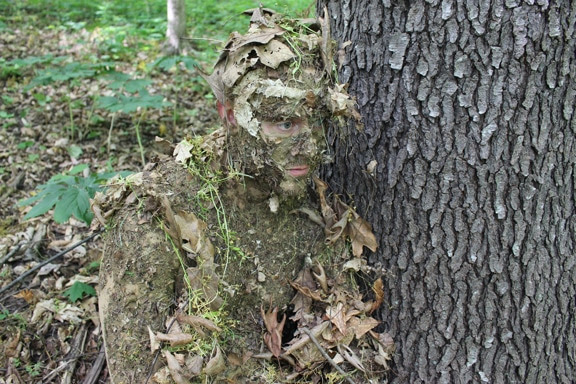
You never know when you might need natural camouflage. Whether to escape and evade or to hunt and stalk, blending into the wilderness around you might be a necessary part of your survival scenario one day, and it’s important that you understand the basics. Luckily, the process is fool-proof, and perhaps surprisingly, fast.
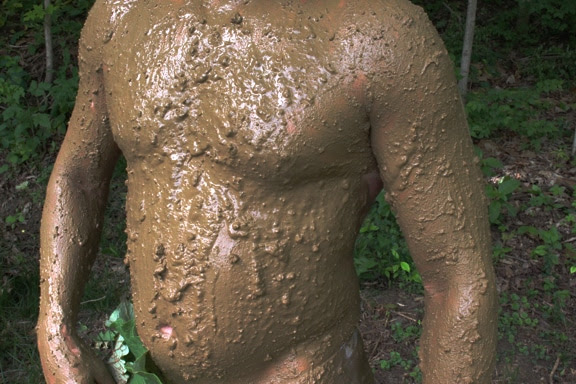
It all starts with muddin’ up! It goes without saying that this method of natural camo lends itself to warm weather scenarios. This process also works much better on bare skin. I started the whole process by stripping down to my skivvies and then scooping some goopy clay-mud mix from the edge of the pond. There’s really no delicate way to do this — just smear it on! Once you’re all mudded up, the next step is pretty easy.
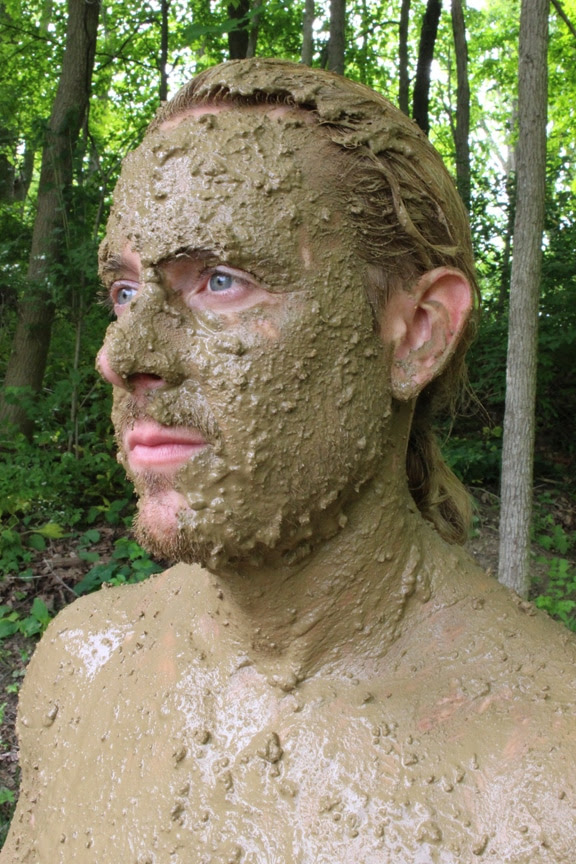
Get it on nice and thick; a substantial, wet base layer is critical.
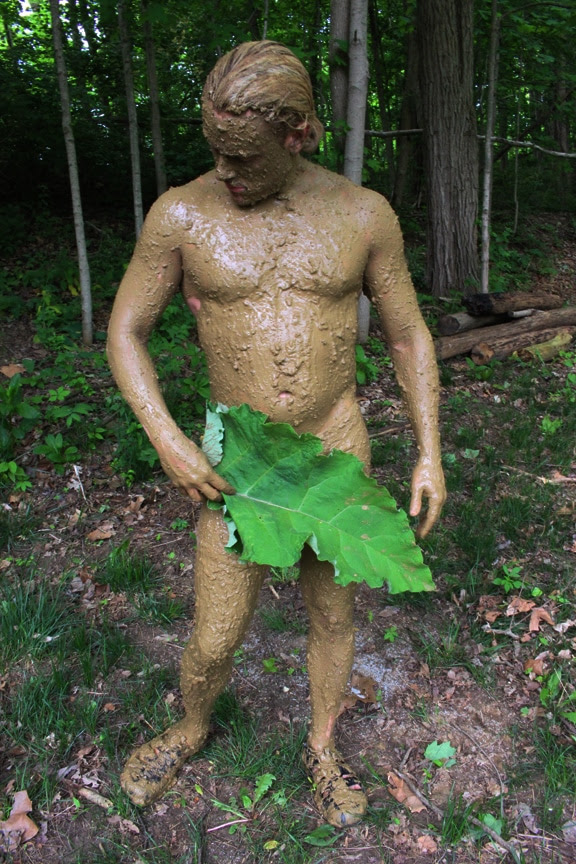
I had to go Garden of Eden style in these shots with a Burdock leaf for the sake of decency.
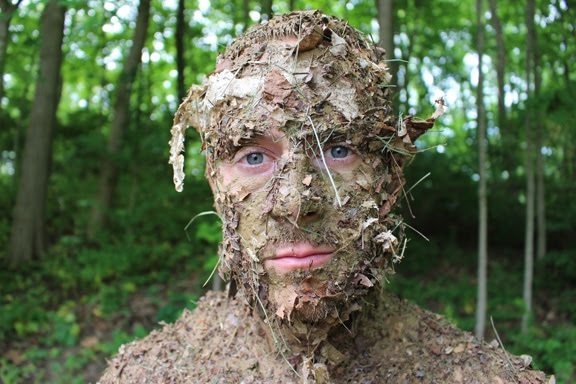
Forest duff, debris, and leaf litter cover the floor in every type of forest environment. What better material to use than the stuff that exists naturally in the area that you’re in. Just grab handfuls of forest debris and slap it all over your wet, gooey base layer. It will stick, and as the mud dries, it will become cemented into place. You can even roll on the ground; you’ll be surprised what your fly-paper-like body will pick up.
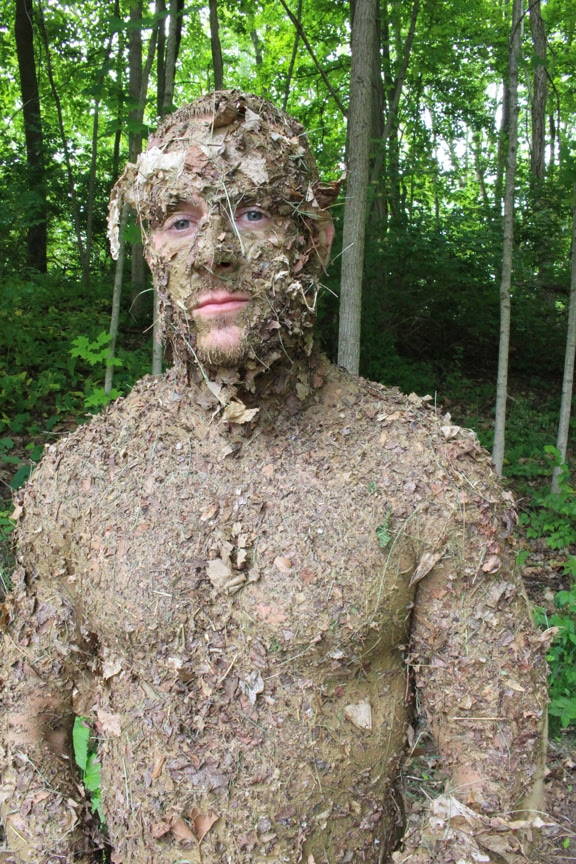
I know what you’re thinking — it looks itchy. It’s not. The mud layer protects your body from all of the little leaf and twig pricks that you imagine might be happening all over my body. I’m also impressed at how well this keeps the mosquitoes at bay. It’s certainly not 100% effective, but it does help.
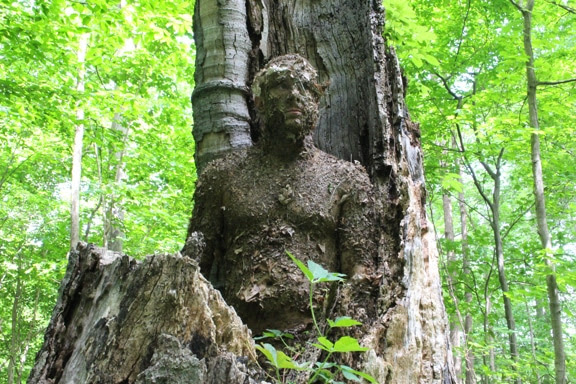
It’s amazing how quickly you can disappear using this simple two-step natural camo method. A few years back while giving natural camo a stab while hunting I actually had a squirrel run down the tree I was leaning against and eat a nut while sitting on my leg. I kid you not. I could tell he knew something wasn’t quite right but he had no idea he was sitting on a human! It was an amazing experience and that squirrel was delicious (just kidding, I didn’t kill him). And, yes, at that distance I could tell it was a “him.”
By the way, my skin feels amazing. I think I’ll start charging for “Natural Camo Full Body Treatments.”


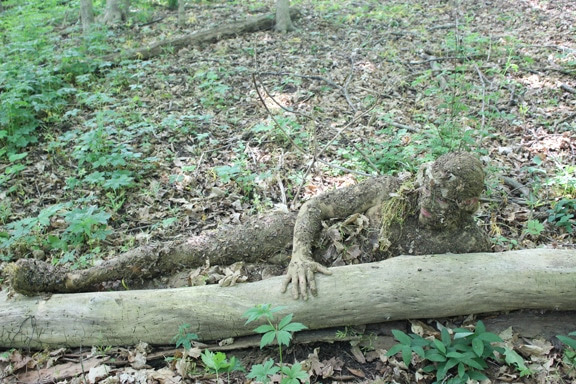
Next time you find yourself being chased by a Predator from another planet, don’t forget what you learned here: get naked, mud up, and roll on the ground. In less than 5 minutes you’ll be an unrecognizable fixture in the forest around you.
Remember, it’s not IF, but WHEN.
Listen to my podcast with Creek about survival and prepping skills.
___________________
Creek Stewart is a Senior Instructor at the Willow Haven Outdoor School for Survival, Preparedness & Bushcraft and the host of the Weather Channel’s Fat Guys in the Woods. Creek’s passion is teaching, sharing, and preserving outdoor living and survival skills.