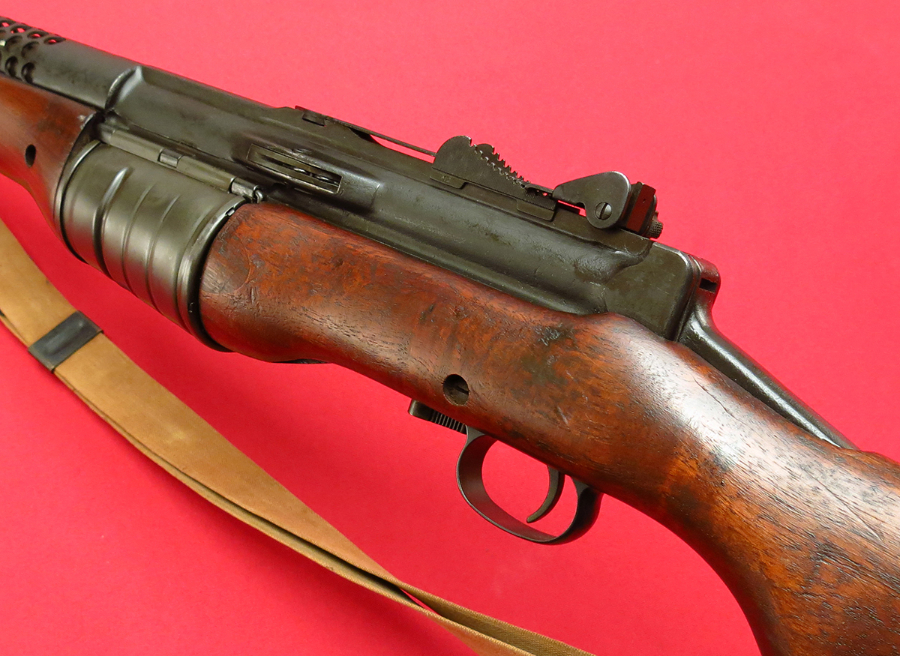

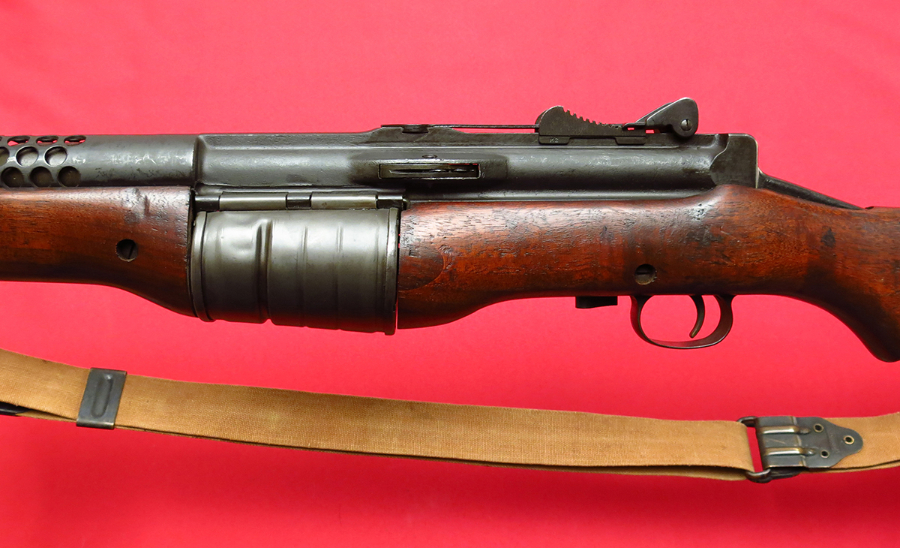
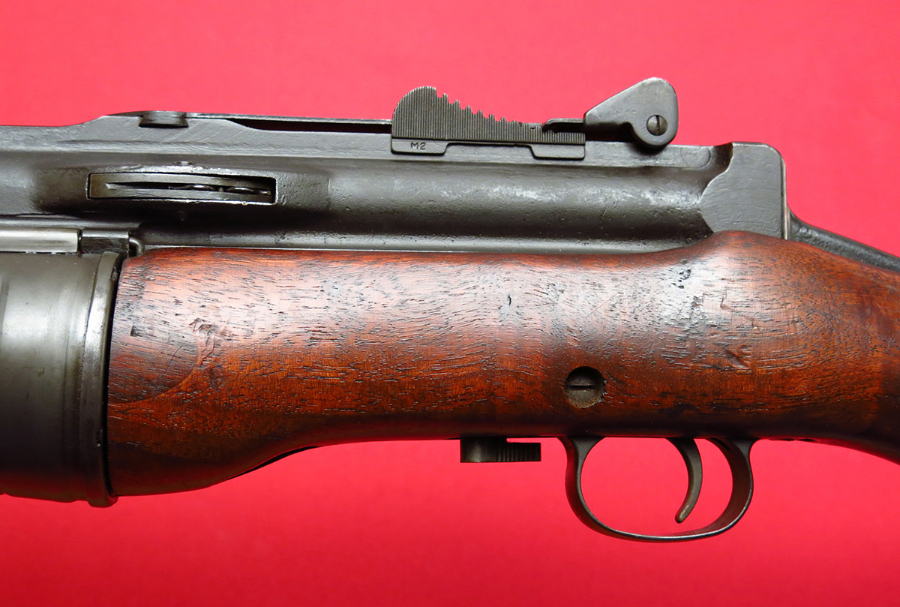
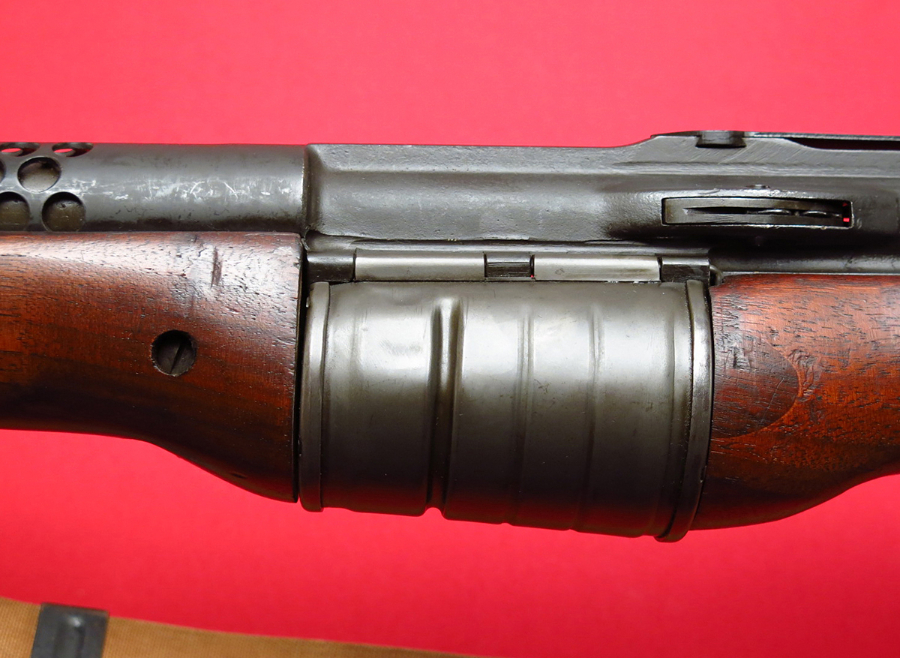


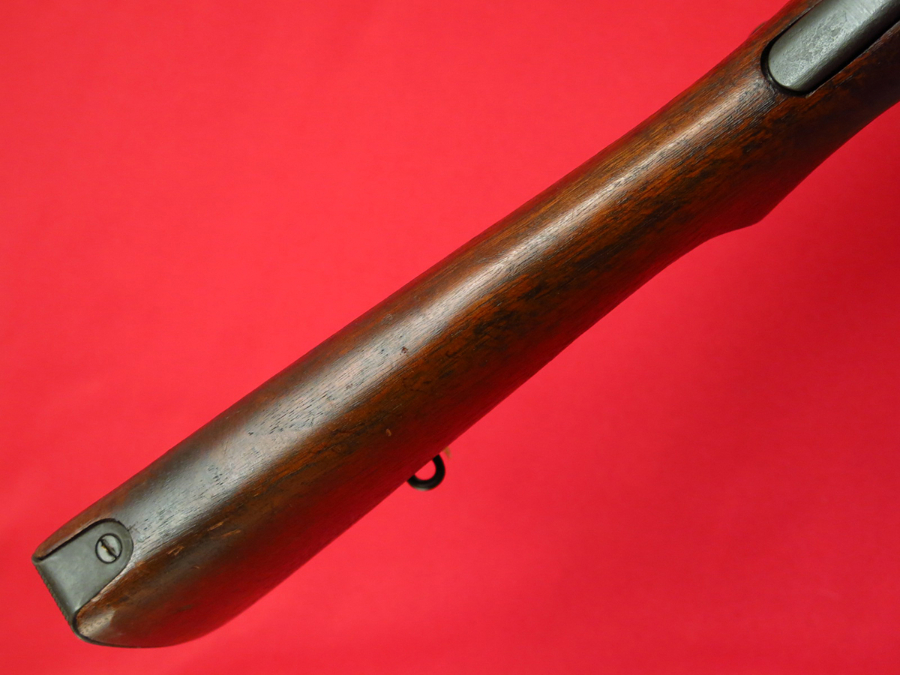
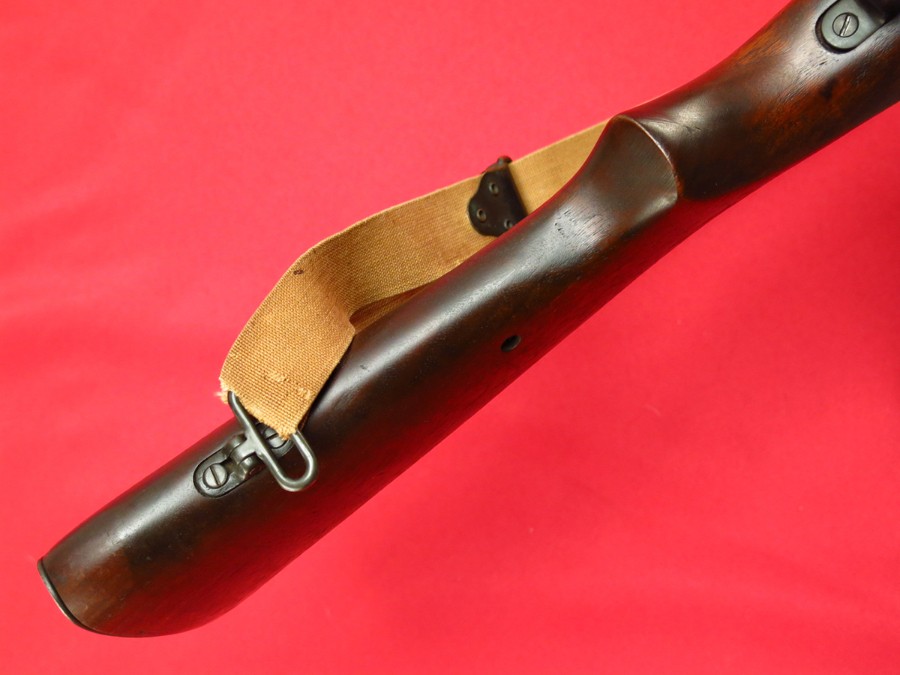

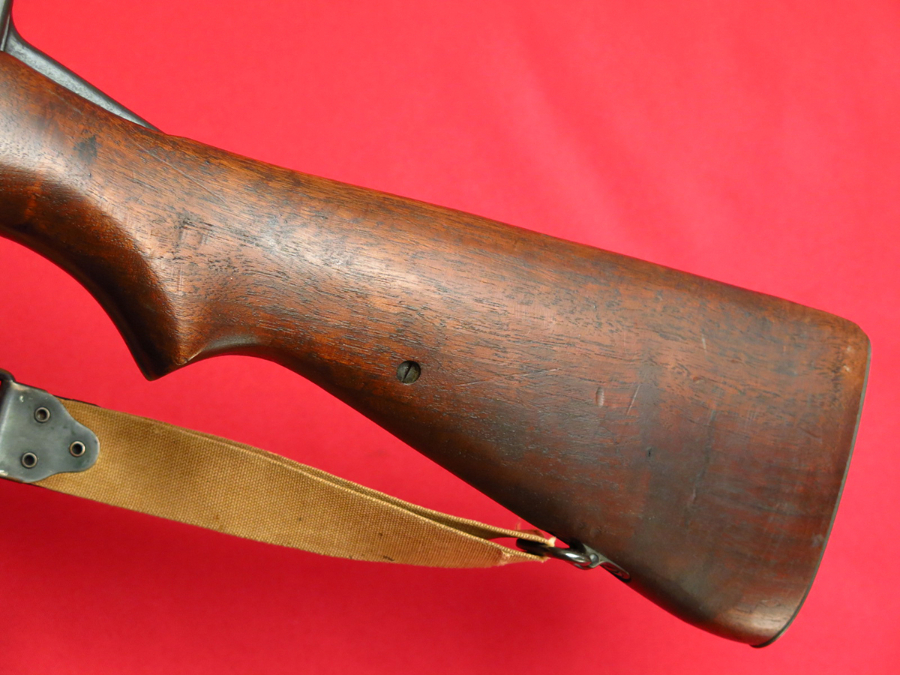


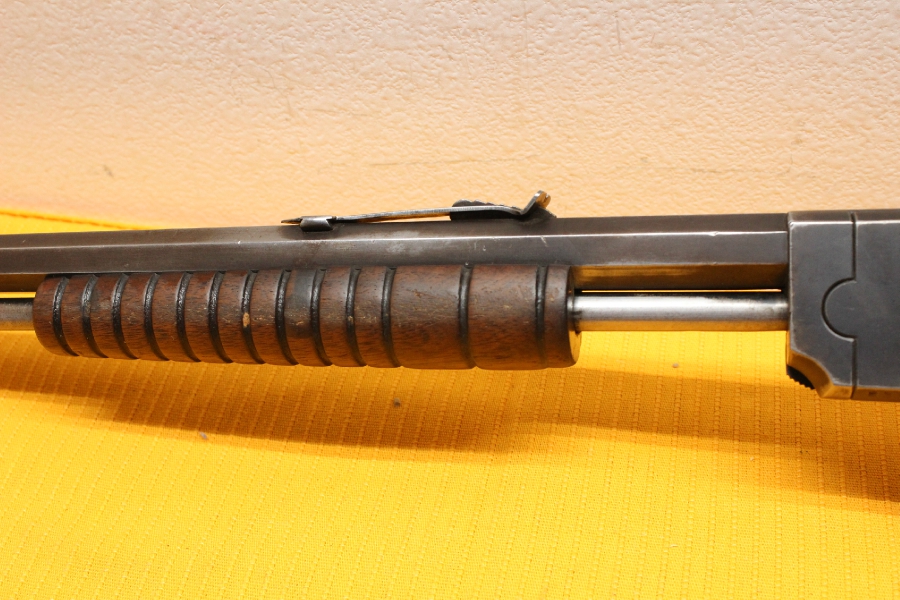
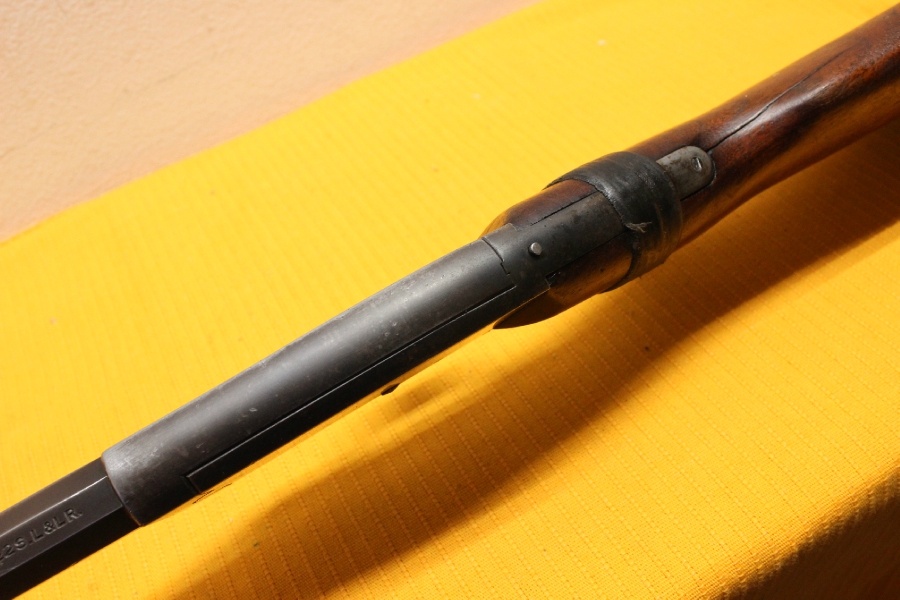
Plus it was just another weird Idea from a really weird time – I.E. America in the 1960’s! But then one never knows what will catch on as a massive victory in the Gun Industry. Does one?

As I recall part of the British soldier to deal and adapt was part of the Victorian heritage that was prevalent at the time, the British soldiers and the culture believed that they were superior to everyone because they were British, it was part of the DNA. For this reason they pushed the sphere of influence to a point where it was said that “The Sun never sets on the British Empire“. Also I remembered another movie with Michael Caine and Sean Connery “The man who would be King”
It is a different time and I wonder what a Britisher from back then would think about the empire today and the problems that the British are having from the E.U and the invasions of the “Kiffirs” from the subcontinents.
Maintaining your status as a global power is no easy thing. The British Victorian Army was one of the best equipped and most experienced in the world, its forces active from North Africa to the South Pacific. But while this gave many British soldiers useful experience, it also created unique challenges for them, their commanders and the politicians putting them into the field.
The British army was the same wherever they went, but their opponents were wildly different, each one presenting a new combination of skills, tactics, and weaponry for the British to overcome.
By 1879, the Egyptian government was massively corrupt, inefficient, and favorable to Europeans over locals. Even the law gave better protection to wealthy Europeans in the country than its native inhabitants. France and Britain in particular held huge sway.
Egyptian nationalists led by Colonel Ahmed ‘Urabi seized control of the country, seeking to bring about democratic reforms that would take power away from the elite and reduce foreign influence. France refused to intervene. Britain, on the other hand, used the death of 50 Europeans in riots to justify an invasion in 1882, whose real purpose was the defense of economic interests.
The forces they faced were trained and equipped by Europeans and fought like a regular army. But the British proved superior, defeating ‘Urabi at the Battle of Tel-el-Kebir and taking control of Egypt.
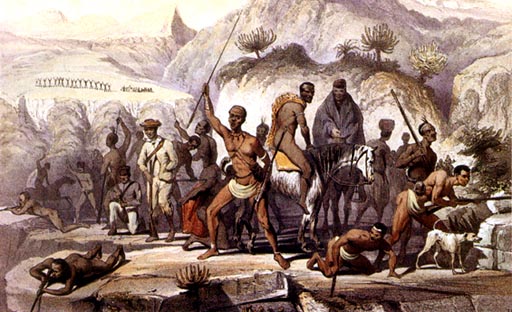
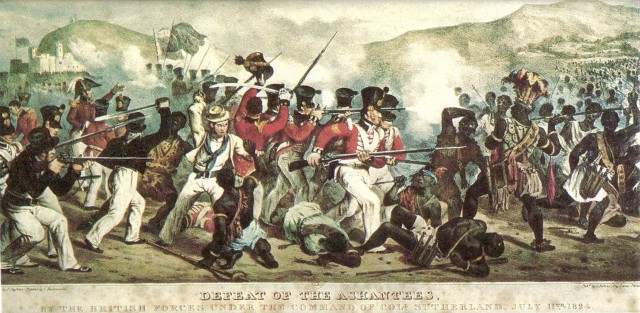 The defeat of the Ashantees, by the British forces under the command of Coll. Sutherland, July 11th, 1824.
As in Egypt, the British fought the Ashanti Empire, located in modern Ghana, for control of economic resources. They wanted to control gold from the region, and ownership or favorable peace treaties could prevent other European powers from getting involved.
The Ashanti were primitively armed but experienced and smart at fighting in local terrain. Launching ambushes out of the hills and jungle, they gained the element of surprise and often outflanked their opponents.
The downside of Ashanti tactics was a lack of cohesion and close order discipline. In the face of increasingly accurate rifles, dispersed troops were more vulnerable than they had been a century before. Unable to break British formations, they were repeatedly defeated.
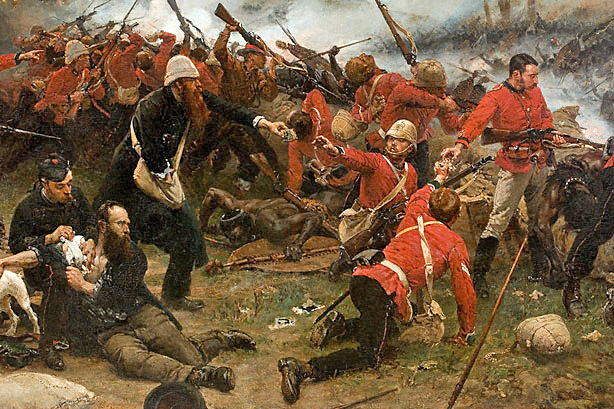
Despite these early events, the ferocity, tenacity, and courage that had served the Zulus so well were not enough to let Spears beat modern guns. By the final Battle of Ulundi, courageous charges were creating massive casualties for little gain. However, the war had shaken British confidence, teaching some not to under-estimate a technologically inferior force.
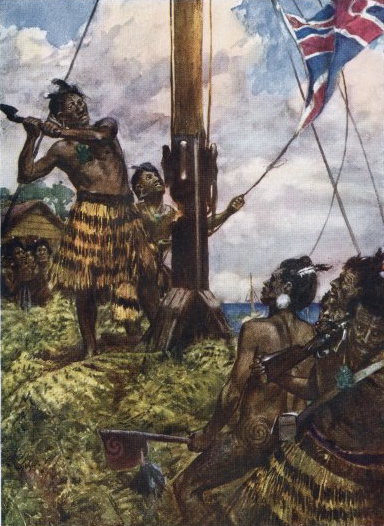 Hone Heke cuts down the flagstaff on Flagstaff Hill at Kororāreka.
A similar lesson was taught in the New Zealand Wars (1845-1872). With settlers spreading across New Zealand, and the colonial authorities backing them against the native Maoris, many locals took up arms to resist.
The Maori way of warfare was the polar opposite of that used by the Zulus. Impi tactics were flowing and aggressive, adapted to fight other African tribes. Those of the Maoris were stationary and defensive, adapted to counter European guns. Creating fortified earthen strongholds called pā, the Maoris held off British and then colonial militia troops, firing from well-prepared defensive positions, forcing the attackers into costly advances. Though the result was once again domination by white colonials, fighting was nowhere near as decisive as in the Zulu Empire.
The Zulus were not the only natives the British fought in their attempt to unite southern Africa. Further, east, the Xhosa also resisted, triggering the Ninth Xhosa War (1877-9)
Unable to beat the well-equipped British in open battle, the Xhosa retreated to the Amatola Mountains. Here they fought a guerrilla war, making use of the terrain to launch a string of ambushes. By never presenting the British with a target and always withdrawing when put under pressure, they prevented the invaders from gaining an advantage. It was only by building a string of fortifications and creating an elaborate system of mounted pursuit that the British beat them.
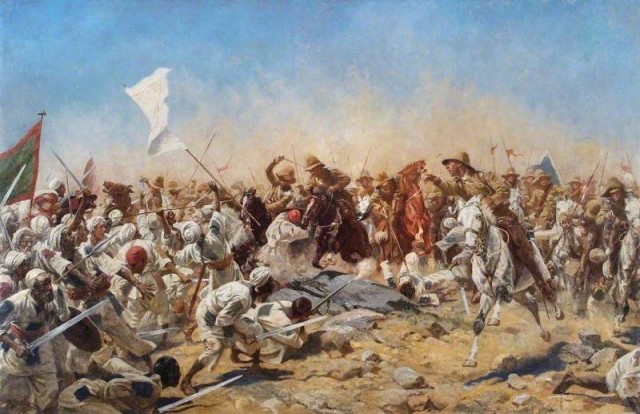
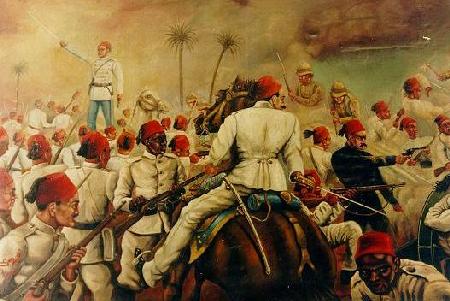
The Mahdists in Sudan faced the British with a different challenge in the 1880s and 1890s. Believing their leader Muhammad Ahmad to be the Mahdi, a prophesied Islamic religious leader, they fought with fanatical fervor against foreign influence.
This religious fervor led to frontal assaults even more determined than those of the Zulus. Though these served the Mahdists well early on, they were no match for well-prepared troops equipped with the latest guns. It was such a force that broke them finally broke them at Omdurman in 1898.
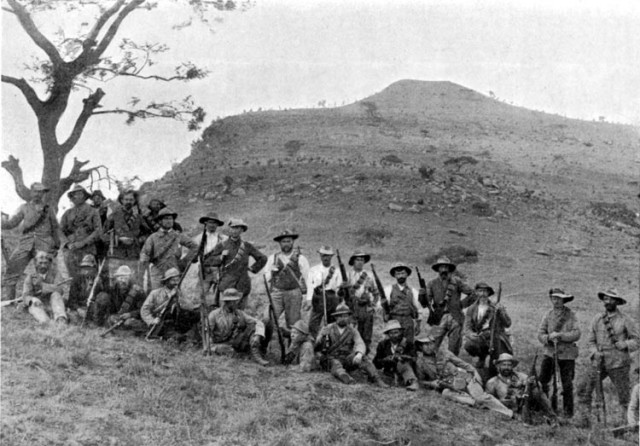
While many opponents used elements of guerrilla warfare against the British, the Boer version came closest to what we see in the modern world. The descendants of Dutch settlers, the Boers became caught up in the British attempt to unify southern Africa, and like the natives they resisted.
Smart, accurate marksmen with talented leaders who understood European warfare, they were foes unlike any others the British had faced. They were able to gain large armies and adapt elements of guerrilla warfare to the battlefield, defeating the British in bloody confrontations as well as small actions.
Ultimately, the Boers were undone not by their enemies’ superior tactics or leadership. Indeed, British leadership in the war was often among the worst in history. Yet even the tenacious Boers could not defeat the superior resources of the British Empire, and sheer weight of numbers eventually wore them down